


Paper Pumpkins 🎃🎃
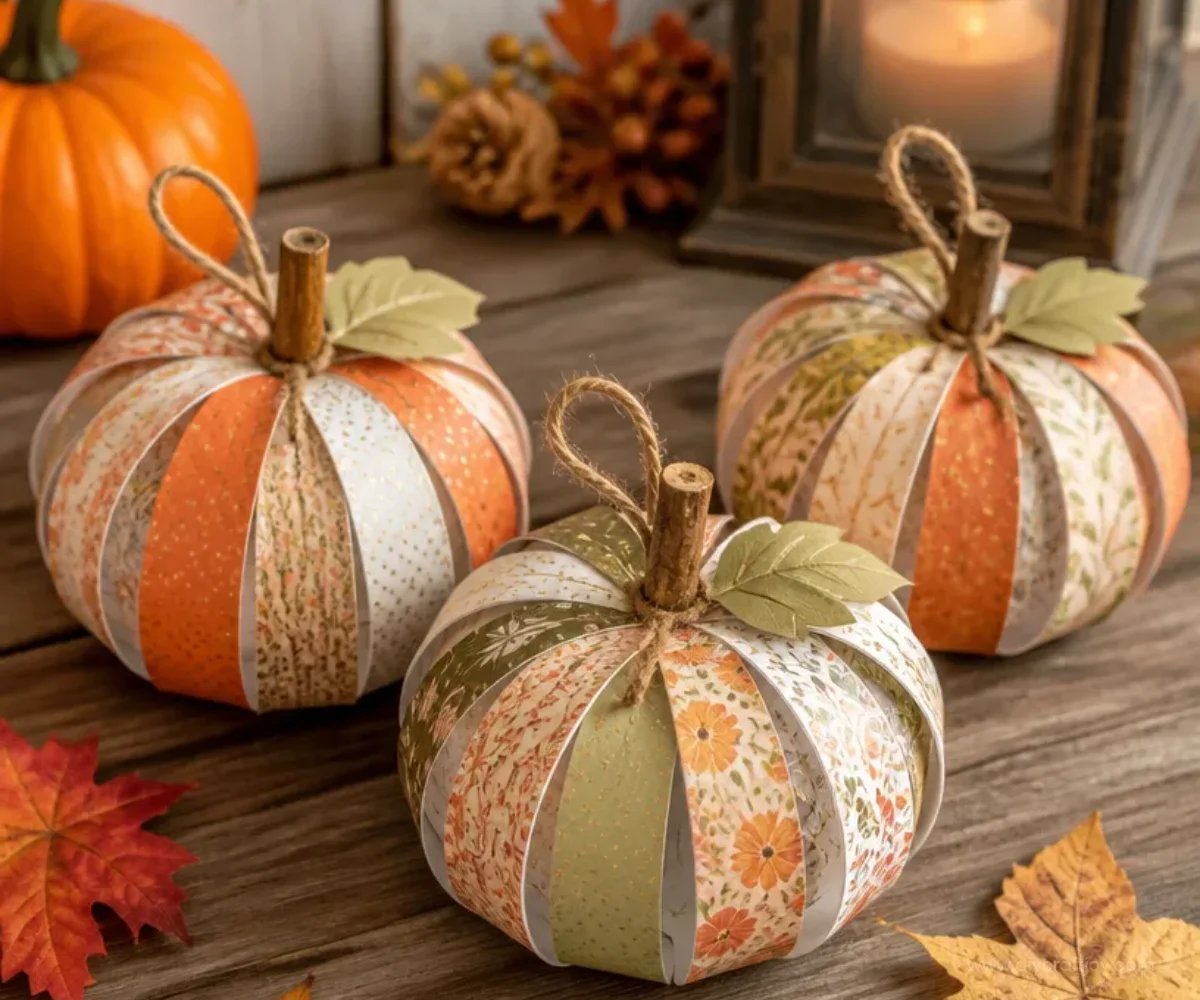
Creating paper pumpkins is a delightful fall craft that you can enjoy with your family or friends. These charming decorations are perfect for adding a festive touch to your home or classroom. Not only are paper pumpkins easy to make, but they also allow for creativity with colors and designs. You may also find Diy Blooming Paper Flowers Step By Step Tutorial useful.
In this project, you will learn how to craft beautiful paper pumpkins using simple materials. Whether you want to create a centerpiece for your dining table or some cheerful decorations for a Halloween party, this tutorial is filled with friendly guidance to help you along the way. You may also find Diy Butterfly Craft Kids Paper Wing Suncatcher useful.
Why You’ll Enjoy This Project
- Easy to Make: Even beginners can enjoy this craft. The steps are straightforward, and you don’t need any specialized skills.
- Customizable: You can use different colors and patterns to match your home decor or personal style.
- Fun for All Ages: This project is perfect for family crafting sessions, as both kids and adults can contribute.
- Eco-Friendly Option: You can use recycled paper and other materials to create these pumpkins, making it an environmentally friendly craft.
- Great for Gifting: Finished pumpkins make wonderful gifts or decorations for a festive gathering.
You may also find Diy Butterfly Wall Decor Toilet Paper Rolls useful.
Materials You’ll Need
- Colored paper or cardstock (orange, green, brown)
- Scissors
- Glue stick or craft glue
- A pencil
- Twine or ribbon (optional for decoration)
- Paper or cardboard for the pumpkin base

How to Make Paper Pumpkins 🎃🎃
Step 1: Cut the Paper
Start by cutting your colored paper into strips. Each strip should be about 1-2 inches wide and around 10-12 inches long. You can vary the size for different shaped pumpkins. You may also find Diy Rainbow Sun Craft Kids Paper Plates useful.
Step 2: Form the Pumpkin Shape
Take several strips and form them into a circle. Overlap the ends slightly and glue them together to create the shape of the pumpkin. If needed, you can use a base made out of paper or cardboard to help keep the shape sturdy. You may also find Diy Seed Paper Hearts Bloom Garden Gifts useful.
Step 3: Create the Pumpkin’s Top
For the top of the pumpkin, cut a small square from brown paper. Roll it into a cylinder and glue the ends together. Once it’s dry, glue this on top of your pumpkin.
Step 4: Add Personality
Now you can add some extra style! Use green paper to create leaves and twirl them for a fun effect. Glue them around the top of the pumpkin. Adding twine or ribbon can also give your pumpkin that finishing touch.
Step 5: Display Your Pumpkins
Once everything is dry, you can place your paper pumpkins anywhere you like. They’re perfect for tabletops, mantels, or even as part of a festive display outside.
Helpful Tips
- To make cutting easier, stack multiple sheets of paper together.
- Use a variety of paper textures, like tissue paper or recycled wrapping paper, for added interest.
- If working with younger children, supervise when using scissors for safe handling.
Easy Variations
- Mini Pumpkins: Create smaller versions of pumpkins by cutting shorter strips.
- Pumpkin Faces: Have fun drawing or gluing on faces to give your pumpkins character.
- Different Colors: Use purple or black paper for spooky-themed pumpkins.
- Hanging Decor: Add a loop of string to the top for hanging decorations.
- Bigger Pumpkins: Use larger strips for a bigger centerpiece pumpkin.
Making This Craft With Kids
This project is fantastic for engaging children in art! They can help with cutting shapes, gluing pieces, and devising designs. Adult supervision is recommended when using scissors, especially for younger children.
How to Display or Use It
These charming paper pumpkins can brighten up any space. Arrange them on dining tables, mantels, or window sills. You can also use them as place settings for Thanksgiving dinner or gifts for friends and family.

Frequently Asked Questions
1. What type of paper works best for these pumpkins?
Cardstock is ideal as it holds shape well, but any colored paper can work.
2. Can I use paint on the paper?
Yes, painting the paper before cutting adds a unique flair and texture.
3. How long will they last?
Paper pumpkins can last through the season if kept dry and away from moisture.
4. Can I reuse the materials later?
Absolutely! Many parts can be recycled or reused for other crafts once you’re done enjoying the pumpkins.
Conclusion
Creating paper pumpkins can be an enjoyable activity for everyone involved. For an added twist on paper pumpkin decor, consider checking out this guide to Make Your Own Pumpkin Patch with Paper Pumpkins or get inspired with some fun DIY Paper Pumpkin Wall Art. Happy crafting!