

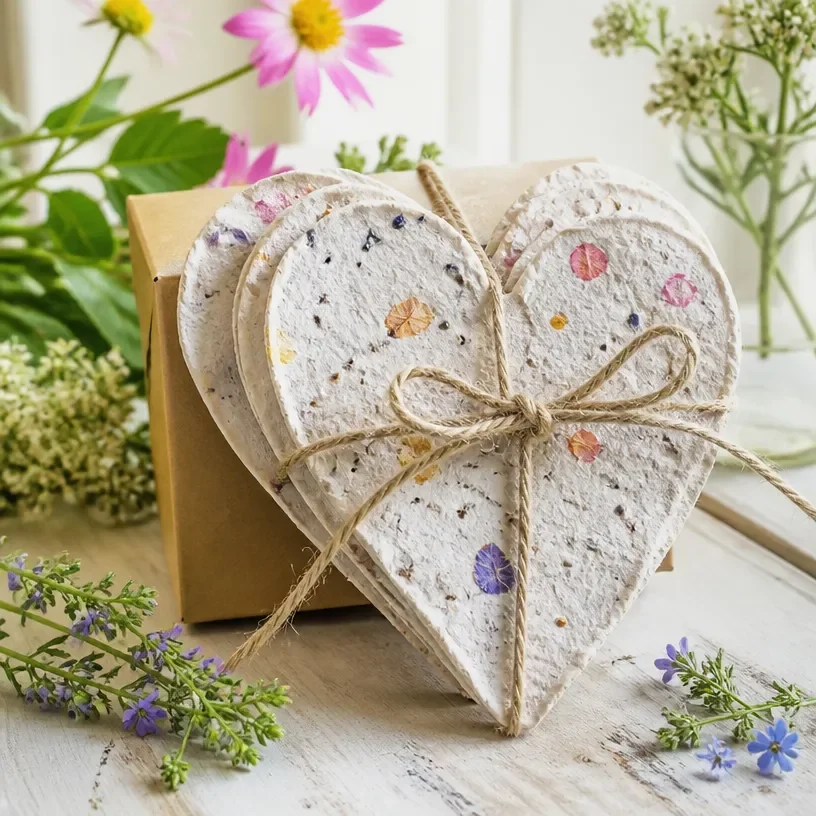
DIY Seed Paper Hearts That Bloom for Garden Gifts
Making seed paper hearts is a delightful and eco-friendly project that’s perfect for gifting. These charming hearts are not only beautiful decorations, but they can also grow into lovely plants when planted in the garden. This project is especially fun for those who enjoy crafts that give back to nature, making it an excellent activity for families and community events. You may also find Rainbow Tissue Paper Flower Lantern Diy For Kids useful.
By creating handmade gifts that blossom, you foster a sense of creativity while promoting sustainability. In this guide, you’ll learn how to craft these lovely pieces of art step-by-step, transforming simple materials into heartfelt gifts that bloom. You may also find Bubble Dough Sensory Play Diy Activity For Kids useful.
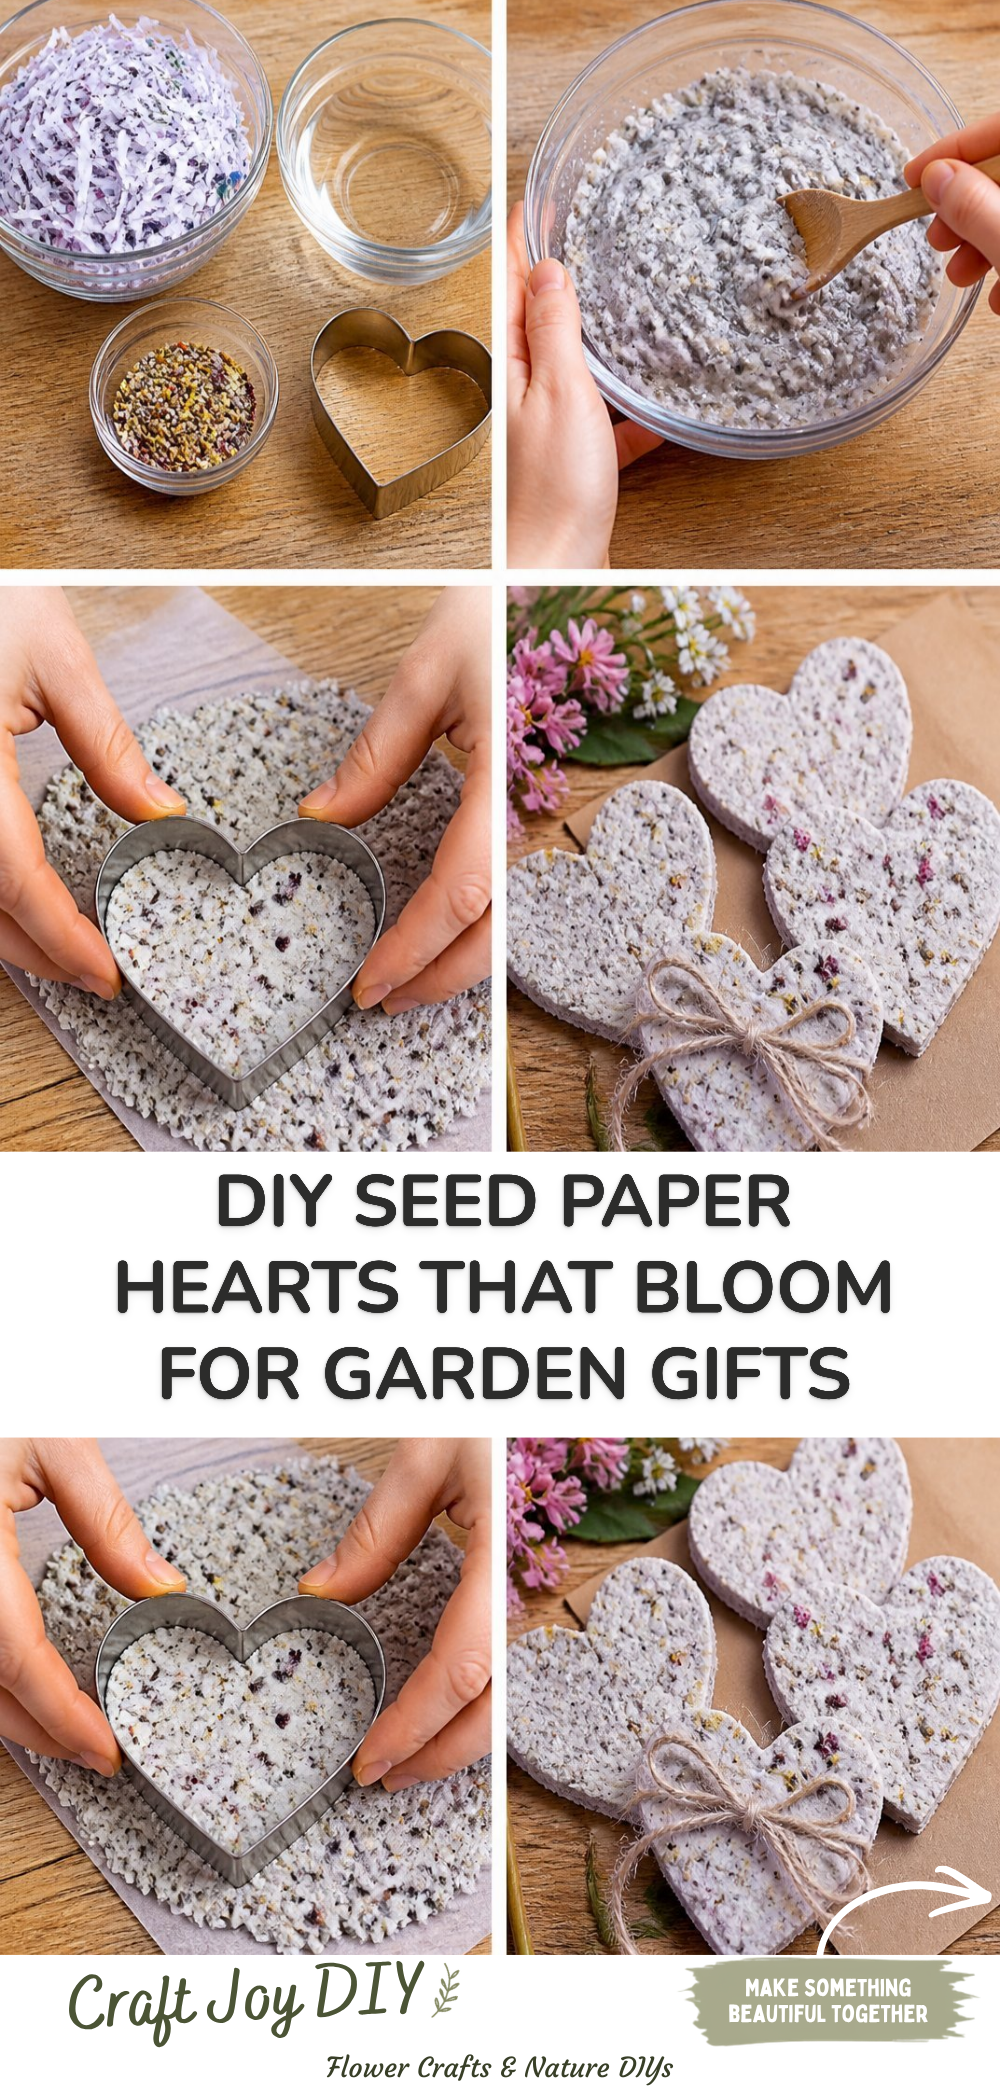
You may also find Diy Butterfly Craft Kids Paper Wing Suncatcher useful.
Why You’ll Enjoy This Project
Here are a few reasons why this project stands out: You may also find Diy Dried Flower Lantern Jar That Glows Beautifully useful.
- Eco-Friendly: Using recycled materials like paper ensures that your crafts help the environment.
- Great for All Ages: This is a project that kids and adults can enjoy together, making it a perfect family activity.
- Meaningful Gifts: Handmade seed paper hearts make thoughtful presents for birthdays, anniversaries, or just because.
- Simple and Affordable: You don’t need to spend much on materials, and it’s easy to make.
- Growth and Beauty: Watching the seeds sprout will add joy beyond just the crafting process.
Materials You’ll Need
Gather the following materials to start creating your seed paper hearts: You may also find Diy Halloween Boo Basket For Kids useful.
- Recycled paper (old newspapers or scrap paper works well)
- Water
- Seeds (flower or herb seeds are ideal)
- Blender or food processor
- Baking sheet
- Parchment paper or a cloth
- Heart-shaped cookie cutter or template
- Paint or food coloring (optional)
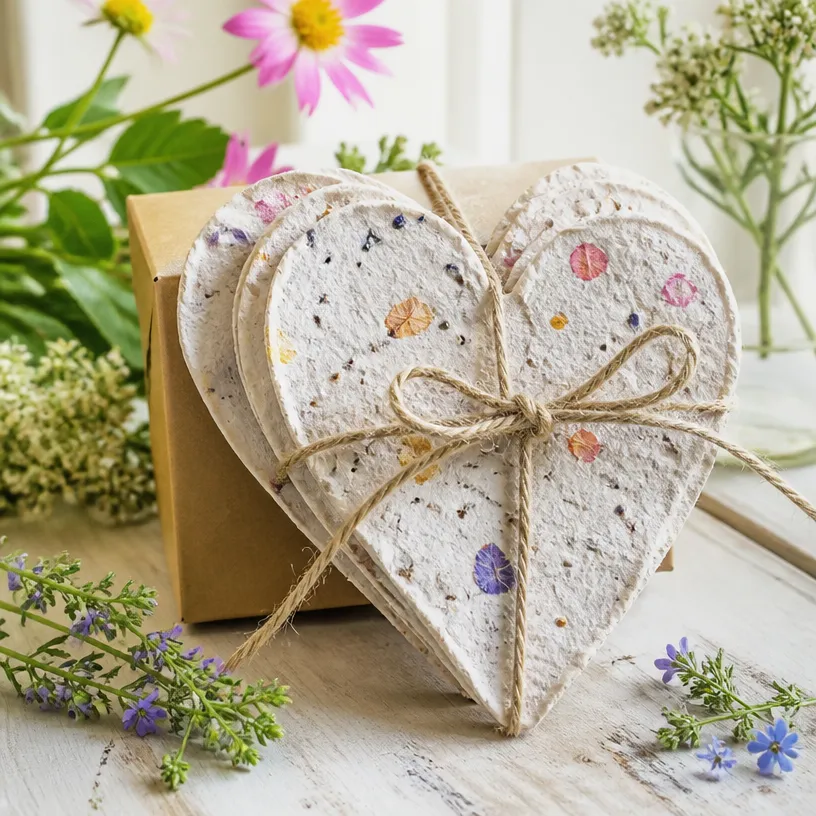
How to Make DIY Seed Paper Hearts That Bloom for Garden Gifts
- Prepare the Paper: Tear the recycled paper into small pieces and place them in a bowl. The pieces should be about one-inch squares.
- Soak the Paper: Add enough water to the bowl so that the paper is completely submerged. Let it soak for several hours, or overnight, to soften.
- Blend the Mixture: After soaking, drain excess water and transfer the paper to a blender or food processor. Add a little bit of fresh water and blend until you achieve a pulp-like consistency.
- Mix in Seeds: Pour the blended pulp into a large bowl and gently mix in your chosen seeds. Be careful not to crush the seeds.
- Shape the Hearts: Place a piece of parchment paper or cloth on your baking sheet. Use a heart-shaped cookie cutter to form the mixture into heart shapes. Alternatively, you can spread the pulp into a heart shape directly on the parchment.
- Dry the Hearts: Allow the paper hearts to dry completely. This can take a day or two depending on humidity. They should be firm to the touch once done.
- Add Color (Optional): If you wish to add a splash of color, you can lightly paint the dried hearts using non-toxic paints or food coloring.
Helpful Tips
- Easier Assembly: Use a squeeze bottle to shape the pulp if you’re creating multiple hearts to speed up the process.
- Neater Results: Keep the edges of your hearts smooth by using a spatula or an offset blade for shaping.
- Proper Storage: Store the dried hearts in a paper bag or a box to keep them safe until you’re ready to gift them.
- Supervise Children: If crafting with kids, ensure they’re supervised during blending and handling the soaked paper.
Easy Variations
- Different Shapes: Instead of hearts, create flowers, stars, or any other shape that suits your occasion.
- Use Colored Paper: Utilize different colors of recycled paper to create vibrant, visually appealing hearts.
- Add Dried Flowers: Mix in small dried flower petals into the pulp for added decoration and texture.
- Seasonal Seeds: Choose seeds that correspond to the season for which the gifts are intended, such as wildflowers in spring or herbs in summer.
Making This Craft With Kids
This project is a fantastic way to involve children in crafting. Adults should supervise their use of the blender and ensure that small seeds are handled carefully. Encourage kids to personalize their hearts with their favorite colors or additional decorations like stickers or glitter, while staying within eco-friendly options.
How to Display or Use It
These heart-shaped seed papers can be gifted to loved ones or planted directly in a garden or pot. To present them nicely, consider wrapping them in a biodegradable bag or placing them in small, recycled boxes. You can even tie a ribbon around them for a finishing touch.
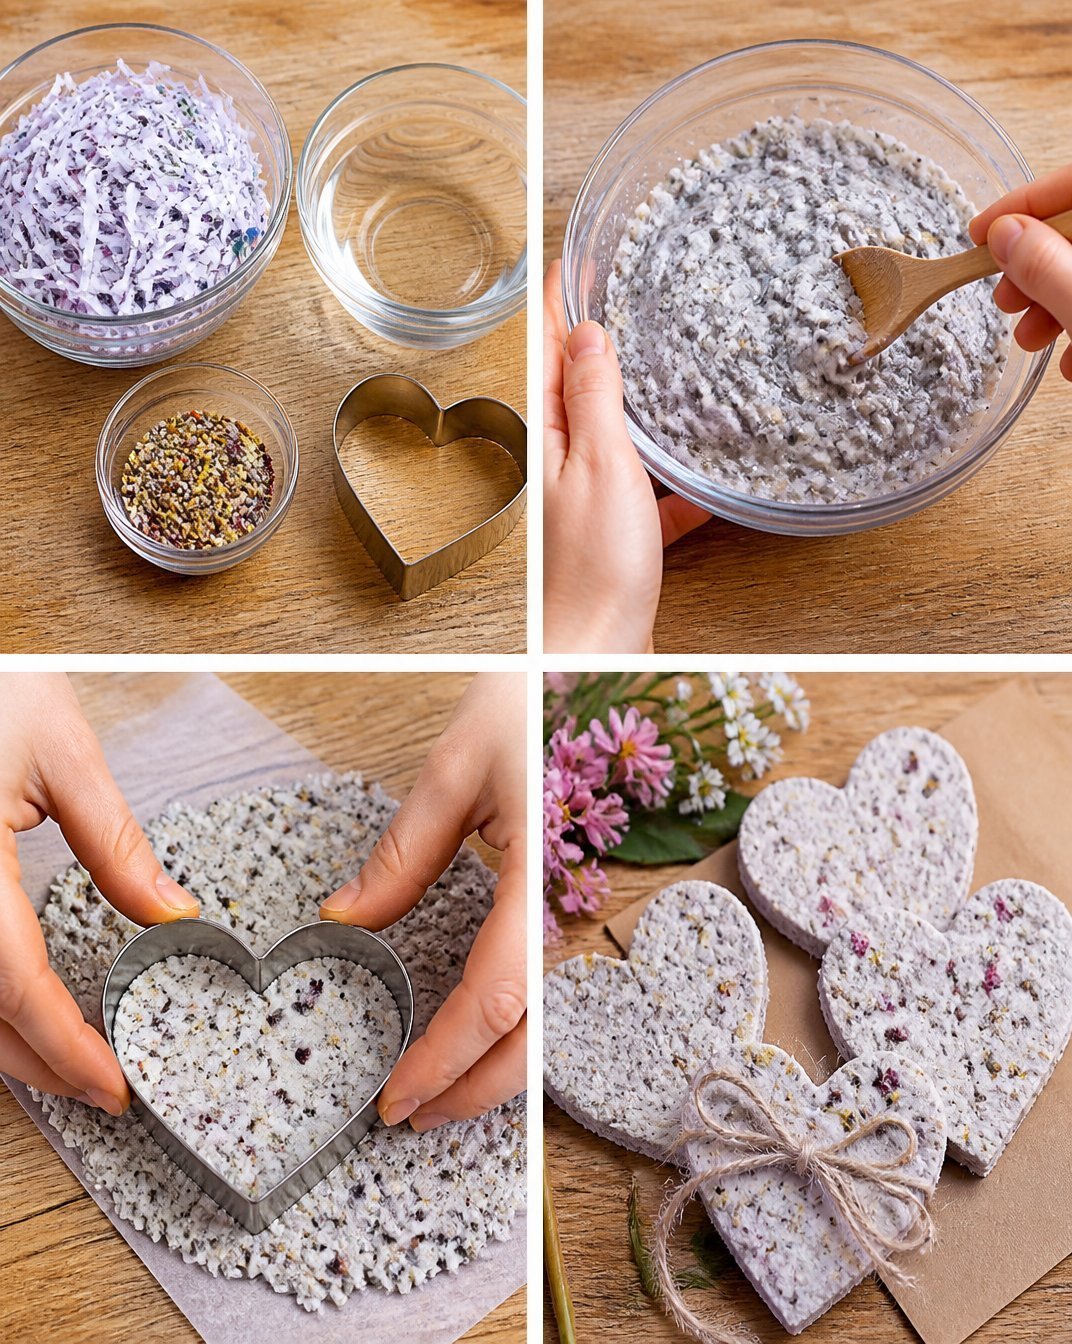
Frequently Asked Questions
What type of seeds should I use?
Choose seeds that are small and easy to grow, such as wildflowers, herbs, or garden annuals.
How long does it take for the seeds to sprout?
Depending on the type of seeds used, germination can take anywhere from a few days to a couple of weeks.
Can I use colored paper?
Yes! Just ensure that any dyes used are non-toxic and safe for planting.
How do I plant the hearts?
Simply bury the heart in soil, water lightly, and wait for the seeds to grow!
Can I use this method for other shapes?
Absolutely! Feel free to use cookie cutters or templates to create your desired shapes.
Conclusion
Creating DIY seed paper hearts is an enjoyable and environmentally friendly project that can enrich both your crafts and your garden. To explore more creative gift ideas, check out A Day To Remember Studio. You can also find other innovative craft ideas at Seed Bloom Combo Greeting Cards.
Print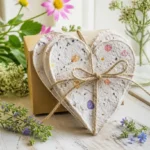
DIY Seed Paper Hearts That Bloom for Garden Gifts
- Total Time: 2400 minutes
- Makes: 10-15 hearts
Description
Create beautiful and eco-friendly seed paper hearts that bloom into lovely plants, making perfect gifts for loved ones.
Materials
- Recycled paper (old newspapers or scrap paper)
- Water
- Seeds (flower or herb seeds)
- Blender or food processor
- Baking sheet
- Parchment paper or cloth
- Heart-shaped cookie cutter or template
- Paint or food coloring (optional)
Instructions
- Tear the recycled paper into small pieces and place them in a bowl.
- Add enough water to the bowl to submerge the paper completely and soak for several hours or overnight.
- Drain excess water and transfer the paper to a blender or food processor with a little fresh water. Blend until you achieve a pulp-like consistency.
- Pour the blended pulp into a large bowl and gently mix in your chosen seeds, being careful not to crush the seeds.
- Place a piece of parchment paper or cloth on your baking sheet. Use a heart-shaped cookie cutter to shape the mixture into hearts.
- Allow the paper hearts to dry completely, which can take one to two days.
- Optionally, lightly paint the dried hearts using non-toxic paints or food coloring for a splash of color.
Notes
Supervise children during the blending process and when handling the soaked paper. Store dried hearts in a paper bag or box until ready to gift.