

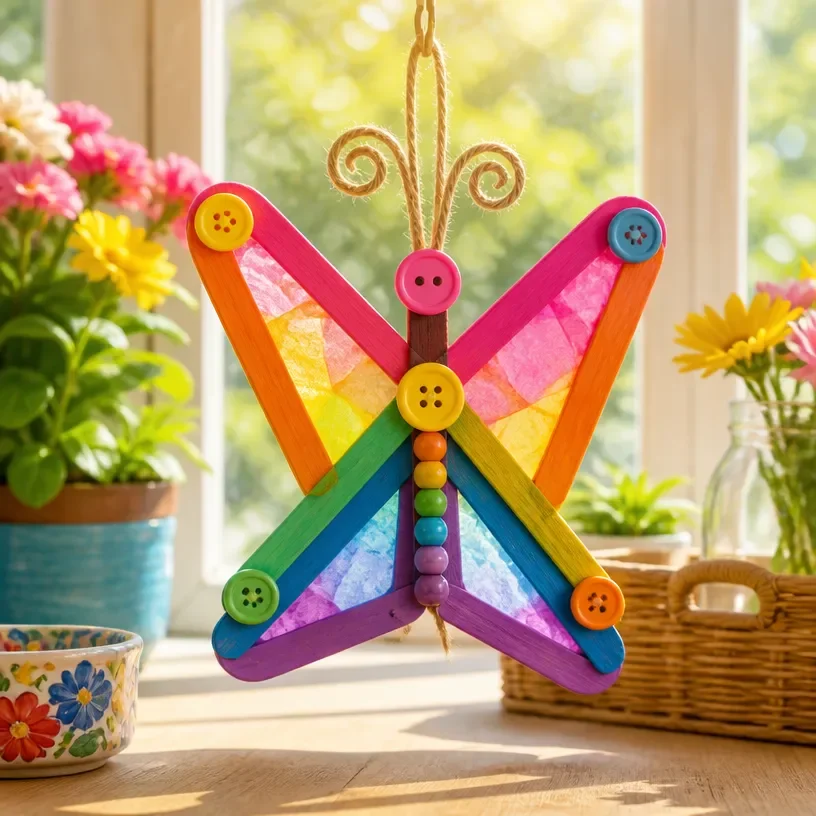
DIY Magical Butterfly Craft for Kids
Making a DIY Magical Butterfly Craft is a delightful activity for children that combines creativity and a bit of science. Not only does it provide a fun way for kids to explore their artistic side, but it also introduces them to the beauty of butterflies while learning about symmetry and color. This project allows children to create their own colorful butterfly that can be used for decoration or as a charming gift. You may also find Coffee Filter Butterfly Chromatography Craft For Kids useful.
Budding artists will enjoy customizing their butterflies, and this craft is simple enough that it can be done at home or in a classroom setting. To embark on this fun crafting journey, let’s gather the materials you’ll need. You may also find Diy Rainbow School Bus Photo Frame Craft For Kids useful.
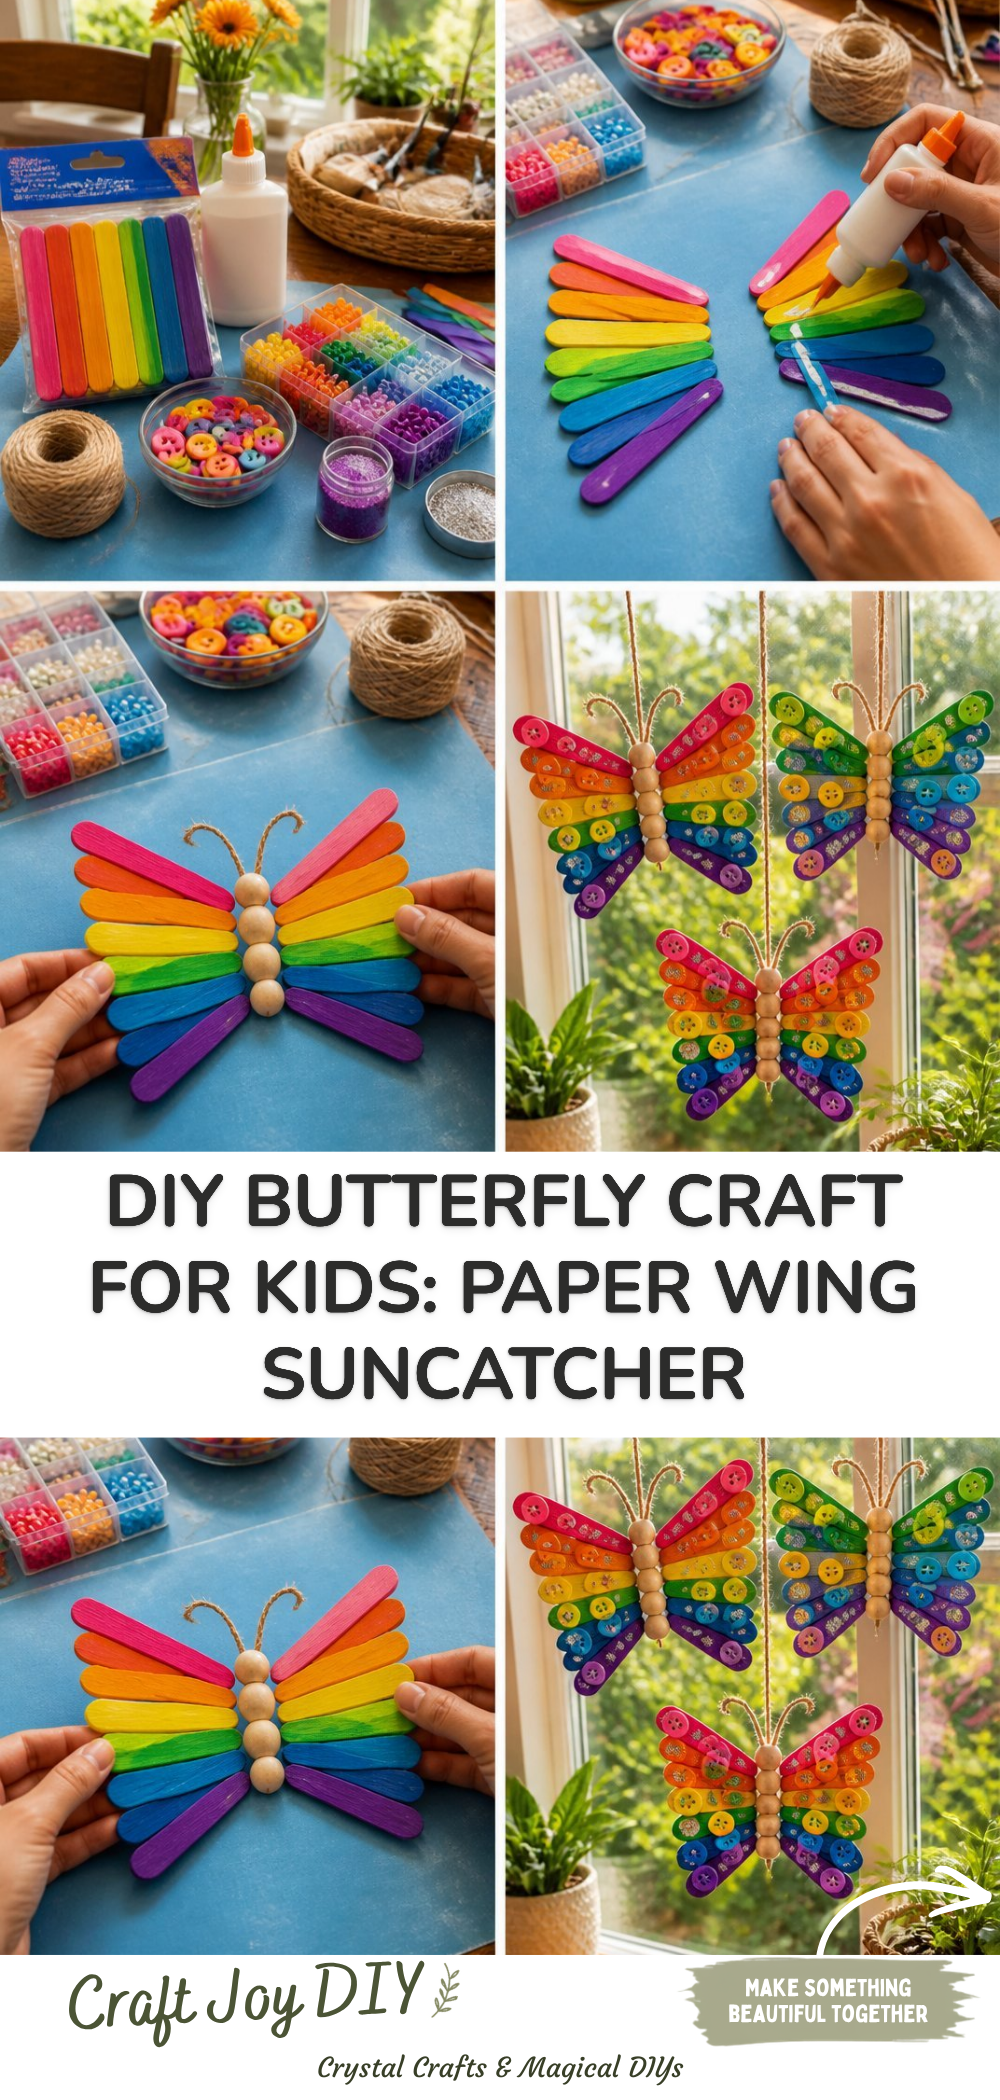
You may also find Easy Pipe Cleaner Butterfly Craft For Kids useful.
Why You’ll Enjoy This Project
- Engages Creativity: Children can express their artistic talents by choosing colors and patterns for their butterflies.
- Educational: This craft helps teach kids about butterfly anatomy and the concept of symmetry, enhancing their understanding of nature.
- Easy to Make: With simple materials and straightforward instructions, it’s a low-pressure project for both kids and adults.
- Versatile Decoration: The finished butterfly can be displayed in a room or used for themed parties, adding a handmade touch to any space.
Materials You’ll Need
- Coffee filters
- Washable markers
- Spray bottle with water
- Pipe cleaners
- Scissors
- A small dish or tray for drying
If you don’t have coffee filters, you can use paper towels instead; just note they may absorb color differently. You may also find Pipe Cleaner Butterfly Craft For Kids useful.
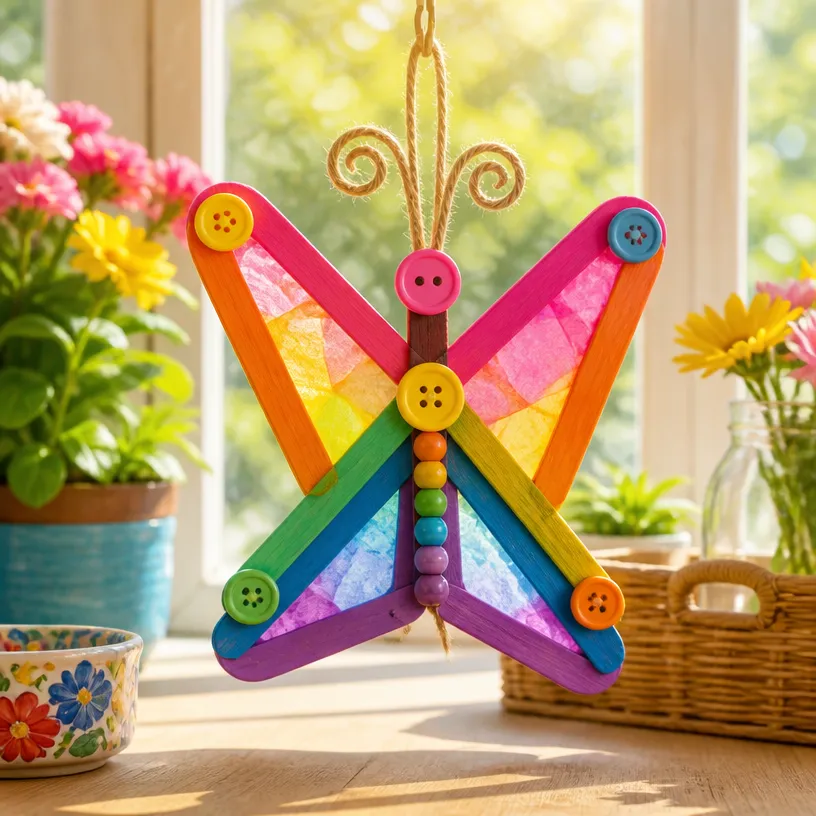
How to Make DIY Magical Butterfly Craft for Kids
Color Your Filters: Start by laying a coffee filter flat. Use washable markers to color in different sections of the filter. Encourage kids to make vibrant patterns. You may also find Rainbow Monster Pencil Holders Diy Craft For Kids useful.
Mister Time: Once the coloring is complete, gently spray the filter with water. Watch as the colors blend and create beautiful designs.
Dry Your Art: Place the wet filters in a small dish or tray to dry. You can also hang them on a clothesline using clothespins for a whimsical touch during the drying process.
Create Butterfly Shapes: After drying, fold each filter in half, then in half again (like a taco) to make the wings.
Add Antennae: Take a pipe cleaner and twist it around the center of the folded filter to secure it. Shape the ends of the pipe cleaner to create antennae.
Helpful Tips
- For cleaner results, encourage kids to spray the filters from a distance so that colors don’t drip too much.
- Supervise younger children with scissors, ensuring they cut carefully during the folding.
- To display their butterflies, children can add a magnet to the back or string them up around the house.
Easy Variations
- Color Themes: Use only reds, yellows, or blues for a themed party or a seasonal display.
- Layering: Create multi-layered butterflies by stacking two or more coffee filters.
- Different Sizes: Make larger butterflies by using bigger coffee filters or by combining two smaller ones.
- Nature Addition: Incorporate real flowers or leaves in the design for a unique touch.
Making This Craft With Kids
This craft is perfect for kids of various ages, but younger children may need help with cutting and spraying. Keep an eye on how much water they use, as too much can make the filters tear more easily. Working together will make the process more enjoyable for everyone!
How to Display or Use It
The finished butterflies can be hung from the ceiling or displayed on walls for a lovely artistic touch. They can also be attached to gift packages as a colorful, handmade accent or used as bookmarks.
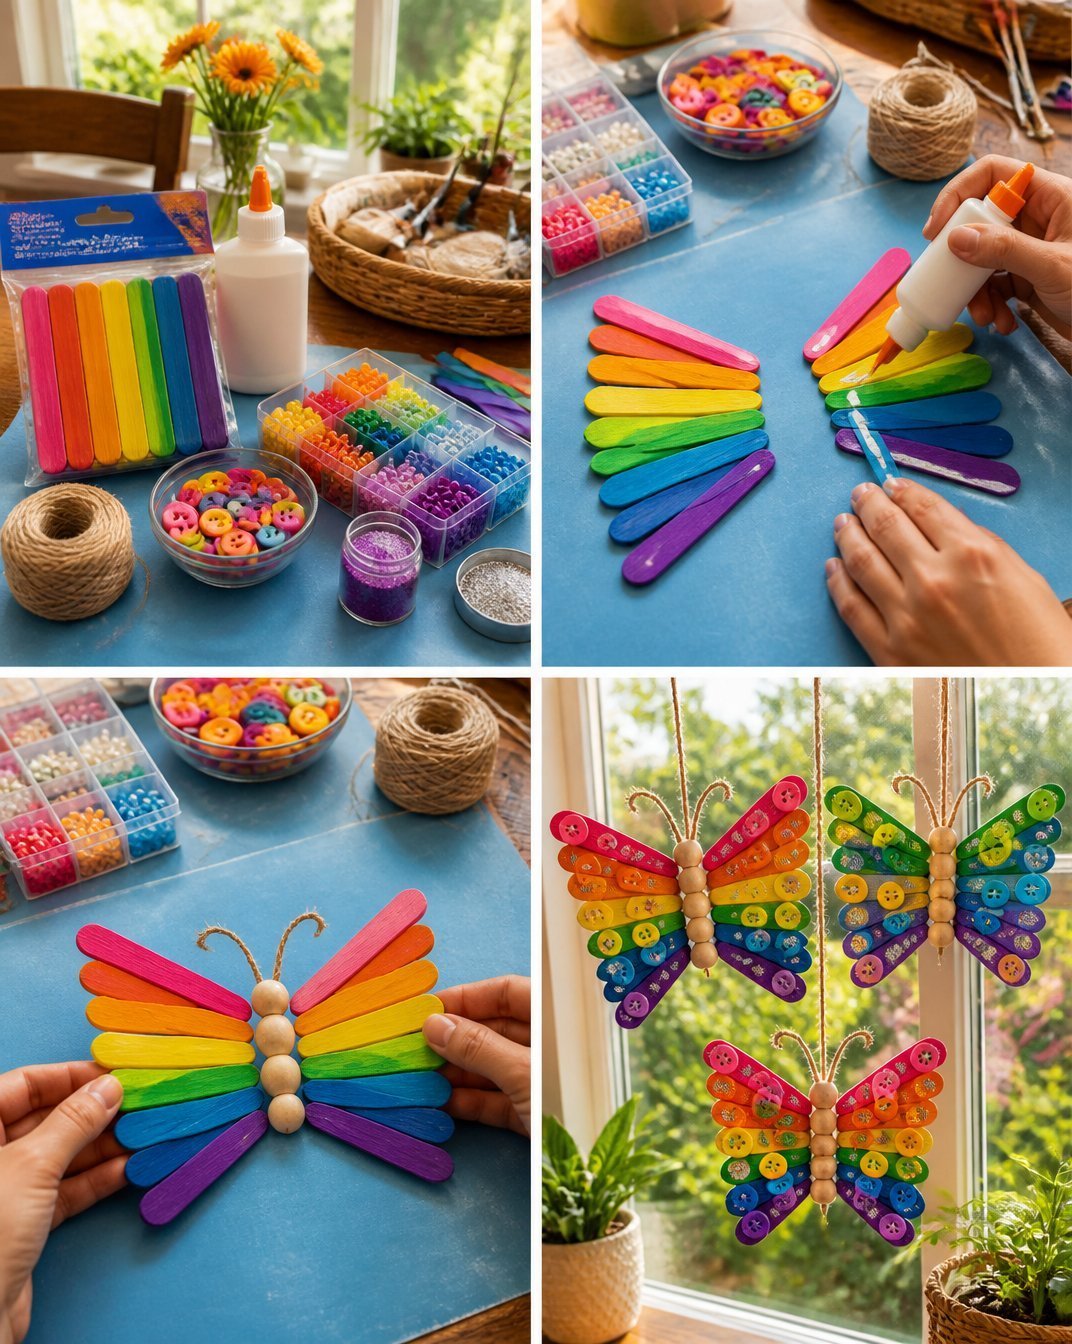
Frequently Asked Questions
1. Can I use permanent markers instead of washable ones?
While permanent markers can be used, they won’t blend the way washable markers do when sprayed with water.
2. How long does it take for the filters to dry?
Typically, it takes about 30 minutes to an hour, depending on humidity and how much water was used.
3. Can we use other materials for the body?
You can be creative with the body; twist ties, yarn, or even small wooden sticks can work well instead of pipe cleaners.
4. What else can we do with the butterflies?
These butterflies can serve as decorations for birthday parties, classroom displays, or even as gifts for friends and family.
Conclusion
Crafting not only fosters creativity, but it also provides a great opportunity to bond and learn together. If you’re looking for more butterfly-themed activities, consider exploring options like Butterfly Symmetry Painting for Kids. For another fun project, an Easy Coffee Filter Butterfly Craft is a fantastic way to keep the creative spirit going! Enjoy crafting with your little ones!
Print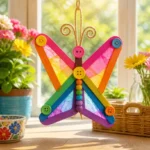
DIY Magical Butterfly Craft for Kids
- Total Time: 45 minutes
- Makes: 2 butterflies
Description
A delightful DIY craft activity that helps children explore creativity while learning about butterflies and symmetry.
Materials
- Coffee filters
- Washable markers
- Spray bottle with water
- Pipe cleaners
- Scissors
- A small dish or tray for drying
Instructions
- Color Your Filters: Start by laying a coffee filter flat. Use washable markers to color in different sections of the filter.
- Mister Time: Once the coloring is complete, gently spray the filter with water.
- Dry Your Art: Place the wet filters in a small dish or tray to dry.
- Create Butterfly Shapes: After drying, fold each filter in half, then in half again to make the wings.
- Add Antennae: Take a pipe cleaner and twist it around the center of the folded filter to secure it.
Notes
For cleaner results, encourage kids to spray from a distance. Supervise younger children with scissors.