

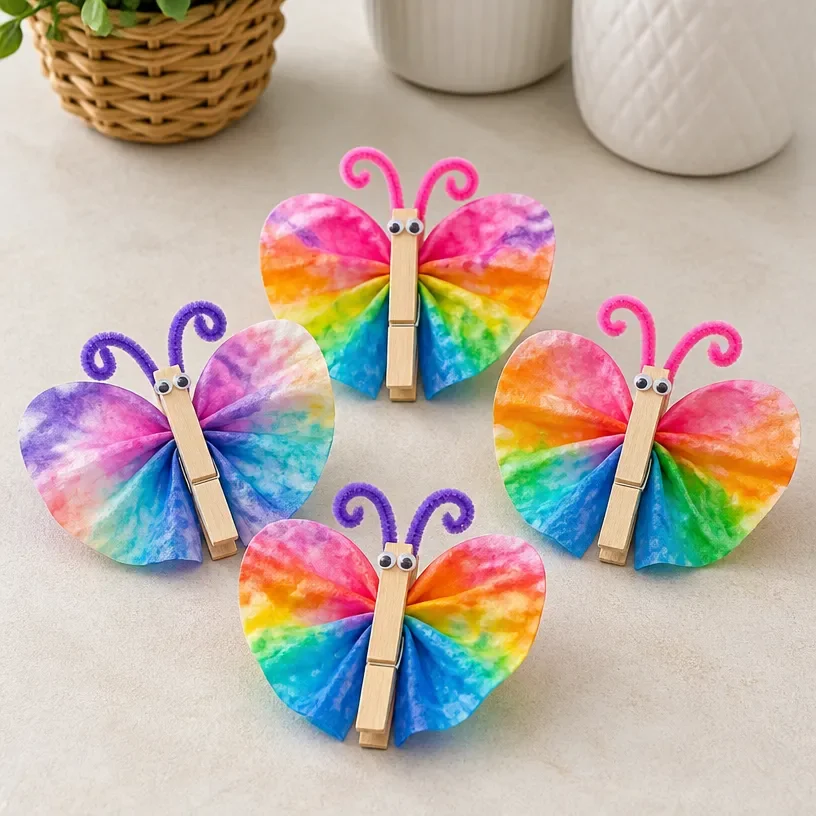
Coffee Filter Butterfly Chromatography Craft
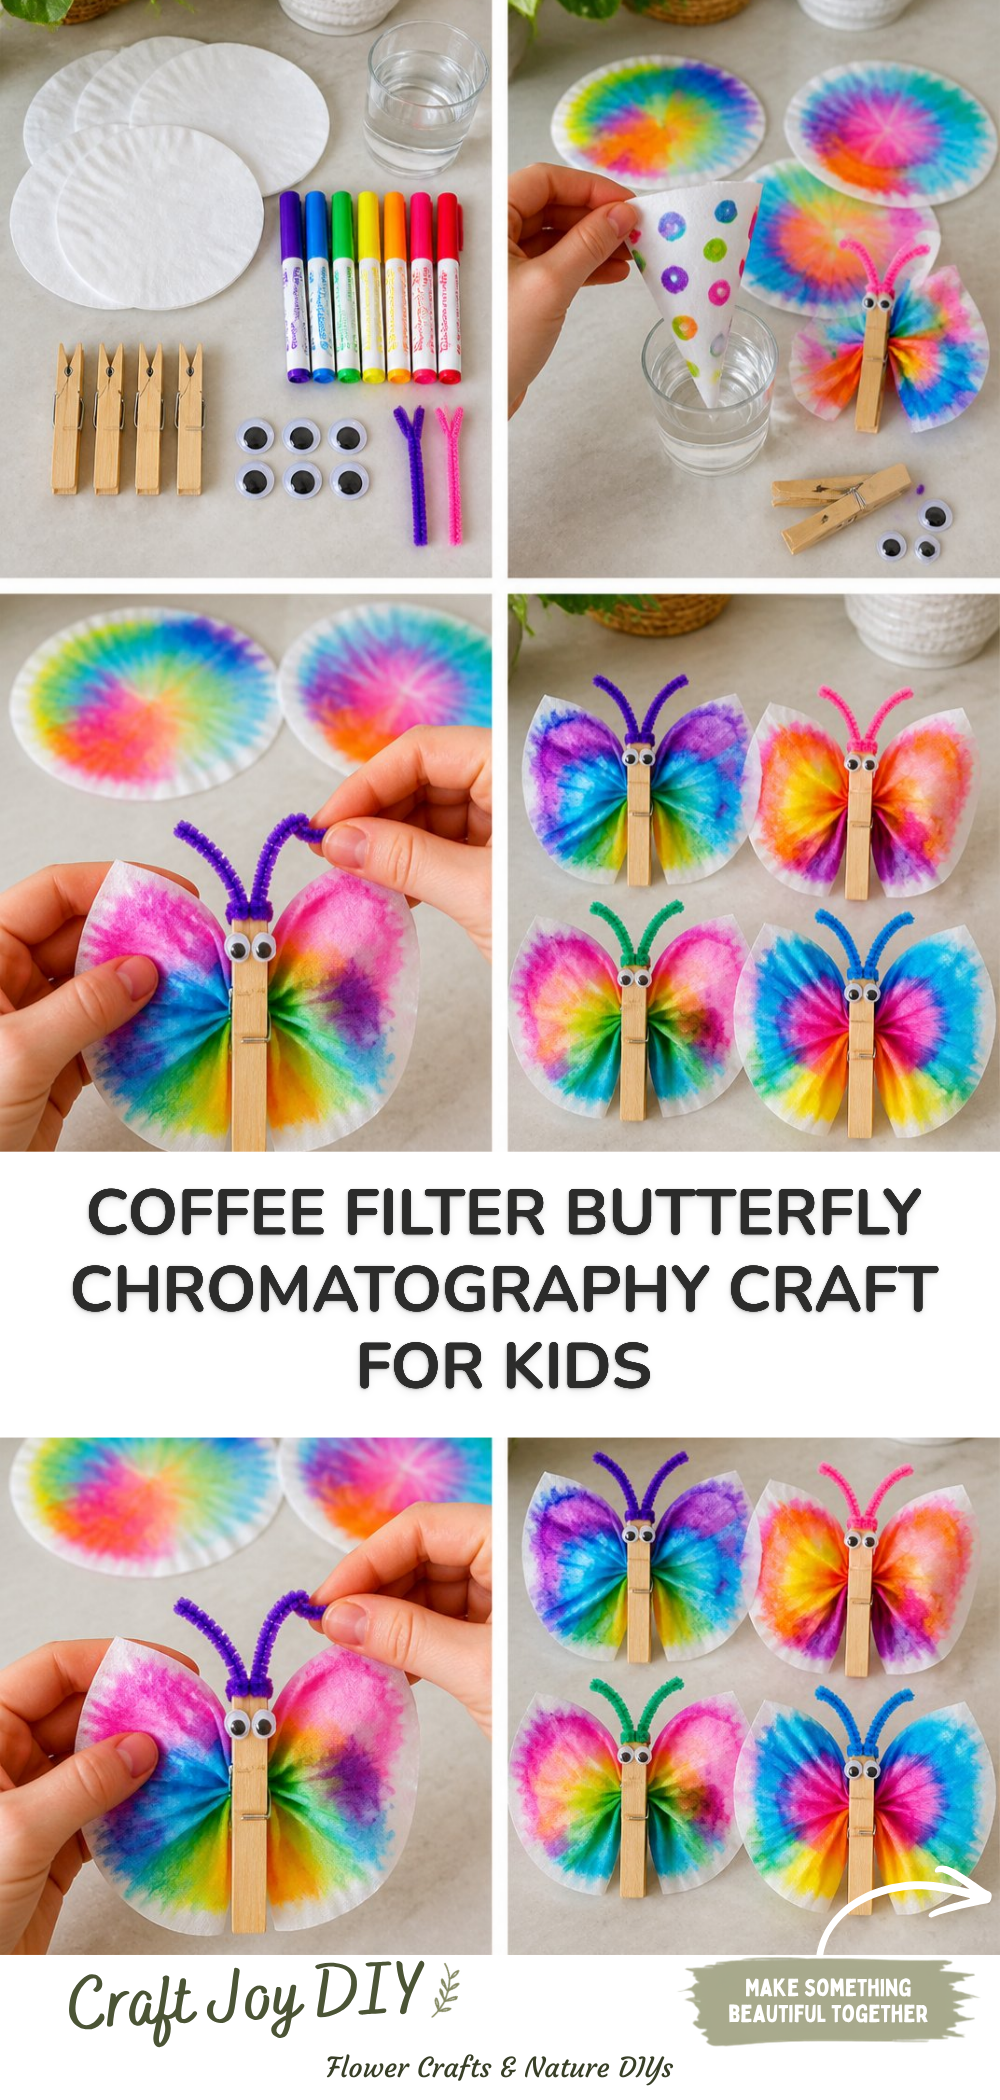
Creating a Coffee Filter Butterfly Chromatography craft is a delightful way to explore colors and creativity at home or in the classroom. This project combines art with a simple science lesson and allows for a unique exploration of how colors can mix and change. Not only is it a fun activity, but it also helps children understand the principles of chromatography in an engaging way. Today, we’ll walk you through the steps needed to create your very own colorful butterfly using coffee filters. You may also find Rainbow Cupcake Liner Butterfly Garden Craft useful.
Why You’ll Enjoy This Project
- Colorful Results: Children will love seeing how the colors spread and blend into beautiful designs on the coffee filters.
- Educational: This craft teaches the basics of chromatography, making science fun and accessible.
- Simple Materials: Most of the materials you need are likely already at home, meaning it’s budget-friendly and easy to set up.
- Creative Freedom: Kids can choose their colors and designs, giving them a sense of ownership over their creations.
- Versatile Craft: The finished butterflies can be used as decorations or gifts, adding a lovely touch to your home.
You may also find Colorful Cupcake Liner Witch Flower Bouquet Craft useful.
Materials You’ll Need
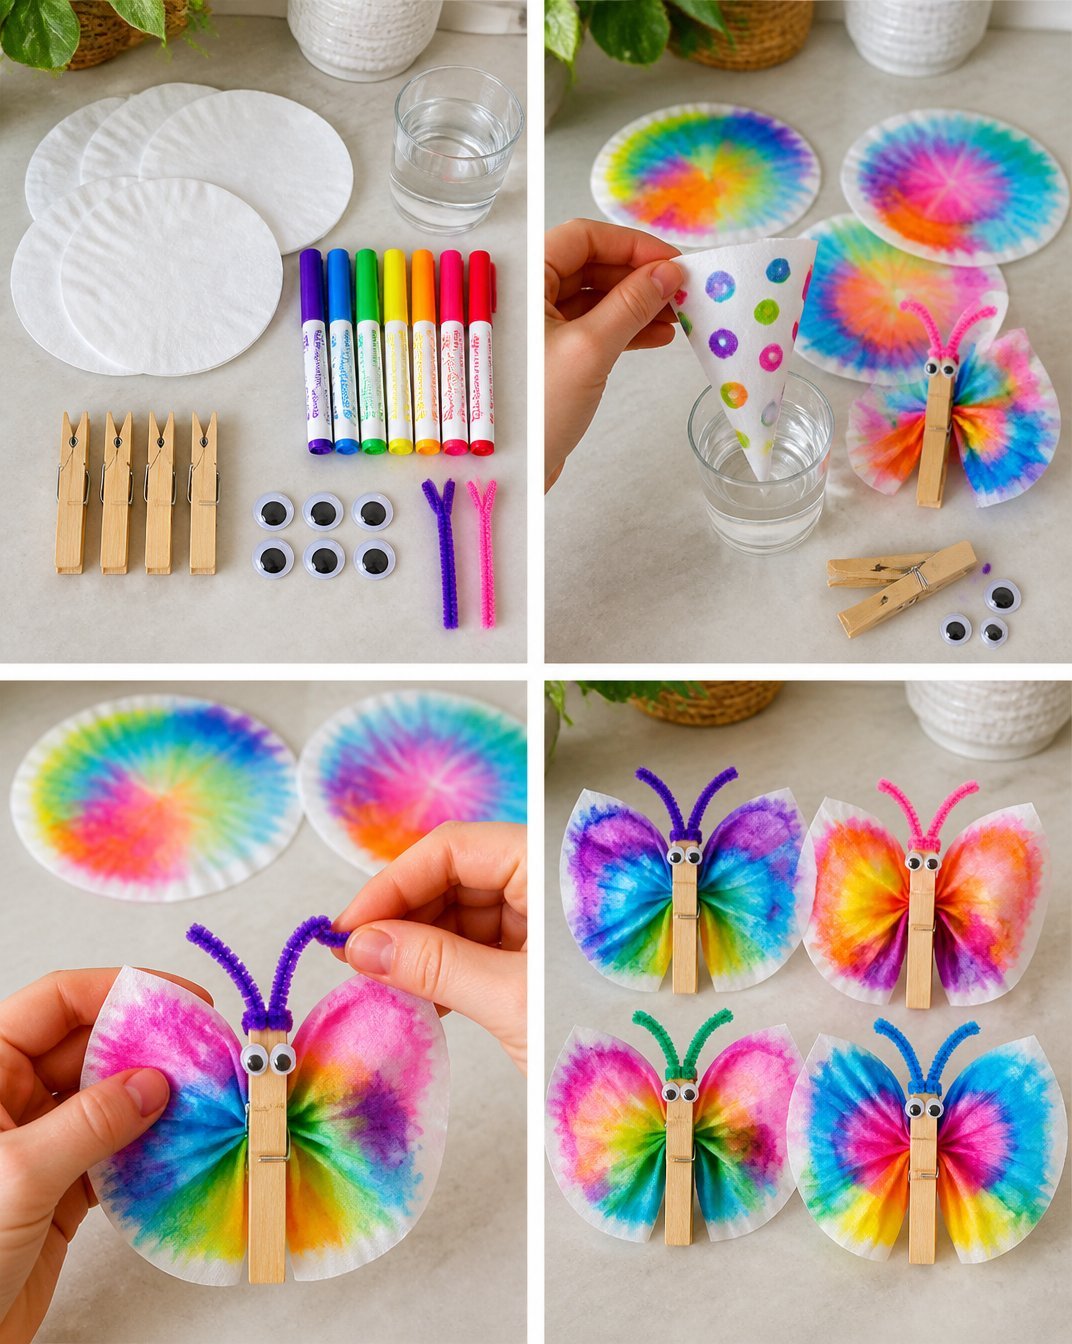
- Coffee filters
- Washable markers in various colors
- Spray bottle with water
- Pipe cleaners or clothespins
- Scissors
- A tray or large surface to work on
Make sure to gather all your supplies before starting the craft. If you don’t have washable markers, regular ones will work as long as they can blend when wet. You may also find Cupcake Liner Sunflower Wreath Craft For Kids useful.
How to Make Coffee Filter Butterfly Chromatography Craft
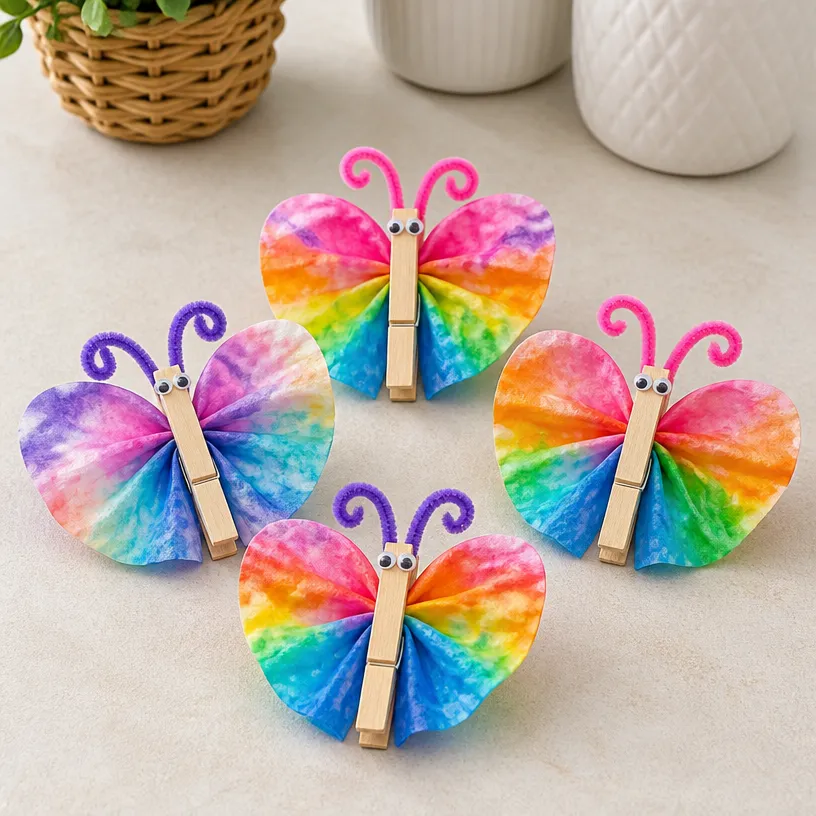
- Prepare the Coffee Filter: Take a coffee filter and lay it flat on your working surface.
- Color the Filter: Use the washable markers to draw dots or lines of color across the filter. Encourage colorful patterns this is where creativity shines!
- Spray with Water: Lightly spray the coffee filter with water. Watch as the colors start to spread and blend together. Be careful not to soak it; a light mist is best.
- Let It Dry: Set the coffee filter aside to dry for a few minutes. You can speed up the process by placing it in a sunny spot.
- Forming the Butterfly: Once the filter is dry, pinch it in the center and secure it with a pipe cleaner or clothespin. If you want, you can cut the filter’s ends to shape them like butterfly wings.
- Display Your Creation: Show off your colorful butterfly! You can hang it in a window or use it as a fun decoration.
Helpful Tips
- To achieve cleaner results, ensure you don’t oversaturate the filter with water. A little goes a long way!
- If you want to create more intricate designs, try layering multiple coffee filters colored with different colors before spraying them.
- Use paper towels under the filters while they dry to absorb any excess water and prevent mess.
- For young children, an adult should supervise when using scissors to cut the filters or when spraying water.
Easy Variations
- Seasonal Themes: Use colors associated with different seasons autumn tones for fall or pastels for spring.
- Different Shapes: Experiment with other shapes like flowers or hearts using similar techniques.
- Added Embellishments: Consider adding glitter or stickers after the butterflies dry for extra flair.
- Larger Butterflies: Use larger coffee filters or multiple filters layered together to create bigger butterflies.
Making This Craft With Kids
This craft is perfect for children of various ages, but adults should supervise the use of markers and scissors. Setting up a dedicated crafting area where kids can freely explore their ideas can enhance their creativity. Additionally, assist them with the spraying of water to avoid oversaturation. You may also find Diy Rainbow Popsicle Stick Flower Wheel Craft useful.
How to Display or Use It
Once your butterflies are complete, consider hanging them from the ceiling for a whimsical décor effect or attaching them to homemade greeting cards. They can also be used as colorful bookmarks or pinned onto bulletin boards to brighten up any space.
Frequently Asked Questions
Can I use regular markers instead of washable ones?
Yes, but the colors may not blend as well with regular markers when water is applied.
What can I do if my filter doesn’t dry quickly?
If the filter is wet, place it in a sunny spot or use a fan to help speed up the drying process.
How can I make my butterflies more durable?
If you want a sturdier butterfly, consider using cardstock instead of coffee filters, keeping in mind that you may need to adjust your coloring method.
Are there other crafts like this?
Absolutely! Check out other creative projects like the rainbow crystal butterfly suncatcher for more fun ideas.
Can this craft be done indoors?
Yes, this craft can easily be done indoors as long as you have a designated space that allows for a bit of mess.
What should I do with excess colors that dripped off?
You can use them as a starting point for additional designs on a new coffee filter or create a splatter art piece!
Conclusion
Crafting is a wonderful way to engage with children while having fun and learning. If you’re interested in exploring more craft ideas, consider checking out the Butterfly Chromatography Craft by the Carnegie Museum of Natural History. Additionally, the project featured on Buggy and Buddy offers a great variation that you might enjoy. Happy crafting!
Print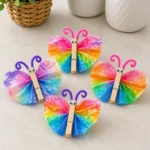
Coffee Filter Butterfly Chromatography Craft
- Total Time: 10 minutes
- Makes: 1 butterfly
Description
A fun and educational craft project that combines art with a science lesson on chromatography, allowing kids to create colorful butterfly decorations.
Materials
- Coffee filters
- Washable markers in various colors
- Spray bottle with water
- Pipe cleaners or clothespins
- Scissors
- A tray or large surface to work on
Instructions
- Prepare the coffee filter by laying it flat on your working surface.
- Color the filter using washable markers to create colorful patterns.
- Spray the coffee filter lightly with water to watch the colors spread and blend together.
- Let it dry for a few minutes, preferably in a sunny spot.
- Form the butterfly by pinching the center and securing it with a pipe cleaner or clothespin. Optionally, cut the ends to shape them like butterfly wings.
- Display your colorful butterfly as a decoration or gift.
Notes
Ensure you don’t oversaturate the filter with water to achieve cleaner results. For intricate designs, layer multiple filters together.