

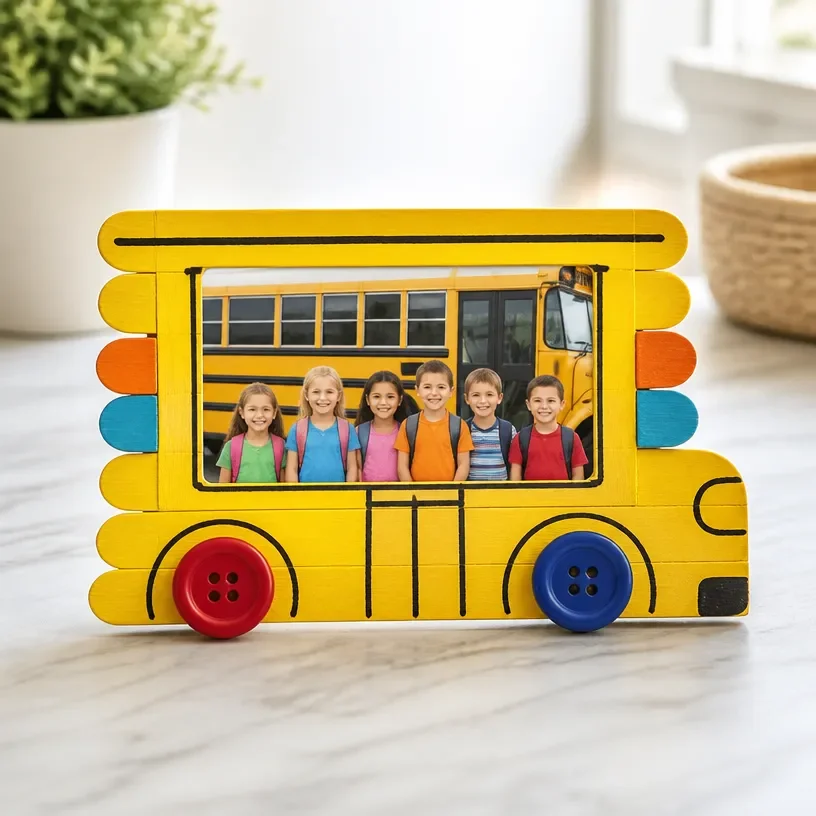
DIY Rainbow School Bus Photo Frame Craft for Kids
Crafting with kids can be a delightful way to celebrate the beginning of the school year. One fantastic project to embark on is creating a DIY Rainbow School Bus Photo Frame. Not only does this craft allow children to express their creativity, but it also gives them a meaningful way to display their favorite school photos. This project is colorful, playful, and perfect for capturing those precious first-day memories! You may also find Rainbow Popsicle Stick Daisy Wheel Craft For Kids useful.
In this tutorial, you’ll learn how to transform simple materials into a vibrant and cheerful photo frame that showcases your child’s school spirit. Plus, if you’re looking for more fun craft ideas, consider checking out the Rainbow Monster Pencil Holders to complement this project.
Why You’ll Enjoy This Project
- Engaging and Fun: Kids love anything bright and colorful! This craft keeps them engaged and excited about decorating their very own photo frame.
- Skill Development: It helps improve fine motor skills as they cut and glue different elements together.
- Perfect for Keepsakes: The completed frame makes for a wonderful display piece that can be kept for years to come.
- Easy to Customize: Each child can add their personal touch with different colors and designs.
- Great for Group Activities: This craft can be a fantastic project for classrooms or group settings, allowing kids to collaborate and share ideas.
You may also find Rainbow Tissue Paper Flower Lantern Diy For Kids useful.
Materials You’ll Need
- Craft foam sheets (yellow, black, and various rainbow colors)
- Scissors
- Glue stick
- Googly eyes
- Ruler
- Pencil
- Photo of your child or a blank space for a future picture
- Decorative stickers (optional)
Consider using recycled materials like old magazines or wrapping paper for added textures and patterns! You may also find Beaded Pipe Cleaner Snail Craft For Kids 2 useful.
How to Make DIY Rainbow School Bus Photo Frame Craft for Kids
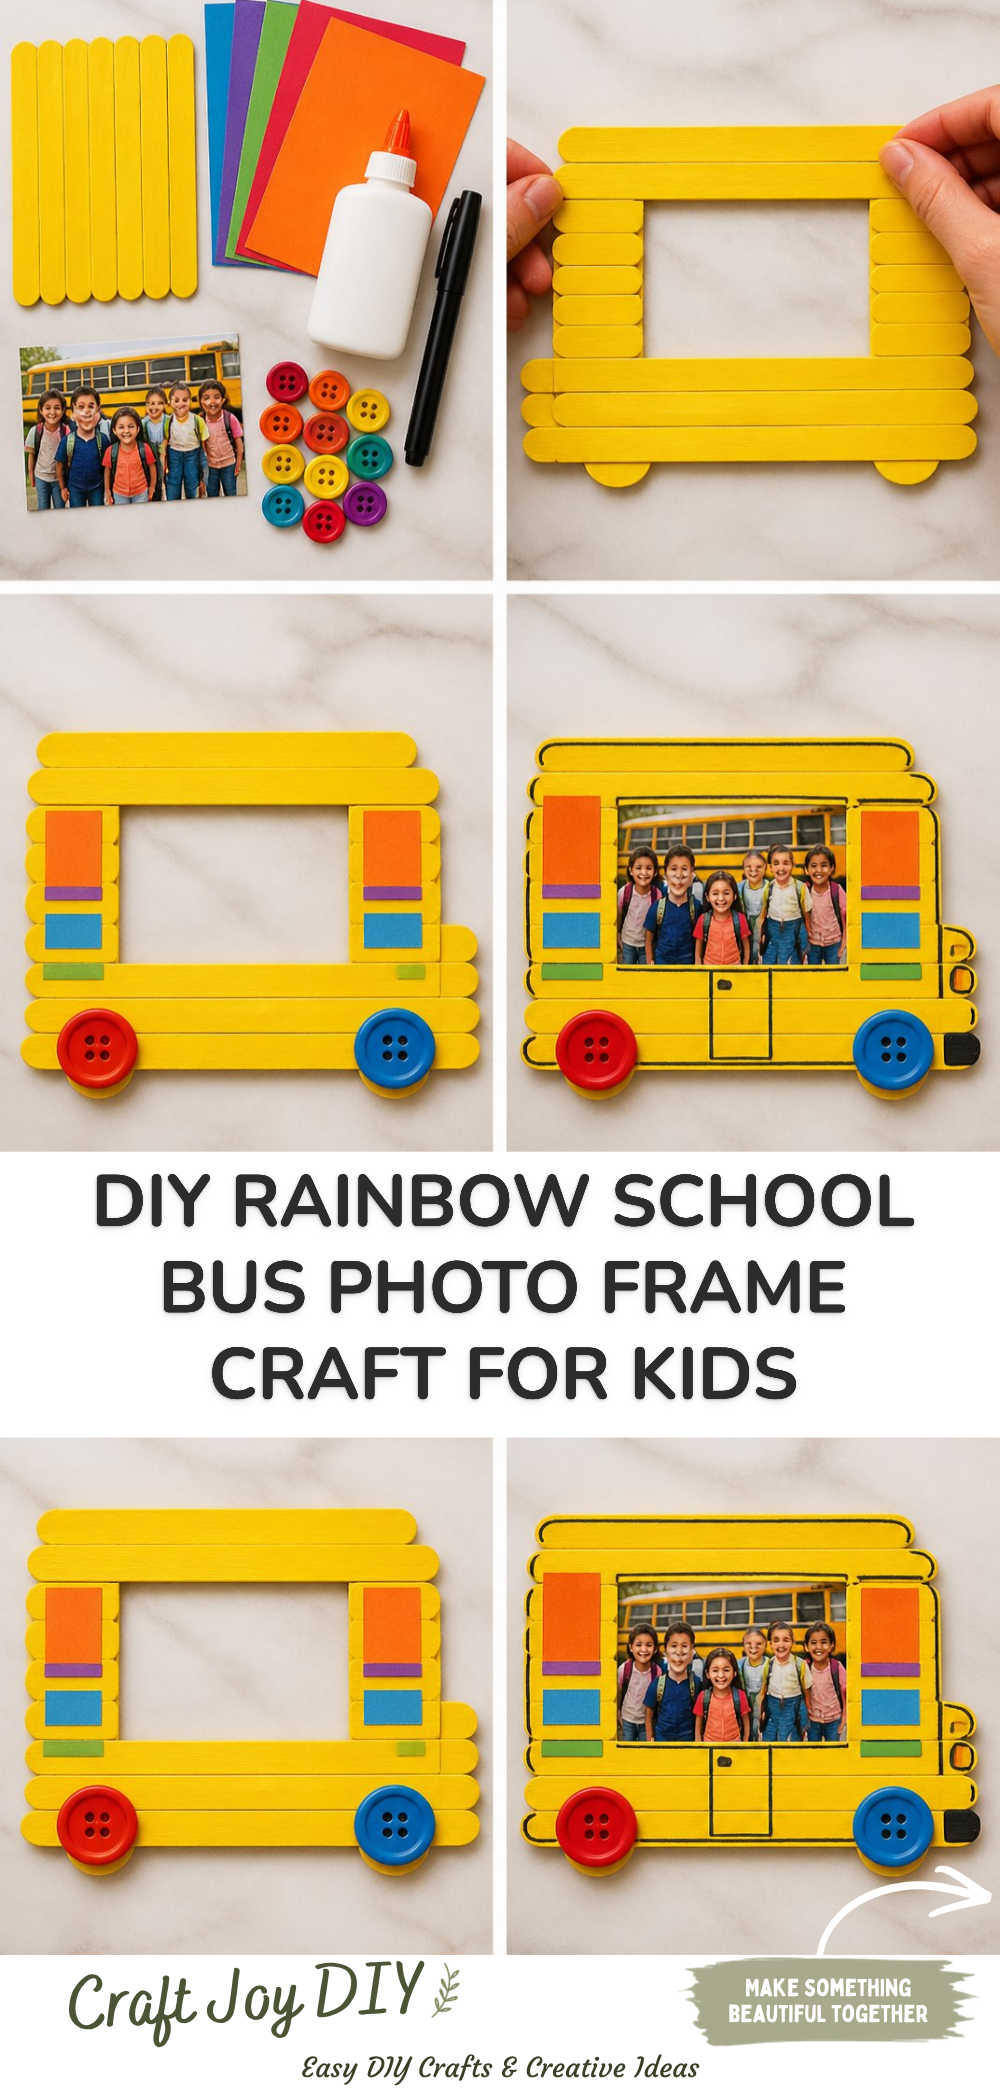
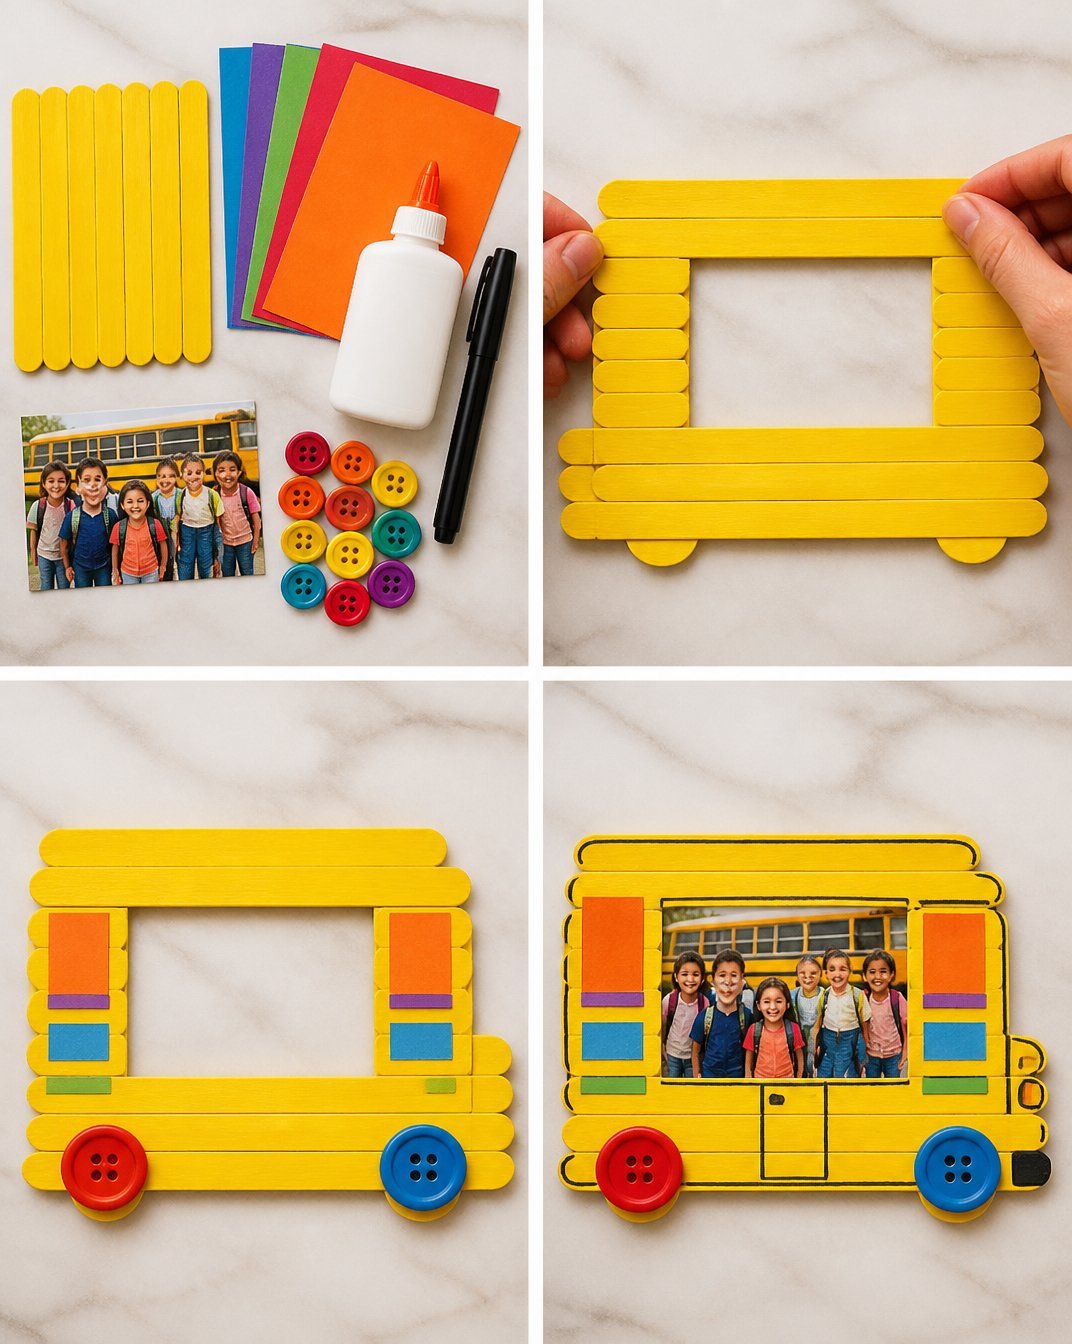
- Cut the Base: Start by cutting a rectangular piece of yellow craft foam to serve as the base of your school bus. Make it large enough to fit a photo inside.
- Add Windows: Cut out smaller rectangles from black foam for the windows and glue them onto the yellow base. You can also add a black strip on top for the windshield.
- Create the Rainbow: Cut rainbow-colored strips of foam and glue them to the top edge of the bus, creating a fun and vibrant effect.
- Finish the Bus: Use scissors to round off the corners of the yellow bus and add googly eyes for a friendly look.
- Attach the Photo: Carefully glue your child’s photo onto the base of the bus or leave an empty space where a photo can be added later.
Helpful Tips
- For cleaner results, use a pencil to outline where you want to cut before using scissors.
- If your frame is a bit wobbly, consider adding a popsicle stick support at the back to prop it up.
- Be mindful of any small parts that could be a choking hazard for younger children.
- Encourage your child to arrange their materials before gluing to get the desired layout.
Easy Variations
- Seasonal Themes: Change the colors of the rainbow to match holidays or seasons.
- Different Vehicle Styles: Instead of a school bus, make a DIY rainbow car or truck to switch things up.
- Personalized Decor: Have your child write their name or add stickers that represent their interests.
- Size Adjustments: Create larger frames for family photos or smaller ones for wallet-sized pictures.
- Texture Additions: Use fabric scraps, paper, or even natural items like leaves to decorate the bus for different textures.
Making This Craft With Kids
Making this DIY Rainbow School Bus Photo Frame is a fun and interactive project for kids. Adults may need to supervise cutting operations, especially for younger children, to ensure safety while using scissors. You may also find Beaded Pipe Cleaner Snail Craft For Kids useful.
How to Display or Use It
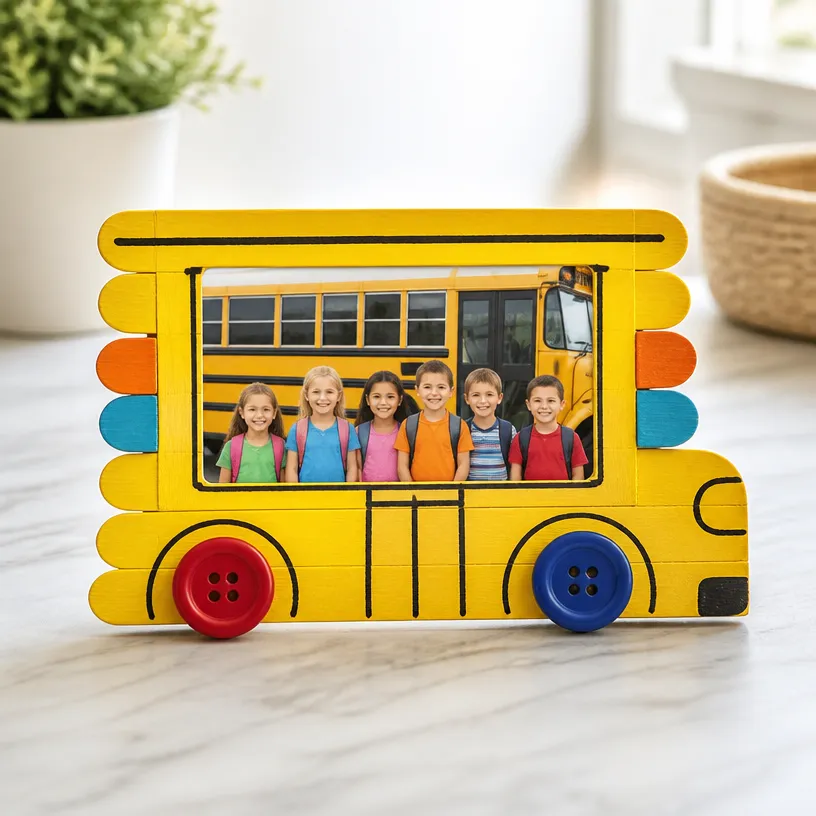
Once your craft is complete, you can hang it on a wall, place it on a desk, or gift it to family members. It also makes a perfect addition to a first-day-of-school display, showcasing your child’s readiness for the new adventure ahead.
Frequently Asked Questions
1. How long does this project take?
This craft can take about an hour, depending on your child’s attention span and age.
2. Can I use different types of materials?
Absolutely! Paper or cardboard can also work well if foam isn’t available.
3. Is this project suitable for all ages?
While the craft is great for a range of ages, younger kids will need more support with cutting.
4. How can we make it sturdier?
Consider using thicker foam or cardboard for more durability.
5. What can I use to decorate apart from stickers?
You can use markers or paint to add personal designs and patterns!
Conclusion
Crafting creates lasting memories and a sense of accomplishment for children. If you’re looking for additional fun activities, check out the 80UncleKimby 54Pcs Back to School Bus Picture Frame Crafts Kit for an easy and enjoyable way to get started. Alternatively, the First Day of School Photo Frame Craft Activity Kit – Mondo Llama is another excellent choice for crafting memories together! Happy crafting!
Print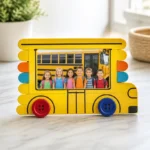
DIY Rainbow School Bus Photo Frame Craft for Kids
- Total Time: 60 minutes
- Makes: 1 photo frame
Description
Create a colorful DIY Rainbow School Bus Photo Frame that kids can customize and use to display their favorite school photos.
Materials
- Craft foam sheets (yellow, black, and various rainbow colors)
- Scissors
- Glue stick
- Googly eyes
- Ruler
- Pencil
- Photo of your child or a blank space for a future picture
- Decorative stickers (optional)
Instructions
- Cut the base by cutting a rectangular piece of yellow craft foam.
- Add windows by cutting out smaller rectangles from black foam.
- Create the rainbow by cutting rainbow-colored strips of foam and gluing them to the top edge.
- Finish the bus by rounding off the corners and adding googly eyes.
- Attach your child’s photo or leave a space for later.
Notes
For cleaner results, outline cuts with a pencil before using scissors. Supervise young children while cutting.