

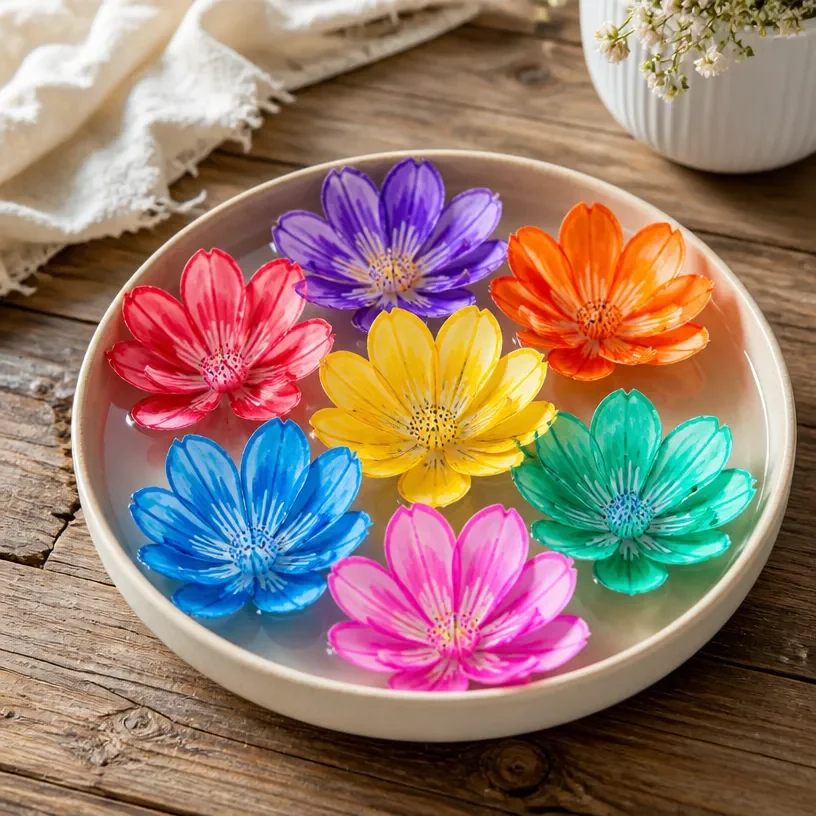
DIY Blooming Paper Flowers: Step-by-Step Tutorial
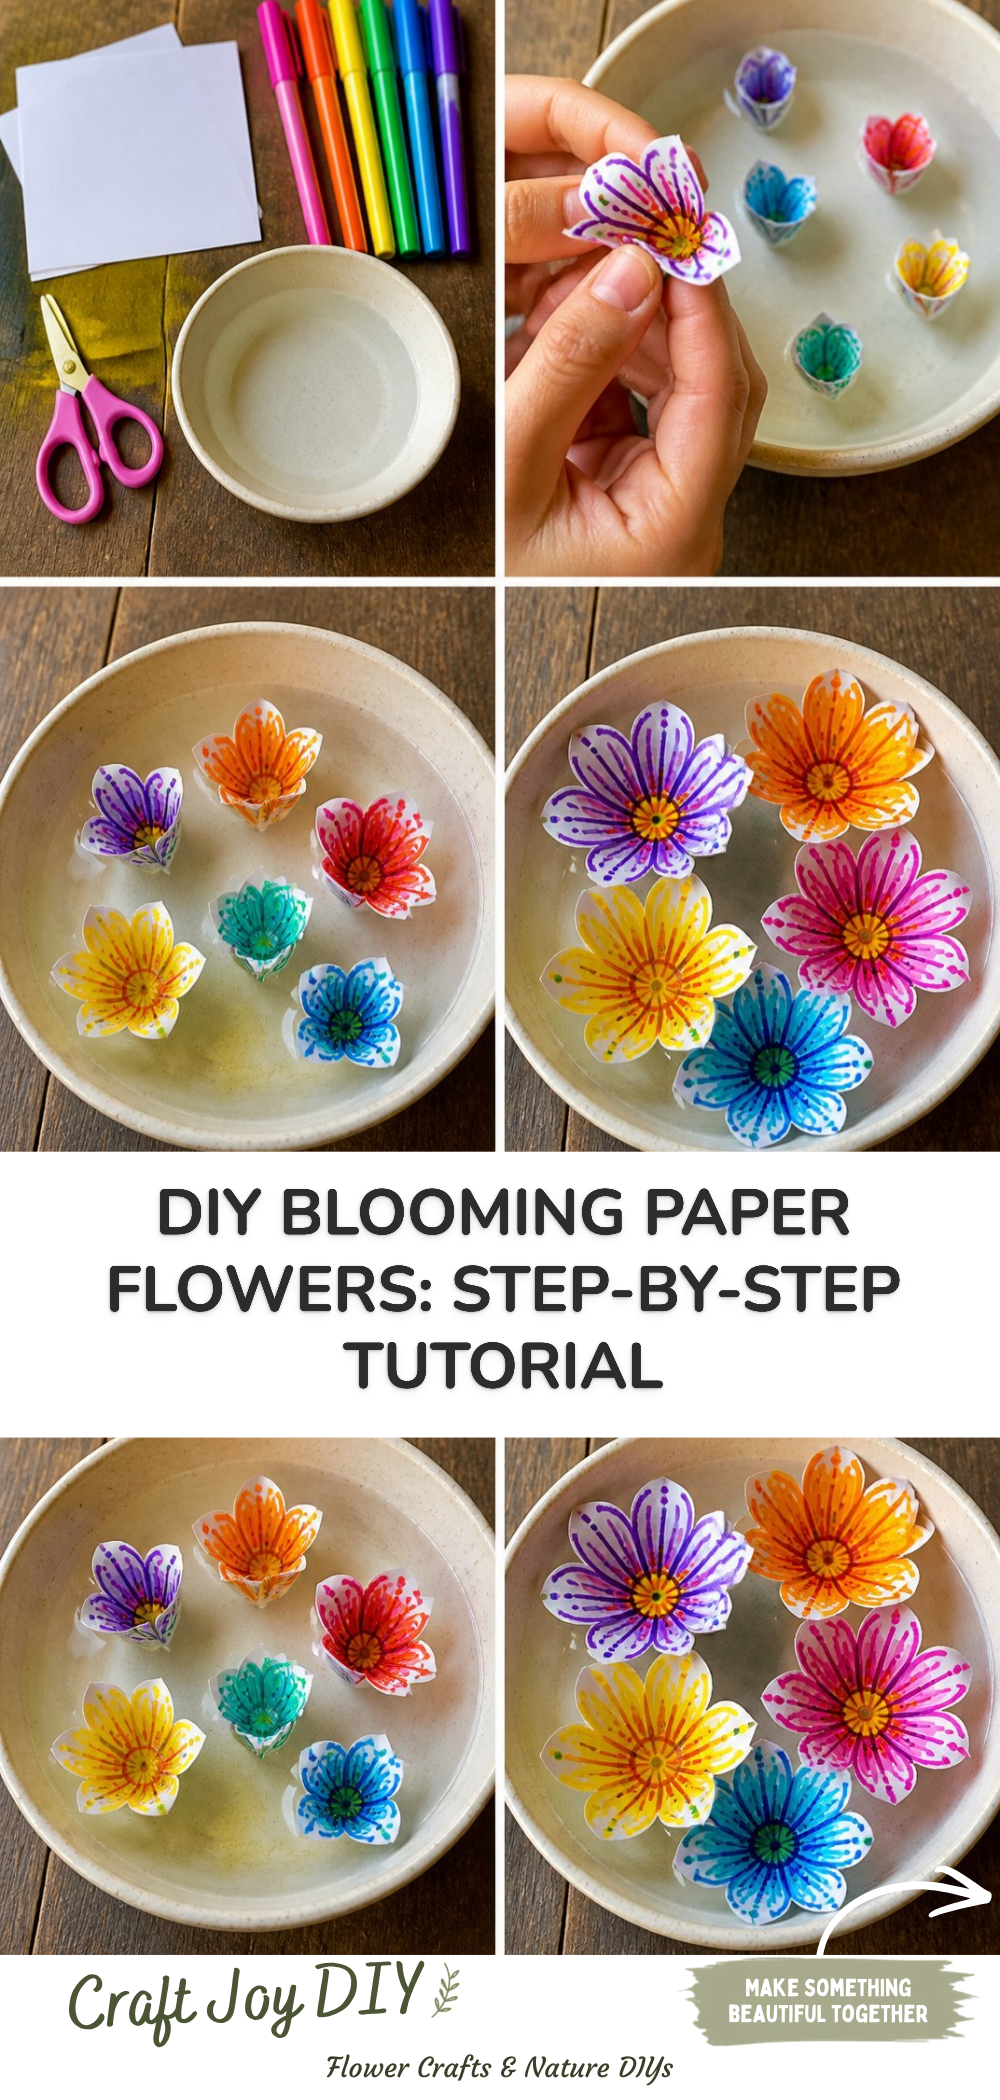
Creating beautiful blooming paper flowers is a delightful project that not only brightens up your space but also serves as a fantastic hands-on activity for family members of all ages. These flowers can be made using simple materials you likely already have on hand, making this craft both accessible and enjoyable. The process is straightforward, while the results are both striking and rewarding. You may also find Diy Clear Glue Suncatcher Craft Tutorial For Kids useful.
In this tutorial, you’ll learn how to craft stunning paper flowers that can be used for decorating your home or giving as thoughtful gifts. Along the way, we’ll share some helpful tips and variations to inspire your creativity. Let’s get started! You may also find Diy Rainbow Spiderweb Wreath Tutorial useful.
You may also find Diy Rainbow Sun Craft Kids Paper Plates useful.
Why You’ll Enjoy This Project
- Creative Outlet: Making these flowers is a fun way to express creativity, allowing for all sorts of color combinations and designs.
- Family-Friendly: This project is great for both young crafters and adults, making it perfect for family bonding time.
- Recyclable Materials: You can use old paper, magazines, or colorful scrap paper, promoting recycling while crafting.
- Decorative Use: The finished flowers can enhance your living space, adorn gifts, or even be used for special occasions.
- Skill Development: Crafting helps improve fine motor skills and encourages planning and creativity in children.
Materials You’ll Need
- Colorful paper (construction paper or scrapbook paper)
- Scissors
- Glue stick or hot glue gun
- Floral wire or thin sticks (for stems)
- Green paper (for leaves)
- Optional: markers or paints for additional decoration
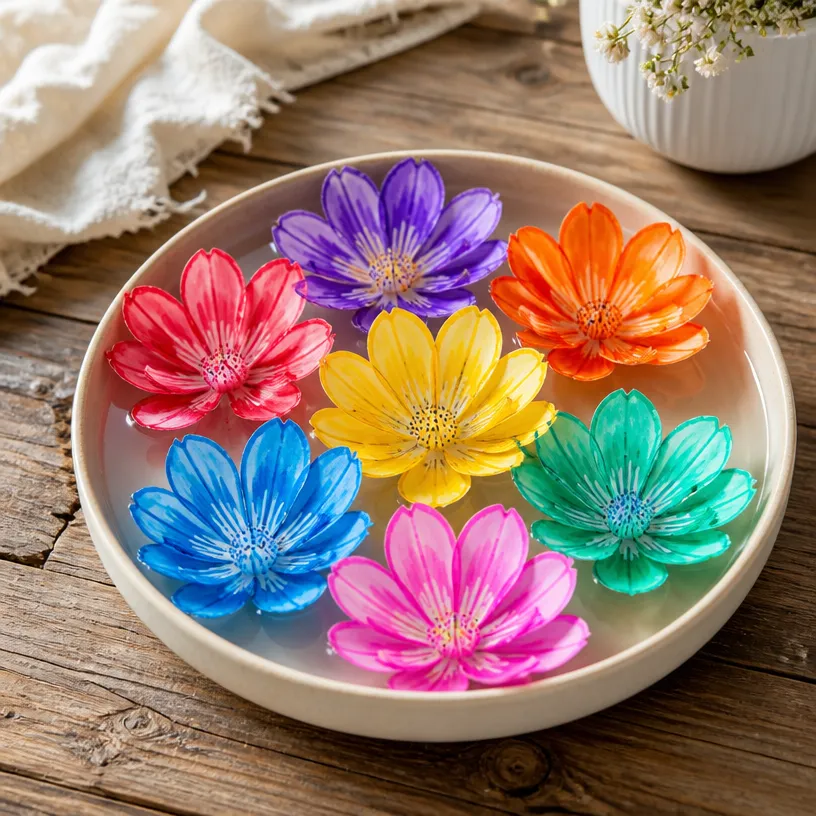
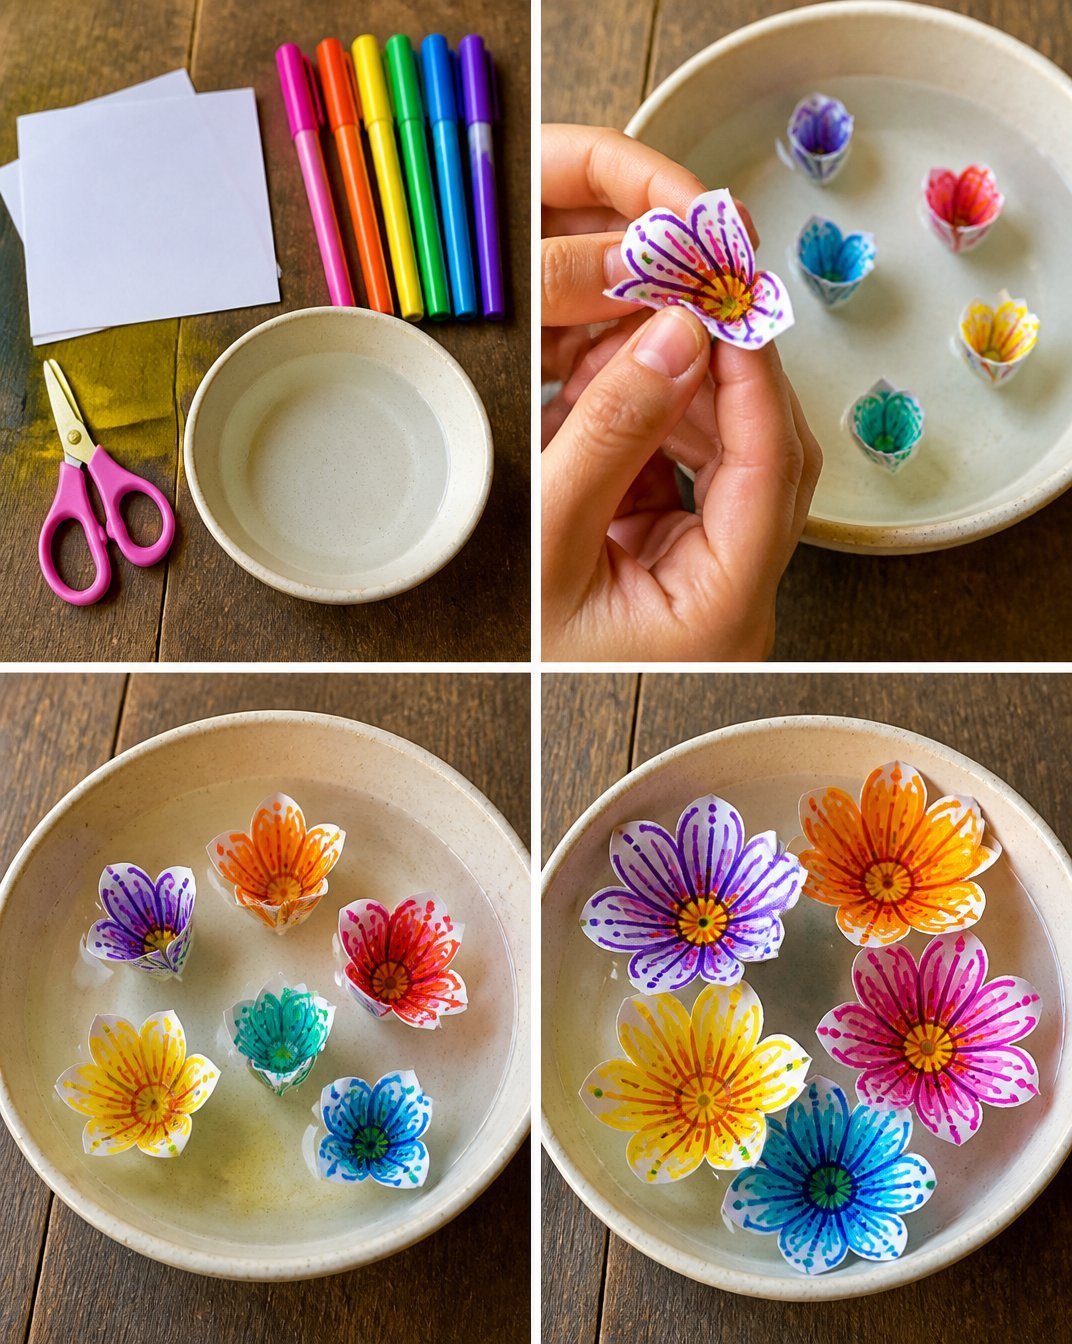
How to Make DIY Blooming Paper Flowers: Step-by-Step Tutorial
Step 1: Prepare the Petals
Choose your colored paper. Cut out petal shapes using scissors. You can create different sizes and shapes to make unique flowers. Aim for about six to eight petals per flower.
Step 2: Shape the Petals
To give the petals a more natural look, gently curl or fold the edges using your fingers. This adds dimension and makes your flowers appear more lifelike.
Step 3: Assemble the Flower
Take your first petal and apply glue to the base. Attach it to the center of your floral wire or stick. Continue adding petals around the center, securing each one with glue until they’re all in place.
Step 4: Add Leaves
Using the green paper, cut out leaf shapes. Glue these leaves onto the stem to enhance the flower. If you’d like, refer to this seed paper hearts tutorial for a unique way to add depth and textural variety to your display.
Step 5: Final Touches
Add any additional decorations you want. You can draw details on your petals or even create a contrasting center using a different colored paper.
Helpful Tips
- Consider using a variety of papers, such as textured or patterned, to add interest to your flowers.
- For younger children, pre-cut the petals and shapes to avoid frustration.
- Display your flowers in a vase or cluster them for a stunning centerpiece. Arrange them with other crafts, such as a suncatcher, for a vibrant decoration.
Easy Variations
- Color Themes: Make flowers according to seasonal colors, like pastels for spring or rich hues for fall.
- Size Changes: Experiment with larger or smaller petals for different flower types.
- Different Shapes: Try making tulip, daisy, or rose shapes for added variety.
- Add Glimmer: Use glitter or shimmer paper to make eye-catching blooms suitable for party decorations.
Making This Craft With Kids
This project is perfect for children, but adult supervision is recommended when using scissors and hot glue guns. Keep younger children engaged by letting them choose colors and shapes while adults handle the cutting and gluing.
How to Display or Use It
You can use these blooming paper flowers to embellish a variety of spaces. Arrange them in a beautiful vase, hang them as decorations for a celebration, or even use them to decorate gift packages. Their versatility makes them an excellent addition to any home decor.
Frequently Asked Questions
Can I use different types of paper for this project?
Yes, you can use different types of paper, including old magazines, wrapping paper, or even fabric!
How long will these flowers last?
Paper flowers can last indefinitely if kept away from moisture and direct sunlight.
What can I do if my petals aren’t sticking properly?
Ensure you apply enough glue to the base of each petal, and hold them in place for a few seconds to help them adhere well.
How can I make the flowers more sturdy?
Using a heavier cardstock can make your flowers more durable; additionally, attaching them to a sturdier stem will offer more stability.
Can I create a flower bouquet with these?
Absolutely! Arrange multiple flowers together for beautiful, vibrant bouquets.
What age group is appropriate for this craft?
This craft is suitable for various ages, but younger children may need assistance, especially with cutting and gluing.
Conclusion
Crafting DIY blooming paper flowers is a fulfilling way to bring color and creativity into your life. If you’re keen to explore even more floral crafts, consider looking up how to make tissue paper flowers or try the beautiful designs featured in Origami Rose in Bloom. Happy crafting!
Print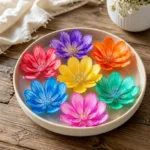
DIY Blooming Paper Flowers
- Total Time: 15 minutes
- Makes: Multiple flowers
Description
A delightful tutorial on creating stunning blooming paper flowers that brighten any space, perfect for family crafting activities.
Materials
- Colorful paper (construction or scrapbook)
- Scissors
- Glue stick or hot glue gun
- Floral wire or thin sticks (for stems)
- Green paper (for leaves)
- Optional: markers or paints for additional decoration
Instructions
- Prepare the Petals: Choose your colored paper. Cut out petal shapes using scissors. Aim for about six to eight petals per flower.
- Shape the Petals: Gently curl or fold the edges using your fingers for a more natural look.
- Assemble the Flower: Apply glue to the base of the first petal and attach it to the center of your floral wire. Continue adding petals around the center until they are all in place.
- Add Leaves: Cut out leaf shapes from green paper and glue them onto the stem.
- Final Touches: Add any additional decorations, such as drawing details on petals or creating a contrasting center.
Notes
Consider using a variety of papers for added interest. Pre-cut shapes for younger children to avoid frustration.