

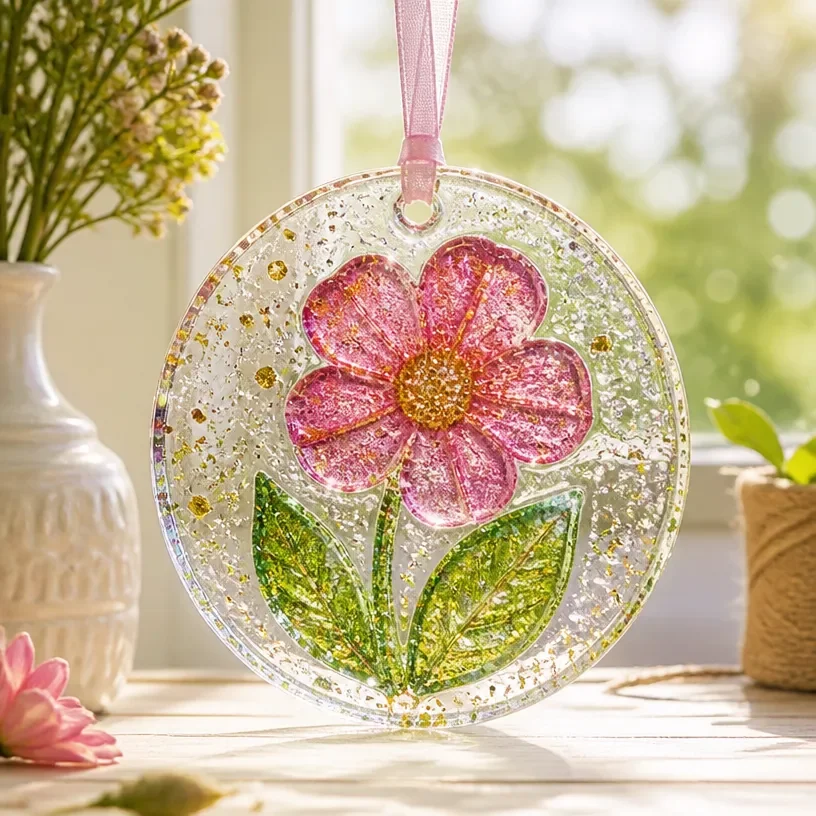
DIY Clear Glue Suncatcher Craft Tutorial
Creating a DIY Clear Glue Suncatcher is a delightful way to bring color and creativity into your home. This project is not only simple but also a great opportunity for family bonding. As the sunlight shines through your suncatcher, it will brighten any space and can even serve as a beautiful decorative piece for any season. With just a few materials, you can craft a stunning masterpiece that captures the essence of nature. You may also find Diy Bubble Printed Butterfly Wings Craft For Kids useful.
So, gather your crafting supplies, and let’s get started on making your own gorgeous suncatcher! You may also find Diy Pumpkin Suncatchers Tie Dye Coffee Filters useful.
Why You’ll Enjoy This Project
- Creative Expression: This suncatcher allows for endless creativity, as you can choose various colors and designs.
- Great for All Ages: This craft can easily be adapted for different age levels, making it perfect for family fun.
- Easy to Display: Once completed, these suncatchers can be hung in windows, bringing joy and color to your home.
- Educational Opportunity: This project can serve as a fun way to teach children about colors and light.
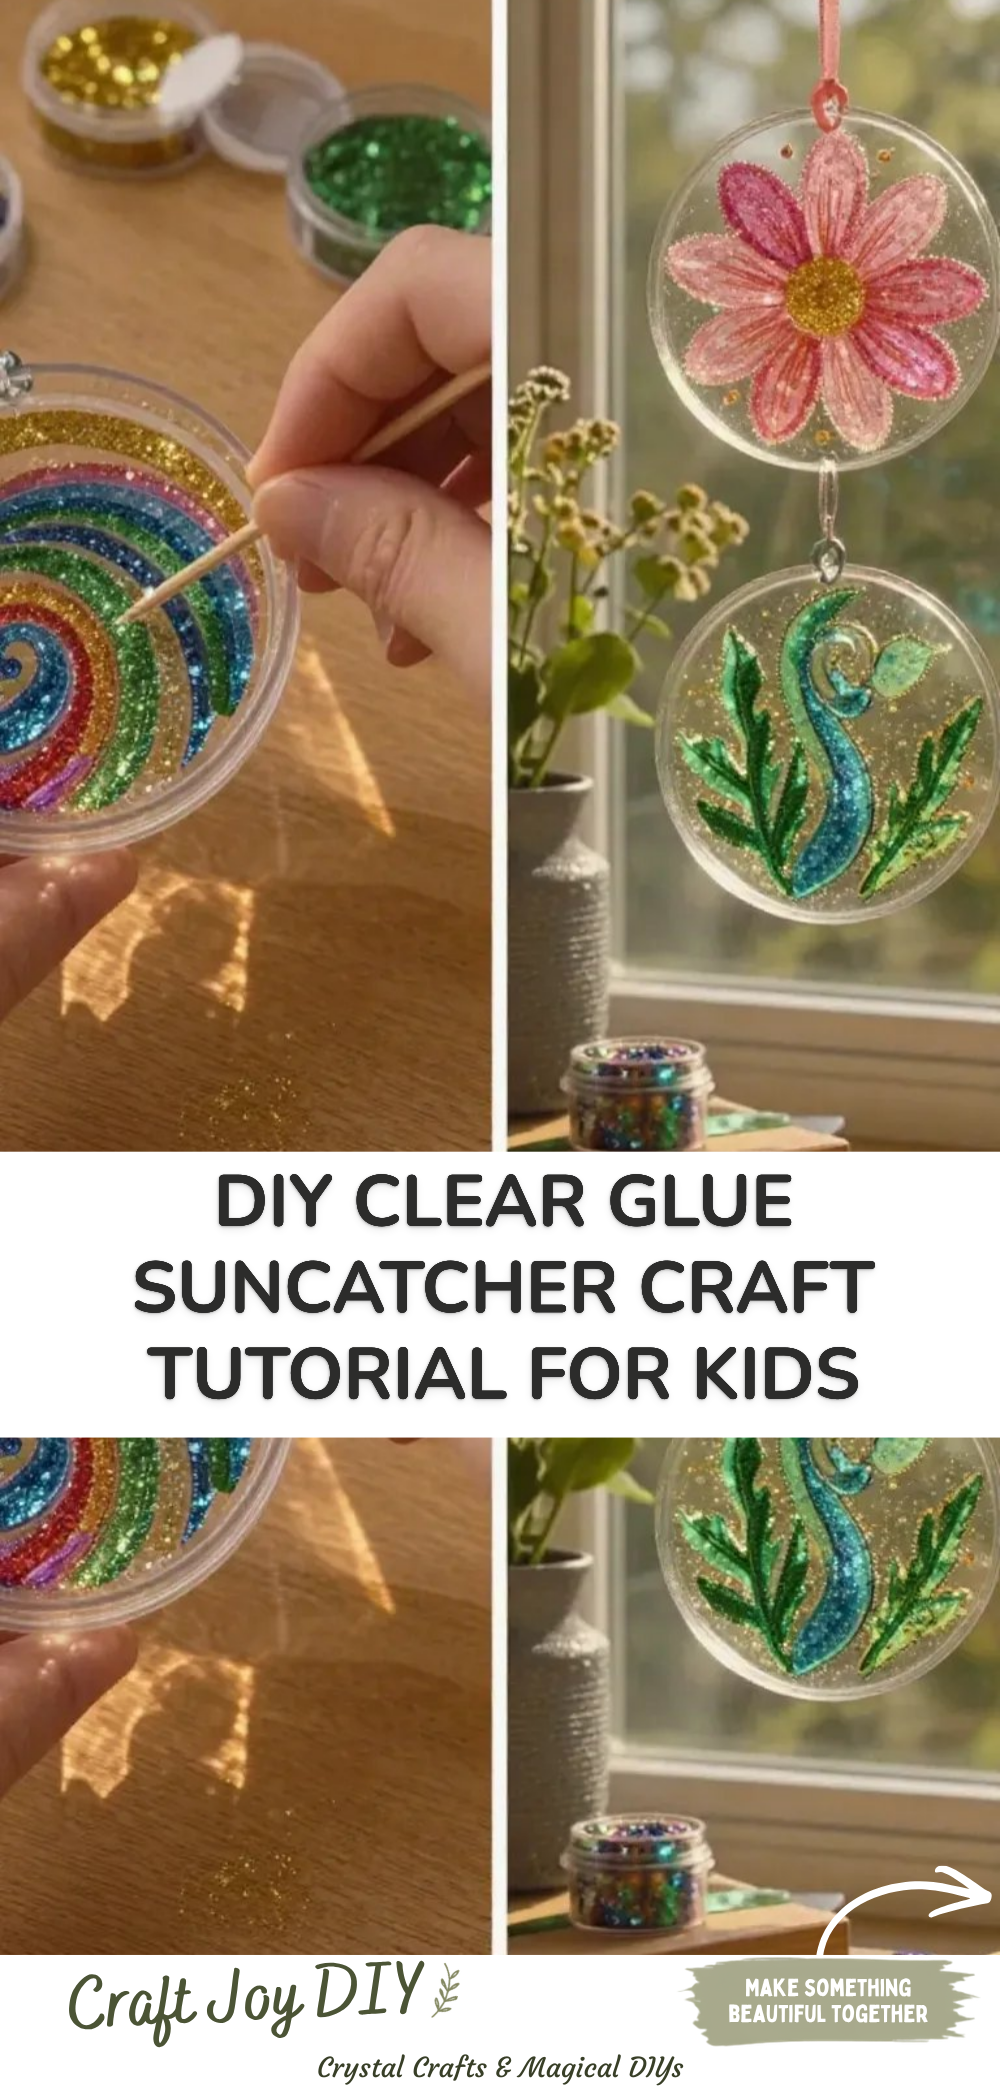
You may also find Diy Rainbow Popsicle Stick Flower Wheel Craft useful.
Materials You’ll Need
- Clear glue (such as school or craft glue)
- Wax paper or plastic wrap
- Colored tissue paper or other transparent materials (like cellophane)
- Scissors
- A paintbrush or sponge (optional for spreading glue)
- String or yarn (for hanging)
These materials are inexpensive and often found in your craft stash. If you don’t have colored tissue paper, consider cutting up old colored plastic bags for a similarly vibrant effect. You may also find Diy Rainbow School Bus Craft For Kids useful.
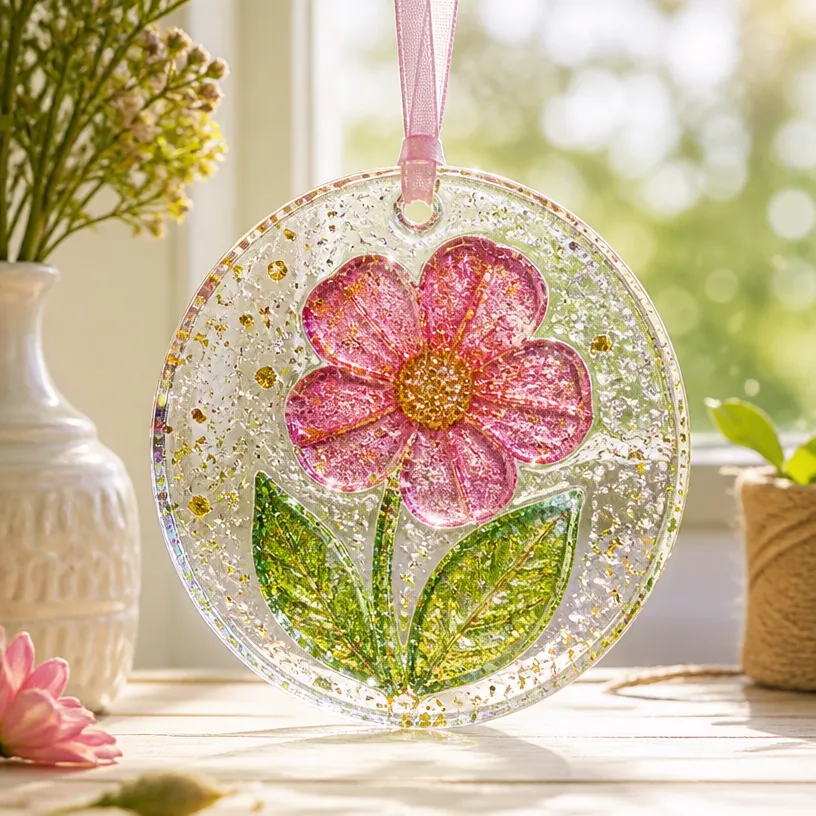
How to Make DIY Clear Glue Suncatcher Craft Tutorial
Prepare Your Workspace: Lay down a clean surface with wax paper or plastic wrap. This will keep your suncatcher from sticking to the table.
Cut Your Materials: Use scissors to cut the colored tissue paper into fun shapes like circles, squares, or even butterflies. Some inspiration can be gathered from projects like butterfly suncatchers to incorporate themes or colors.
Apply Glue: Using a paintbrush or sponge, spread a thin layer of clear glue onto your wax paper.
Arrange Your Colors: Place your cut tissue pieces onto the glue, overlapping them to create a colorful design.
Seal the Deal: Apply another layer of clear glue over the top of the tissue paper to seal it in place.
Let It Dry: Allow your suncatcher to dry completely. Depending on the environment, this may take a few hours or overnight.
Cut Out the Suncatcher: Once dried, carefully cut around the shape of your design to create the final suncatcher.
Add Hanging String: Use string or yarn to tie a loop at the top so you can hang it in a window where it will catch the light.
Helpful Tips
- Layering: Don’t be afraid to layer different colors and shapes to create depth in your design.
- Handling Glue: Control the amount of glue used to prevent it from running or creating uneven spots.
- Displaying: Choose a spot that gets plenty of sunlight for the best effect.
Easy Variations
- Seasonal Themes: For different seasons, you can use themed colors or shapes, such as leaves for fall or flowers for spring.
- Size Adjustments: Create smaller suncatchers for windows or larger ones for a bigger effect.
- Mixed Media: Incorporate small natural items like dried flowers or glitter to enhance your design.
Making This Craft With Kids
This project is great for kids, but you may want to supervise when using scissors and glue. Young children can focus on placing tissue pieces, while adults can assist with cutting and applying glue for cleaner results.
How to Display or Use It
Once finished, hang your suncatcher in a sunny window to see the colors come alive as the light shines through. They also make wonderful gifts for friends or family, adding a personal touch to any room or occasion.
Frequently Asked Questions
How do I make the suncatcher more durable?
Adding a thicker layer of glue will help seal the tissue paper better, making it more durable.
Can I use other materials besides tissue paper?
Absolutely! Cellophane, colored plastic, or even thin fabric can be great alternatives.
What if I want to change the design later?
You can carefully peel off the tissue paper from the glue once it’s dried and start over with a new design.
Is it safe for outdoor use?
These suncatchers are best displayed indoors, as the glue and materials may not withstand weather conditions outdoors.
Conclusion
Making a DIY Clear Glue Suncatcher can be a fun way to celebrate creativity and brighten your home. If you’re looking for more inspiration, check out this Colorful DIY Glue Suncatcher Craft or explore a different technique with the Pressed Flower Suncatcher Craft. Enjoy your crafting journey!
Print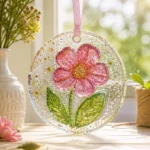
DIY Clear Glue Suncatcher Craft Tutorial
- Total Time: 180 minutes
- Makes: 1 suncatcher
Description
Create a beautiful DIY Clear Glue Suncatcher that captures the essence of nature and brightens your home with colors.
Materials
- Clear glue (such as school or craft glue)
- Wax paper or plastic wrap
- Colored tissue paper or other transparent materials (like cellophane)
- Scissors
- A paintbrush or sponge (optional for spreading glue)
- String or yarn (for hanging)
Instructions
- Prepare your workspace: Lay down a clean surface with wax paper or plastic wrap.
- Cut your materials: Use scissors to cut the colored tissue paper into fun shapes.
- Apply glue: Spread a thin layer of clear glue onto your wax paper.
- Arrange your colors: Place cut tissue pieces onto the glue to create a colorful design.
- Seal the deal: Apply another layer of clear glue over the top to seal the tissue paper.
- Let it dry: Allow the suncatcher to dry completely.
- Cut out the suncatcher: Carefully cut around the shape of your design.
- Add hanging string: Tie a loop at the top with string or yarn.
Notes
Supervise children when using scissors and glue. Create small suncatchers for windows or larger ones for a bigger effect.