

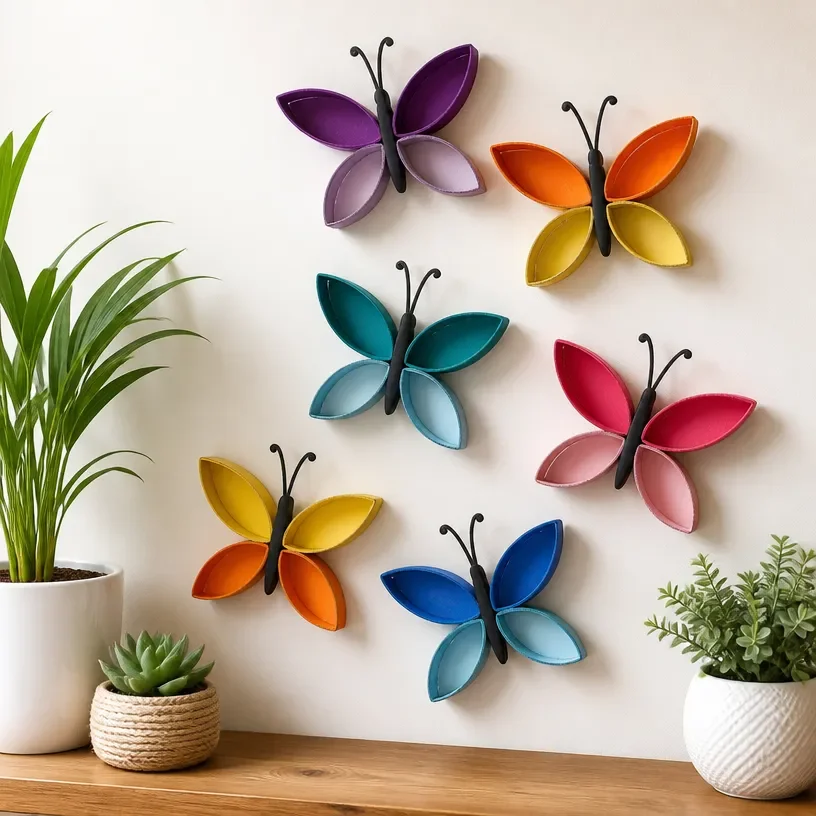
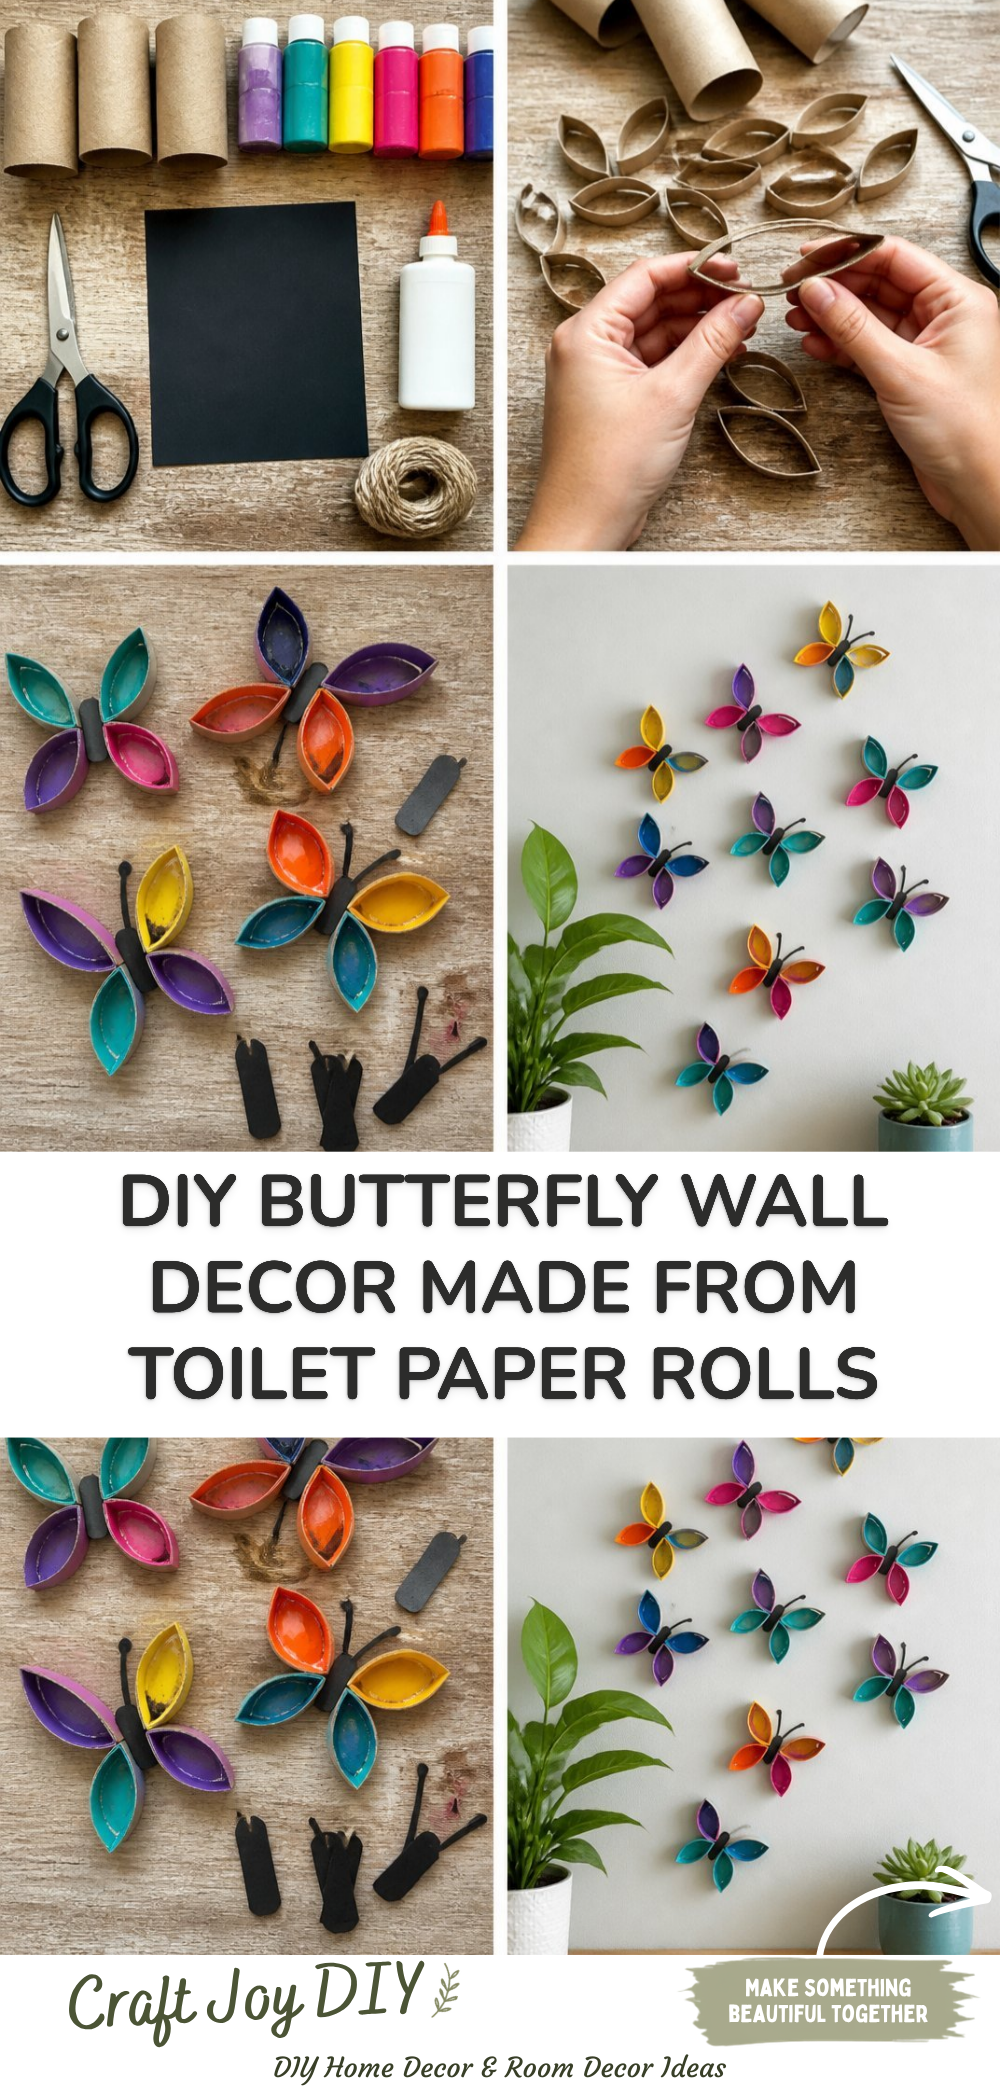
DIY Butterfly Wall Decor Made from Toilet Paper Rolls
Making beautiful DIY butterfly wall decor from toilet paper rolls is a fun project that adds a touch of creativity to your home. This craft not only helps recycle everyday materials but also serves as a lovely decoration in kids’ rooms, playrooms, or even classrooms. The cheerful butterflies can brighten up any space while providing an enjoyable crafting experience for the whole family. You may also find Diy Owl Wall Art Easy Handmade Decor useful.
Creating butterfly wall decor can be a delightful way to spend time with your children or to express your artistic flair. Whether you’re looking to beautify your own space or share this craft with others, you’ll find it surprisingly simple and rewarding. Plus, it’s a fantastic opportunity to inspire young imaginations with art. You may also find Diy Butterfly Craft Kids Paper Wing Suncatcher useful.
You may also find Rainbow Tissue Paper Lantern Diy Easy Decor useful.
Why You’ll Enjoy This Project
- Eco-Friendly: This project uses recycled toilet paper rolls, helping you reduce waste.
- Easy to Make: With just a few materials and steps, it’s perfect for crafters of any skill level.
- Customizable: You can choose colors and designs to match your home decor or the preferences of your children.
- Fun Activity: It’s a great way to bond with family or friends while creating something beautiful together.
- Educational: While crafting, you can teach younger crafters about recycling or anatomy of butterflies.
Materials You’ll Need
- Toilet paper rolls (clean and dry)
- Acrylic paint or markers
- Paintbrushes
- Scissors
- Glue (hot glue works best)
- Pipe cleaners (for antennae)
- Googly eyes or beads (optional for decoration)
- Paper for wings (craft paper or cardstock)
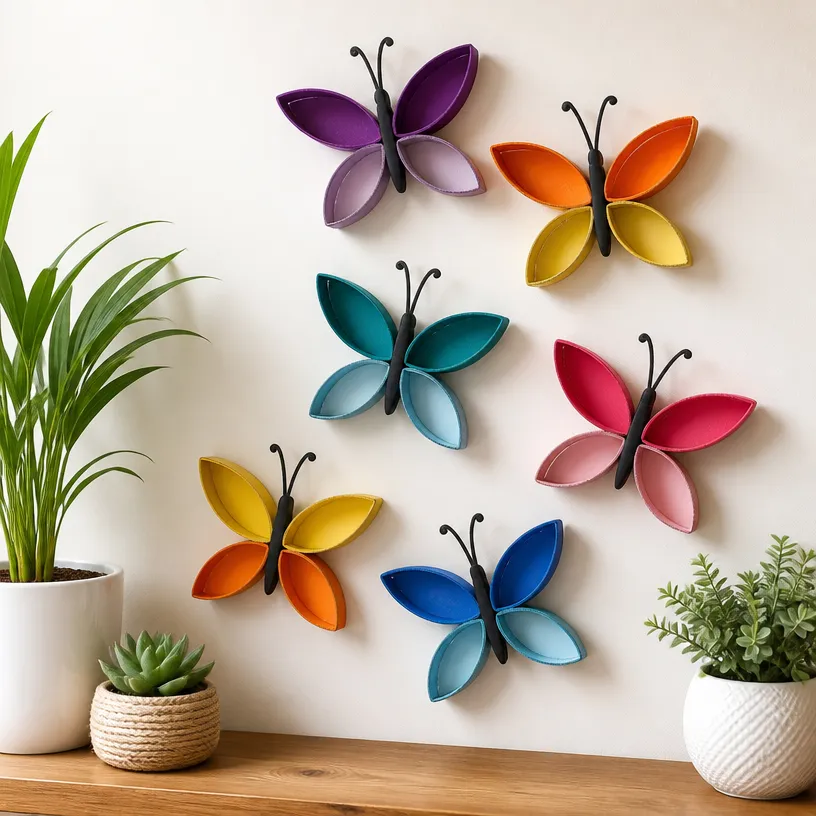
How to Make DIY Butterfly Wall Decor Made from Toilet Paper Rolls
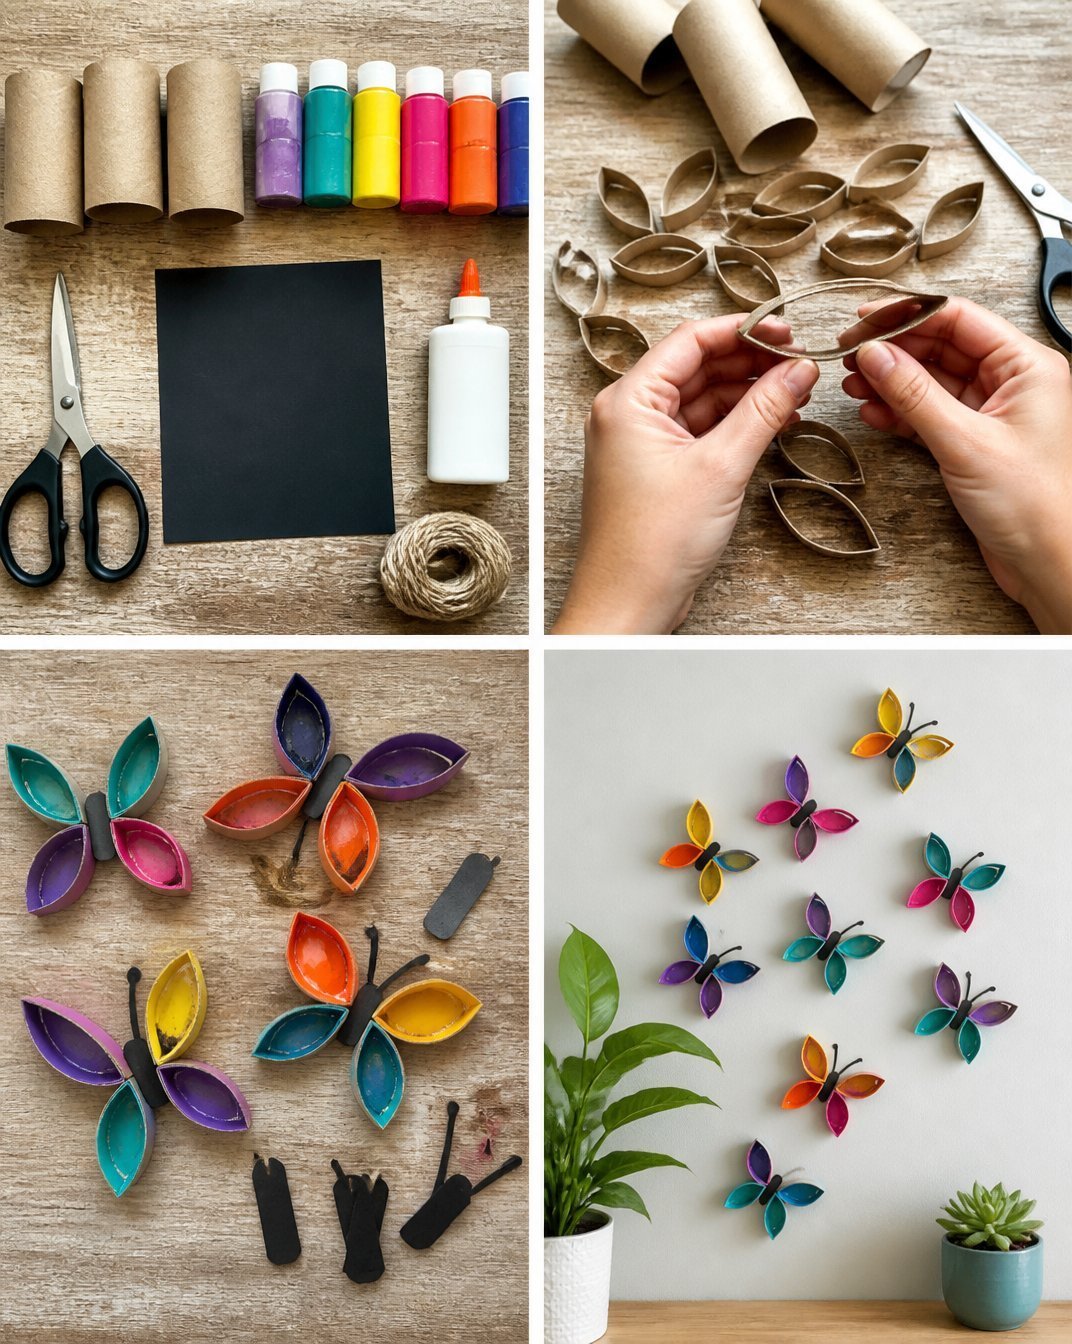
- Prepare the Rolls: Start by cutting each toilet paper roll in half. You will use one half for the body of each butterfly.
- Shape the Wings: Cut out wing shapes from your paper. You can make them as simple or as intricate as you like.
- Paint the Body: Use acrylic paint or markers to color the exposed part of each half roll. Let them dry completely.
- Attach the Wings: Once the body is dry, glue the wings onto the back of this piece, positioning them to resemble butterfly wings. For visual inspiration, consider checking out other friendly DIY projects like DIY blooming paper flowers which showcase intricate designs.
- Add Antennae: Cut two short lengths from your pipe cleaners and glue them to the top of the roll for the butterfly’s antennae.
- Decorate: Use googly eyes or beads to give your butterflies some character. You can also add patterns or designs to the wings with paint or markers.
- Display Your Art: Once everything is dry, use additional glue to attach the butterflies to a canvas or hang them alone on the wall.
Helpful Tips
- For easier assembly, consider using pre-cut shapes for wings.
- To achieve cleaner edges when cutting paper, use sharp scissors and make steady cuts.
- If you’re crafting with young kids, supervise them while using scissors or hot glue for safety.
- When displaying your butterflies, ensure they are secured properly to avoid any accidents.
Easy Variations
- Seasonal Themes: Create butterflies in spring colors like pastels or fall colors for an autumnal look.
- Larger Wings: Combine two toilet paper rolls for a more significant body and attach more extensive wings.
- Glow-in-the-Dark Paint: Use glow-in-the-dark paint to create nighttime decorations.
- Different Insects: Change up the design to create other insects, such as ladybugs or dragonflies.
- Textured Wings: Use fabric or patterned paper for a different look and texture on your wings.
Making This Craft With Kids
This butterfly project is perfect for kids ages 5 and up, depending on supervision. Adults should manage cutting the toilet paper rolls and handling hot glue. Encourage children to express their creativity through colors and patterns while making their butterflies unique. You may also find Coffee Filter Ghost Garland Diy Halloween Decor useful.
How to Display or Use It
These beautiful butterfly creations can be used in various ways:
- Hang them on the walls of a child’s room or playroom for a whimsical decor touch.
- Create a colorful butterfly mobile by suspending them from a hoop or branch.
- Use them as party decorations or classroom accents during themed events.
Frequently Asked Questions
1. Can I use other materials instead of toilet paper rolls?
Yes! You may use paper towel rolls or cardstock as an alternative, but the body will be sturdier with toilet paper rolls.
2. How long does this craft take?
Expect to spend about 1 to 2 hours to make the butterflies, depending on the complexity of your design.
3. What age is suitable for this project?
This project is great for kids aged 5 and older, as long as they have adult supervision during cutting and gluing.
4. Can we paint the butterflies before cutting?
It is best to paint once they are cut to ensure you can easily reach all areas, especially the inside of the wings.
5. Is it necessary to use glue?
While glue is preferable for securing elements like wings and antennae, tape can be used in a pinch.
Conclusion
Making DIY butterfly wall decor from toilet paper rolls is a joyful experience that beautifully combines creativity and sustainability. To expand your crafting repertoire, you might find it helpful to explore additional resources such as how to make toilet paper roll wall art or discover how to create an easy DIY butterfly toilet paper roll craft. Enjoy crafting!
Print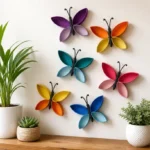
DIY Butterfly Wall Decor Made from Toilet Paper Rolls
- Total Time: 70 minutes
- Makes: 1 butterfly
Description
A fun and eco-friendly project to create beautiful butterfly wall decor using recycled toilet paper rolls.
Materials
- Toilet paper rolls (clean and dry)
- Acrylic paint or markers
- Paintbrushes
- Scissors
- Glue (hot glue works best)
- Pipe cleaners (for antennae)
- Googly eyes or beads (optional for decoration)
- Paper for wings (craft paper or cardstock)
Instructions
- Prepare the Rolls: Start by cutting each toilet paper roll in half.
- Shape the Wings: Cut out wing shapes from your paper.
- Paint the Body: Use acrylic paint or markers to color the exposed part of each half roll.
- Attach the Wings: Once the body is dry, glue the wings onto the back of this piece.
- Add Antennae: Cut two short lengths from your pipe cleaners and glue them to the top of the roll.
- Decorate: Use googly eyes or beads to give your butterflies some character.
- Display Your Art: Use additional glue to attach the butterflies to a canvas or hang them on the wall.
Notes
Consider using pre-cut shapes for easier assembly. Adult supervision is required for children using scissors and hot glue.