

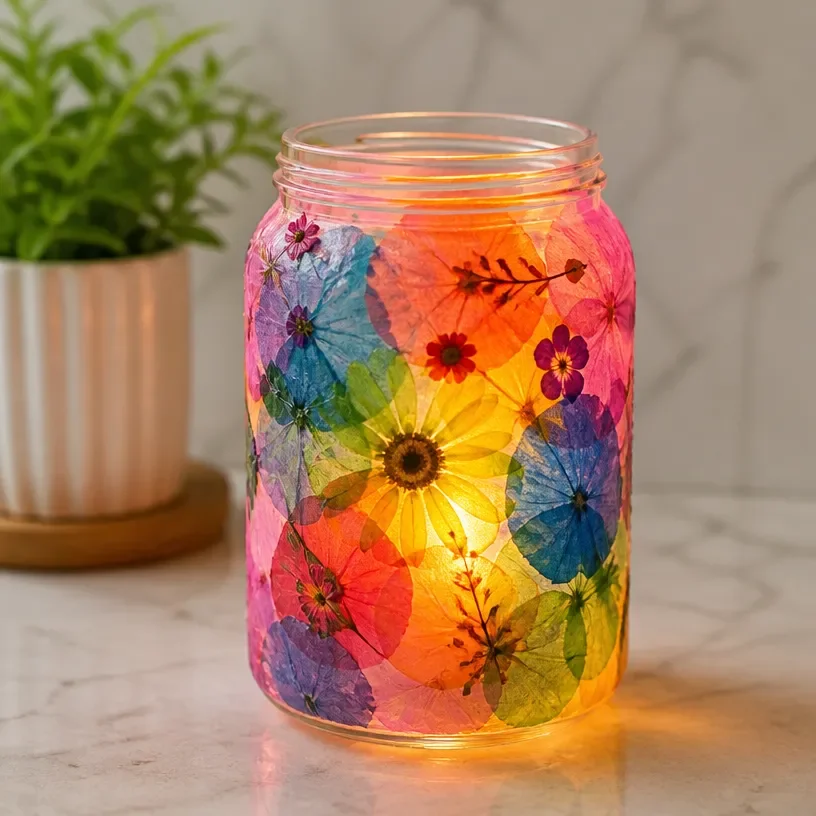
DIY Rainbow Tissue Paper Flower Lantern
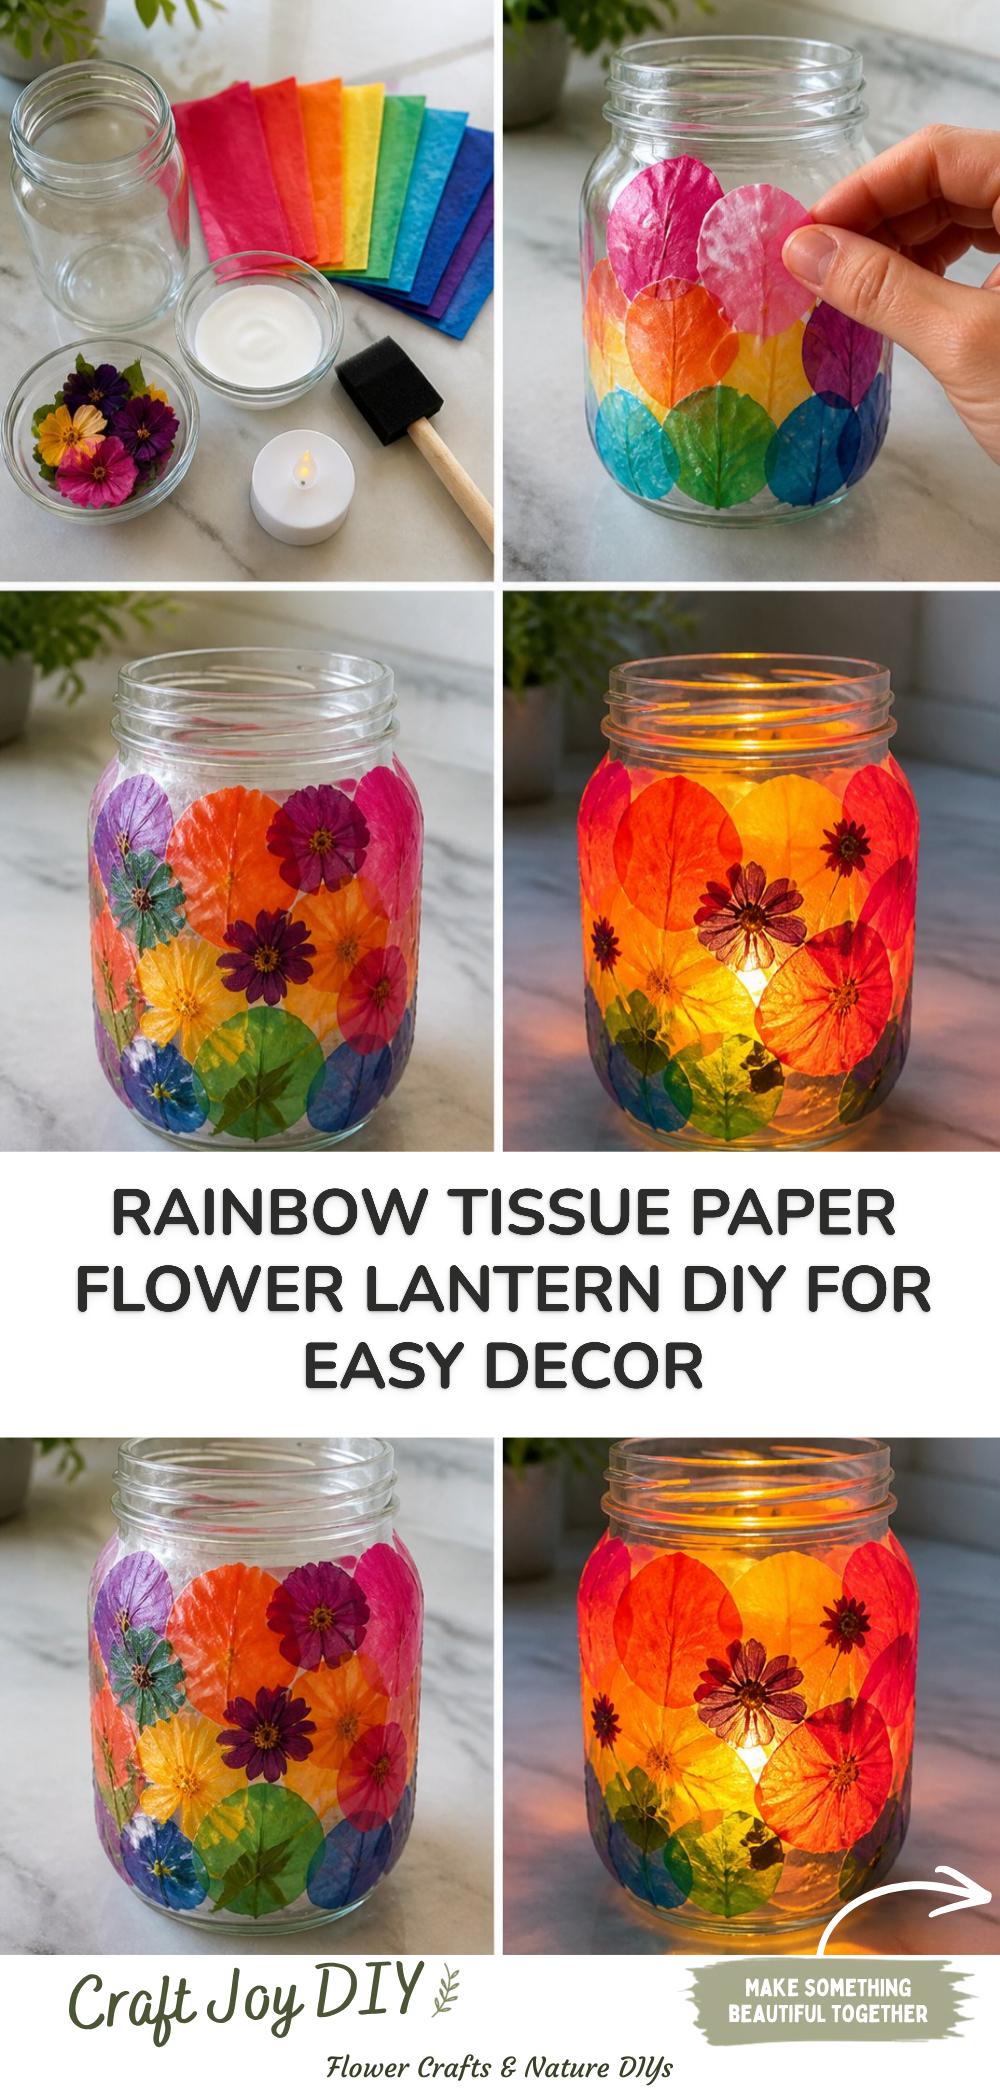
Creating a DIY Rainbow Tissue Paper Flower Lantern is a delightful project that brings a touch of color and charm to your home. Not only does it brighten up any room, but it also serves as a wonderful craft to do with children or as a peaceful solo endeavor. The soft glow from the lantern will surely create a warm atmosphere, making it perfect for parties or quiet nights in. You may also find Rainbow Tissue Paper Flower Lantern Diy For Kids useful.
This project is simple and requires just a few materials, making it accessible for parents, teachers, and anyone interested in crafting. By following these straightforward steps, you’ll find that creating your very own lantern is a fun and satisfying experience. You may also find Diy Rainbow Popsicle Stick Flower Wheel Craft useful.
Why You’ll Enjoy This Project
- Colorful Decor: The lantern adds a splash of vibrant color to any space, enhancing the ambiance and aesthetic.
- Creative Expression: This craft allows you to play with colors and designs, fostering creativity and artistic expression.
- Great for All Ages: Perfect for both kids and adults, it can easily be modified for different skill levels.
- Finished Product: The lantern serves as a lovely decoration or gift, making the effort worthwhile.
You may also find Diy Rainbow Sun Craft Kids Paper Plates useful.
Materials You’ll Need
- Tissue paper (various colors)
- Scissors
- Glue stick or craft glue
- A clean jar or glass (for the lantern base)
- String or twine (optional, for hanging)
When selecting tissue paper, choose vibrant colors that evoke a joyful spirit. You can even use recycled tissue paper from past gifts for an eco-friendly twist. You may also find Diy Botanical Butterfly Ornament Pressed Flowers useful.
How to Make DIY Rainbow Tissue Paper Flower Lantern
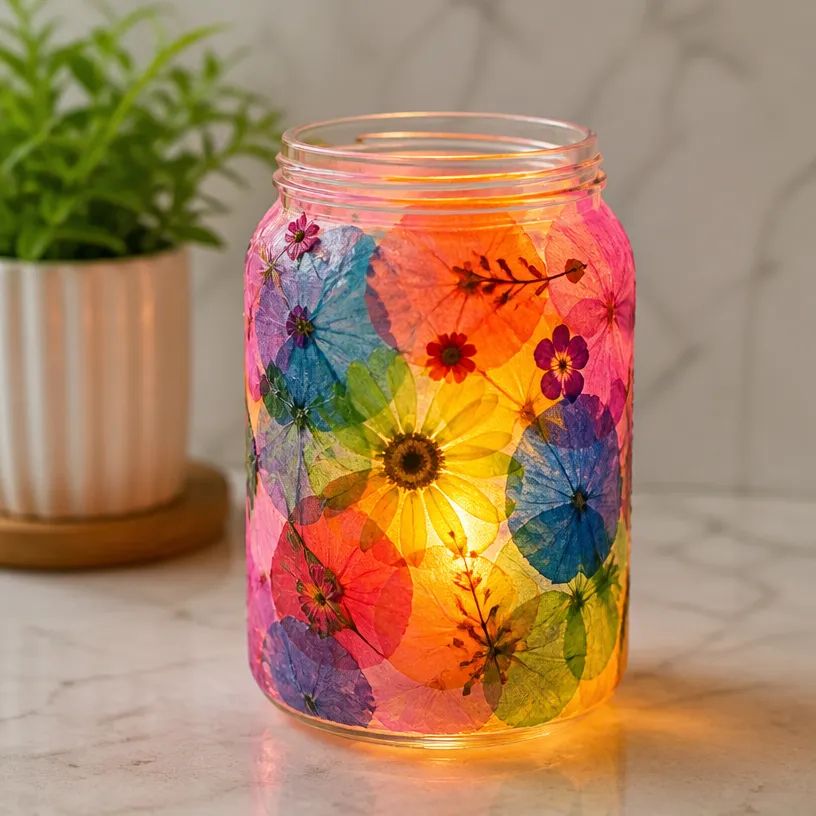
- Cut the Tissue Paper: Start by cutting the tissue paper into squares. A size of about 4 x 4 inches works well, but you can adjust based on your preference.
- Create Flowers: Take one square of tissue paper and group it with several others. Pinch the center together and twist to form a flower shape. Secure the center with glue.
- Glue to Jar: Apply glue to the outside of the jar and begin attaching the flower shapes around it. Overlap them slightly to create a full, blooming effect.
- Let Dry: Allow the glue to dry completely to avoid any premature tearing or detaching.
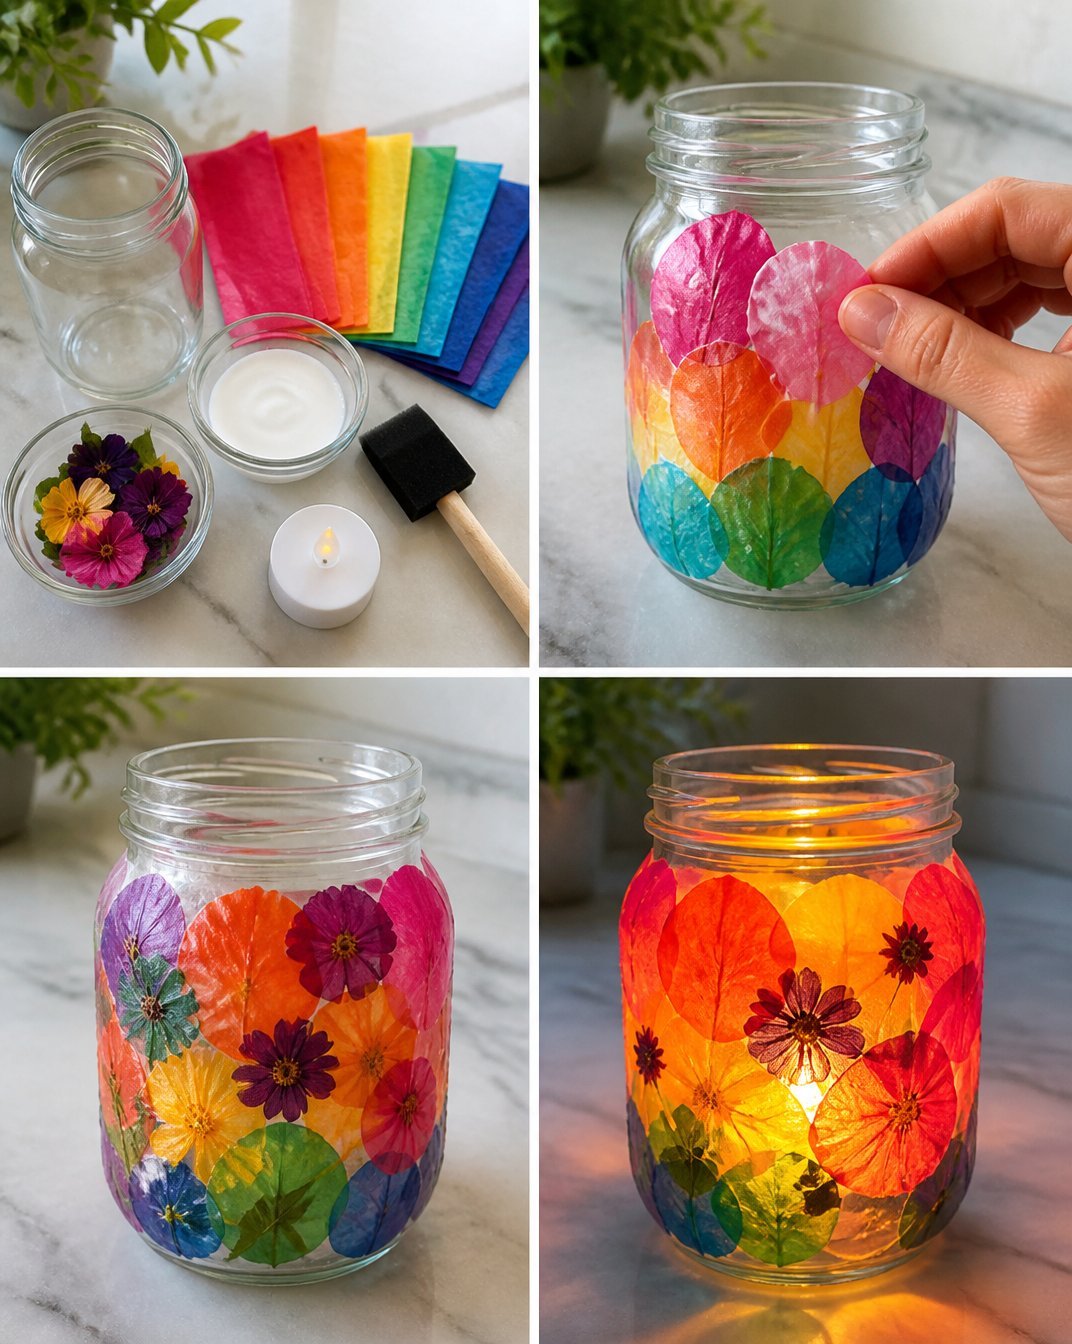
- Add Light: Place a small LED tea light or candle inside the jar to illuminate your masterpiece.
You can even explore variations, like using a different style of jar, to find what fits best in your home.
Helpful Tips
- Simplifying for Kids: If crafting with children, pre-cut the tissue paper squares to save time and effort.
- Secure the Layers: Ensure each flower layer is well-glued for durability, especially if the lantern will be handled often.
- Use LED Lights: Always opt for LED lights for safety, especially when children are involved.
- Display Ideas: Hang the lantern outside or place it on a table for a stunning centerpiece.
Easy Variations
- Seasonal Themes: Use colors that match the seasons pastels for spring, bright colors for summer, earth tones for fall, and cool shades for winter.
- Different Sizes: Experiment with larger or smaller jars to create various sized lanterns that complement each other.
- Patterned Paper: Try using patterned tissue paper instead of solid colors for a unique design.
- Layering Techniques: Use different techniques to create multi-layer flower effects for a more complex look.
Making This Craft With Kids
This craft is an excellent choice for kids, as it encourages creativity and fine motor skills. However, adult supervision is recommended during the cutting and gluing stages to ensure safety and achieve the best results.
How to Display or Use It
Once your DIY Rainbow Tissue Paper Flower Lantern is complete, you can display it in various ways. Hang it from a tree branch in your backyard, place it on a dining table, or use it as a nightlight in a child’s room. It also makes a thoughtful gift for friends or family when you want to share a bit of your creativity.
Frequently Asked Questions
What type of glue should I use?
A glue stick or craft glue is recommended as they dry clear and are easy to apply.
Can I use real candles?
It’s best to use LED tea lights instead of real candles for safety reasons, especially if kids are involved.
How long does it take to dry?
It typically takes about an hour for the glue to dry completely, but it’s best to leave it overnight if possible.
Can I use this idea for other projects?
Absolutely! This technique can be adapted to other crafts, such as making garlands or table settings.
What if I don’t have a jar?
You can use any container that can hold a light source, such as a vase or a tin can, as long as it’s safe for use.
Conclusion
Creating a DIY Rainbow Tissue Paper Flower Lantern not only brings a burst of color into your space but also allows for a wonderful crafting experience. If you’re looking for additional ideas, consider exploring more unique creations like DIY dried flower lanterns or check out practical resources on dimensional paper lanterns to inspire your next project!
Print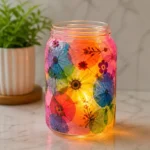
DIY Rainbow Tissue Paper Flower Lantern
- Total Time: 1 hour
- Makes: 1 lantern
Description
Brighten up your home with this colorful and charming DIY Rainbow Tissue Paper Flower Lantern, perfect for all ages.
Materials
- Tissue paper (various colors)
- Scissors
- Glue stick or craft glue
- A clean jar or glass (for the lantern base)
- String or twine (optional, for hanging)
Instructions
- Cut the tissue paper into squares, about 4 x 4 inches.
- Create flowers by grouping tissue paper squares, pinching the center, and twisting. Secure with glue.
- Glue the flower shapes to the outside of the jar, overlapping slightly.
- Let the glue dry completely.
- Add a small LED tea light or candle inside the jar.
Notes
For safety, always use LED lights, especially with children involved. Pre-cut squares can simplify the project for kids.