

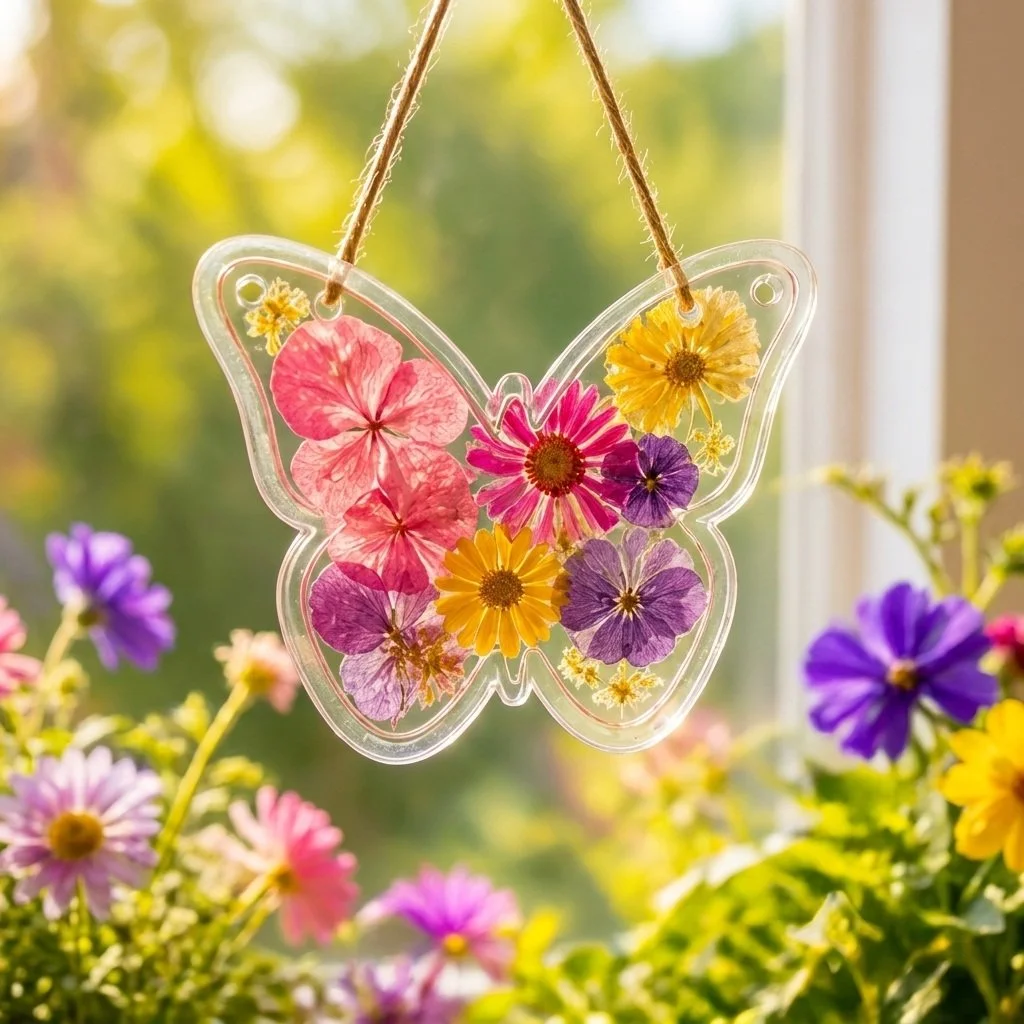
DIY Botanical Butterfly Ornament with Pressed Flowers
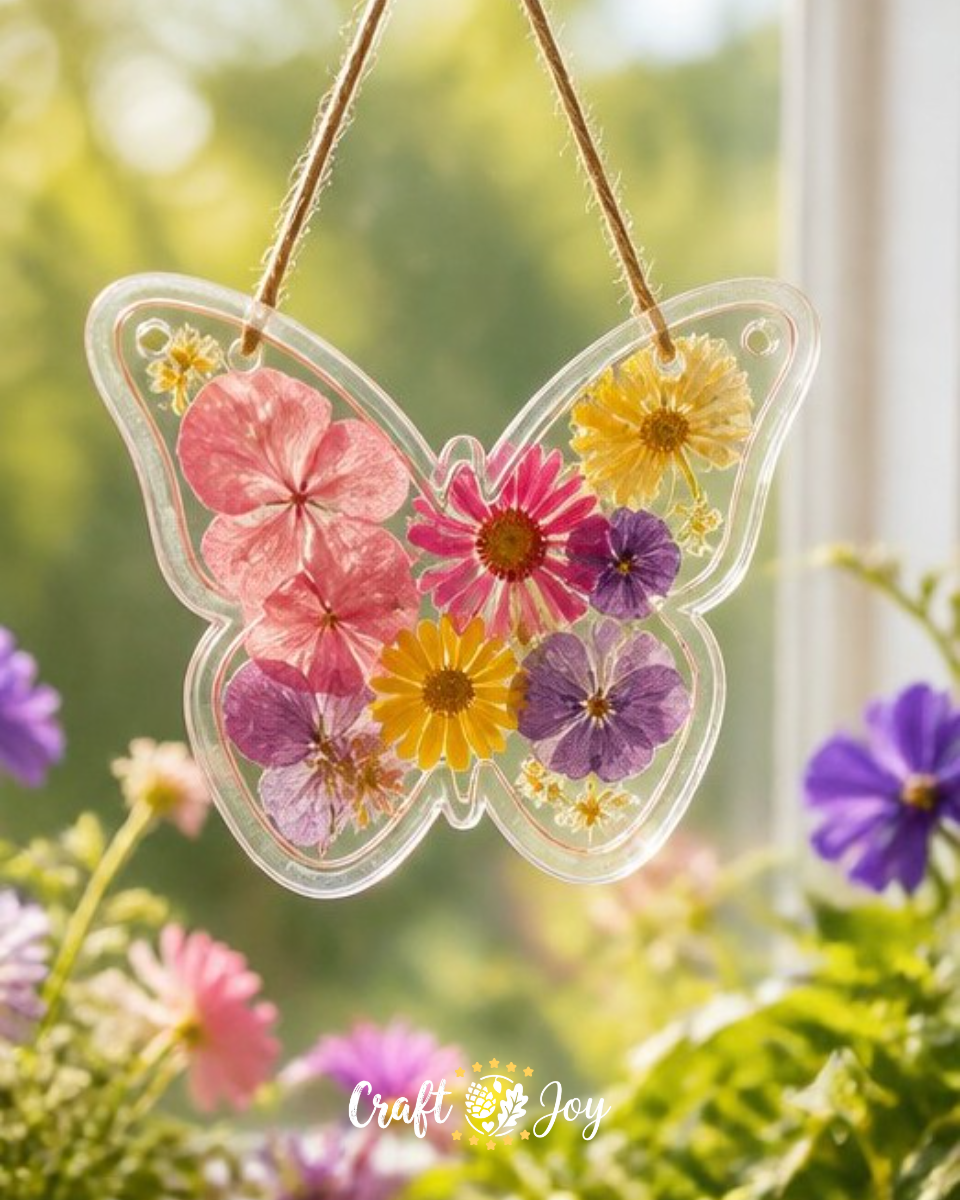
Creating a DIY Botanical Butterfly Ornament with pressed flowers is a delightful and artistic project that brings a touch of nature indoors. This elegant ornament not only adds charm to your home decor but also encourages creativity and mindfulness in crafting. Enjoy watching the colors and textures of the flowers come to life inside the butterfly shape, making it an engaging and beautiful centerpiece. You may also find Cupcake Liner Dahlia Bouquet Diy Centerpiece Kids useful.
In this tutorial, you will learn how to use simple materials to create your own beautiful ornament. This project is perfect for families looking to spend quality time together while also indulging in a creative activity. If you’re inspired by nature, you might also appreciate making a pressed flower rainbow window medallion to complement your butterfly.
Why You’ll Enjoy This Project
- Creative Expression: This craft allows you to express your artistic side by choosing unique pressed flowers that resonate with you.
- Simple Materials: You can easily gather the supplies needed, making it a perfect project for all ages.
- Beautiful Decor: Once finished, the ornament can brighten up any space or make a thoughtful gift.
- Mindful Activity: Crafting can be a calming and therapeutic experience, helping to reduce stress and improve focus.
- Engagement with Nature: Working with real flowers brings a little bit of nature indoors, enhancing your living space.
You may also find Diy Rainbow Popsicle Stick Flower Wheel Craft useful.
Materials You’ll Need
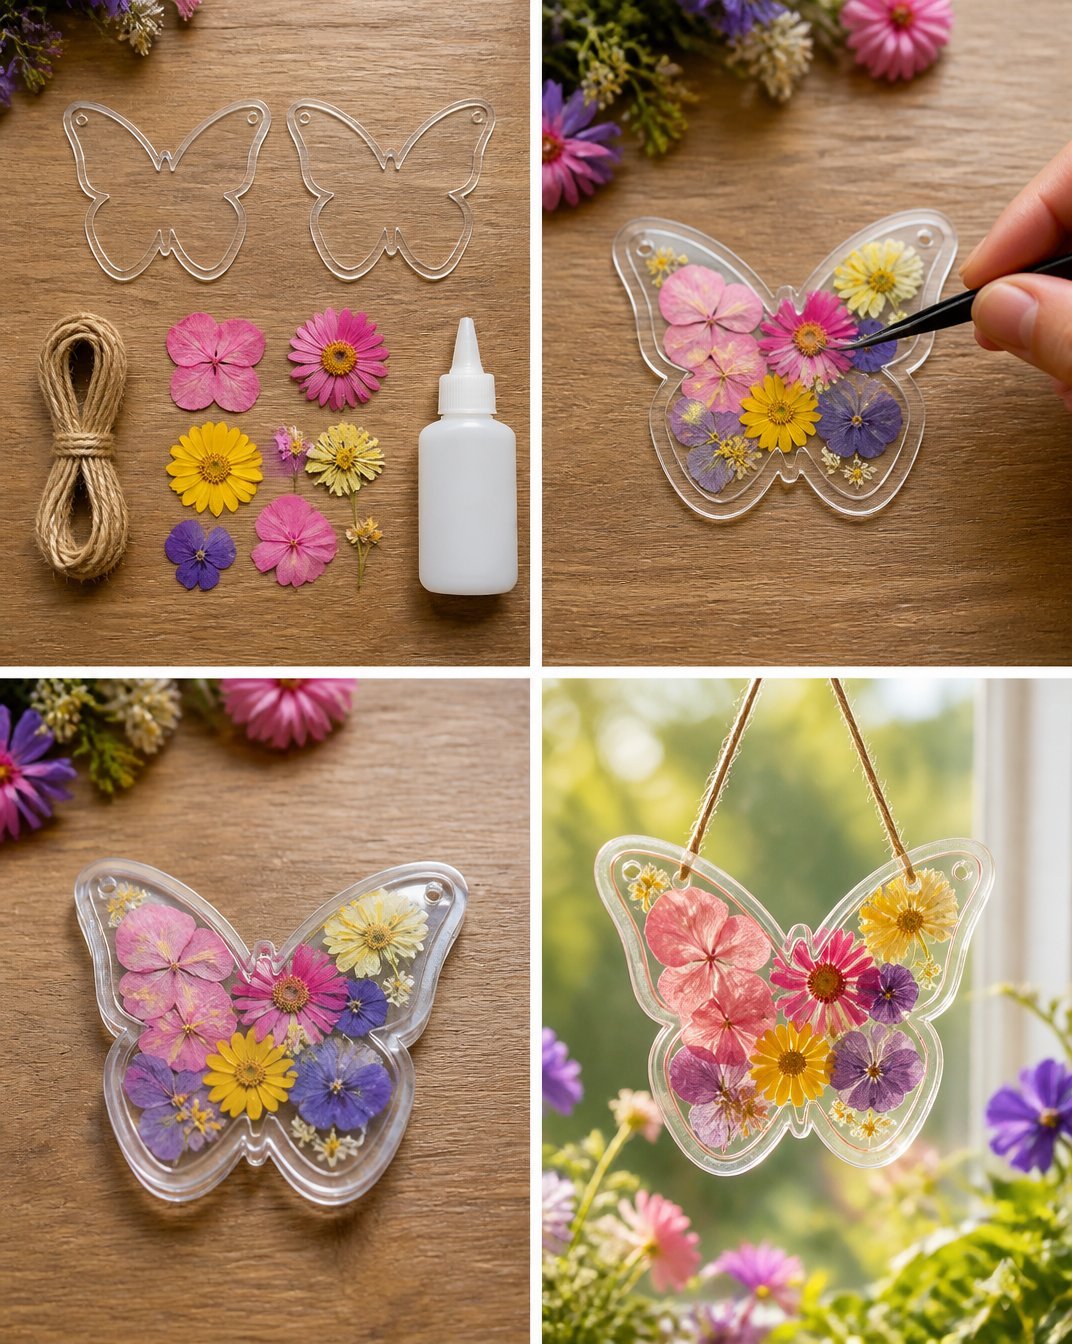
- 2 butterfly-shaped clear acrylic blanks
- 8 pressed flower petals
- Craft glue
- 18 in twine
Using clear acrylic blanks allows your pressed flowers to shine through beautifully. When selecting pressed flowers, opt for ones with vibrant colors that match the season or your mood. You may also find Melted Crayon Rainbow Butterfly Suncatcher For Kids useful.
How to Make DIY Botanical Butterfly Ornament with Pressed Flowers
Step 1: Arrange the Flowers
Begin by arranging the pressed flower petals inside one of the butterfly shapes. Try out different combinations until you create a pleasing layout. Make sure to cover the area sufficiently for a colorful display. You may also find Rainbow Butterfly Stakes Recycled Bottles useful.
Step 2: Glue the Acrylic Pieces Together
Once you’re happy with your arrangement, apply a thin layer of craft glue along the edge of the acrylic shape. Carefully place the second acrylic piece on top, sealing the flowers inside.
Step 3: Let Dry Completely
Allow the glued butterfly ornament to dry completely. It’s essential to let it sit undisturbed so that the pieces adhere well without shifting.
Step 4: Tie on the Twine and Hang
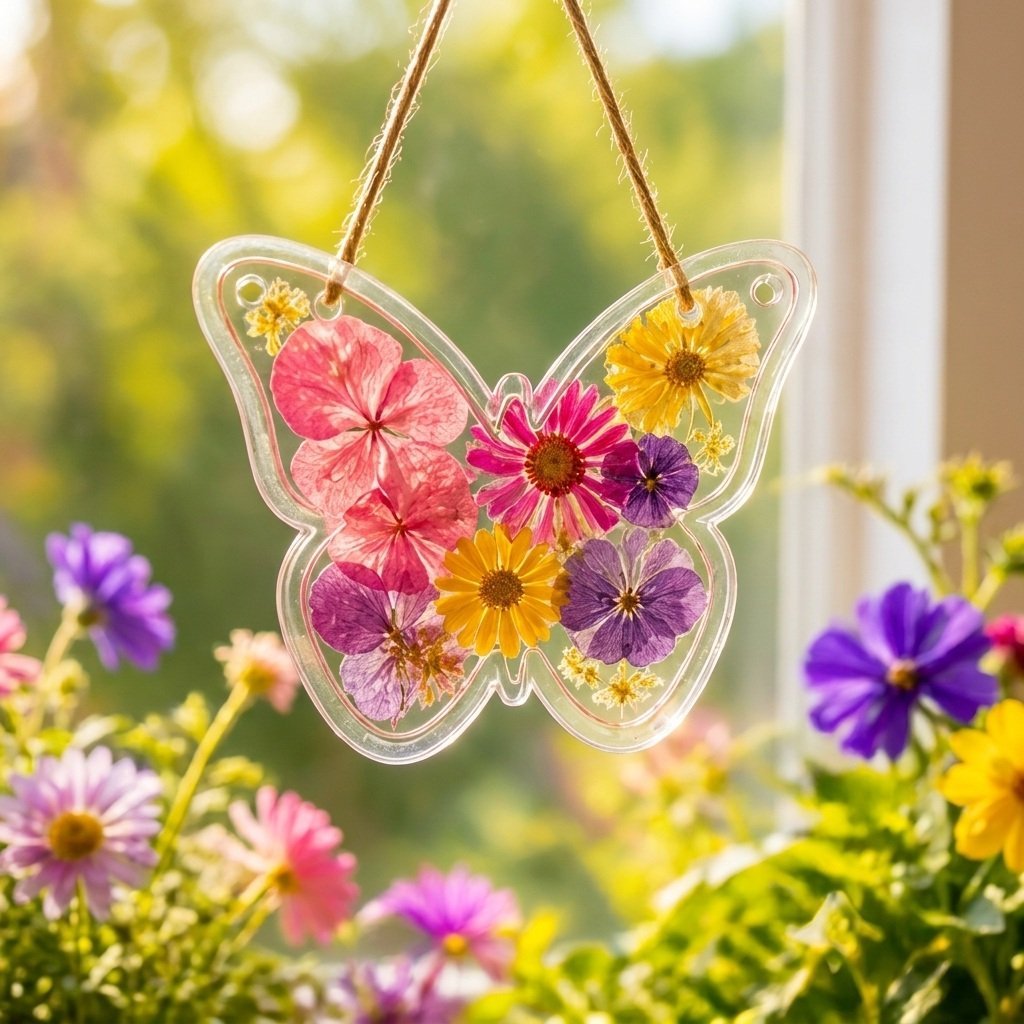
After the glue has dried, take the twine and tie it securely to the top of the butterfly ornament. Find a sunny window to hang your new decoration, where the light will highlight the colors of the pressed flowers.
Helpful Tips
- For cleaner results, try using tweezers to place small flowers or petals without disturbing the arrangement.
- If the craft glue oozes out, gently wipe it away before it dries to keep the edges looking neat.
- To display your ornament, consider using a suction cup hook on the window to avoid leaving marks on your glass.
- Encourage older kids to pick the flowers and help with the arrangement for an engaged crafting experience.
Easy Variations
- Seasonal Themes: Use flowers that are in season for example, spring blooms for springtime or fall leaves for autumn.
- Color Mixes: Experiment with different color combinations to see which ones create the most visually appealing effect.
- Different Shapes: Instead of butterflies, try using other shapes like hearts or stars for alternative designs.
- Mini Versions: Create smaller ornaments for a cohesive display in a cluster.
- Experiment with Backgrounds: Fill the background of the acrylic shape with colored paper or paints for added depth.
Making This Craft With Kids
This project is fantastic for children as it enhances their fine motor skills and creativity. Adults may need to assist with gluing to avoid messy applications. Supervision might also be necessary if using delicate or sharp-edged flowers.
How to Display or Use It
You can hang your botanical butterfly ornament in various places near a sunny window, on the wall, or as part of a larger nature-themed display. They also make wonderful handmade gifts for friends and family.
Frequently Asked Questions
1. Can I use fresh flowers for this project?
No, it is recommended to use dried or pressed flowers to maintain their appearance over time.
2. How do I press flowers?
To press flowers, place them between two pieces of parchment paper, then under a heavy weight for a few days until they are dry.
3. How can I clean the acrylic blanks?
You can clean them with a damp cloth and mild soap to remove any fingerprints or dust before starting your project.
4. How long does the glue take to dry?
Drying time can vary, but it’s best to leave it for at least an hour for a strong bond.
5. What if I don’t have twine?
You can substitute twine with ribbon or fishing line for hanging your ornament.
Conclusion
This DIY Botanical Butterfly Ornament with pressed flowers is a wonderful way to bring a piece of nature indoors while enjoying quality crafting time. For more beautiful flower-based projects, check out Butterfly Art Dried Flowers – Etsy for unique materials or consider the Gilprop 36 Pcs 3D Rolled Paper Roses for Crafts DIY Decor Green to add to your crafting supplies. Happy crafting!
Print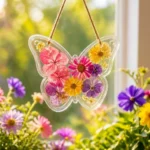
DIY Botanical Butterfly Ornament with Pressed Flowers
- Total Time: 75 minutes
- Makes: 1 ornament
Description
Create a beautiful botanical butterfly ornament using pressed flowers. This DIY project brings nature indoors and enhances your home decor.
Materials
- 2 butterfly-shaped clear acrylic blanks
- 8 pressed flower petals
- Craft glue
- 18 in twine
Instructions
- Arrange the pressed flower petals inside one of the butterfly shapes.
- Glue the acrylic pieces together by applying craft glue along the edge.
- Let the ornament dry completely.
- Tie on the twine and hang the ornament in a sunny window.
Notes
Use tweezers for cleaner results and consider alternative shapes for variety. Supervise children during gluing.