


Discovering creative ways to paint on clay can be a wonderful experience, especially for children around 10 years old. This craft encourages artistic expression while also providing an opportunity to make unique keepsakes or gifts. With a few simple techniques, you can create beautiful watercolor effects on clay projects. You might even find inspiration from other crafts, such as painting stones or making suncatchers. Let’s explore the enjoyable and rewarding process of painting clay!
Why You’ll Enjoy This Project
- Creative Expression: Experimenting with colors and patterns can spark creativity in kids and adults alike.
- Tangible Rewards: After putting in the effort, you have a beautiful piece of art to display or gift.
- Skill Development: Crafting helps improve fine motor skills and hand-eye coordination, especially for younger crafters.
- Versatile Uses: These painted clay pieces can serve as decorative items, functional pieces, or even as unique gifts for loved ones.
- Affordable and Accessible: Using basic materials makes this a fantastic option for families looking to engage in creative activities without excessive costs.

You may also find Coffee Filter Butterfly Chromatography Craft For Kids useful.
Materials You’ll Need
- Air-dry clay or oven-bake clay
- Acrylic paints or homemade watercolors
- Paintbrushes (various sizes for detail and coverage)
- Palette or plate for mixing colors
- Water for rinsing brushes
- Optional: Sealer (for protecting the finished piece)
- Optional: Stencils or stamps for added designs
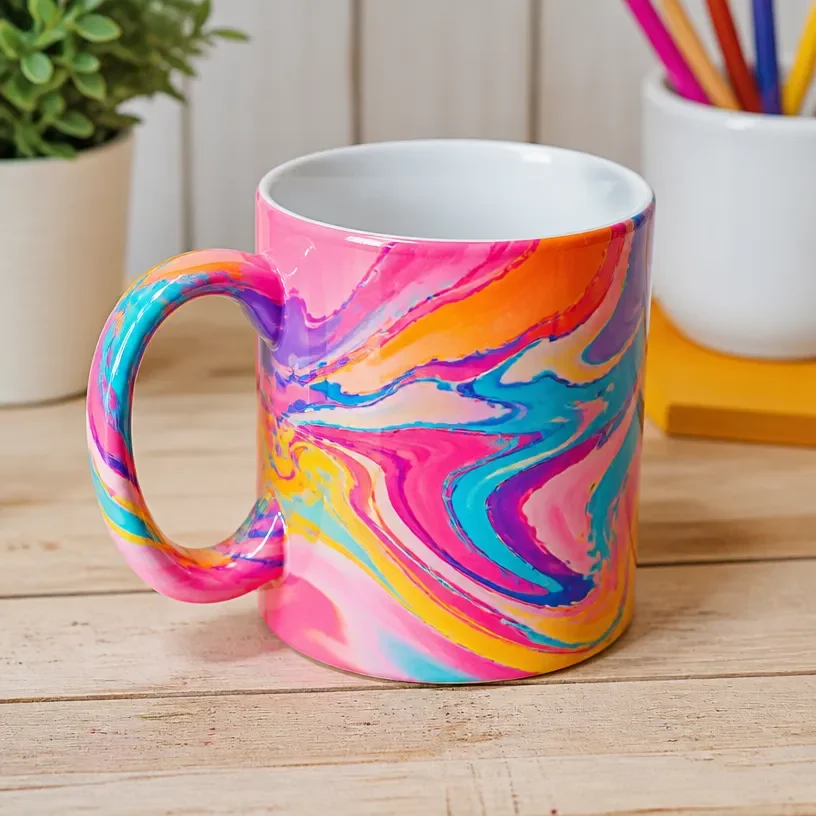
How to Make Painting on Clay Ideas
1. Prepare Your Clay
Start by kneading your clay to make it soft and pliable. Roll it out to your desired thickness about half an inch works well for smaller projects. You may also find Diy Clear Glue Suncatcher Craft Tutorial For Kids useful.
2. Shape Your Piece
Form the clay into your desired shape. This could be a flat disk, a small figurine, or any other design that you wish to paint later. You may also find Diy Rainbow School Bus Photo Frame Craft For Kids useful.
3. Allow to Dry (if using air-dry clay)
If you’re using air-dry clay, let the pieces dry completely this may take anywhere from 24 hours to a few days. If you’re using oven-bake clay, follow the package instructions for baking. You may also find Melted Crayon Fall Leaf Garland Craft For Kids useful.
4. Mix Your Paint
If you opt to make your own watercolors, mix equal parts of food coloring and water to create vibrant hues. For acrylics, squeeze out your colors onto a palette.
5. Begin Painting
Once the clay is dry, use a paintbrush to apply the paint. Each layer can add depth and interest to your project. You might want to start with a base coat before adding patterns or details.
6. Allow to Dry Again
After painting, allow your piece to dry thoroughly. This step is crucial for achieving a clean finish. If using acrylics, this usually takes a few hours.
7. Seal Your Artwork
If desired, apply a sealer over the paint to protect your artwork. This is especially important if you plan to display your piece outdoors or use it functionally.
Helpful Tips
- Use Fine Brushes for Details: When adding fine details, a smaller paintbrush can help achieve more precision.
- Layer Colors: Don’t be afraid to layer colors! Watercolor techniques can create beautiful blending effects.
- Protecting Surfaces: Use newspaper or a craft mat to protect your workspace from paint spills or clay messes.
- Supervision for Younger Crafters: If young children are involved, it’s best for an adult to oversee the use of any sharp tools or the application of sealers.
Easy Variations
- Seasonal Themes: Create pieces that reflect different seasons, like leaves for fall or flowers for spring.
- Use Natural Dyes: Instead of commercial paints, explore using natural dyes from fruits or vegetables.
- Textured Designs: Incorporate texture by using brushes, stamps, or pressing items like lace into the clay before painting.
- Gift Items: Shape small clay items into ornaments or keychains to give as gifts.
- Mixed Media: Combine painted clay with other media, like fabric or paper, to create multi-dimensional artwork.
Making This Craft With Kids
This project is ideal for kids aged 10 and older, though younger children can participate with supervision. Parents can assist with shaping the clay and securely using tools for added safety. Encourage kids to explore their creativity by trying different colors and patterns.
How to Display or Use It
Once your masterpiece is complete, you can display it as a lovely addition to home decor or give it as a crafted gift. If your piece is functional, consider using it as a small bowl or a decorative plate. Clay projects also make for beautiful hangings or ornaments, perfect for special occasions.
Frequently Asked Questions
1. Can I use regular paint on clay?
Acrylic paints are best for clay because they adhere well and provide vibrant colors.
2. How do I make homemade watercolors?
Combine equal parts of food coloring and water in a small container, stirring until well mixed.
3. What do I do if my clay cracks during drying?
Re-knead the clay and shape it again before allowing it to dry. Make sure not to overly dry it in one go.
4. How can I effectively seal my painted clay?
Look for a spray or paint-on sealer that is suitable for art projects. Make sure it’s dry before using the piece.
5. Is this project suitable for a group setting?
Yes! This project is great for classes or group crafts. Make sure there’s enough space for creativity!
6. How long do I need to wait before painting on freshly made clay?
If using air-dry clay, let it dry completely, which might take up to 24 hours. Oven-bake clay can be painted after baking.
Conclusion
Crafting with clay offers a memorable and enriching activity for children. This hands-on project not only sharpens creativity but also results in beautiful keepsakes. If you’re interested in exploring more creative options, consider trying a pottery wheel for kids or check out these gifts kids can make to inspire further artistic endeavors. Happy crafting!
Print
Painting on Clay for Kids
- Total Time: 30 minutes
- Makes: 1 art piece
Description
A fun and creative project for children to express themselves by painting on clay, perfect for making unique keepsakes.
Materials
- Air-dry clay or oven-bake clay
- Acrylic paints or homemade watercolors
- Paintbrushes (various sizes)
- Palette or plate for mixing colors
- Water for rinsing brushes
- Optional: Sealer for protecting the finished piece
- Optional: Stencils or stamps for added designs
Instructions
- Prepare your clay by kneading it until soft and roll it out to about half an inch thickness.
- Shape your piece into a desired form, like a flat disk or small figurine.
- Allow to dry completely if using air-dry clay; for oven-bake clay, follow baking instructions.
- Mix your paint, using food coloring and water for homemade watercolors.
- Begin painting once the clay is dry, starting with a base coat.
- Allow your piece to dry thoroughly after painting.
- Seal your artwork if desired to protect it from wear and tear.
Notes
Use fine brushes for details and encourage experimenting with layering colors for unique effects.