

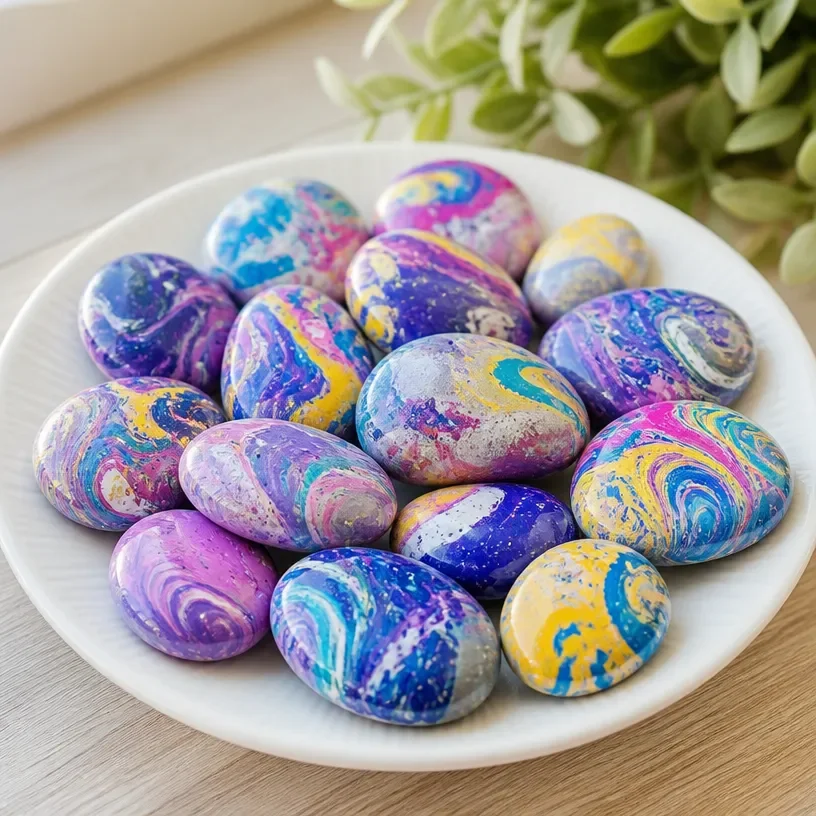
Rainbow Rock Unveiled: Colorful Stone Discovery
Creating colorful rocks is a delightful craft that brings joy to both young and old. This project not only taps into the vibrant colors of nature but also offers an engaging way for families to explore together. In “Rainbow Rock Unveiled,” you and your children will learn how to transform ordinary stones into beautiful, artistic expressions. It’s a great way to brighten up your garden or home, making a wonderful display or thoughtful gift. You may also find Colorful Baking Soda Fizz Tubes Rainbow Science Activity useful.
Why You’ll Enjoy This Project
- Encourages Creativity: This project allows children to express themselves artistically through colors and designs.
- Simple Materials: You’ll only need basic materials that are easy to find at home or in nature.
- Fun Family Activity: It’s a perfect bonding activity for families, encouraging teamwork and laughter.
- Nature-Inspired Decor: The finished product adds a pop of color to any space, inside or outside.
- Educational Opportunity: Talk about colors, shapes, and even the different types of stones involved in the craft.
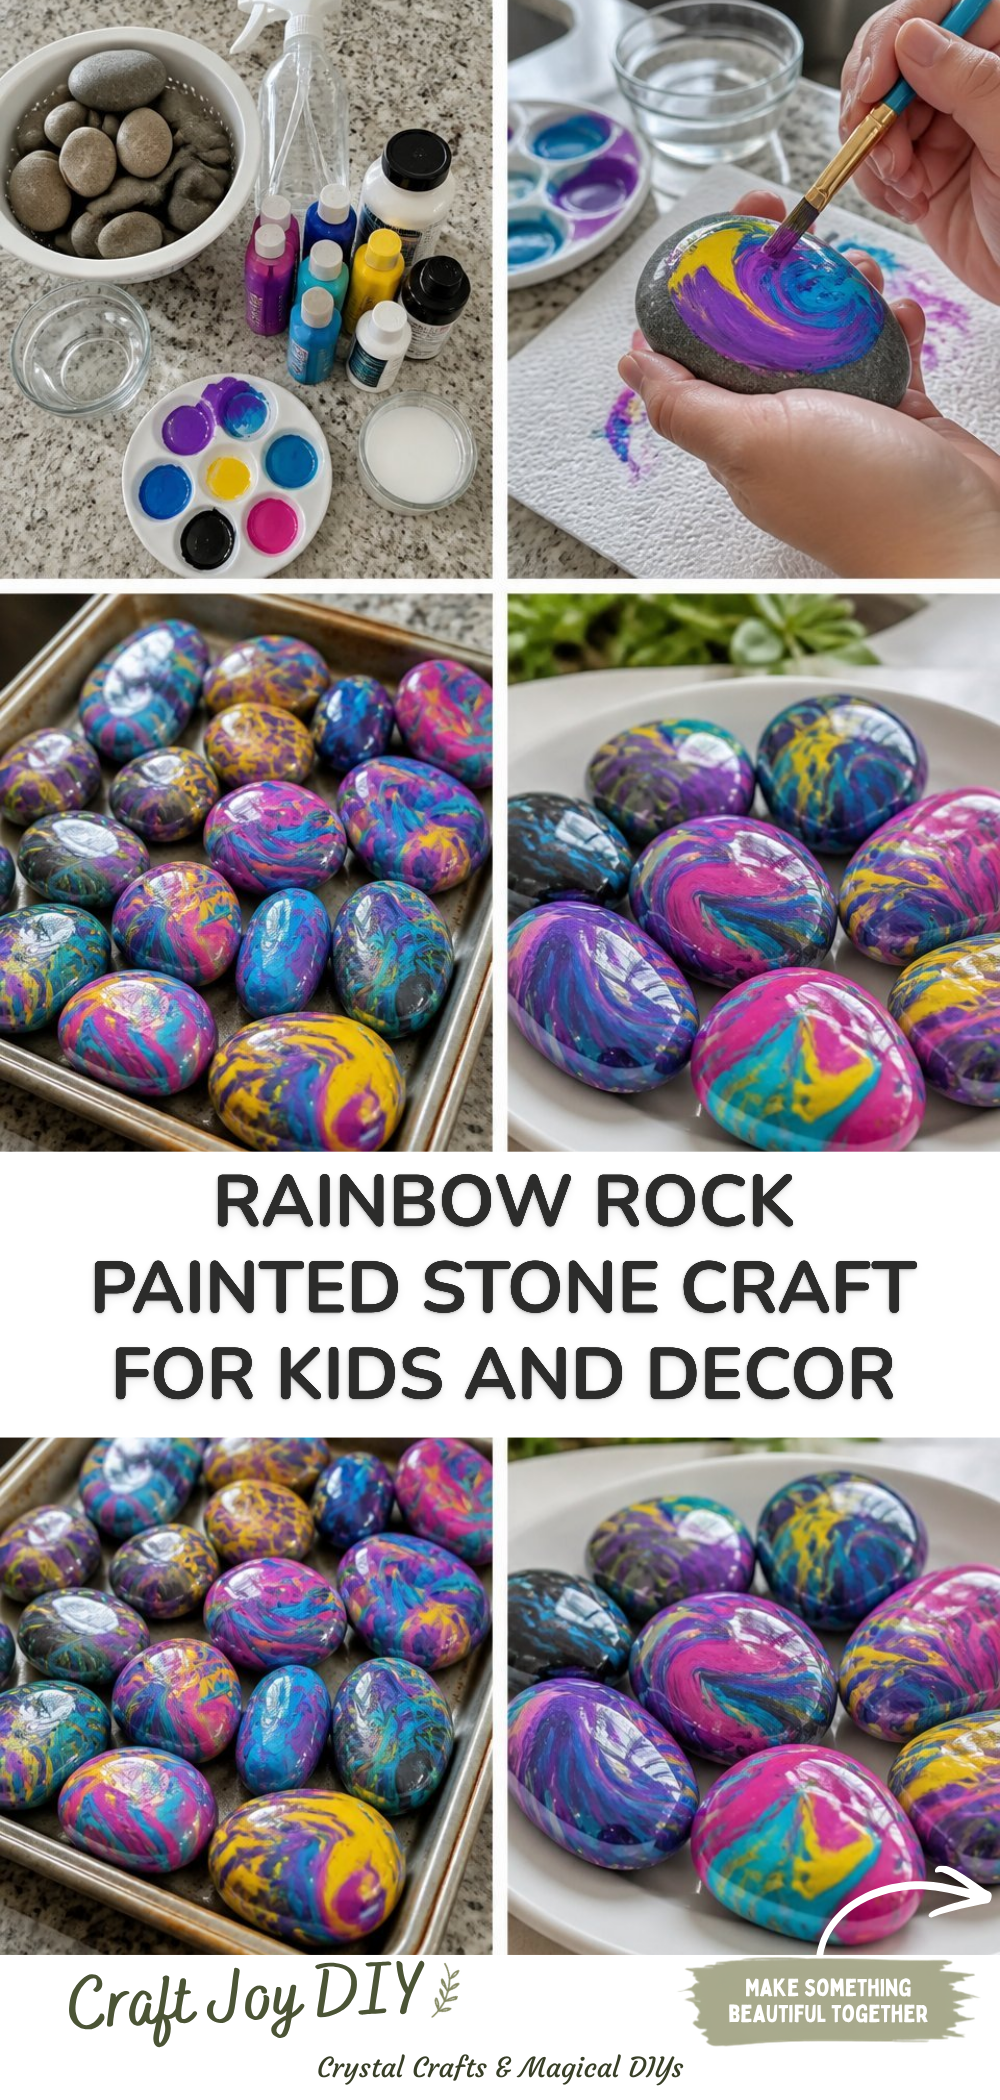
You may also find Colorful Rainbow Monster Pencil Holders Diy useful.
Materials You’ll Need
- Smooth stones (medium to large size works best)
- Acrylic paint in various colors
- Paintbrushes (various sizes)
- A palette or plate for mixing colors
- Water cup for rinsing brushes
- Paper towels or rags for clean-up
- Sealer (optional, for outdoor use)
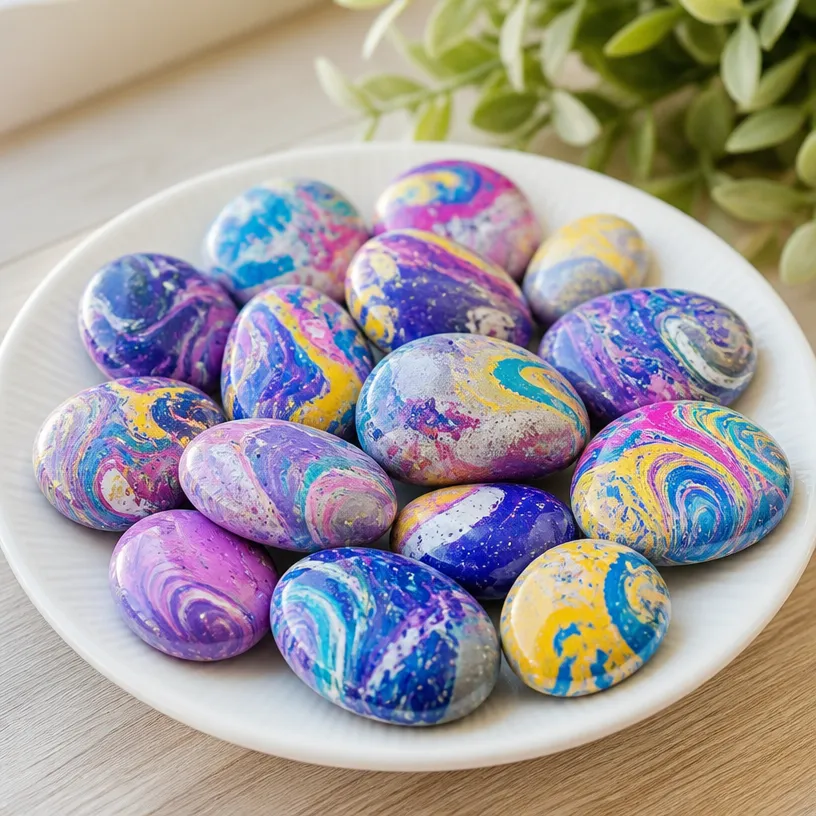
How to Make Rainbow Rock Unveiled: Colorful Stone Discovery
Select Your Stones
Choose smooth, flat stones that will serve as your canvas. The smoother the stone, the easier it will be to paint. You may also find Rainbow Milk Art Colorful Swirl Prints For Kids useful.Clean the Stones
Rinse them with water to remove any dirt. Let them dry completely before painting.Plan Your Design
Decide on a color scheme and design before starting. This could be abstract, patterns, or even simple shapes.Paint the Base Layer
Use your largest paintbrush for the base layer. Cover the entire stone with a solid color and let it dry.Add Details
Once the base is dry, add designs using smaller brushes. Consider creating swirls or dots to mimic a rainbow effect. For inspiration, check out colorful painted rocks that also celebrate vibrant designs.Let It Dry
Be patient! Allow your artistic creations to completely dry, which could take a few hours.Seal (Optional)
If you plan to display your rocks outdoors, consider applying a clear sealer to protect your artwork from the elements.
Helpful Tips
- Use a Drop Cloth: Keeping your workspace clean will make the process easier and more enjoyable.
- Choose Bright Colors: Vibrant colors will show up better against the stone’s natural gray or brown.
- Involve Kids in Planning: Letting your children help decide on the designs will make them more excited about the project.
- Display Options: Consider creating a small garden or a rock collection indoors to showcase your beautiful work.
Easy Variations
- Seasonal Themes: Change designs according to seasons like snowflakes for winter or flowers for spring.
- Mixed Media: Use stickers or glue on glitter to enhance your painted designs.
- Smaller Rocks: Try creating keychains or small gifts with tiny stones.
- Colorful Button Mosaic: Incorporate buttons for added texture and interest, similar to the button mosaic art concept.
- Glow-in-the-Dark Paint: Add a fun twist by using glow-in-the-dark paint for nighttime displays.
Making This Craft With Kids
This project is great for children, as it helps them develop fine motor skills through painting. Adults should supervise younger kids, especially during the painting and clean-up phases to ensure the arrangement is safe and mess is manageable.
How to Display or Use It
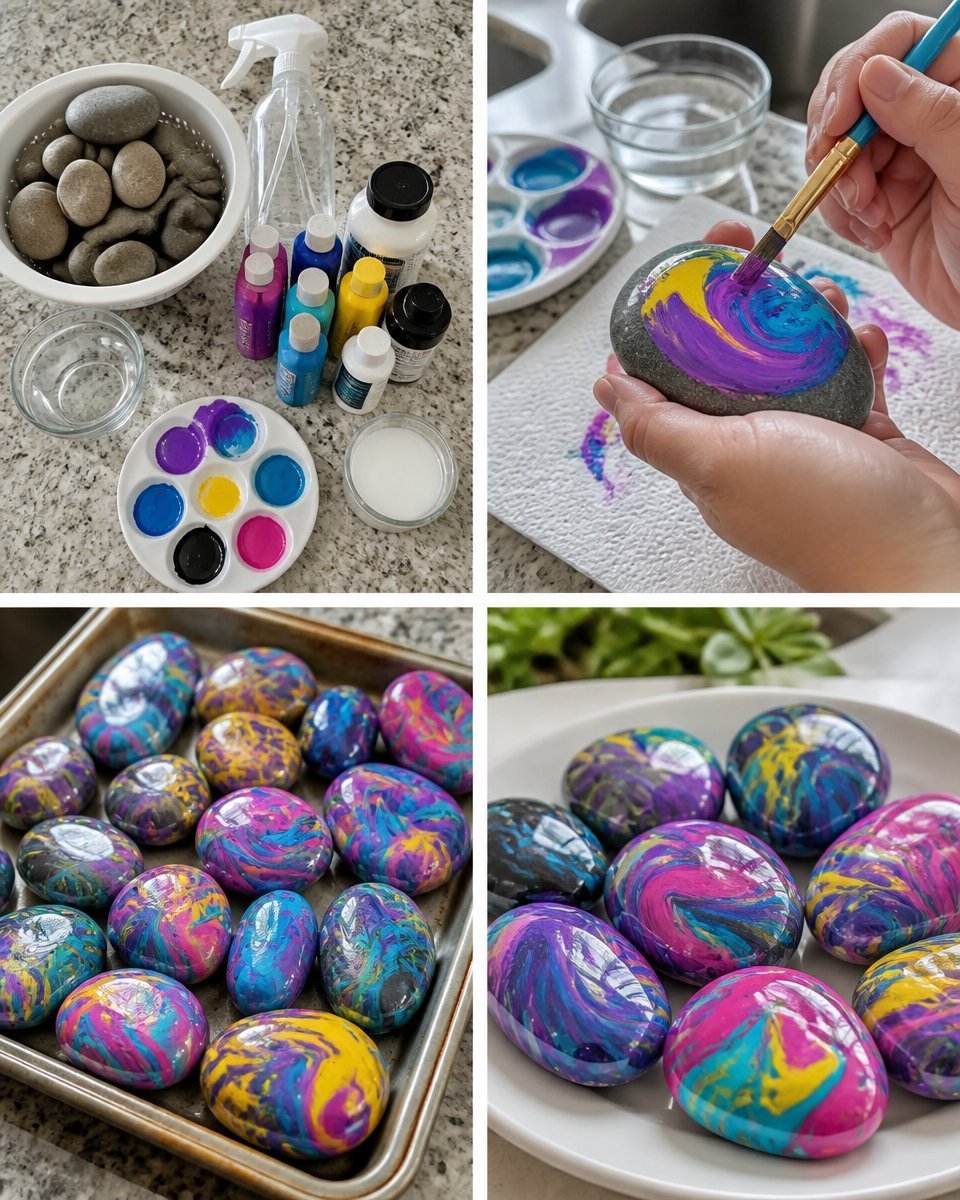
These rainbow rocks can be placed in gardens, entries, or as whimsical desk decorations. You can also use them as gifts for friends or family. Arranging them in flower pots or lining them along pathways can add cheerful charm to any outdoor space.
Frequently Asked Questions
Can the rocks be used indoors?
Yes, these rocks make great decorative pieces for any indoor space.
What type of paint works best?
Acrylic paint is preferred because it adheres well to stone and is available in many colors.
How do I seal my rocks?
Use a clear acrylic sealer spray, which can be found at craft or hardware stores.
Will the paint wash off if it rains?
If unsealed, the paint may wash off in the rain. A sealer is recommended for outdoor use.
Can older kids do this alone?
Yes, older kids may be able to complete this project independently, especially if they are experienced with art.
Conclusion
Crafting colorful stones is not just a fun artistic endeavor but also a wonderful memory-making opportunity for families. If you’re intrigued by gem and mineral crafts, check out the fascinating exhibition about gems. For a different type of adventure related to nature, consider planning a visit to the Petrified Forest National Park. Happy crafting!
Print
Rainbow Rock Unveiled: Colorful Stone Discovery
- Total Time: 15 minutes
- Makes: As many as you like
Description
Create vibrant, artistic stones that brighten up your garden or home in a fun family craft project.
Materials
- Smooth stones (medium to large size)
- Acrylic paint in various colors
- Paintbrushes (various sizes)
- A palette or plate for mixing colors
- Water cup for rinsing brushes
- Paper towels or rags for clean-up
- Sealer (optional, for outdoor use)
Instructions
- Select your stones.
- Clean the stones by rinsing them with water.
- Plan your design and color scheme.
- Paint the base layer with a solid color.
- Add designs using smaller brushes.
- Let it dry completely.
- Seal with a clear sealer if desired for outdoor use.
Notes
Involve kids in planning the designs for added excitement. Consider using vibrant colors that stand out.