

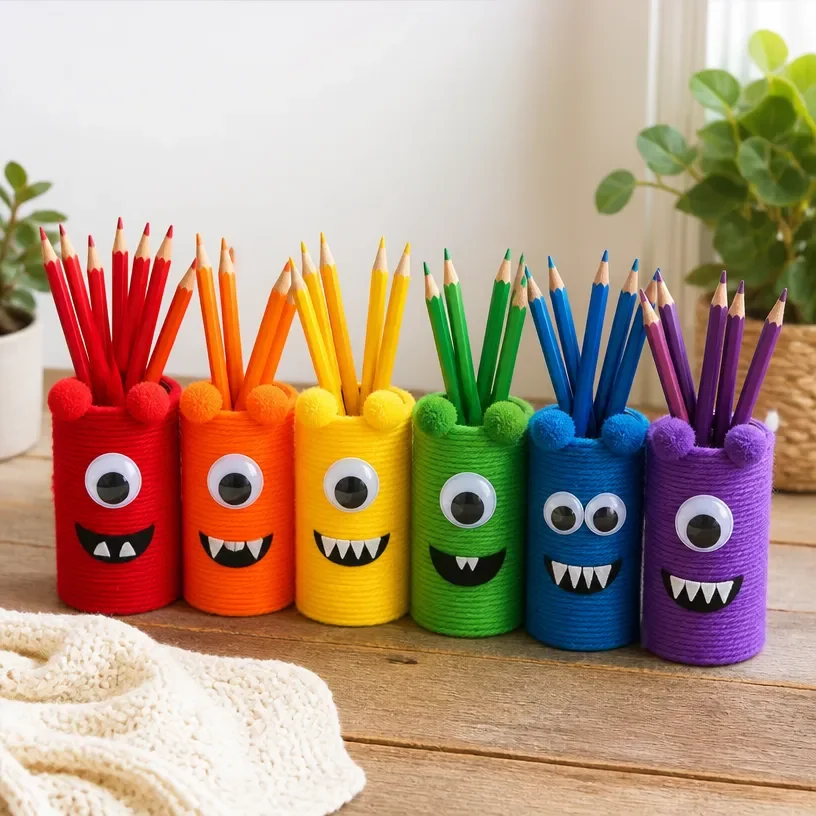
Colorful Rainbow Monster Pencil Holders for Your Desk
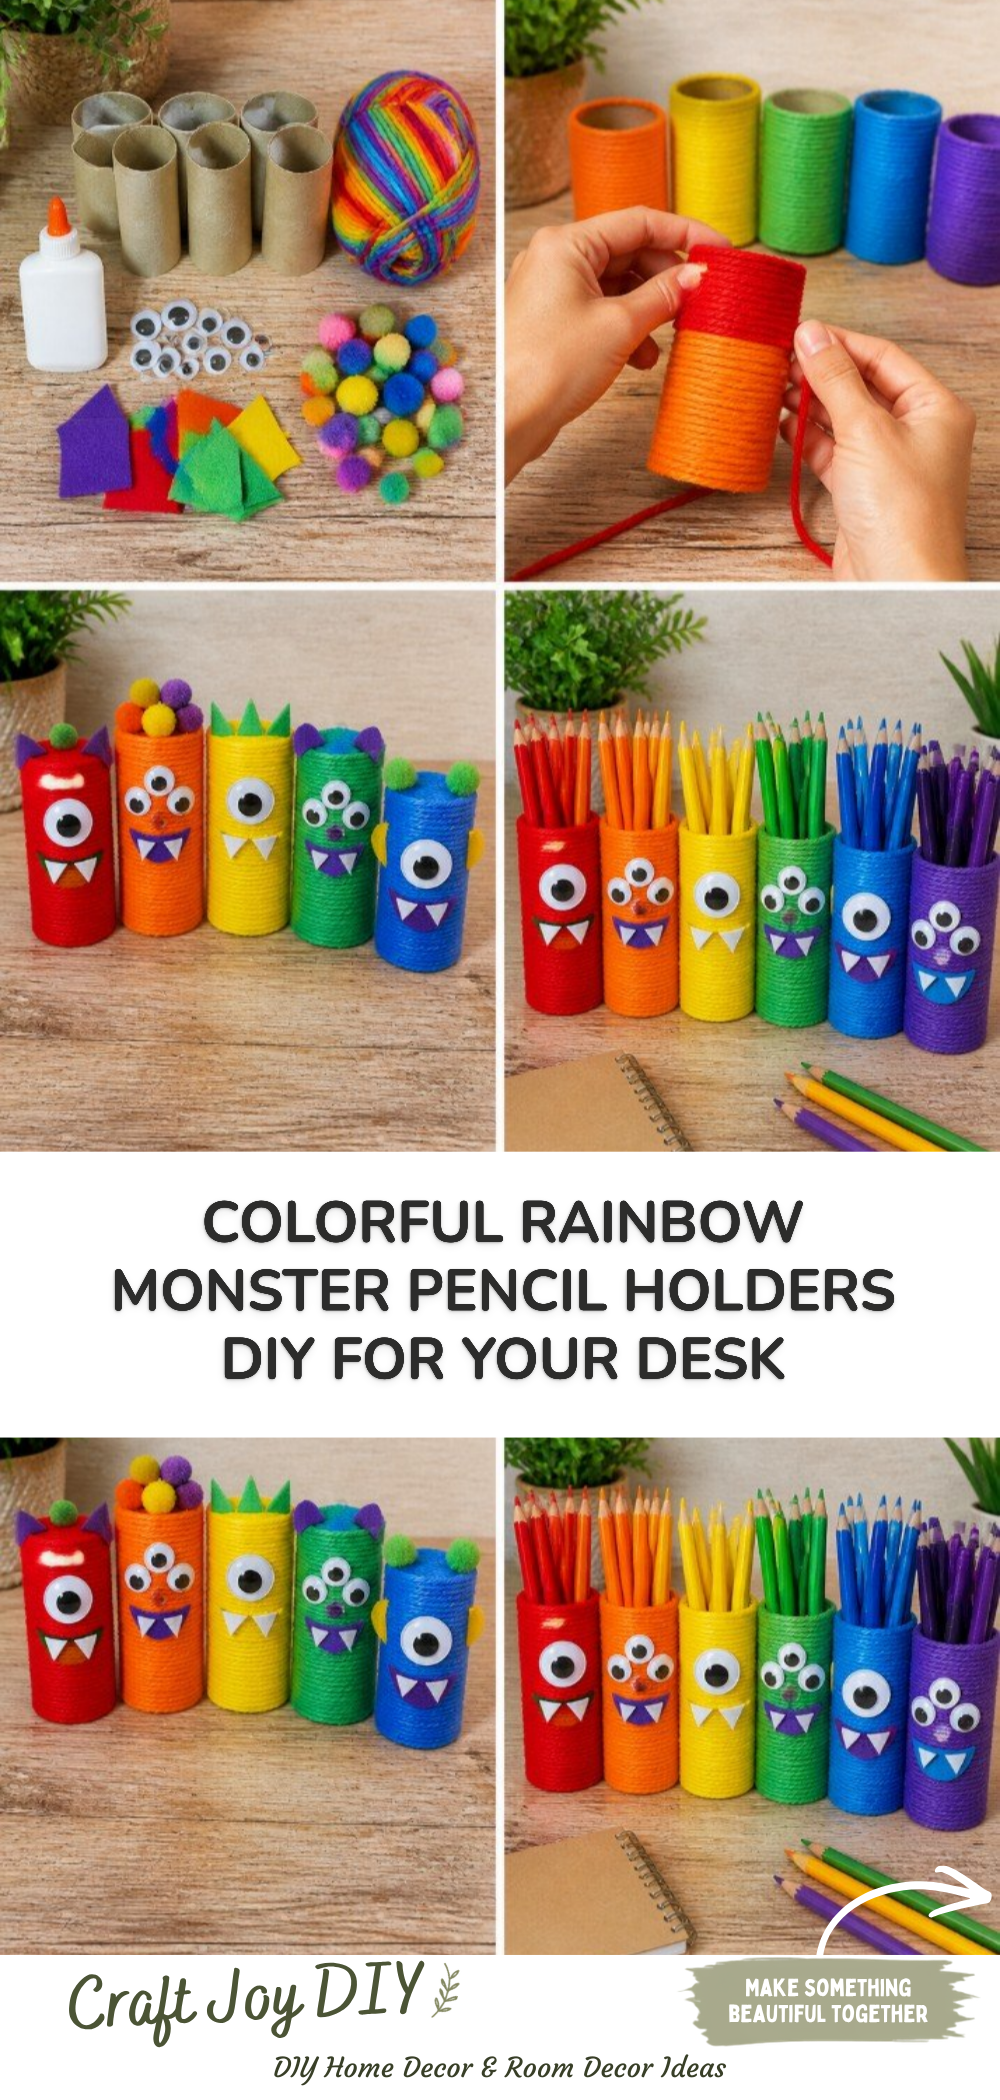
Creating your own colorful rainbow monster pencil holders is a fun and imaginative project that not only adds personality to your workspace but also helps organize your desk. These playful holders are perfect for kids and adults alike, sparking creativity and joy. In this tutorial, you’ll learn how to bring vibrant monster designs to life, making them a delightful addition to your desk or a thoughtful gift for friends and family. You may also find Desk Organizer Kids Rainbow Monster Pencil Cup Garden Theme useful.
By the end of this project, you’ll have some colorful creations that not only hold your pencils but also brighten up your space. Let’s get started on these Colorful Rainbow Monster Pencil Holders!
Why You’ll Enjoy This Project
- Fun and Creative: Designing these pencil holders allows for plenty of creativity. You can mix and match colors to create your ideal monster design.
- Simple Materials: This project uses everyday items that are easy to find, making it cost-effective and accessible for everyone.
- Great for All Ages: Whether working with kids or crafting solo, this project is enjoyable for both beginners and experienced crafters.
- Organizational Tool: Once completed, these holders will help keep your desk tidy and organized while adding a splash of color.
You may also find Rainbow Milk Art Colorful Swirl Prints For Kids useful.
Materials You’ll Need
- Empty toilet paper rolls or small cardboard tubes
- Colored construction paper
- Scissors
- Glue (or tape)
- Googly eyes
- Markers or crayons
- Optional: glitter, stickers, or other decorations
You can easily substitute colored construction paper with scrap paper or even use wrapping paper for a unique design. You may also find Rainbow Pencil Butterfly Suncatcher Craft For Kids useful.
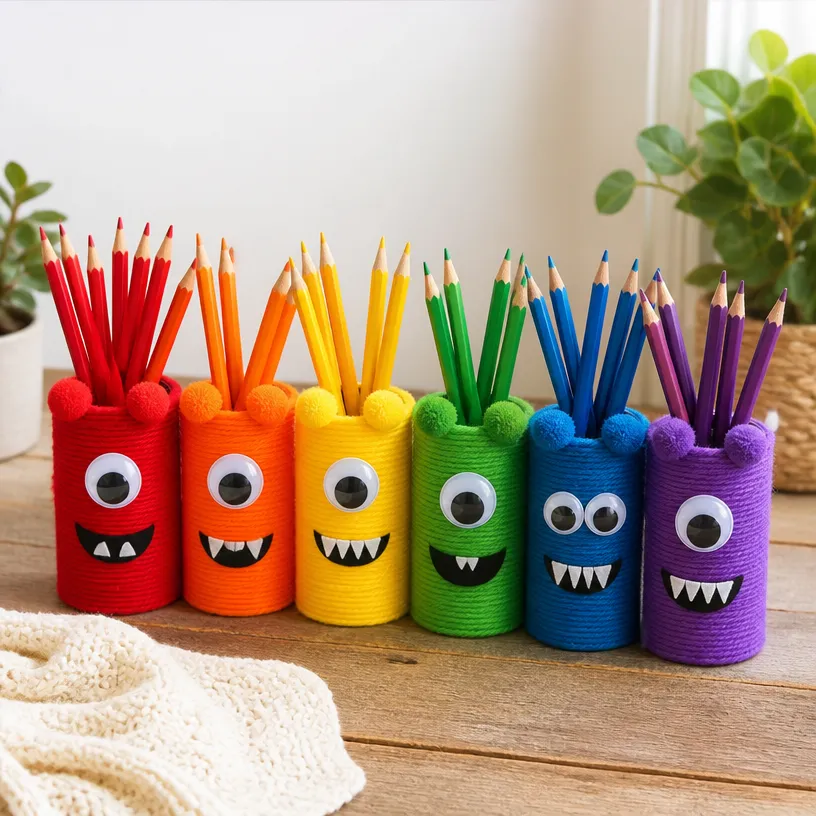
How to Make Colorful Rainbow Monster Pencil Holders for Your Desk
- Prepare the Base: Start with your empty toilet paper roll. If you’d like, you can trim it to your desired height.
- Cut the Paper: Measure and cut a piece of colored construction paper long enough to cover the entire roll.
- Cover the Roll: Use glue or tape to attach the paper to the cardboard tube, smoothing it down to avoid air bubbles.
- Create Monster Features: Cut out shapes from additional colored paper to make monster eyes, mouths, and any other features you’d like. Feel free to use inspirational designs from other crafts.
- Assemble the Features: Glue the googly eyes and paper features onto the front of your decorated tube to create your monster’s face.
- Add Finishing Touches: Use markers to draw extra details, or sprinkle some glitter for fun!
- Use Your Holder: Once everything is dry, fill your new pencil holder with your favorite writing instruments like pencils, pens, or markers.
Helpful Tips
- For easier assembly, consider cutting all your paper pieces before starting to glue things together.
- If you’re using glitter, apply it only after the glue is in place to prevent a mess.
- Let the finished holders dry upright to maintain their shape and prevent any smudging.
- To make it easier for younger children, pre-cut the paper and features ahead of time.
Easy Variations
- Color Themes: Use shades of a single color for a more monochromatic look.
- Seasonal Designs: Change the theme of your monsters for different holidays or seasons.
- Larger Monsters: Combine multiple rolls to create larger holders for bigger storage needs.
- Character Themes: Design monsters that look like favorite characters for a personalized twist.
Making This Craft With Kids
This project is a fantastic activity to do with children! Parents may need to assist with cutting and gluing, especially for younger children. Encourage kids to express their imagination through their monster designs, promoting creativity while developing fine motor skills.
How to Display or Use It
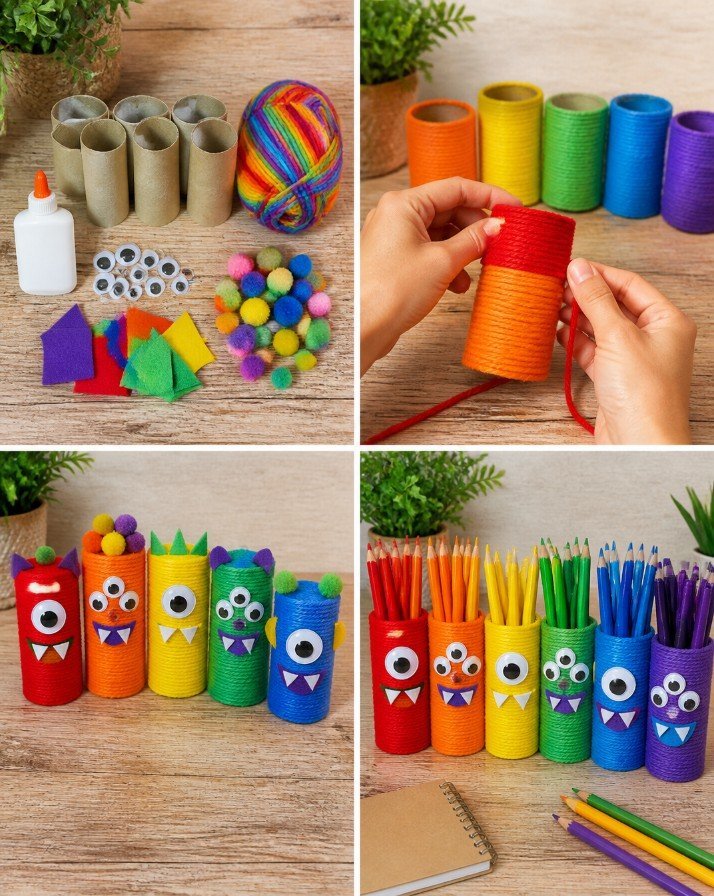
Once you’ve finished your colorful monster pencil holders, consider displaying them on your desk, a bookshelf, or as part of a classroom decoration. They also make wonderful gifts, especially for back-to-school season or birthdays!
Frequently Asked Questions
1. How long does it take to complete this craft?
It typically takes about 30 minutes to an hour, depending on decoration choices and drying times.
2. Can I wash the pencil holders?
The holders are not waterproof, so it’s best to keep them dry.
3. What if I don’t have colored construction paper?
You can use any colored paper you have at home, including old wrapping paper or even magazines.
4. Are there any safety precautions I should take?
Supervise children during the use of scissors and glue to ensure safety while crafting.
5. Can these holders be personalized as gifts?
Absolutely! Adding the recipient’s name or unique decorations makes for a thoughtful and personalized gift.
Conclusion
Creating your own colorful pencil holders can add personality to your workspace while helping you stay organized. For supplies, consider visiting Shop Playful – ZIPIT to find fun storage options. If you’re interested in more creative ideas to inspire young crafters, check out the ZIPIT Monster Pencil Case that fits perfectly with this project! Enjoy your crafting journey!
Print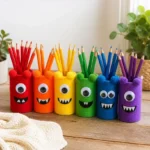
Colorful Rainbow Monster Pencil Holders
- Total Time: 40 minutes
- Makes: 1 pencil holder
Description
A fun and imaginative project to create colorful pencil holders that organize your workspace.
Materials
- Empty toilet paper rolls or small cardboard tubes
- Colored construction paper
- Scissors
- Glue (or tape)
- Googly eyes
- Markers or crayons
- Optional: glitter, stickers, or other decorations
Instructions
- Prepare the base: Start with your empty toilet paper roll.
- Cut the paper: Measure and cut a piece of colored construction paper long enough to cover the entire roll.
- Cover the roll: Use glue or tape to attach the paper to the cardboard tube.
- Create monster features: Cut out shapes from additional colored paper.
- Assemble the features: Glue the googly eyes and paper features onto the front.
- Add finishing touches: Use markers to draw extra details or sprinkle some glitter.
- Use your holder: Fill it with your favorite writing instruments.
Notes
Helpful tips include pre-cutting pieces for easier assembly. Monitor children while they use scissors and glue.