

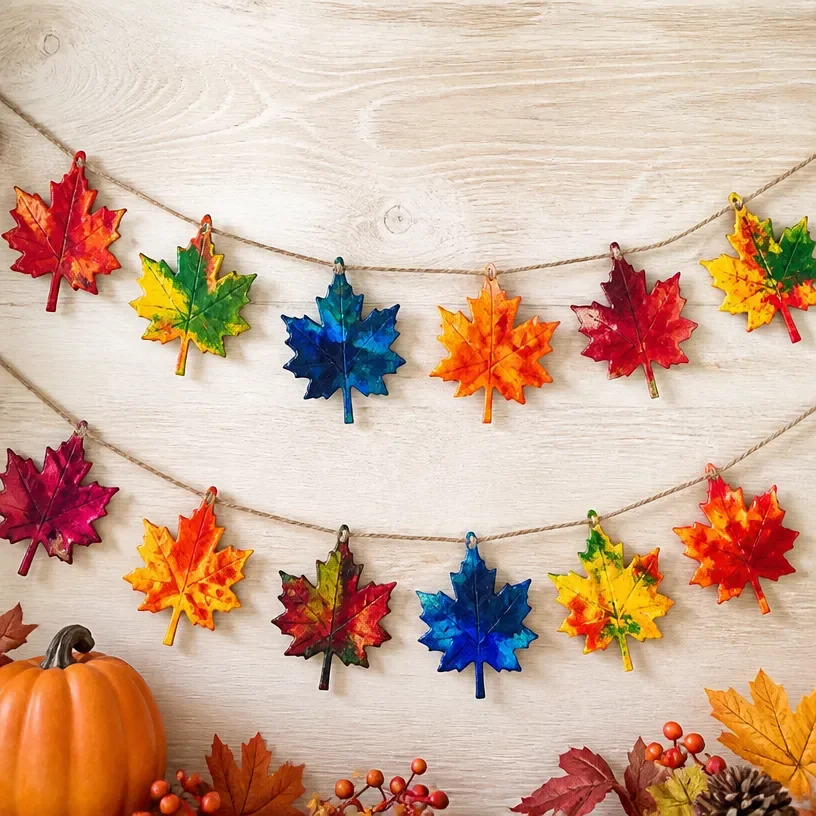
Melted Crayon Fall Leaf Garland
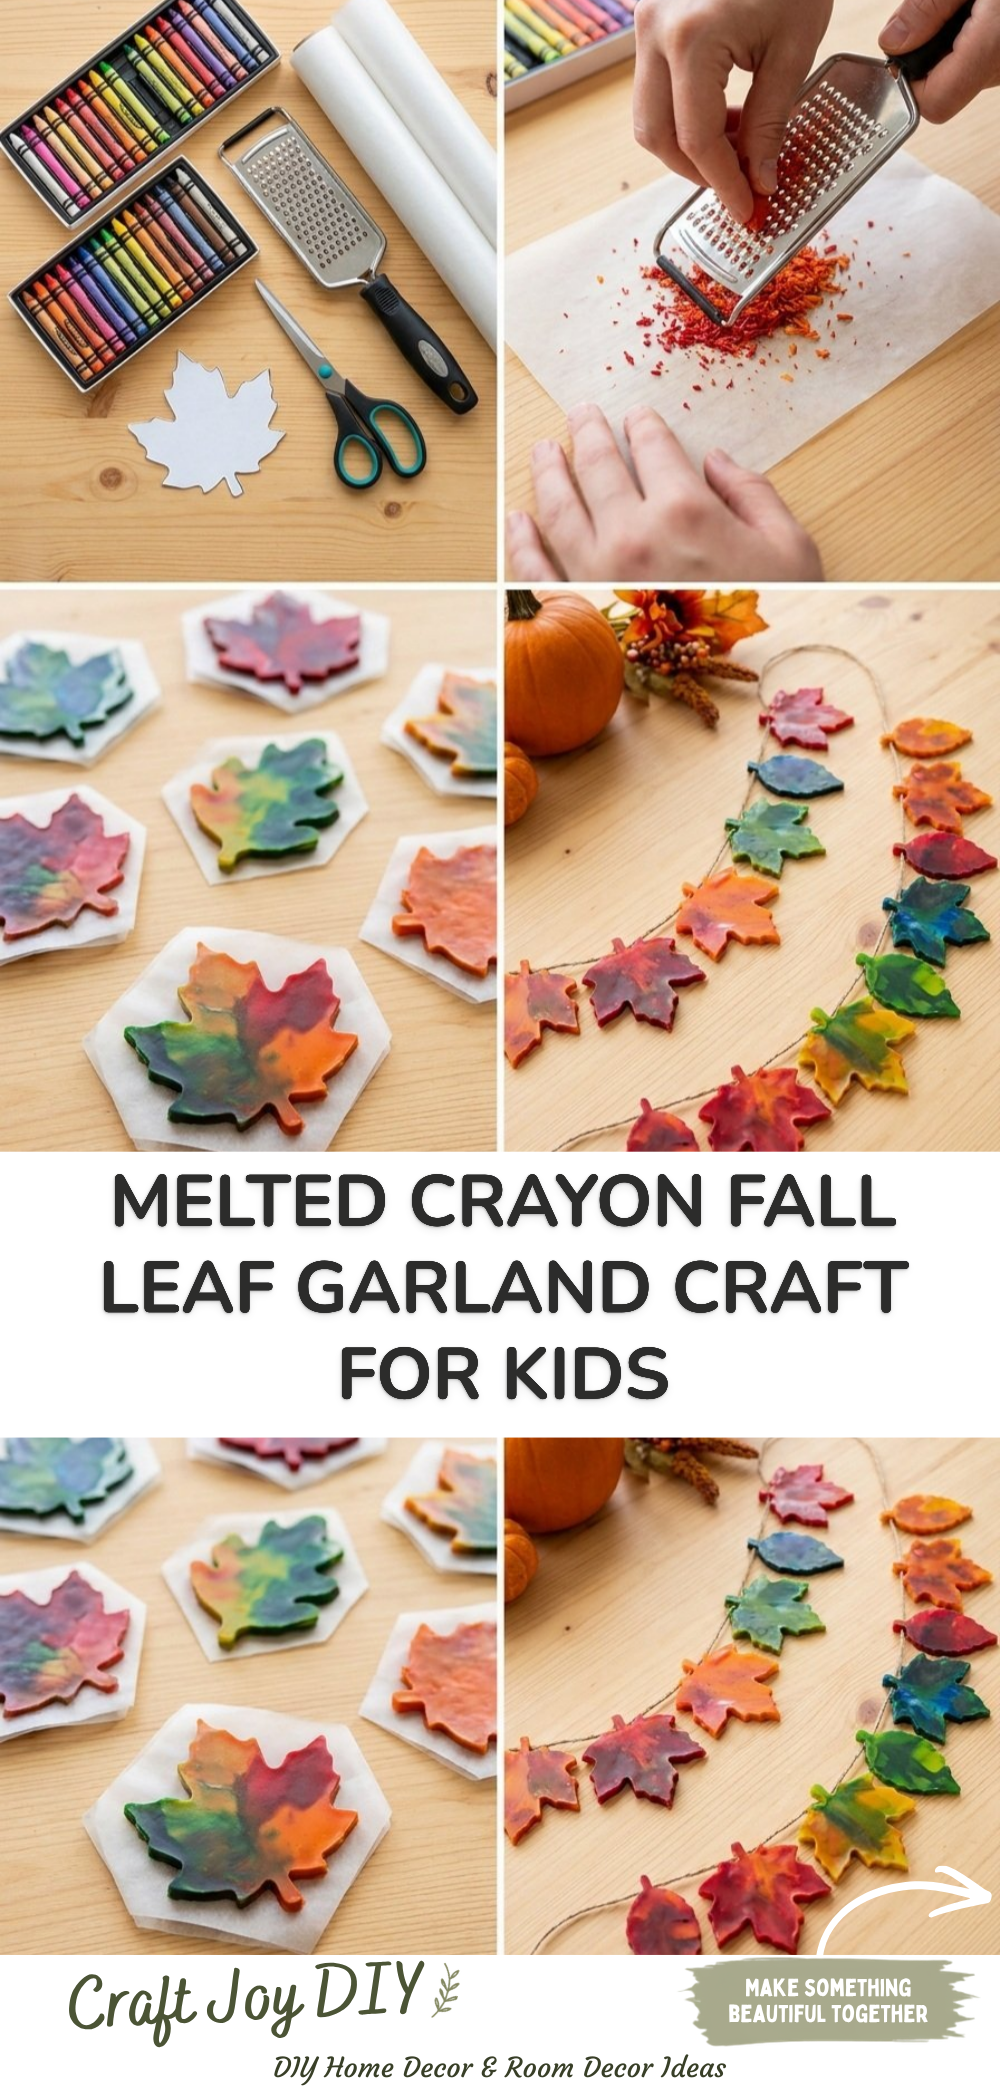
Creating a melted crayon fall leaf garland is a fun way to celebrate the beauty of autumn while engaging in a delightful crafting session with family or friends. This project is not only visually appealing but also allows kids and adults alike to explore their creativity by mixing colors and designs. The melted crayon technique creates beautiful, colorful leaves that mimic the vibrant foliage of the season. You may also find Melted Crayon Rainbow Butterfly Suncatcher For Kids useful.
In this tutorial, we will walk through the steps needed to make your own melted crayon fall leaf garland, ensuring that you have a great time while crafting together. Plus, there are plenty of opportunities to personalize your artwork! You may also find Melted Crayon Rainbow Haunted House Suncatcher Craft useful.
You may also find Rainbow Ghost Cupcake Liner Garland Halloween Decor useful.
Why You’ll Enjoy This Project
- Creative Expression: This project lets everyone experiment with colors and shapes, making it a great outlet for artistic flair.
- Easy to Follow: The instructions are straightforward, making it beginner-friendly perfect for young crafters and adults alike.
- Seasonal Decor: Once completed, the garland adds a warm and inviting touch to your autumn decorations.
- Fun Learning Experience: Kids can learn about color mixing and the properties of wax when crayons melt.
- Bonding Time: Crafting together makes for memorable moments that strengthen family ties.
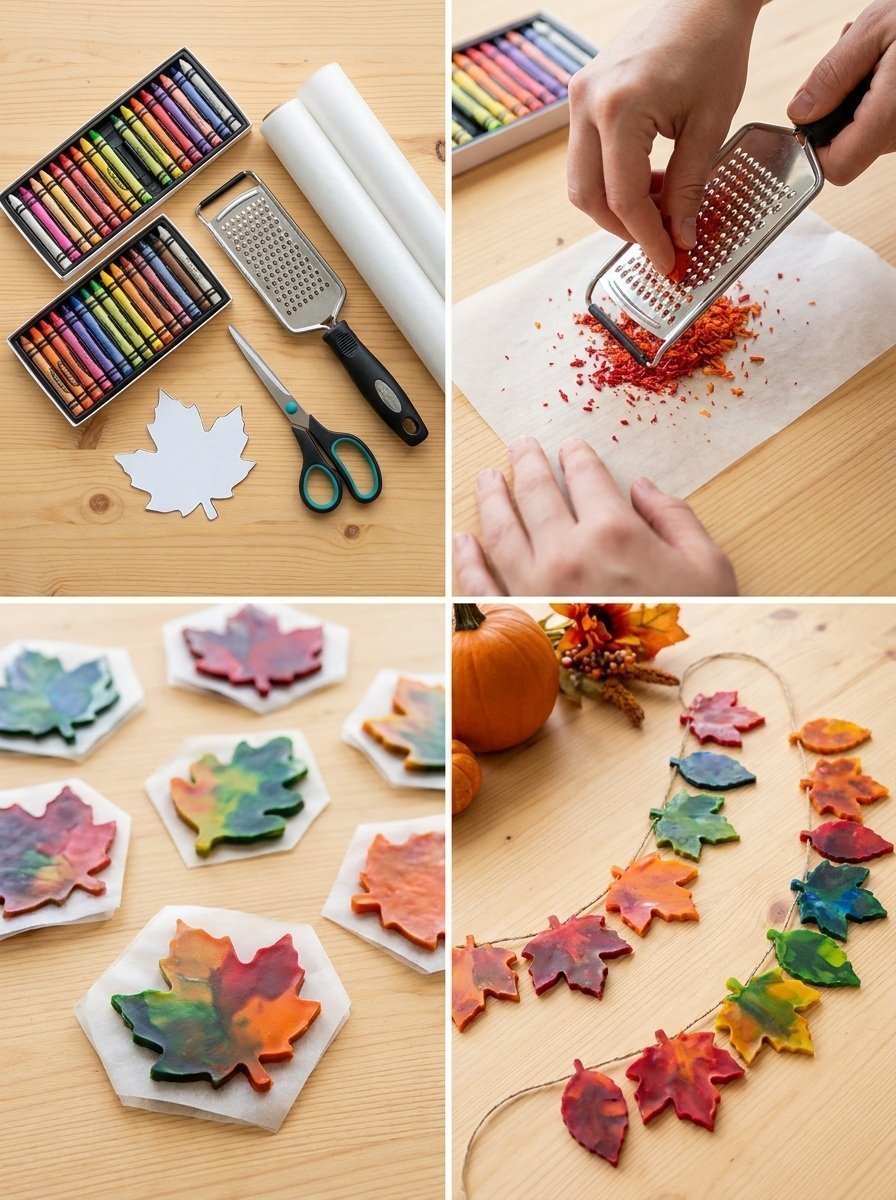
Materials You’ll Need
- Crayons (various colors)
- Baking sheet
- Parchment paper
- Leaf-shaped cookie cutters
- String or twine
- An oven
- Scissors
When selecting crayons, feel free to use broken pieces or even leftover crayons from your previous projects. They work perfectly for this craft!
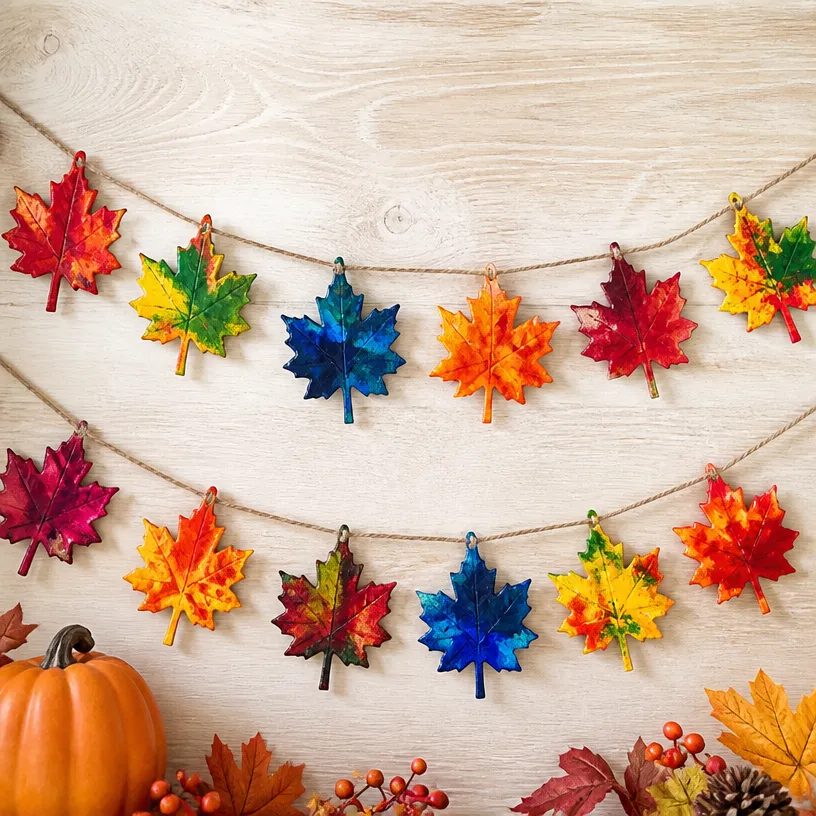
How to Make Melted Crayon Fall Leaf Garland
- Preheat the Oven: Set your oven to 200°F (93°C) to prepare for melting the crayons gently.
- Prepare the Baking Sheet: Line a baking sheet with parchment paper to prevent the melted crayon from sticking.
- Fill the Cookie Cutters: Place leaf-shaped cookie cutters on the parchment paper and fill them with chopped pieces of crayons. You can mix and match colors to create unique shades.
- Melt the Crayons: Carefully place the baking sheet in the preheated oven. Keep an eye on it, as the crayons should melt but not boil this should take about 10-15 minutes.
- Cool and Remove: Once melted, remove the baking sheet from the oven and let it cool for a few minutes. Afterward, carefully take out the cookie cutters.
- Create the Garland: Use scissors to cut a length of string or twine, then thread it through the top of each crayon leaf to create your garland.
By following these simple steps, you’ll create a beautiful decoration for your home. If you’re looking for additional craft ideas, consider also trying out a melted crayon heart suncatcher!
Helpful Tips
- To achieve smoother results, make sure the crayon pieces aren’t too large when filling the cookie cutters.
- Keep the melted crayon in the oven for a shorter time if you prefer a more chunky texture.
- Ensure the workspace is well-ventilated, as the melted wax can have a noticeable scent.
- The melting process is best supervised by an adult, especially with younger children around.
Easy Variations
- Color Themes: Choose colors that represent your favorite season or holiday.
- Different Shapes: Use various cookie cutter shapes like pumpkins or acorns to diversify your garland.
- Layering: For a more complex look, layer different colors in the cookie cutters, allowing one layer to set before adding another.
- Size Options: Experiment with different sizes of cookie cutters to create a mixture of large and small leaves.
Making This Craft With Kids
This project is perfect for kids, as it allows them to express their creativity. Adults should supervise during the melting phase, as the oven can be hot. Kids can handle most of the cutting and assembling once all elements have cooled down.
How to Display or Use It
Once your melted crayon fall leaf garland is complete, it can be hung along windows, draped across mantles, or used as part of a festive table centerpiece. It’s a charming way to enhance your home with a touch of autumn flair!
Frequently Asked Questions
What if I don’t have leaf-shaped cookie cutters?
You can use any cookie cutter shape you like, or even freehand cut the shapes from the cooled melted crayons.
Are there alternative ways to melt the crayons?
You may use a microwave in a microwave-safe dish, but make sure to monitor the melting process closely.
How should I store leftover crayons?
Store leftover crayons in a cool, dry place. Reusable crayon bits can be melted again for future crafts.
Can I use different brands of crayons?
Yes, different brands will work, but be mindful that the melting properties might vary slightly.
Conclusion
Creating a melted crayon fall leaf garland is a beautiful way to celebrate the season while spending quality time with family and friends. If you are looking for more engaging fall-themed crafts, consider checking out this fun fall tree art project or explore a similar idea with these fall leaves sun catchers. Happy crafting!
Print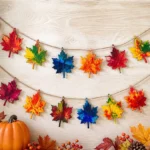
Melted Crayon Fall Leaf Garland
- Total Time: 25 minutes
- Makes: 1 garland
Description
Create a vibrant melted crayon fall leaf garland that’s perfect for autumn decorations, allowing everyone to express their creativity.
Materials
- Crayons (various colors)
- Baking sheet
- Parchment paper
- Leaf-shaped cookie cutters
- String or twine
- An oven
- Scissors
Instructions
- Preheat the oven to 200°F (93°C).
- Prepare the baking sheet by lining it with parchment paper.
- Fill the cookie cutters with chopped crayon pieces of various colors.
- Melt the crayons in the oven for about 10-15 minutes without boiling.
- Cool the melted crayons and carefully remove the cookie cutters.
- Create the garland by threading string or twine through the tops of each crayon leaf.
Notes
Ensure the workspace is well-ventilated and supervise children during the melting process.