

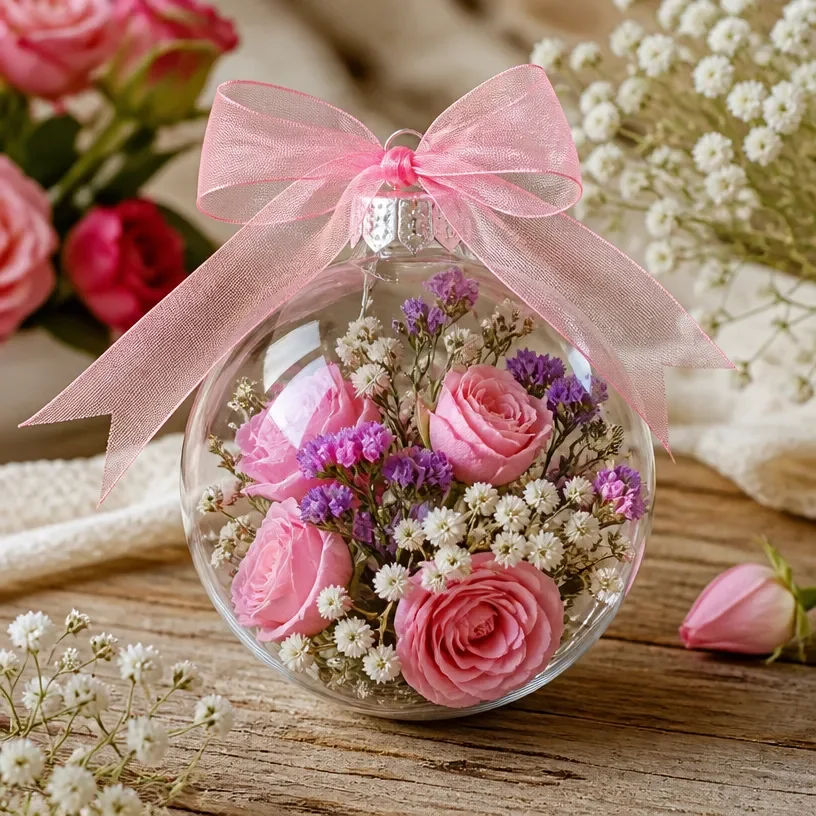
DIY Garden Memory Ornament Tutorial
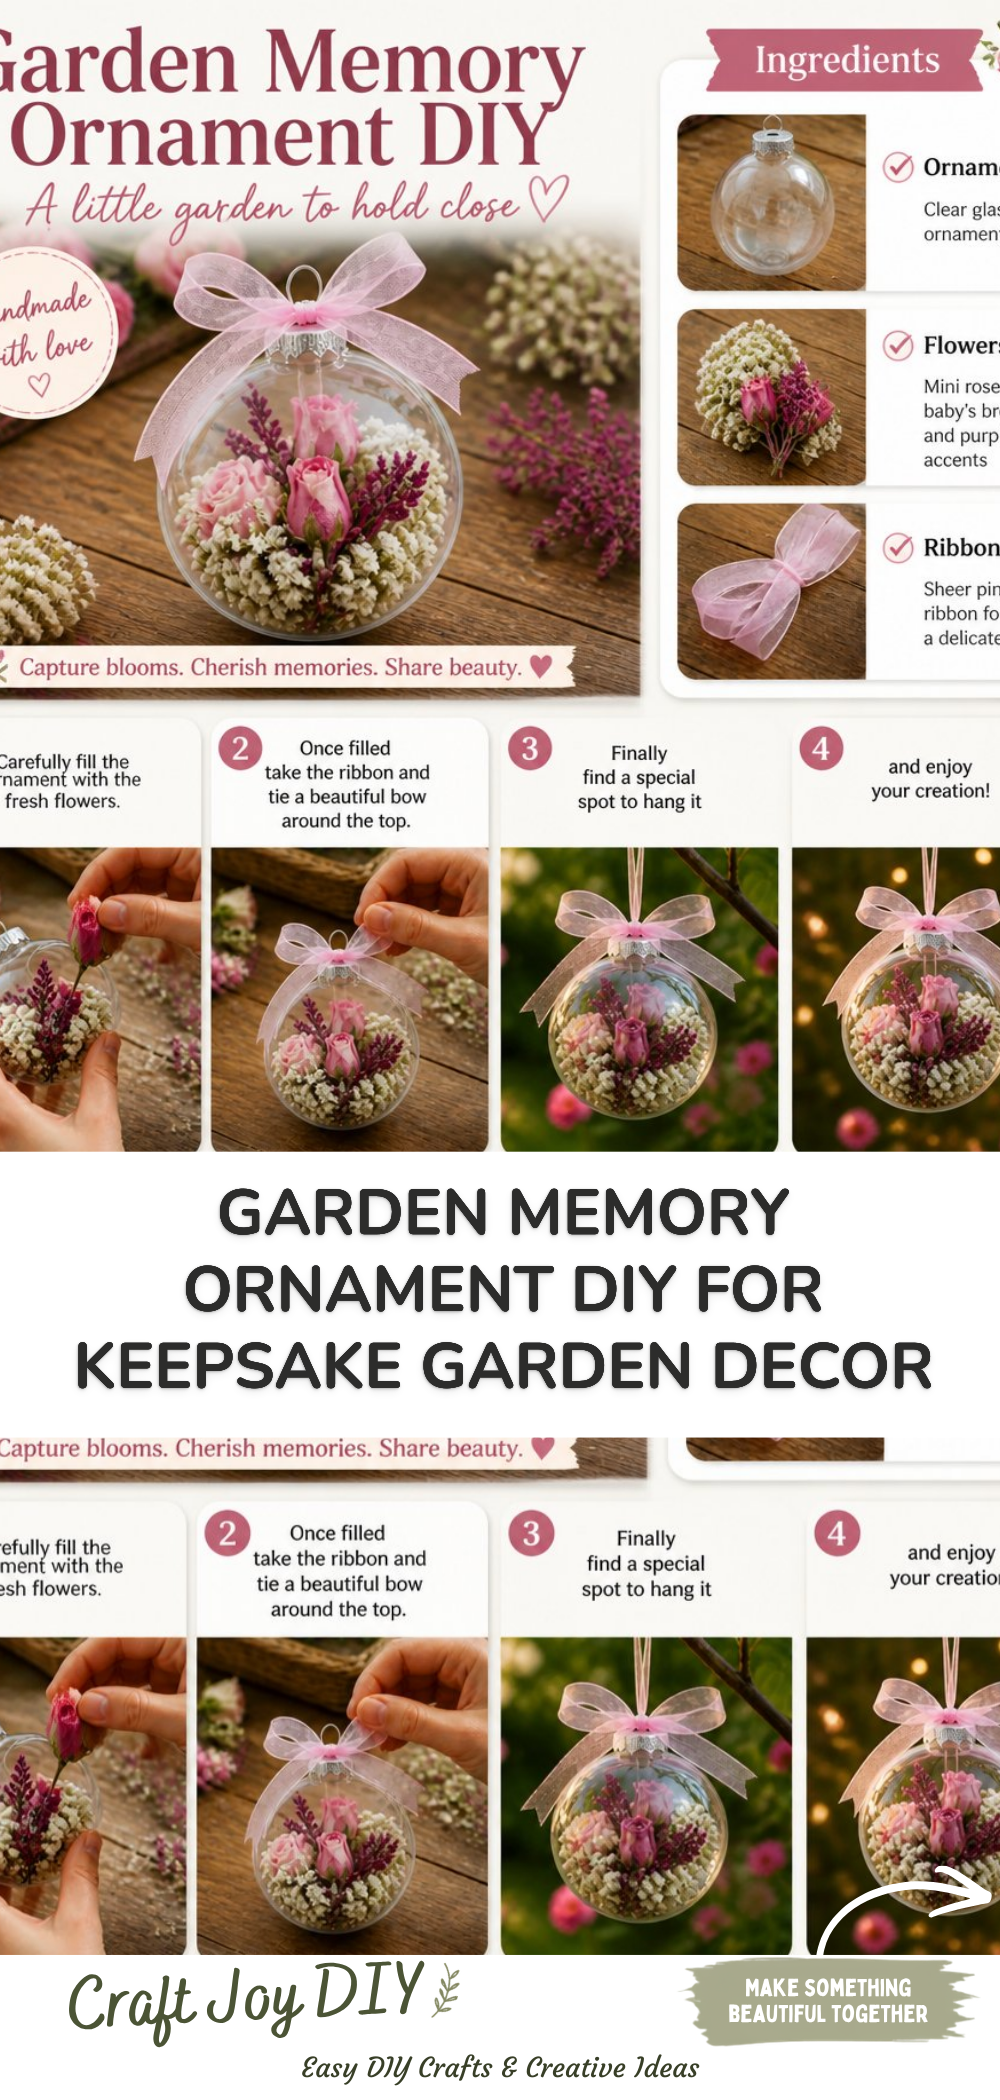
Creating a DIY Garden Memory Ornament is a wonderful way to preserve memories of your loved ones or cherished moments in nature. This delightful craft project lets you capture flowers, leaves, or other special items and turn them into beautiful ornaments for your garden or home. It’s not only a fun activity but also an opportunity to stimulate creativity and celebrate the beauty of nature. You may also find Diy Botanical Butterfly Ornament Pressed Flowers useful.
This project is perfect for families, and it’s a great way to encourage children to appreciate the outdoors. In this tutorial, you will learn the step-by-step process of making these unique ornaments, which can also serve as gifts for friends and family. You may also find Diy Frozen Fairy Garden Ice Bowl useful.
You may also find Diy Rainbow Butterfly Garden Cupcake Liners useful.
Why You’ll Enjoy This Project
- Personalization: Each ornament can be customized with different natural materials that have special meanings.
- Eco-Friendly: Using found objects from your garden makes this project sustainable and environmentally friendly.
- Educational: It teaches children about nature, gardening, and creativity in crafting.
- Decorative: These ornaments can add a personal touch to your home or garden décor.
- Memorable: Each piece will remind you of lovely moments spent with family and friends outdoors.
Materials You’ll Need
- Natural elements (flowers, leaves, twigs)
- Clear resin or epoxy
- Silicone molds (for shaping)
- Mixing container and stick
- Gloves (to keep your hands clean)
- Optional: glitter or color pigments for added flair
When selecting natural items, opt for flowers and leaves that are sturdy and retain their shape well, as these will hold up better in resin. You may also find Diy Seed Paper Hearts Bloom Garden Gifts useful.
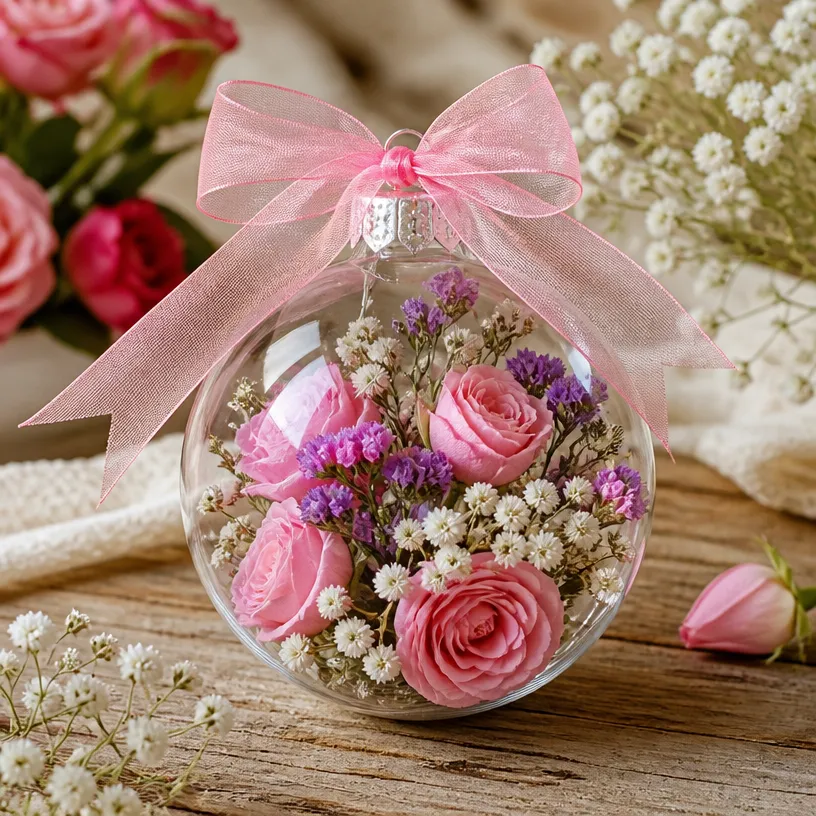
How to Make DIY Garden Memory Ornament Tutorial
- Gather Your Natural Elements: Go for a walk in your garden or park and collect inspiring items to include in your ornament.
- Prepare Your Molds: Take your silicone molds and ensure they are clean and dry before using them.
- Mix the Resin: Follow the instructions on your resin packaging. Typically, you’ll mix equal parts of resin and hardener in a container.
- Layer the Natural Items: Pour a small amount of mixed resin into the mold, then layer your flowers and leaves as desired.
- Fill the Mold: Pour more resin over the layered items to completely cover them. Leave enough space at the top for a finishing touch if desired.
- Let It Cure: Allow the resin to cure as per manufacturer instructions, usually taking several hours to a full day.
- Unmold Your Ornament: Once cured, gently pull your ornament out of the mold.
- Finishing Touches: If you like, add hooks or twine to hang your ornament in the garden or home.
Helpful Tips
- If you’re using larger items, consider breaking them into smaller pieces for easier handling and a better fit within the mold.
- Take care when working with resin, as it can get sticky. Wearing gloves will make for easier cleanup.
- While the resin is curing, keep it out of direct sunlight to avoid any issues with its chemical reaction.
Easy Variations
- Seasonal Themes: Use flowers that bloom in different seasons to create ornaments that reflect the passage of time.
- Colorful Enhancements: Add washable color pigments or glitter to the resin before pouring for a vibrant touch.
- Different Shapes: Experiment with various silicone mold shapes to create unique designs like hearts or stars.
- Aromatic Elements: Incorporate dried herbs or scented flowers for fragrant ornaments.
- Gift Tags: Create smaller ornaments that can serve as gift tags for special occasions.
Making This Craft With Kids
This project is a fantastic activity for kids, especially if they are passionate about nature. Adults should assist with mixing the resin and pouring it into molds, as the materials can be tricky to handle. Supervise closely to ensure that children do not ingest any materials. You may also find Bird Feeder Vintage Teacup Garden Decor useful.
How to Display or Use It
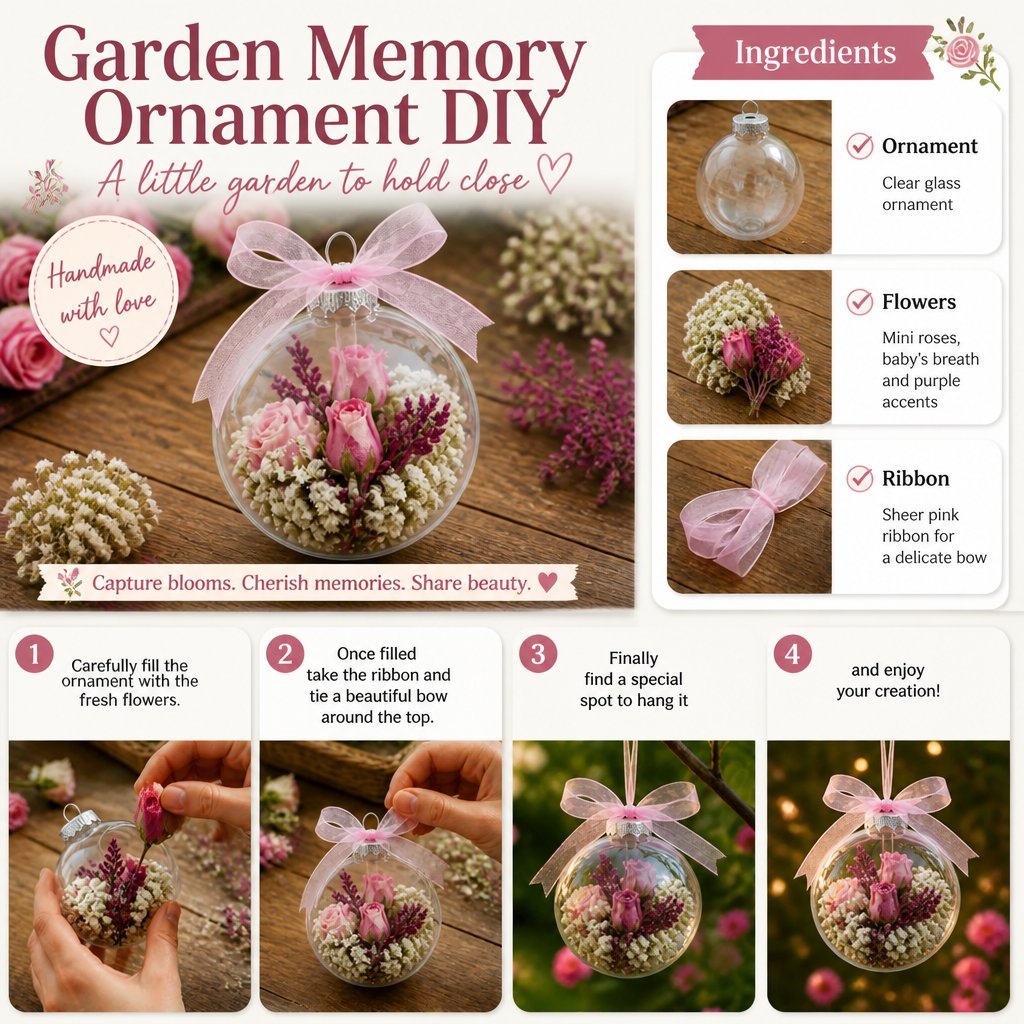
Once your ornaments are ready, hang them in your garden, place them on a shelf, or use them as window decorations. They also make thoughtful gifts for friends and family, especially for those who appreciate crafting and nature-inspired creations.
Frequently Asked Questions
1. How long does the resin take to cure?
Most resins cure within a few hours but may require up to 24 hours for full hardness.
2. Can I use fresh flowers?
It’s best to use dried flowers; fresh ones can deteriorate and may not preserve well in resin.
3. What if my ornament feels sticky?
This could mean the resin hasn’t fully set; ensure you follow the instructions carefully for mixing and curing times.
4. Can I make these ornaments outdoors?
Yes, crafting outdoors can be enjoyable, but ensure the area is clean and free from bugs.
5. What if I want to change my design after it sets?
Once the resin has cured completely, it is difficult to alter the design; therefore, plan your layout carefully beforehand.
Conclusion
Embracing creativity through crafting can lead to wonderful keepsakes. Using this DIY garden stones tutorial can complement your garden decor beautifully. Additionally, if you’re interested in meaningful gifts, check out these meaningful Christmas ornaments ideas for extra inspiration. Happy crafting!
Print
DIY Garden Memory Ornament
- Total Time: 0 minutes
- Makes: 1 ornament
Description
Create beautiful memory ornaments using natural elements and resin to preserve cherished moments.
Materials
- Natural elements (flowers, leaves, twigs)
- Clear resin or epoxy
- Silicone molds
- Mixing container and stick
- Gloves
- Optional: glitter or color pigments
Instructions
- Gather your natural elements: Collect inspiring items from your garden or park.
- Prepare your molds: Ensure silicone molds are clean and dry.
- Mix the resin: Combine equal parts of resin and hardener as per packaging instructions.
- Layer the natural items: Pour a small amount of mixed resin into the mold and layer your flowers and leaves.
- Fill the mold: Pour more resin to cover the layered items, leaving space at the top.
- Let it cure: Allow the resin to cure as per manufacturer instructions.
- Unmold your ornament: Once cured, gently pull the ornament out.
- Add finishing touches: Include hooks or twine for hanging.
Notes
Wear gloves to keep hands clean while working with resin, and supervise children closely during crafting.