

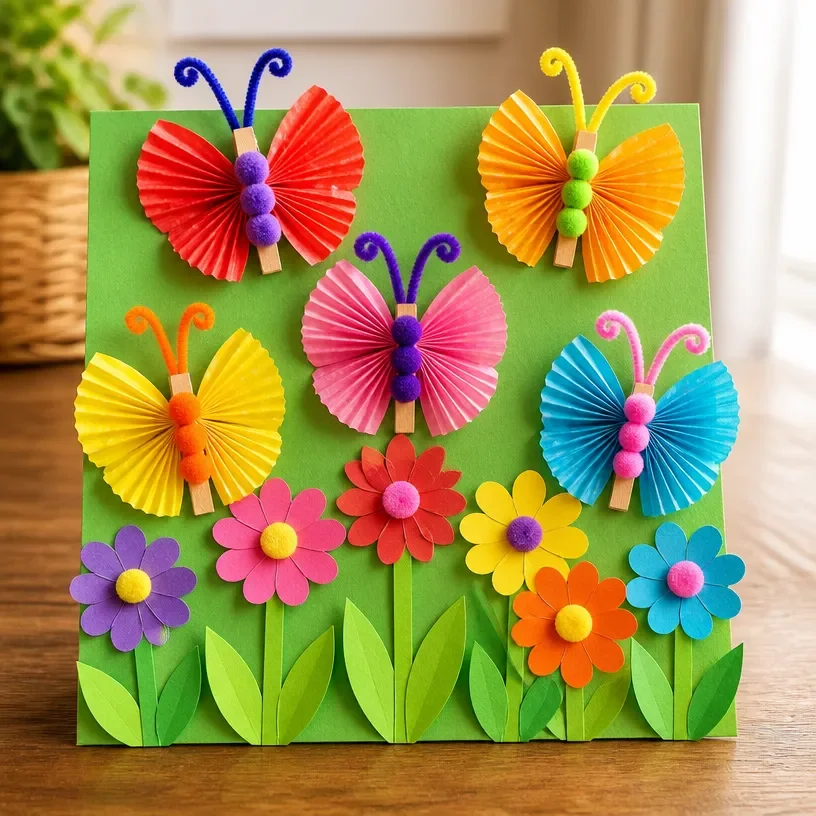
DIY Rainbow Butterfly Garden Using Cupcake Liners
Crafting with children is a wonderful way to foster creativity while creating beautiful decorations for your home or garden. Today, we’ll explore a fun project that combines colorful cupcake liners with a bit of nature to make a DIY Rainbow Butterfly Garden. This project is enjoyable for all ages and adds a whimsical touch to your outdoor space. You may also find Rainbow Cupcake Liner Butterfly Garden Craft useful.
Creating this butterfly garden not only allows your kids to express their creativity but also helps them learn about nature and colors in a playful way. Plus, it’s a fantastic way to use up those extra cupcake liners you might have lying around. Let’s dive into the details of your DIY Rainbow Butterfly Garden! You may also find Diy Rainbow Popsicle Stick Flower Wheel Craft useful.
Why You’ll Enjoy This Project
- Easy to Make: With minimal supplies and straightforward steps, this project is perfect for crafters at any level.
- Colorful and Fun: The bright colors of the cupcake liners create a joyful atmosphere in your garden.
- Great for Learning: This craft encourages children to learn about butterflies, plants, and the importance of nature.
- Recyclable Materials: It’s a wonderful way to upcycle materials you already have, promoting sustainability.
- Encourages Creativity: Children can customize their butterfly designs any way they choose!
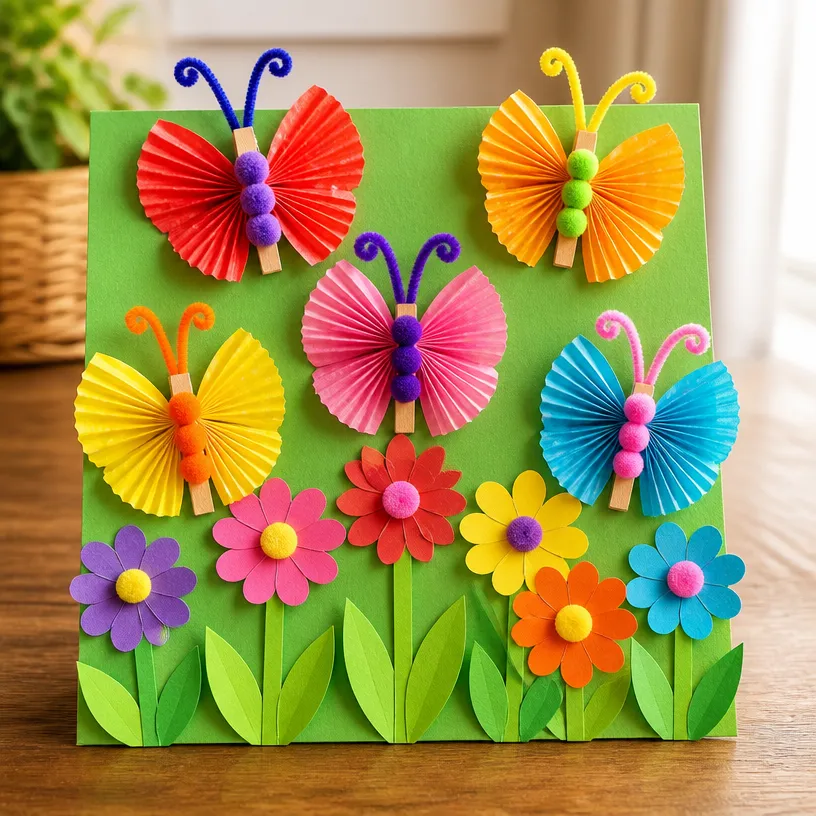
You may also find Melted Crayon Rainbow Butterfly Suncatcher For Kids useful.
Materials You’ll Need
- Assorted cupcake liners (various colors)
- Pipe cleaners or thin wire
- Scissors
- Glue
- Colored paper or cardstock for the butterfly’s body
- Craft sticks or skewers (for the butterfly stands)
- Markers or crayons for decoration
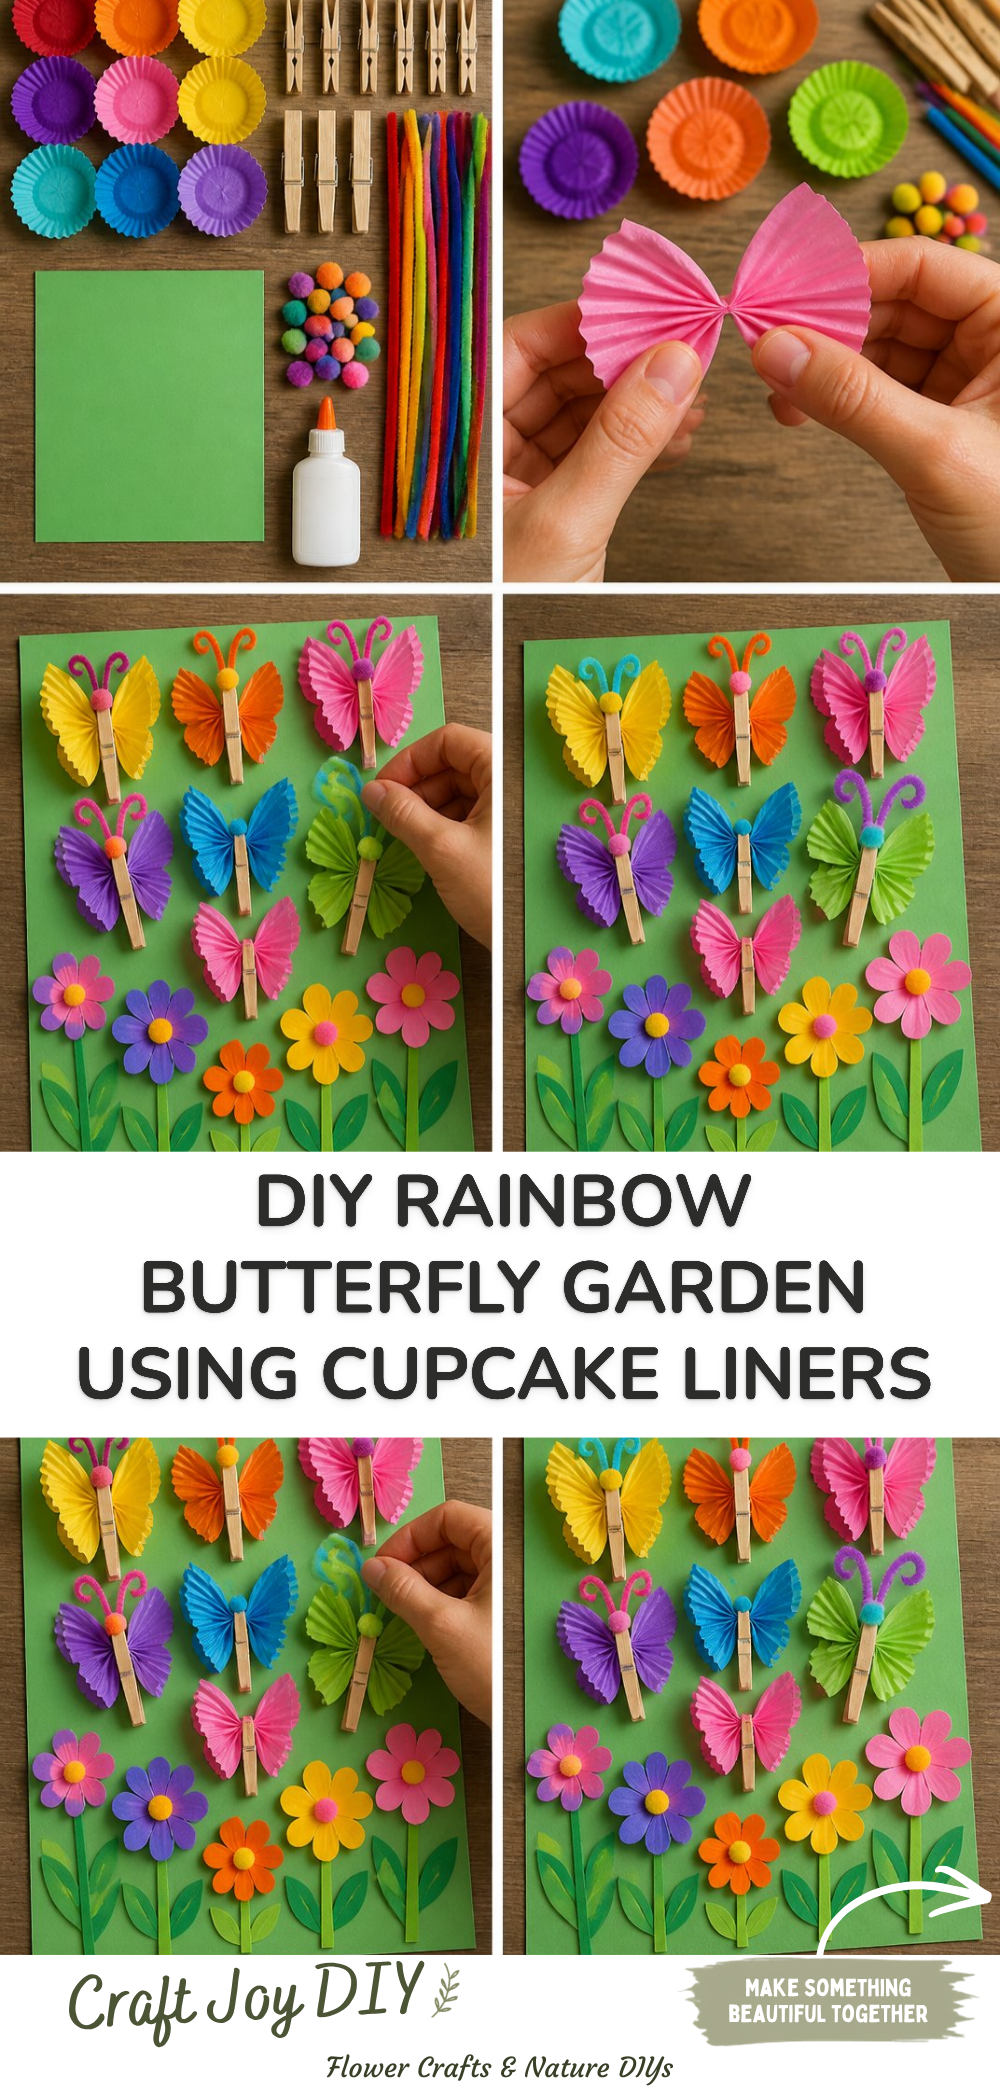
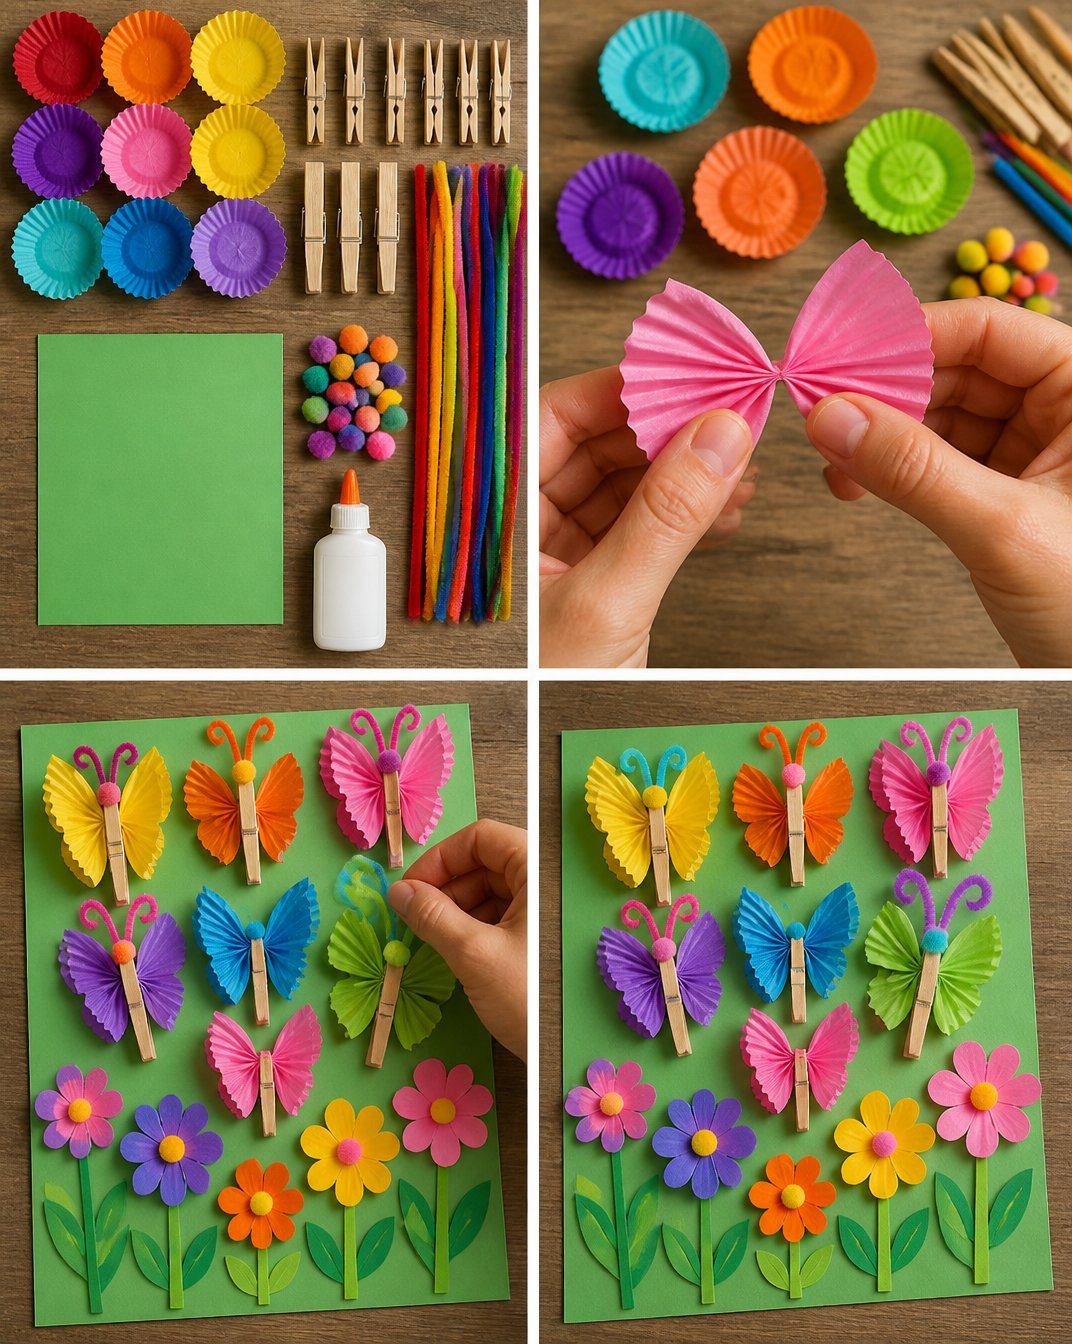
How to Make DIY Rainbow Butterfly Garden Using Cupcake Liners
- Prepare Your Cupcake Liners: Take your cupcake liners and flatten them out. You can layer two liners together for a fuller butterfly effect.
- Create Butterfly Wings: Fold the flattened liners in half and cut a wavy edge along the top for a decorative wing shape. Open them to reveal your butterfly wings.
- Make the Butterfly Body: Cut a small strip from colored paper or cardstock to create the body. You can draw or color patterns on it with markers for added fun.
- Assemble the Butterfly: Use glue to attach the butterfly body to the center of the wings. If you want to add extra flair, use additional decorations.
- Attach the Wings: Once the body is secured, attach pipe cleaners or wire for antennas at the top of the body and twist them to form antlers.
- Create the Stand: Use craft sticks or skewers to create stands for your butterflies. Insert the bottom end of the butterfly into the stick firmly and make sure they can stand up.
For additional creative projects, you may also want to check out how to create a rainbow cupcake liner butterfly garden or a cupcake liner dahlia bouquet DIY centerpiece.
Helpful Tips
- Use Variety: Mix and match colors and patterns of cupcake liners for a more vibrant garden.
- Secure Attachments: Ensure all glue is dry before placing butterflies outside to prevent them from falling apart.
- Stability Matters: Use thicker craft sticks for better stability, particularly if displaying outside.
- Placement: Choose a sunny area for your butterfly garden, as it allows the colors to shine brightly.
- Supervision: Younger children may need help handling scissors and glue.
Easy Variations
- Seasonal Themes: Change the colors to match different seasons; pastel for spring, warm tones for fall.
- Different Sizes: Create butterflies of various sizes to add depth to your garden.
- Add Flower Designs: Incorporate additional paper flowers around your butterflies for a fuller garden display.
- Make it a Learning Experience: Research different butterfly species and make butterflies that resemble them.
- Nature Integration: Incorporate real leaves or twigs along with your butterflies for a more natural effect.
Making This Craft With Kids
This project is a great way to engage children in crafting. Younger kids may need adult supervision, especially when using scissors and glue. You can also assist them in folding the cupcake liners and constructing the butterflies, turning it into a collaborative adventure.
How to Display or Use It
Display your DIY Rainbow Butterfly Garden in a sunny spot in your yard, front porch, or even indoors on a windowsill. When creating your garden, consider arranging your butterflies at different heights for visual interest. This display can change seasonally or as kids create new butterflies.
Frequently Asked Questions
Can we use other materials for the butterflies?
Yes, you can use other paper types, fabric, or even old magazines to create unique butterflies.
How long will this craft last outdoors?
Depending on the weather conditions, the glue and materials may wear quickly. Consider bringing them inside during bad weather.
Is this project suitable for all age groups?
Yes, while younger kids will need supervision, older children and adults can independently enjoy this crafting experience.
Can I turn this into a larger project?
Absolutely! You can create a whole garden scene or incorporate additional crafts like flower pots or garden stakes.
What if I don’t have cupcake liners?
You can substitute with paper plates cut into wing shapes or even tissue paper layered together.
Where can I find ideas for other crafts?
Explore more craft ideas, like making a DIY botanical butterfly ornament with pressed flowers.
Conclusion
Creating a DIY Rainbow Butterfly Garden is not just a fun craft but also an opportunity to explore creativity while enjoying the beauty of nature. It’s a delightful project that children and adults alike can enjoy together. For more cupcake-themed fun, consider trying this Funfetti Cupcakes recipe to celebrate your crafting success. Additionally, check out these butterfly scenes with cupcake liners for more inspiration in your crafting journey!
Print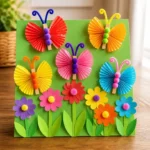
DIY Rainbow Butterfly Garden Using Cupcake Liners
- Total Time: 15 minutes
- Makes: Multiple butterflies
Description
A fun and colorful project to create a butterfly garden using cupcake liners, perfect for all ages.
Materials
- Assorted cupcake liners (various colors)
- Pipe cleaners or thin wire
- Scissors
- Glue
- Colored paper or cardstock for the butterfly’s body
- Craft sticks or skewers (for butterfly stands)
- Markers or crayons for decoration
Instructions
- Prepare your cupcake liners by flattening them out.
- Create butterfly wings by folding the liners in half and cutting a wavy edge.
- Make the butterfly body from a small strip of colored paper or cardstock.
- Assemble the butterfly by attaching the body to the center of the wings with glue.
- Attach antennas made from pipe cleaners or wire at the top of the body.
- Create stands using craft sticks or skewers and insert the butterfly into the stick.
Notes
Encourage children to customize their butterfly designs and ensure all glue is dry before displaying outdoors.