

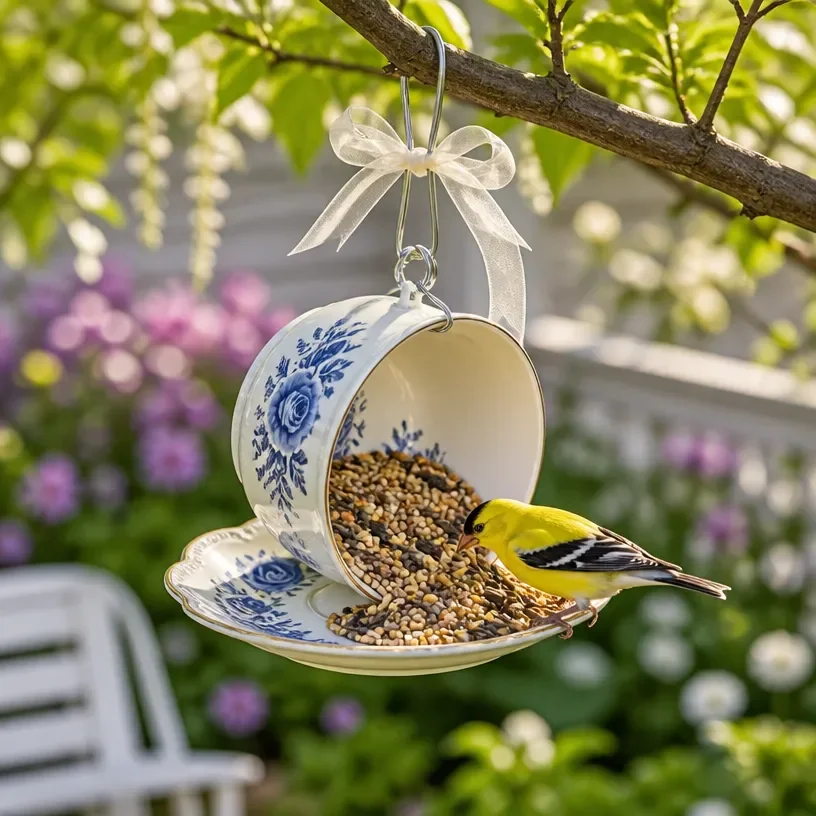
Cute Vintage Teacup Bird Feeder for Garden Decor
Making a cute vintage teacup bird feeder can be a delightful project that brings beauty to your garden while inviting feathered friends to visit. This charming craft allows you to turn unused teacups into a functional decoration that brightens your outdoor space. It’s not only an enjoyable craft but also a wonderful way to recycle items that may have sat in your cupboard for too long. You may also find Pool Noodle Bird Feeder Diy For Kids useful.
Whether you’re a seasoned crafter or trying your hand at something new, this teacup bird feeder is straightforward and has a charming vintage appeal. Plus, it’s a perfect project to do with children, combining creativity with the joy of observing nature. You may also find Rainbow Mosaic Flower Pot Craft Garden Decor useful.
Why You’ll Enjoy This Project
- Eco-Friendly: Upcycling teacups reduces waste and gives new life to items you no longer use.
- Customizable: You can choose different colors and designs to match your outdoor decor.
- Attracts Wildlife: This bird feeder will draw beautiful birds into your garden, creating a lively atmosphere.
- Easy to Make: The project requires simple materials and steps, making it approachable for crafters of all levels.
You may also find Upcycled Cd Butterflies Suncatcher Garden Decor useful.
Materials You’ll Need
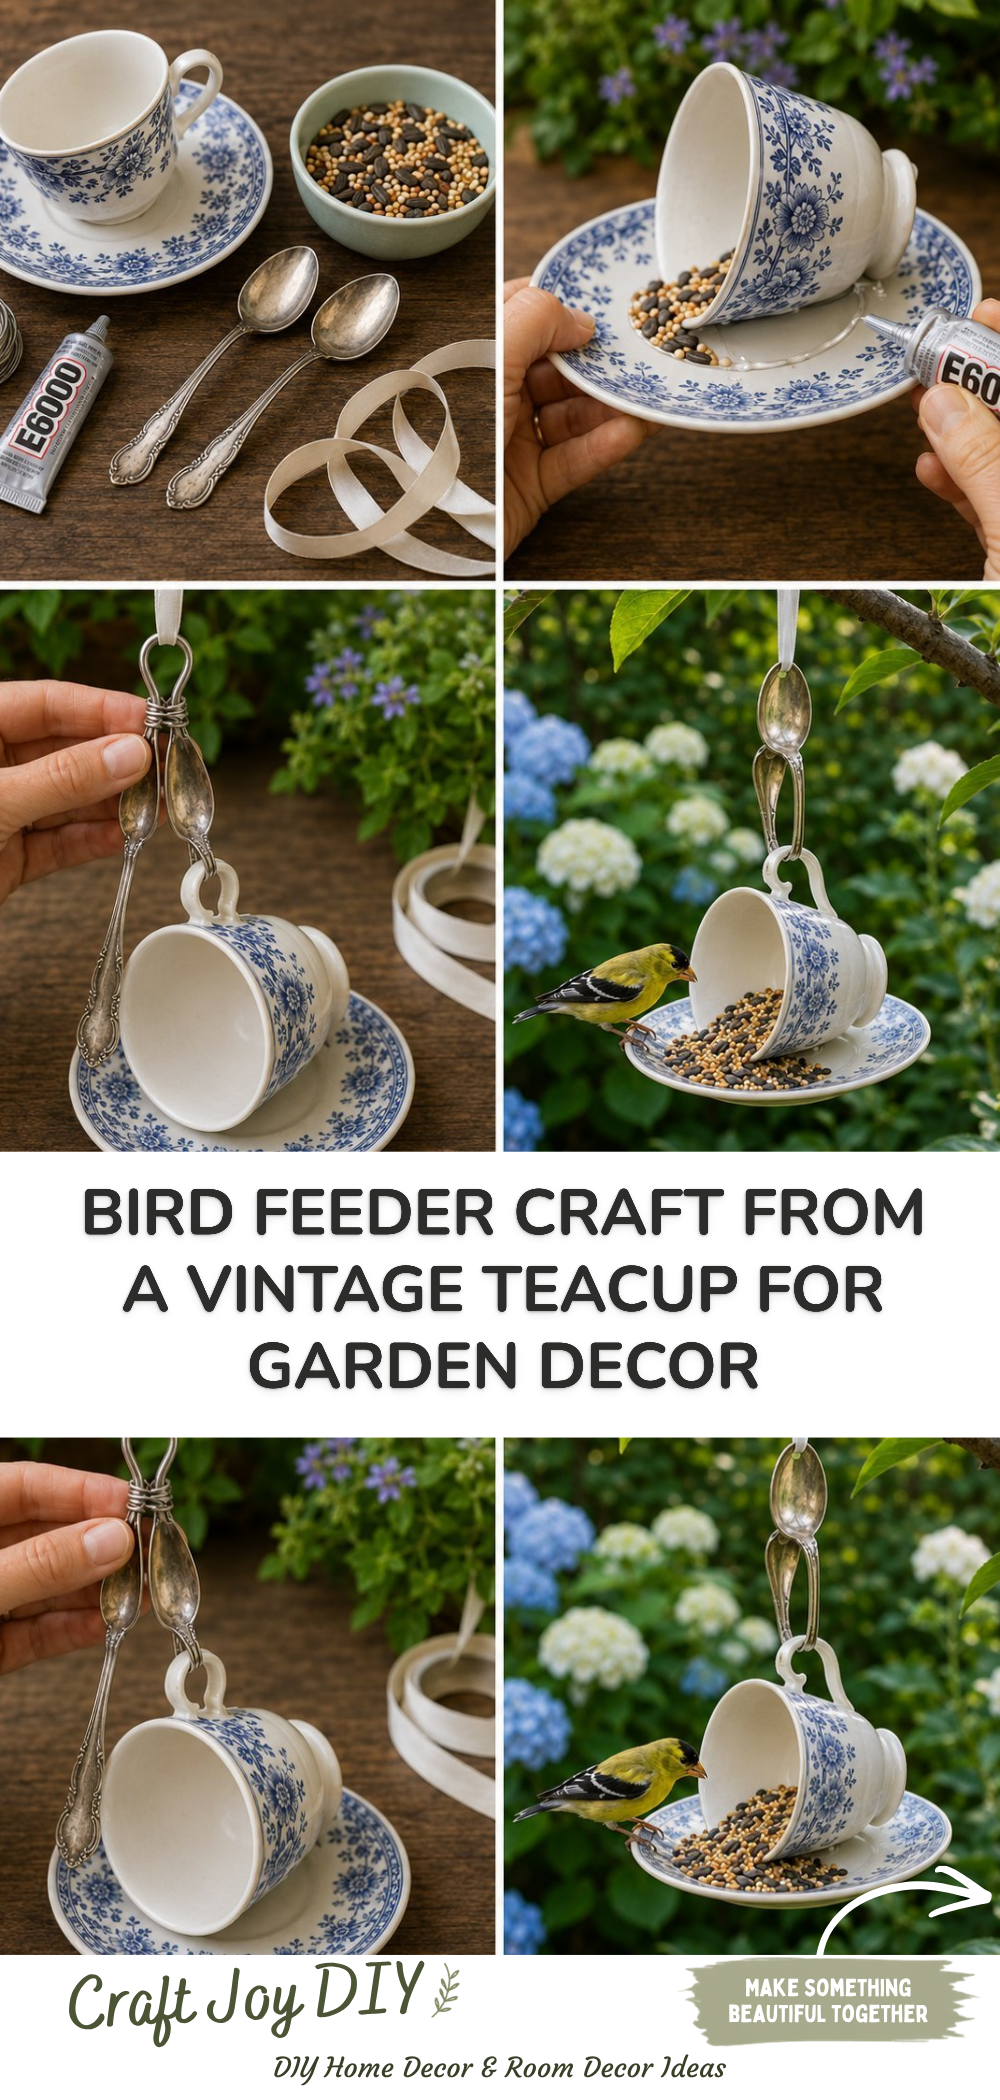
- Vintage teacup and saucer
- Strong glue or adhesive
- Jute twine or string
- Birdseed
- Scissors
You may want to use waterproof glue to ensure the feeder withstands the elements. If you have a favorite design in mind, feel free to explore with different teacup styles. You may also find 3D Salt Painting For Kids Textured Art useful.
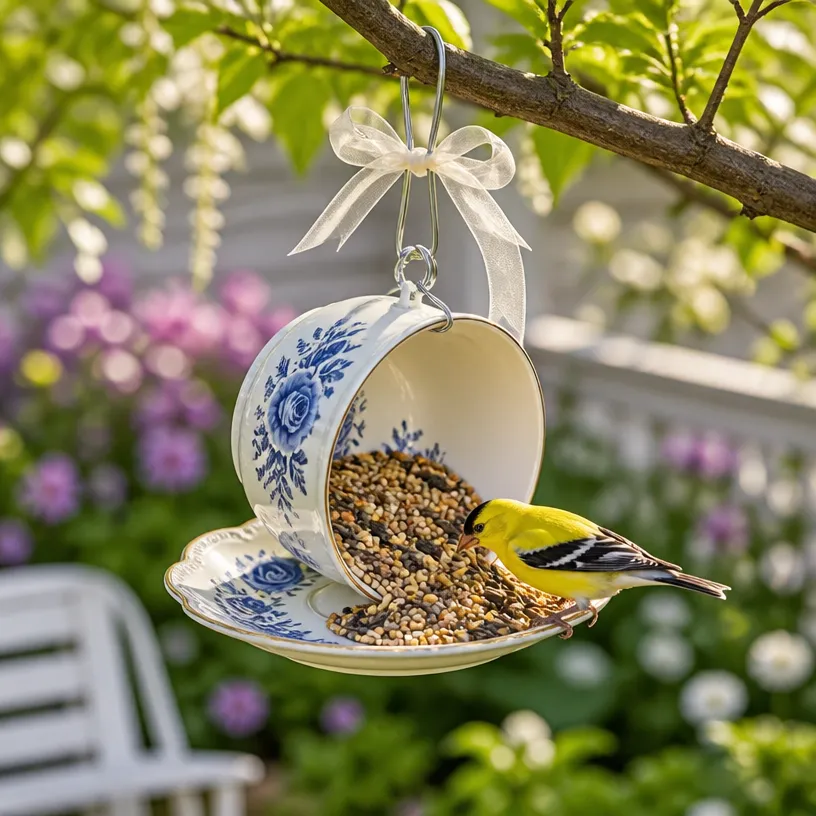
How to Make Cute Vintage Teacup Bird Feeder for Garden Decor
Step 1: Choose Your Teacup and Saucer
Select a vintage teacup and matching saucer that captures your aesthetic. Remember that the size of the cup will determine how much birdseed it can hold. You may also find Beaded Pipe Cleaner Snail Craft For Kids 2 useful.
Step 2: Attach the Saucer to the Teacup
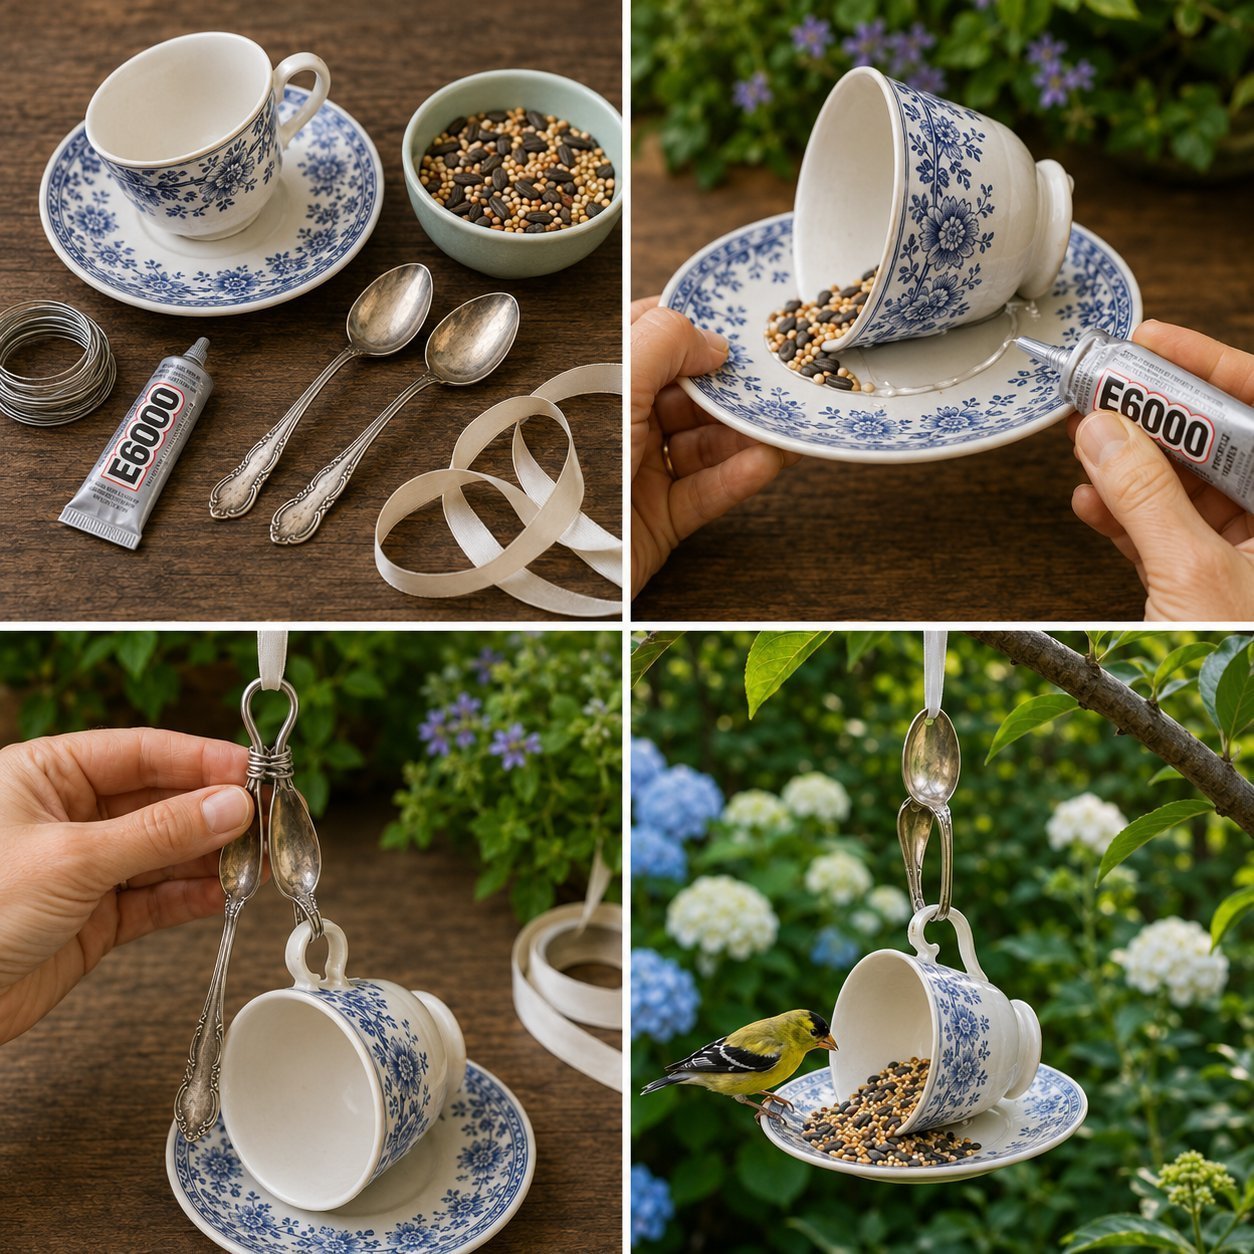
Using strong glue, securely attach the bottom of the teacup to the center of the saucer. It’s essential to let it set according to the glue manufacturer’s instructions for optimal stability.
Step 3: Create a Hanging Mechanism
Cut a length of jute twine or string, about 18 inches long. Tie one end around the handle of the teacup and make sure it’s tight enough to hold the weight when filled with birdseed. This will allow you to easily hang your feeder anywhere in your garden.
Step 4: Add the Birdseed
Once the glue has sufficiently dried, fill the teacup with birdseed. Ensure you leave some space at the top to avoid spills when hung.
Step 5: Hang Your Bird Feeder
Find a suitable spot in your garden that is visible and safe from predators. Hang the feeder using the twine, and enjoy watching birds visit your enchanting new garden decor!
Helpful Tips
- Ensure the glue has fully dried before hanging to avoid accidents.
- Choose a sunny spot to attract more birds, as they tend to search for food in well-lit areas.
- For easier assembly, gather all your materials beforehand so everything is at hand.
Easy Variations
- Seasonal Themes: Decorate the teacup with seasonal stickers or paint for a festive look.
- Color Choices: Use a colorful set of teacups for a bright and cheerful garden display.
- Larger Feeders: Consider using a larger cup or bowl for a more substantial bird feeder.
- Personal Touch: Add decorative stones or beads around the base for a unique look.
Making This Craft With Kids
This project is suitable for kids, but adults should supervise when handling glue and sharp scissors. Let children choose their favorite teacup and help in filling it with birdseed for a fun, shared experience.
How to Display or Use It
Once finished, hang your teacup bird feeder from a tree branch, hook, or any tall structure in your garden. It can also make a lovely gift for a friend who enjoys gardening or birdwatching.
Frequently Asked Questions
How do I clean the bird feeder?
Simply remove the birdseed and wash the teacup and saucer with warm soapy water.
What types of birdseed should I use?
Use a mix that attracts local birds. Sunflower seeds and millet are popular choices.
Can I leave the feeder out year-round?
Yes, but you may need to clean it more frequently in rainy or snowy weather.
How can I encourage more birds to come?
Place the feeder in a quiet area away from loud noises or quick movements.
What should I do if the glue breaks down?
If the feeder falls apart, reapply the glue and allow it to dry thoroughly.
Conclusion
Creating a cute vintage teacup bird feeder not only enhances your garden but also fosters a love of nature. If you’re looking for more creative ideas for your garden decor, check out this teacup bird feeder DIY tutorial for alternative designs. Additionally, if you prefer a hanging option, you might find inspiration in the guide on how to make a hanging teacup bird feeder. Enjoy crafting!
Print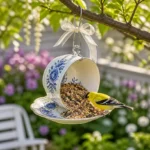
Cute Vintage Teacup Bird Feeder for Garden Decor
- Total Time: 15 minutes
- Makes: 1 bird feeder
Description
This charming vintage teacup bird feeder is an eco-friendly project that adds beauty to your garden while attracting lovely birds.
Materials
- 1 Vintage teacup and saucer
- Strong glue or adhesive
- Jute twine or string
- Birdseed
- Scissors
Instructions
- Select a vintage teacup and matching saucer that captures your aesthetic.
- Using strong glue, securely attach the bottom of the teacup to the center of the saucer.
- Cut a length of jute twine or string, about 18 inches long, and tie one end around the handle of the teacup.
- Once the glue has sufficiently dried, fill the teacup with birdseed.
- Find a suitable spot in your garden that is visible and safe from predators and hang the feeder using the twine.
Notes
Ensure the glue has fully dried before hanging. Choose a sunny spot to attract more birds.