

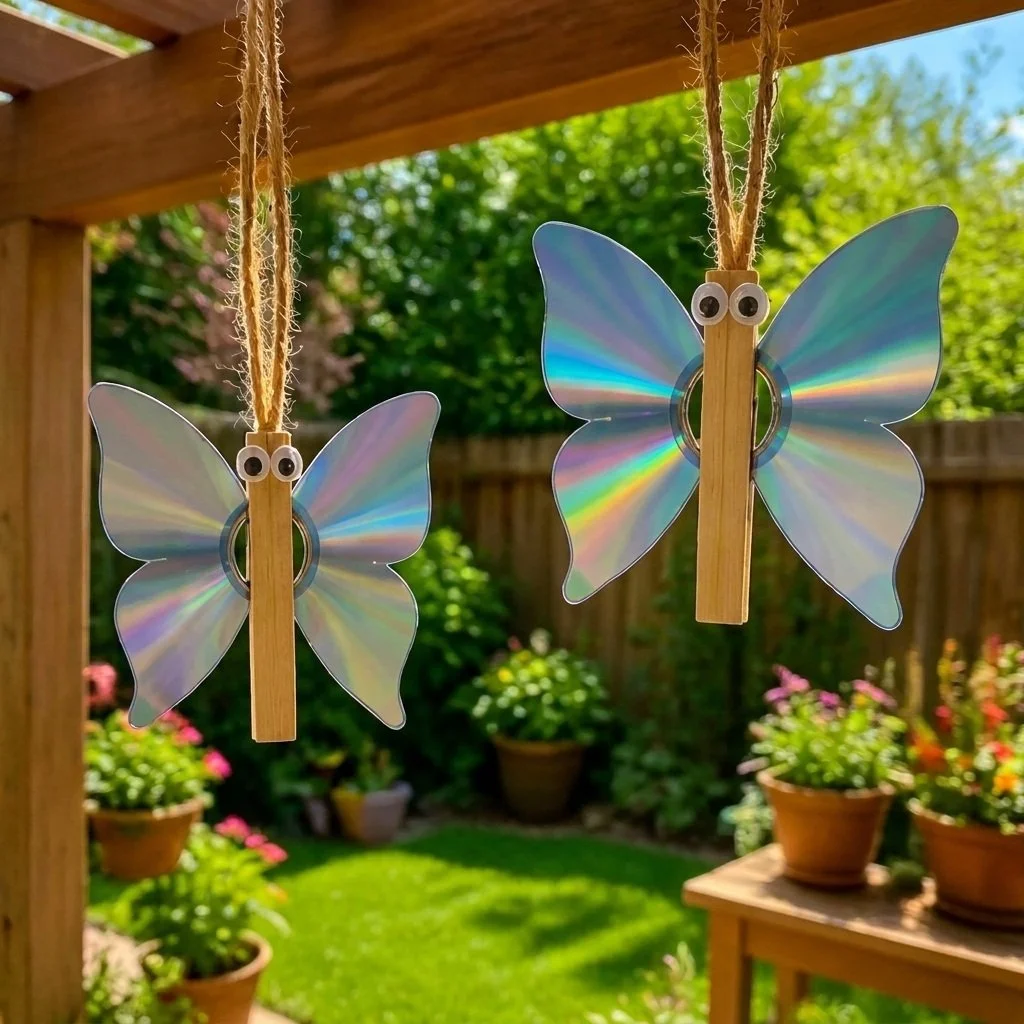
DIY Upcycled CD Butterflies for Sparkling Garden Decor
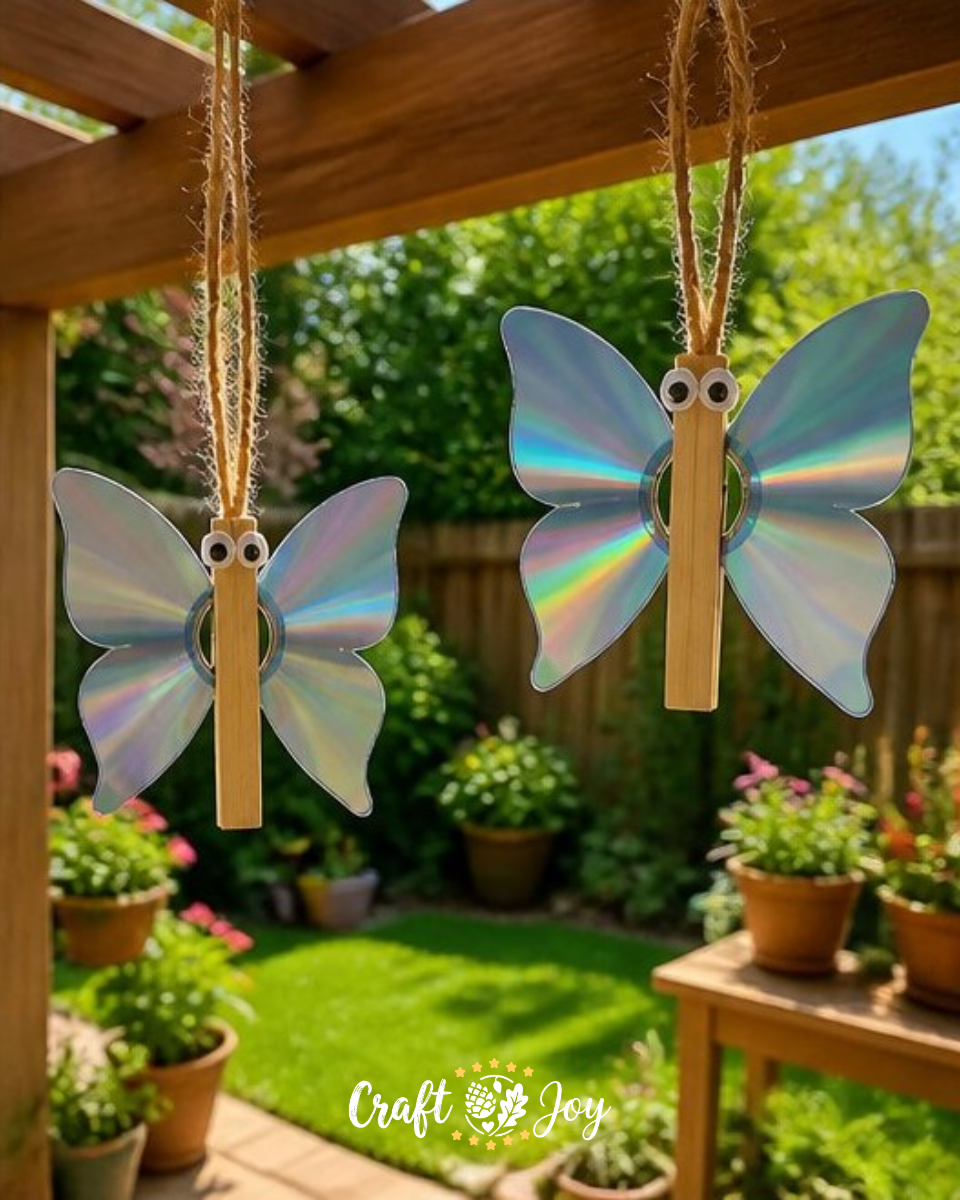
Creating charming decorations for your garden can be simple and fun with upcycled materials. In this tutorial, you will learn how to make delightful butterflies from old CDs and a few easy-to-find supplies. This project not only gives new life to discarded items but also adds a splash of color to your outdoor spaces. Plus, it’s a perfect crafting activity to enjoy with kids, making it a great way to spend quality time together. You may also find Cupcake Liner Dahlia Bouquet Diy Centerpiece Kids useful.
Making these DIY Upcycled CD Butterflies is not just about crafting; it’s about nurturing creativity and exploring simple art techniques. Let’s dive into how you can create your very own butterflies that sparkle in the sunlight. You may also find Cupcake Liner Sunflower Wreath Craft For Kids useful.
You may also find Diy Rainbow Popsicle Stick Flower Wheel Craft useful.
Why You’ll Enjoy This Project
- Eco-Friendly Fun: This project uses items that would otherwise go to waste, promoting upcycling and environmental consciousness.
- Engaging for All Ages: It’s suitable for both kids and adults, making it a wonderful group activity or a solo project.
- Customizable Designs: You can paint or embellish your butterfly wings however you like, allowing for personal creativity.
- Simple Instructions: The steps are easy to follow, making it a suitable craft for beginners.
- Brightens Up Your Garden: Once complete, these butterflies make unique decorations that can liven up any outdoor area.
Materials You’ll Need
- 2 old CDs or DVDs
- 1 wooden clothespin
- 2 googly eyes
- 12 inches of twine
- 1 craft glue stick
You can use other plastic materials for the wings if CDs aren’t available, just make sure they are lightweight and can be easily cut.
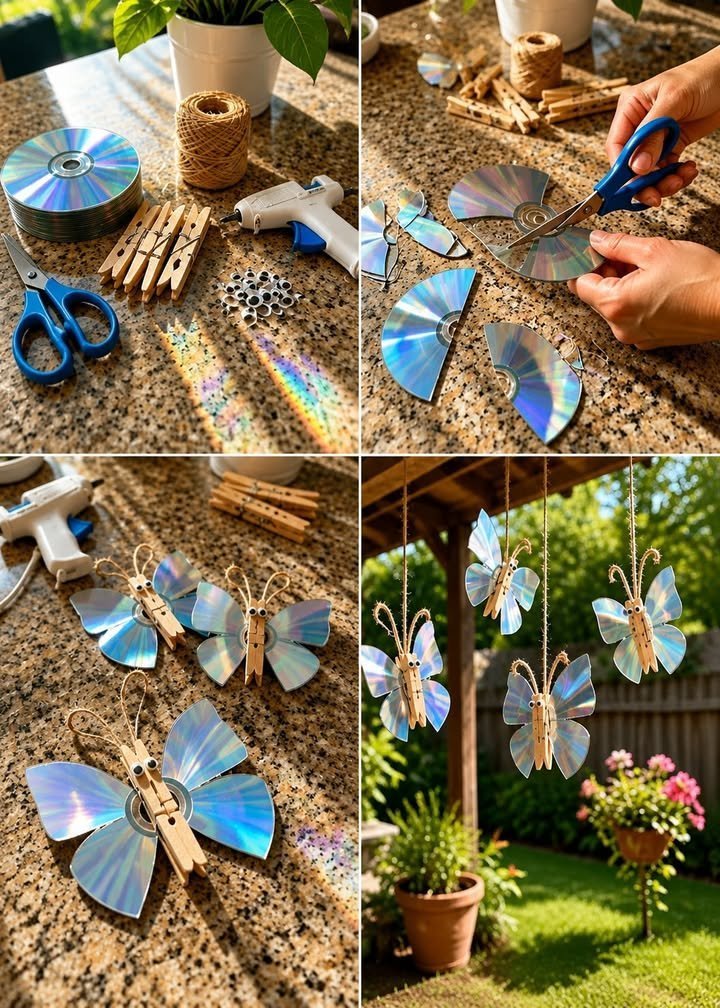
How to Make DIY Upcycled CD Butterflies for Sparkling Garden Decor
- Begin by carefully cutting the CDs into two symmetrical wing shapes using sturdy scissors. Make sure to cut carefully, as the edges can be sharp.
- Apply a thin line of glue along the center of the wooden clothespin.
- Press the wing pieces firmly onto the sides of the clothespin and hold until the glue sets. This ensures the wings stay in place well.
- Glue the two googly eyes onto the top of the clothespin to create the butterfly head. This adds a fun character to your butterfly.
- Finally, tie the twine around the clothespin to create a loop for hanging in your garden. This step makes it easy to display your butterflies anywhere you like.
Helpful Tips
- When cutting the CDs, it may help to mark your wing shapes with a pencil first for better precision.
- Use a strong craft glue that will hold well to plastic materials.
- If kids are involved, supervise them closely during cutting to avoid injury.
- For a cleaner look, consider painting the edges of the CD wings in your favorite colors.
Easy Variations
- Colorful Wings: Use permanent markers or paint to add designs or patterns to the wings before attaching them.
- Add Sparkles: Sprinkle glitter on the glue while it’s wet to give your butterflies a sparkling effect.
- Different Sizes: Experiment with various sizes of CDs to create a family of butterflies in different sizes.
- Seasonal Themes: Decorate your butterflies seasonally pastels for spring, rich hues for fall, or icy colors for winter.
Making This Craft With Kids
This project is great for kids, especially those above the age of 5, with adult supervision. Ensure that they handle scissors carefully while cutting the CDs. Also, you can work together on decorating the butterflies to foster their artistic skills.
How to Display or Use It
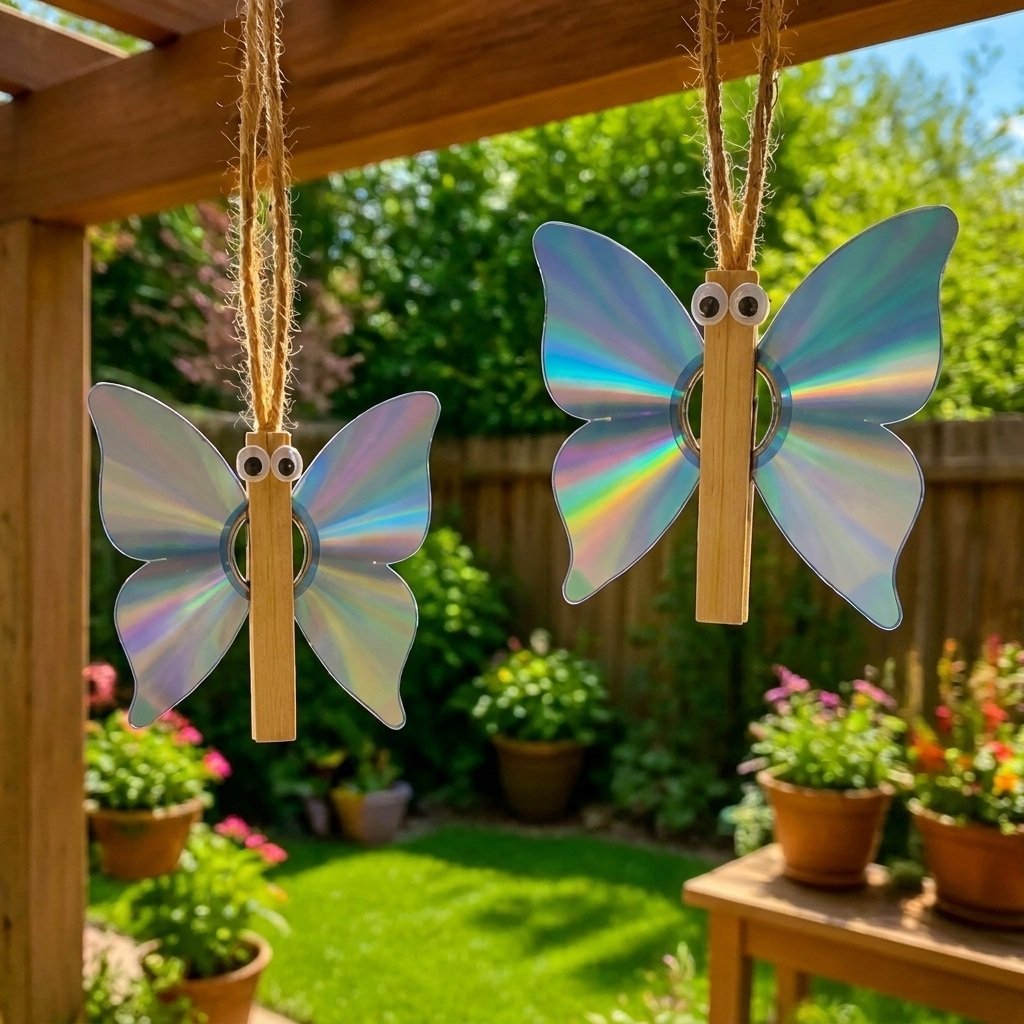
Hang your butterflies in your garden, or attach them to a tree branch to create a whimsical display. They can also be used indoors as part of a decorative mobile or wall art. They add an interesting dimension to any space and invite conversation.
Frequently Asked Questions
What other materials can I use for this project?
You can use any lightweight plastic, like old plastic containers or thin cardboard, instead of CDs.
How do I clean the CDs before using them?
Simply wipe them with a damp cloth to remove any dust or dirt.
Can I paint the CDs?
Yes, you can paint over the CD surfaces using acrylic paint for a more colorful design.
What if I don’t have twine?
You can use yarn, string, or even ribbon as a substitute to hang your butterflies.
How do I keep the butterflies from fading in the sun?
Consider applying a clear sealant spray over the painted areas to protect them from UV rays.
Are there other crafts I can do with recycled materials?
Absolutely! For more fun ideas, check out projects like rainbow monster pencil holders or rainbow tissue paper flower lanterns.
Conclusion
Creating these upcycled CD butterflies is a rewarding and eco-friendly project that you can enjoy with family and friends. It’s a fantastic way to beautify your garden while also encouraging creativity and reusing materials. For more DIY inspiration, explore the Vinyl Record Butterflies Wall Decor DIY Tutorial or check out ideas on CD Recycling – Cards and Crafts. Happy crafting!
Print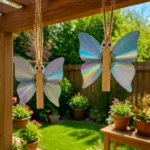
DIY Upcycled CD Butterflies for Sparkling Garden Decor
- Total Time: 10 minutes
- Makes: 1 butterfly
Description
Create colorful and eco-friendly butterflies from old CDs to brighten up your garden.
Materials
- 2 old CDs or DVDs
- 1 wooden clothespin
- 2 googly eyes
- 12 inches of twine
- 1 craft glue stick
Instructions
- Begin by carefully cutting the CDs into two symmetrical wing shapes using sturdy scissors.
- Apply a thin line of glue along the center of the wooden clothespin.
- Press the wing pieces firmly onto the sides of the clothespin and hold until the glue sets.
- Glue the two googly eyes onto the top of the clothespin to create the butterfly head.
- Finally, tie the twine around the clothespin to create a loop for hanging in your garden.
Notes
Supervise kids closely during cutting to avoid injury. Consider painting the edges of the CD wings for a cleaner look.