

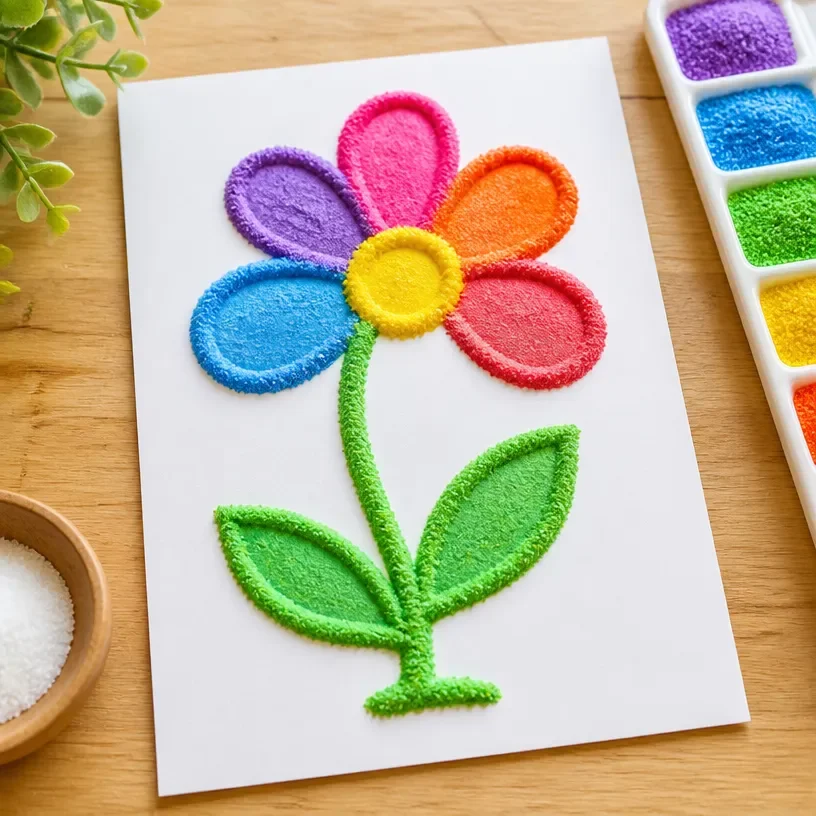
Vibrant 3D Salt Painting for Kids: Textured Art
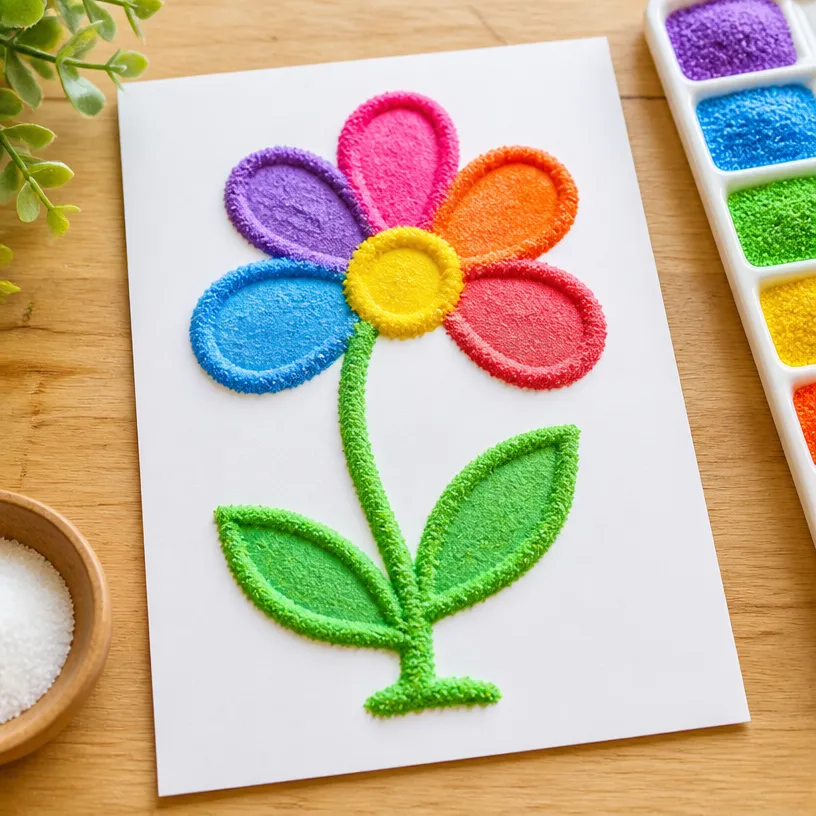
Creating fun and engaging art projects with children can be a delightful way to bond and explore creativity. One particularly exciting project is vibrant 3D salt painting. This craft not only allows kids to experiment with color but also introduces them to texture in art. The result is a striking piece of artwork that they can proudly display. You may also find Easy Salt Dough Christmas Ornaments For Kids useful.
In this project, we’ll use a simple technique involving salt and food coloring to create beautiful textured paintings. It’s an enjoyable and hands-on experience that will keep your little artists engaged. Let’s get started on this colorful adventure! You may also find Melted Crayon Rainbow Heart Suncatcher For Kids useful.
Why You’ll Enjoy This Project
- Easy to Set Up: This craft requires minimal supplies that you likely already have at home.
- Sensory Experience: Working with salt provides a unique texture that kids will enjoy during the painting process.
- Vibrant Results: The use of food coloring creates bright, eye-catching artwork that children will love to show off.
- Creative Freedom: Kids can express themselves freely, leading to all kinds of fun designs and patterns.
You may also find Rainbow Crayon Haunted House Art For Kids useful.
Materials You’ll Need
- Salt
- Thick paper or cardstock
- Liquid watercolors or food coloring
- Glue
- Paintbrushes or droppers
- Small cups for mixing colors
If you don’t have liquid watercolors, food coloring will work just as well. Use whatever you have available to make this project accessible.
How to Make Vibrant 3D Salt Painting for Kids: Textured Art
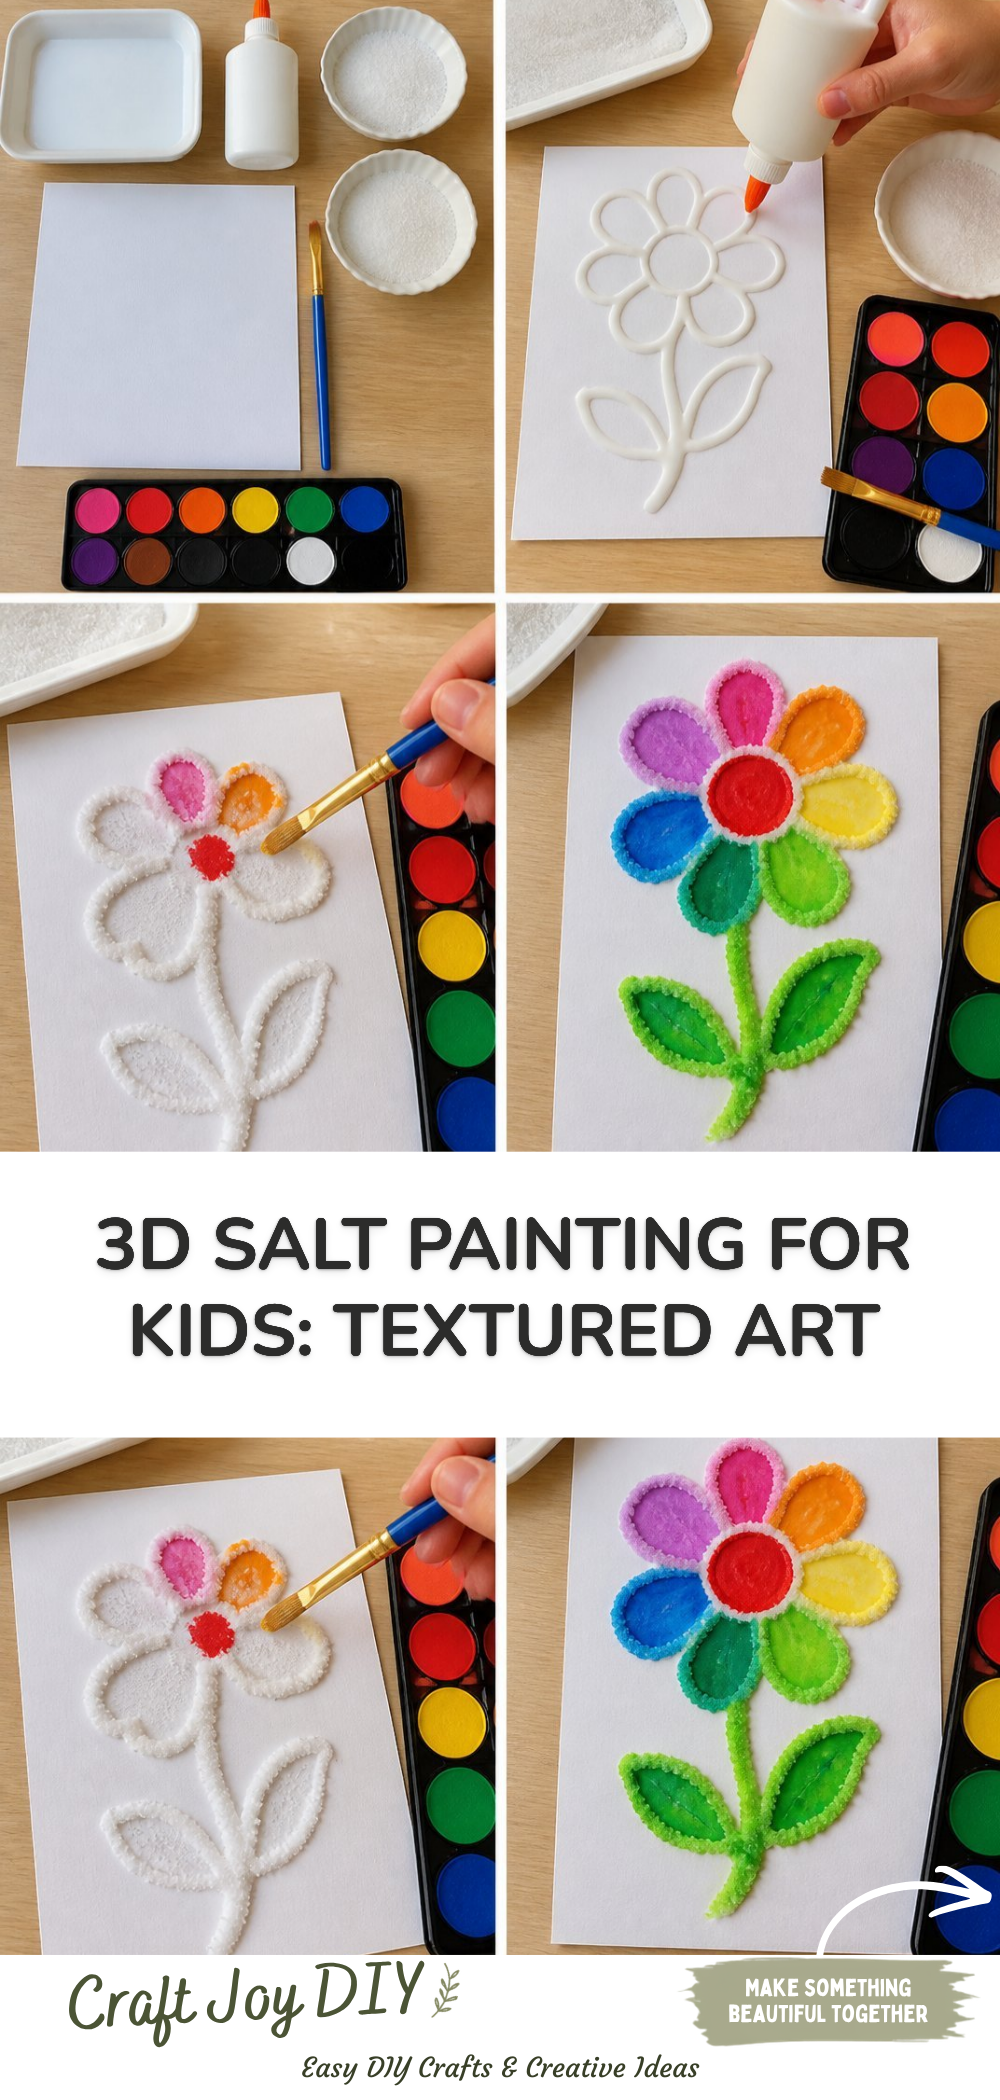
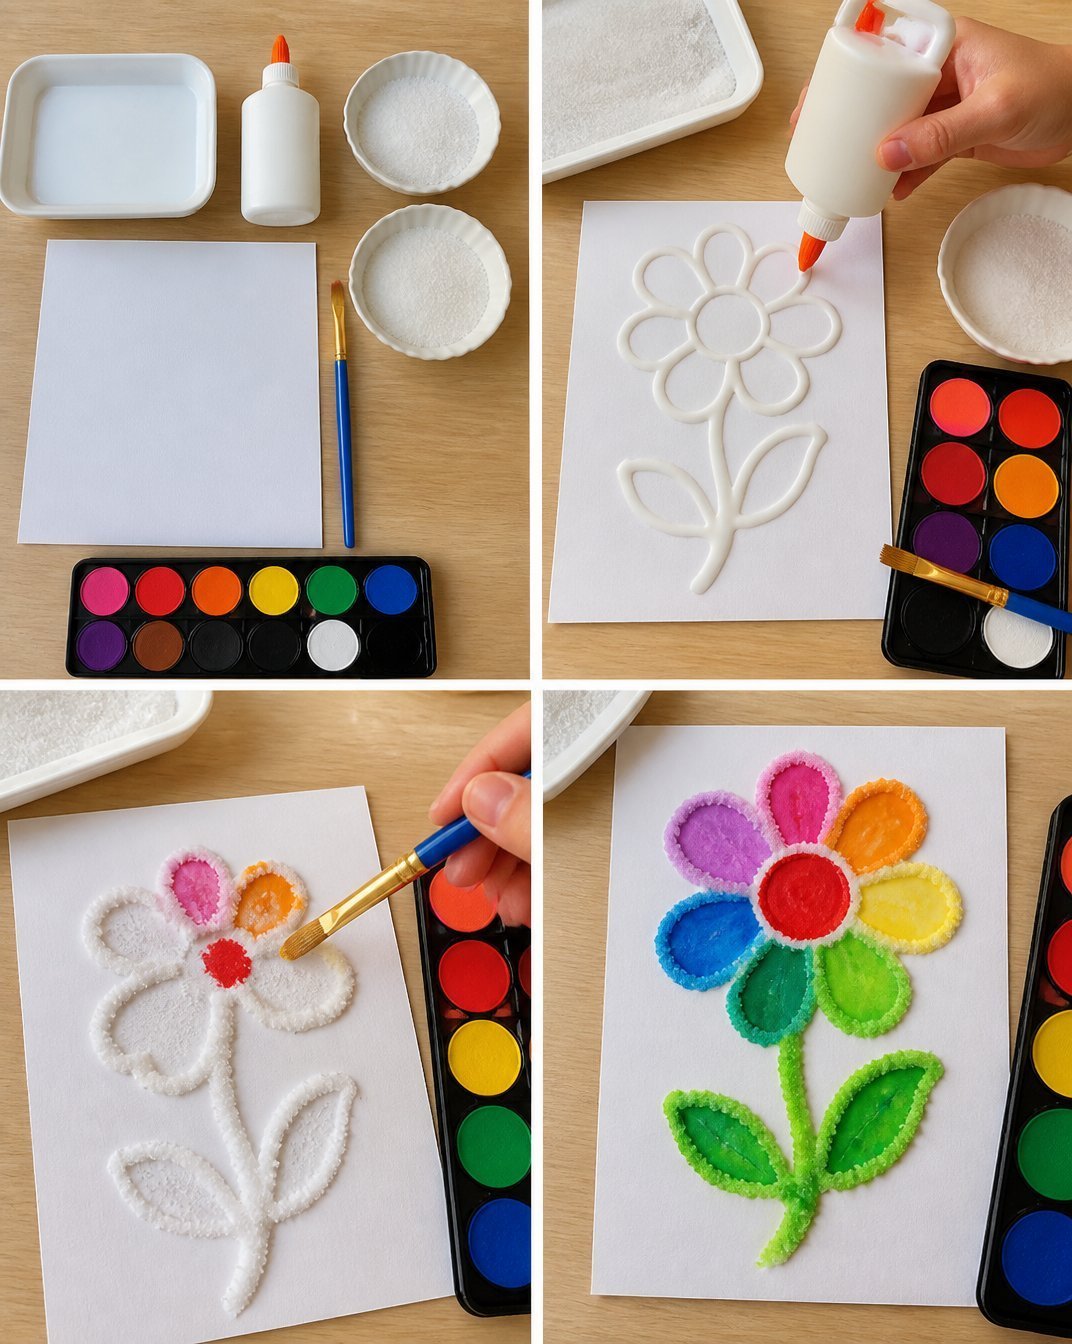
- Prepare the Paper: Start by drawing a design or pattern on your thick paper using glue. You can draw anything from simple shapes to intricate outlines.
- Sprinkle Salt: While the glue is still wet, sprinkle a generous amount of salt over the glued areas. Make sure the salt sticks well to the glue.
- Remove Excess Salt: Gently shake off any salt that didn’t stick to the glue and place the paper aside.
- Mix Colors: In small cups, mix your liquid watercolors or food coloring with a little water to create vibrant colors.
- Paint the Salt: Using a paintbrush or dropper, carefully apply the colored water onto the salt-covered areas. Watch how the salt absorbs the color and creates beautiful patterns!
- Let It Dry: Allow your artwork to dry completely. This may take a few hours or overnight for best results.
Helpful Tips
- For cleaner results, use a tray under your workspace to catch extra salt.
- Use a small spoon to sprinkle salt, making it easier to control how much you use.
- Experiment with different colors and techniques, such as blending two colors together.
- Once dry, consider displaying the artwork in a frame to keep it safe.
Easy Variations
- Seasonal Themes: Try using colors that match different seasons, such as pastels for spring or earth tones for autumn.
- Size Adjustments: Create smaller or larger designs depending on the kids’ ages and preferences.
- Mixed Media: Combine this project with other crafts, like adding paper cut-outs to your textured painting.
Making This Craft With Kids
This project is suitable for children, but adults should supervise during the use of any liquids to avoid spills. Encourage kids to be creative and express their ideas without fear of making mistakes.
How to Display or Use It
Your finished salt paintings can be framed and hung up in the home as colorful decorations. Alternatively, you can gift them to family members or friends. They make excellent personalized artwork!
Frequently Asked Questions
Can I use regular paper for this project?
It’s best to use thick paper or cardstock, as regular paper may not hold up well with the glue and salt.
What should I do if the colors are too light?
You can apply additional layers of color after the first layer dries to achieve a richer hue.
How long does it take for the artwork to dry?
Depending on the thickness of the glue and the humidity in your area, it could take a few hours to overnight.
Can I reuse the leftover salt?
It’s not recommended to reuse salt that has been painted as it may lose its original properties and color.
Is this project messy?
Some mess is expected, but it can be managed easily with a tray and cleaning up afterward.
What other projects are similar to this?
For more fun ideas, check out these colorful swirl prints or autumn tree art.
Conclusion
Vibrant 3D salt painting is a wonderful craft that combines creativity and sensory play, making it perfect for kids. The textural elements and bright colors result in unique art pieces that can brighten any room. For more creative projects, check out these easy watercolor techniques for kids or explore the delightful spring-themed DIY wall art ideas. Enjoy crafting and watching your children express their creativity!
Print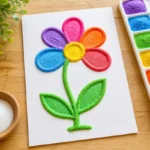
Vibrant 3D Salt Painting for Kids
- Total Time: 240 minutes
- Makes: 1 artwork
Description
A fun and engaging art project for kids that combines color and texture using salt and food coloring.
Materials
- Salt
- Thick paper or cardstock
- Liquid watercolors or food coloring
- Glue
- Paintbrushes or droppers
- Small cups for mixing colors
Instructions
- Prepare the paper by drawing a design with glue.
- Sprinkle a generous amount of salt over the glued areas.
- Remove any excess salt that didn’t stick.
- Mix your liquid watercolors or food coloring with water in small cups.
- Paint the salt-covered areas with the colored water.
- Let your artwork dry completely, which may take a few hours or overnight.
Notes
Use a tray to catch extra salt and control the amount with a small spoon. Experiment with colors and techniques for varied results.