


Easy DIY Halloween Hanging Bats 🦇🎃 | Cute Paper Bat Decorations in 4 Steps
Creating delightful decorations for Halloween can be both fun and accessible, especially with these easy DIY Halloween hanging bats. These charming paper bat decorations are perfect for adding a playful touch to your home or classroom this spooky season. They are not only delightful to look at but also simple to make with your family or friends, making it a wonderful activity for all ages. You may also find Diy Butterfly Craft Kids Paper Wing Suncatcher useful.
With just a few basic supplies and some crafty skills, you’ll have a lovely set of hanging bats to decorate your space. Let’s dive in! You may also find Diy Rainbow Sun Craft Kids Paper Plates useful.
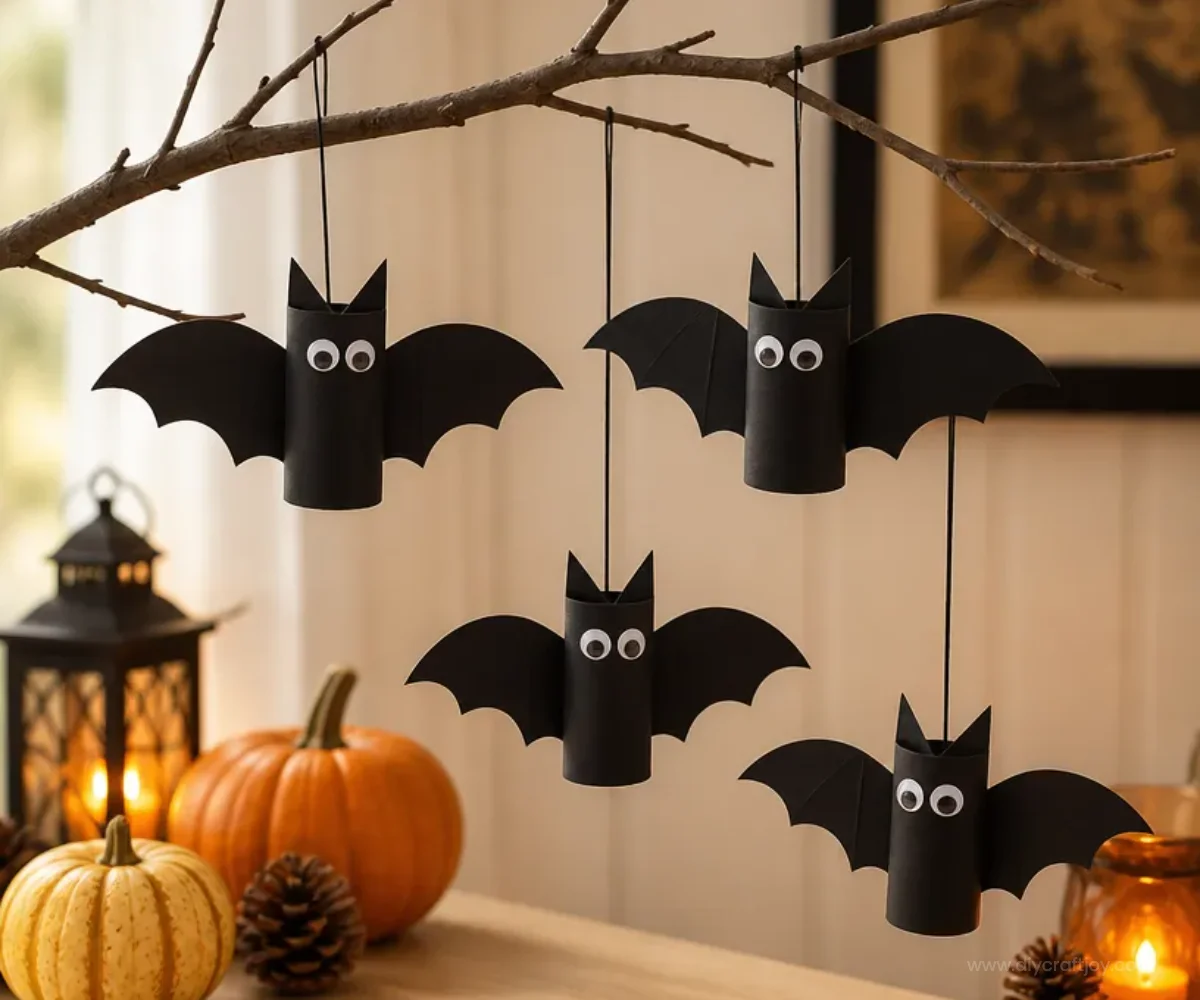
Why You’ll Enjoy This Project
- Simple Materials: This project requires common household supplies, making it easy to gather everything you need.
- Fun for All Ages: Kids and adults alike will enjoy crafting these bats, making it a perfect family activity.
- Customizable: You can personalize your bats with different colors or sizes, allowing for creativity.
- Quick and Easy: With just four steps to follow, you’ll have your bats hanging in no time!
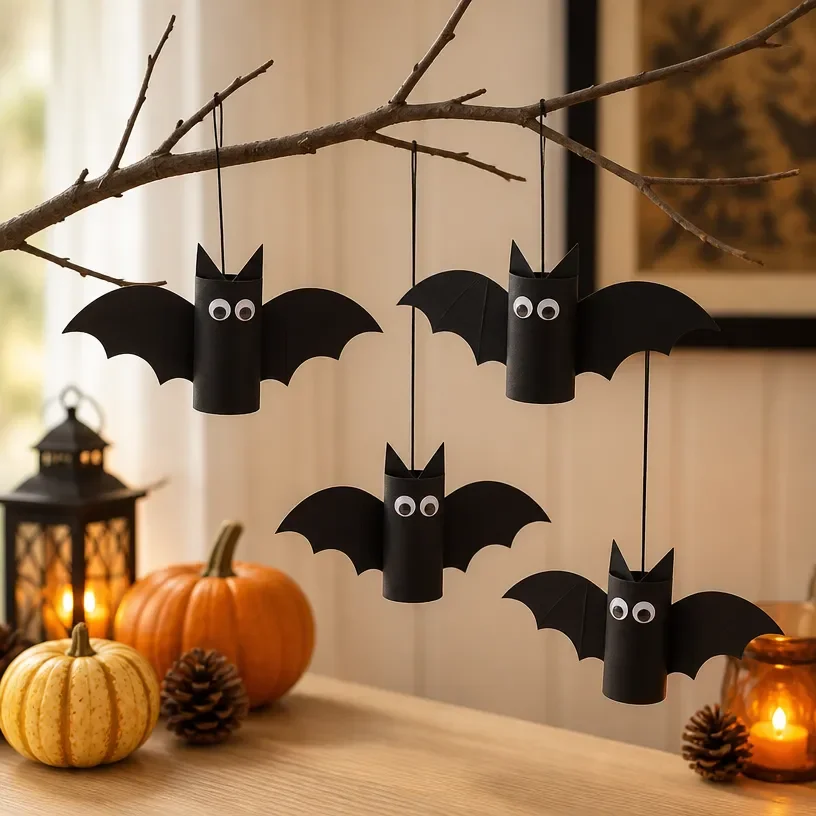
Materials You’ll Need
- Black construction paper
- Scissors
- Glue stick or tape
- String or ribbon for hanging
- Optional: Glitter for added sparkle
How to Make Easy DIY Halloween Hanging Bats 🦇🎃 | Cute Paper Bat Decorations in 4 Steps
Step 1: Cut the Bat Shapes
Start by cutting out bat shapes from your black construction paper. You can either draw a bat template or look for one online. Make sure to cut a few different sizes to create variety in your hanging display.
Step 2: Add Details
Use a white crayon or chalk to add details on the bats, such as eyes or fangs. This adds a fun touch and makes your bats even more adorable. For inspiration on fun details, check out this diy blooming paper flowers tutorial for creative ideas.
Step 3: Attach the String
Once your bats are decorated, take your string or ribbon and cut it to your desired length for hanging. Use a glue stick or tape to attach the string to the top of each bat. Make sure it’s secured well so your bats can hang freely.
Step 4: Hang Your Bats
Find the perfect spot to display your bats! You can hang them from the ceiling, a doorway, or even in a window to give passersby a little fright. For a more festive look, consider combining these bats with other decorations, like a rainbow tissue paper lantern.
Helpful Tips
- Make a Bat Family: Vary the sizes and shapes of your bats for a charming display.
- Temporary Setup: If you’re using tape, this makes it easy to remove the bats after Halloween without damaging surfaces.
- Outdoor Display: If hanging outside, ensure your materials are weather-resistant.
Easy Variations
- Color Options: Use different colors of paper for a fun twist.
- Size Differences: Create mini bats along with larger ones for a more dynamic display.
- Seasonal Themes: Attach seasonal accessories, like leaves for fall, to enhance the décor.
Making This Craft With Kids
This craft is suitable for children, but parents should supervise when using scissors. Encourage kids to express their creativity with designs. Consider pre-cutting the shapes to make it even easier for younger children.
How to Display or Use It
Once your bats are complete, hang them in your living room, dining area, or classroom for a festive touch. You can even use them as part of a Halloween party decoration!

Frequently Asked Questions
1. What if I don’t have black construction paper?
You can use any dark paper or paint plain paper black, although it might require some drying time.
2. How do I ensure the bats hang correctly?
Make sure the string is securely attached to the bats and check that they aren’t too heavy for the adhesive you’re using.
3. Can these bats be used for other occasions?
Absolutely! You can adapt the design for themed parties or even use them as part of a year-round decoration.
4. What other crafts can complement my Halloween bats?
Consider making a pine cone bat craft for even more Halloween fun!
Conclusion
Crafting these easy DIY Halloween hanging bats is a delightful way to bring in the spirit of Halloween to your home. They are quick to make and provide an opportunity for creative expression. For even more Halloween ideas, check out this mini bat garland project or find essential decorations with hanging bats Halloween decorations. Happy crafting!
Print
Easy DIY Halloween Hanging Bats
- Total Time: 10 minutes
- Makes: 1 set of bats
Description
Create delightful paper bat decorations with this simple DIY project, perfect for Halloween.
Materials
- Black construction paper
- Scissors
- Glue stick or tape
- String or ribbon for hanging
- Optional: Glitter for added sparkle
Instructions
- Cut the bat shapes from black construction paper in various sizes.
- Add details using a white crayon or chalk for eyes and fangs.
- Attach the string or ribbon securely to the top of each bat.
- Hang your bats in a desired spot for decoration.
Notes
Encourage creativity by varying sizes and colors. Supervise children when using scissors.