

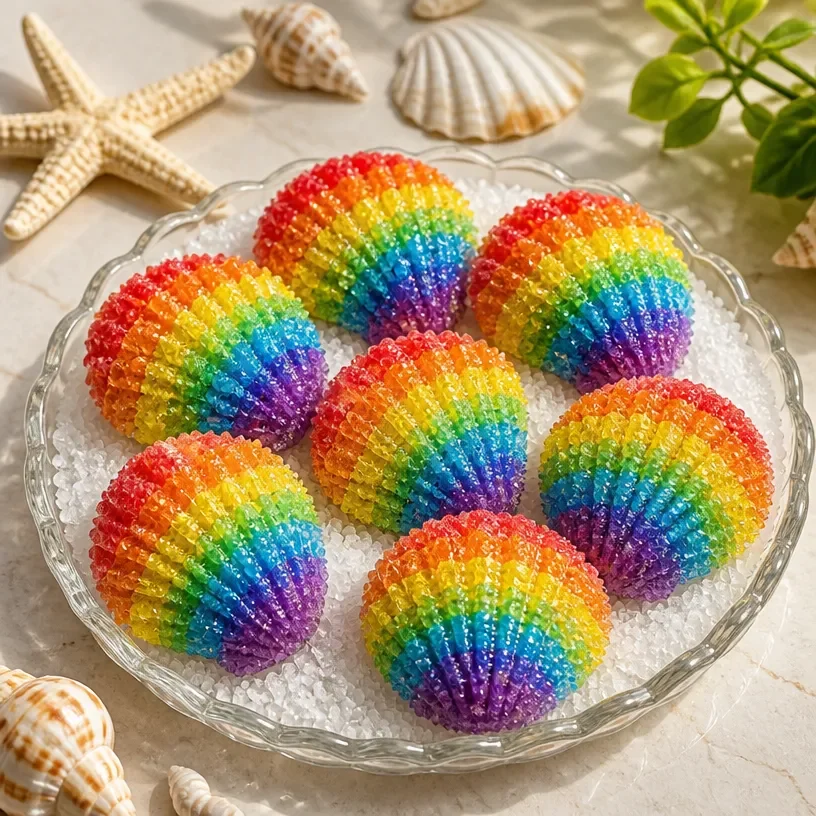
Rainbow Crystal Growth with Seashells: DIY Crystal Tutorial
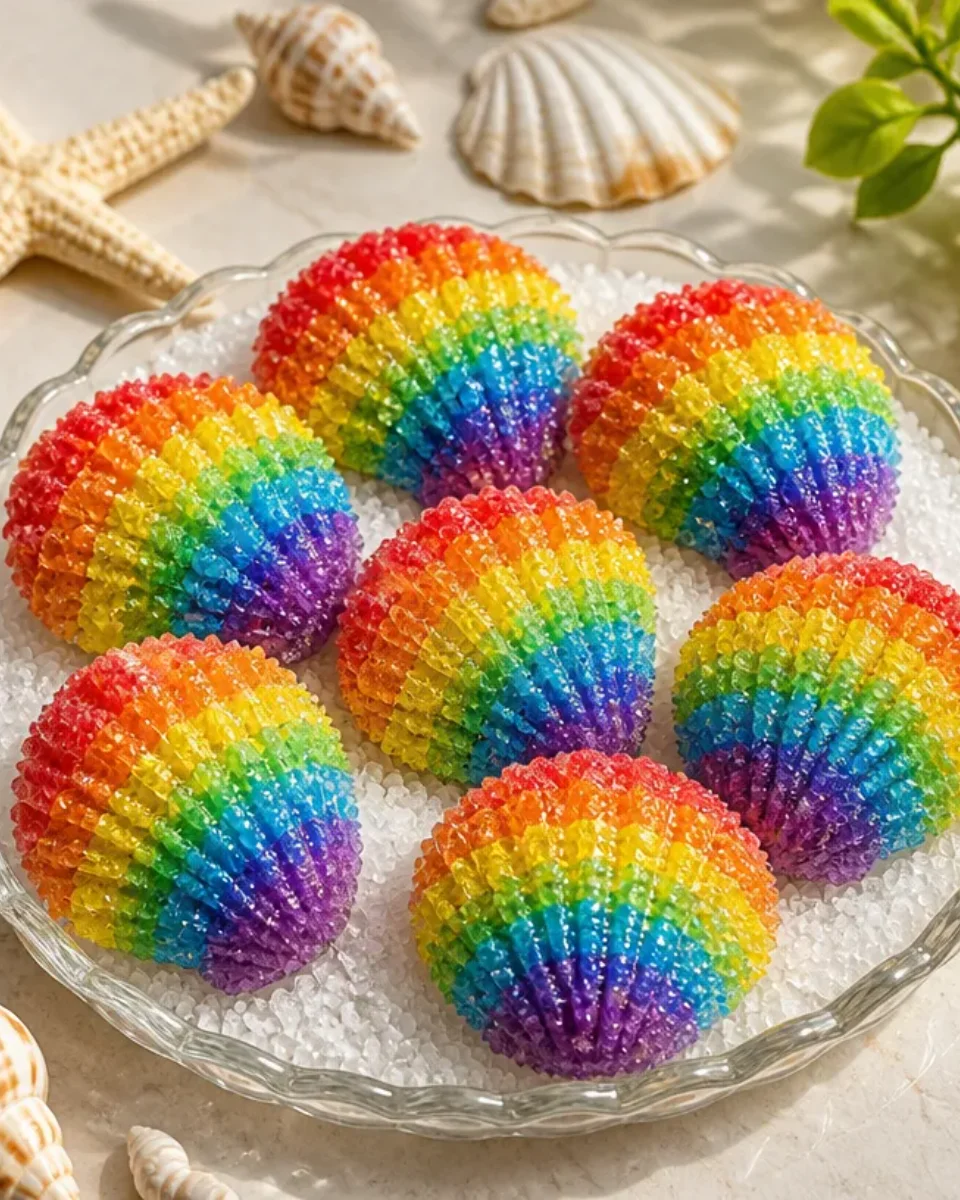
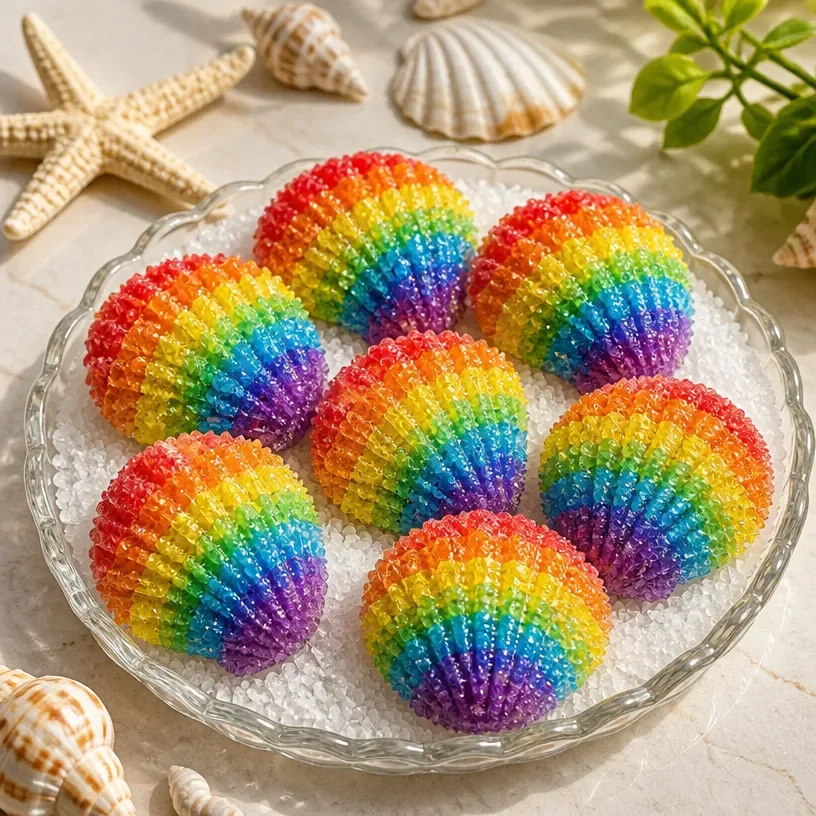
Creating stunning rainbow crystals with seashells is an engaging and colorful craft that families can enjoy together. This project allows you to combine scientific exploration and creativity as you watch beautiful crystals form around the seashells. Not only is this an enjoyable activity for kids, but it also serves as a hands-on learning experience about crystallization and color mixing. In this tutorial, you’ll be guided through a simple process to create your very own rainbow crystal display. You may also find Colorful Rainbow Monster Pencil Holders Diy useful.
Why You’ll Enjoy This Project
- Educational Fun: This project introduces kids to basic scientific principles, such as solubility and crystallization, while keeping them engaged with a fun visual outcome.
- Creative Expression: You can choose different colors for your crystals, allowing each family member to express their artistic flair.
- Builds Anticipation: Watching the crystals grow over time adds an element of suspense and excitement, making it more than just a craft.
You may also find Diy Rainbow Butterfly Garden Cupcake Liners useful.
Materials You’ll Need
- Seashells (clean and dried)
- Borax
- Boiling water
- Food coloring (optional)
- Jars or containers for crystal growth
- Spoon for stirring
- Paper towels for cleanup
- A location for your jars that is safe from disturbance
How to Make Rainbow Crystal Growth with Seashells: DIY Crystal Tutorial
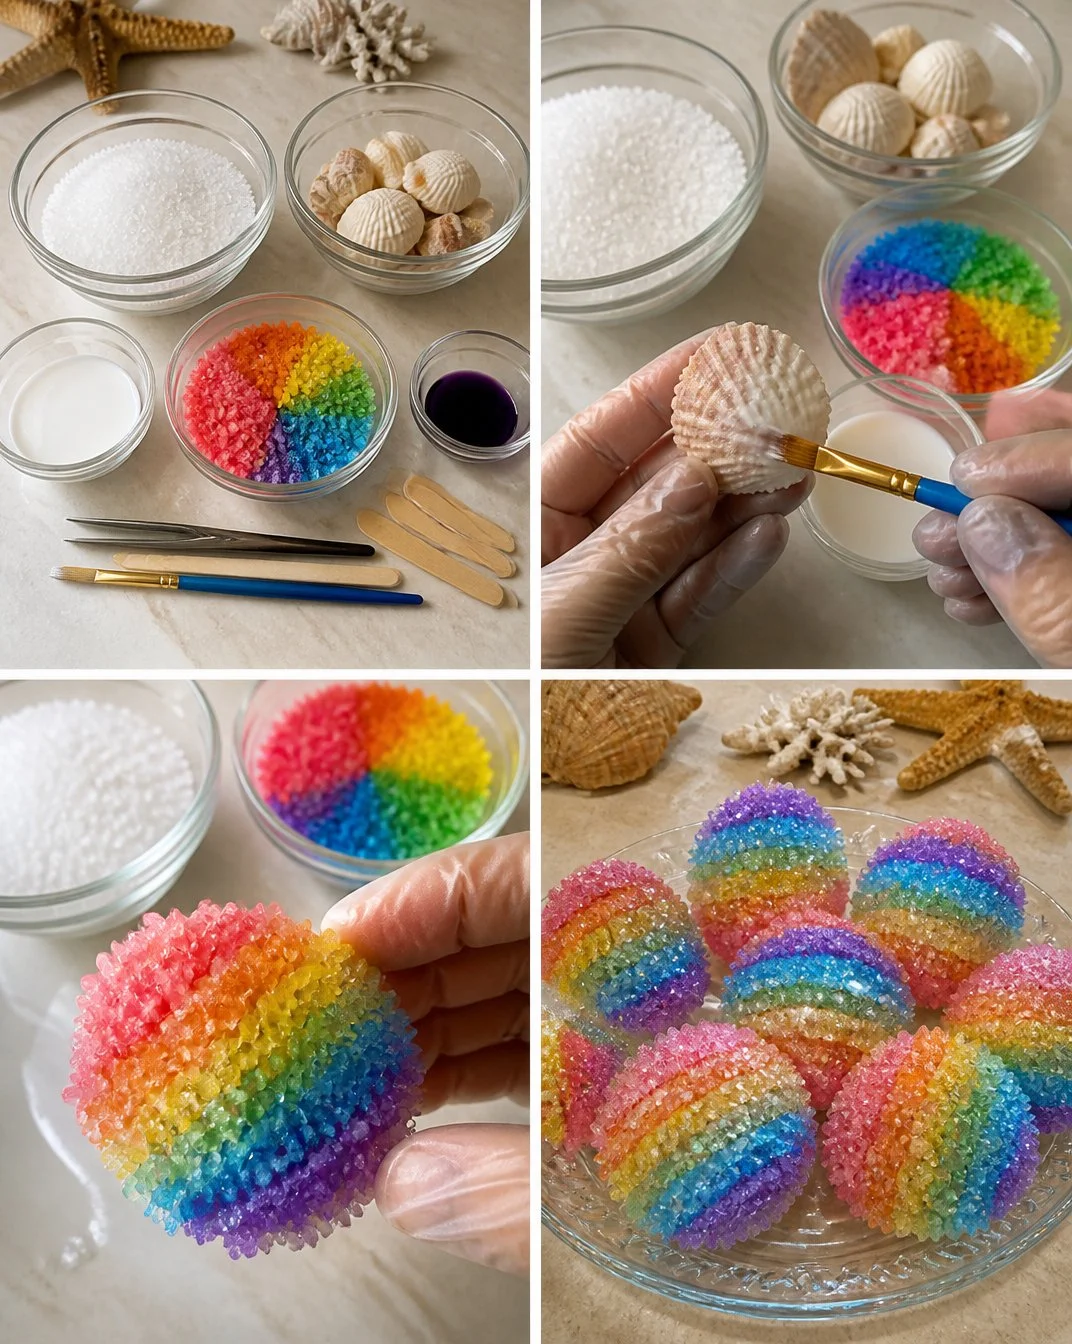
Prepare Your Solution: In a jar, mix 3 tablespoons of borax with 1 cup of boiling water. Stir until the borax is fully dissolved. This will create the solution in which your crystals will form. You may also find Diy Rainbow Popsicle Stick Flower Wheel Craft useful.
Add Color: If you want colorful crystals, add a few drops of food coloring to the solution and mix well. This step is optional but makes for a vibrant display. You may also find Diy Rainbow School Bus Craft For Kids useful.
Insert Seashells: Carefully place your clean and dry seashells into the jar. Make sure they are fully submerged in the solution for the best results. You may also find Diy Rainbow School Bus Photo Frame Craft For Kids useful.
Let It Sit: Leave your jars undisturbed in a safe location for at least 24 hours. Try placing them where they won’t be bumped or moved to ensure the crystals form properly.
Harvest Your Crystals: After 24 hours, you should see beautiful crystals forming around the shells. Remove the shells from the jars, and allow the crystals to dry on a paper towel.
Helpful Tips
- Supervision: If kids are involved, consider supervising during the boiling water step to ensure safety.
- Crystal Growth: For larger crystals, you can repeat the process in a clean jar with a fresh borax solution and add more seashells.
- Displaying Crystals: Arrange the finished crystals on a windowsill or in a shadow box to showcase their beauty.
Easy Variations
- Use Different Shells: Experiment with various types and sizes of shells for a unique look.
- Mix Colors: Try creating multiple jars with different colors and place them together for a rainbow effect.
- Add Glitter: Sprinkle some biodegradable glitter into the solution before the crystals form for a sparkling effect.
- Change Sizes: Use larger containers for bigger crystal formations or smaller containers for tiny, delicate crystals.
- Seasonal Themes: Create themed shells for holidays by selecting colors that match accordingly, such as reds and greens for Christmas.
Making This Craft With Kids
This craft is perfect for family engagement. Children will be excited to see their seashells transformed and can assist with the mixing and pouring (with supervision). Be sure to inform kids about the safety precautions when using boiling water and how to handle glass jars responsibly.
How to Display or Use It
Once your crystals are dried, consider placing them in a decorative bowl, using them as a centerpiece, or gifting them to friends and family. They can even be used as a playful addition to your garden or a decorative element in your child’s bedroom.
Frequently Asked Questions
How long do the crystals take to form?
Crystals generally start to form within 24 hours, but leaving them for a few days can create larger, more beautiful crystals.
Can I use other materials instead of seashells?
Yes, other porous materials like rocks or pinecones can also be used and will create interesting texture variations.
What happens if the crystals don’t form?
Ensure that the borax is properly dissolved, and the solution is not disturbed during the crystallization process.
Is the solution safe?
The borax solution should not come into contact with your mouth, and children should be supervised during the project to avoid any accidents.
Can you reuse the borax solution?
It’s best to discard the solution after use as it may become saturated and less effective for growing new crystals.
Conclusion
Creating rainbow crystals with seashells is not only a delightful craft but also a great experimentation opportunity. For more ideas on crafting with crystals, check out this guide on growing borax crystals or explore this DIY tutorial for more crystal growth ideas. Enjoy crafting together and watch the beautiful transformations unfold!
Print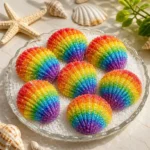
Rainbow Crystal Growth with Seashells: DIY Crystal Tutorial
- Total Time: 1455 minutes
- Makes: Several crystals depending on the number of seashells used
Description
Create stunning rainbow crystals with seashells in this engaging craft project that combines science and creativity.
Materials
- Seashells (clean and dried)
- 3 tablespoons of Borax
- 1 cup of boiling water
- Food coloring (optional)
- Jars or containers for crystal growth
- Spoon for stirring
- Paper towels for cleanup
- A safe location for jars
Instructions
- Prepare your solution: In a jar, mix 3 tablespoons of borax with 1 cup of boiling water. Stir until dissolved.
- Add color: Optionally, add a few drops of food coloring and mix well.
- Insert seashells: Place the clean and dry seashells into the jar, ensuring they are fully submerged.
- Let it sit: Leave jars undisturbed for at least 24 hours in a safe location.
- Harvest your crystals: After 24 hours, remove the shells and allow the crystals to dry on a paper towel.
Notes
Supervision is advised for kids during the boiling water step. You can repeat the process for larger crystals.