

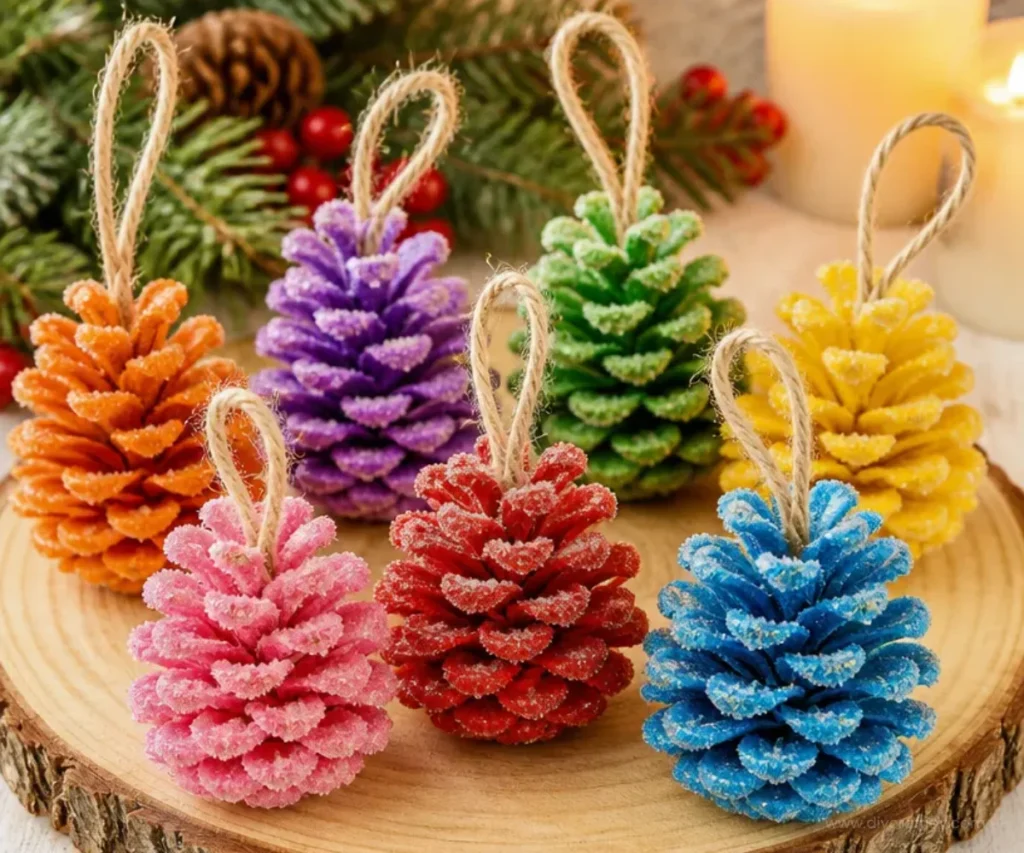
How to Decorate Pine Cones for Christmas with Kids
Decorating pine cones for Christmas is a delightful craft that brings the beauty of nature indoors while adding a personal touch to your holiday decor. This project allows kids to explore their creativity and make unique decorations that can be displayed around the house or gifted to loved ones. Moreover, it’s a fun, easy activity that requires minimal supplies but results in beautiful ornaments for the Christmas season. You may also find Coffee Filter Butterfly Chromatography Craft For Kids useful.
By engaging in this craft, children can learn about materials from nature while also building fine motor skills as they paint, glue, and embellish. Let’s dive into the steps of how to create these festive pine cone decorations! You may also find Diy Clear Glue Suncatcher Craft Tutorial For Kids useful.
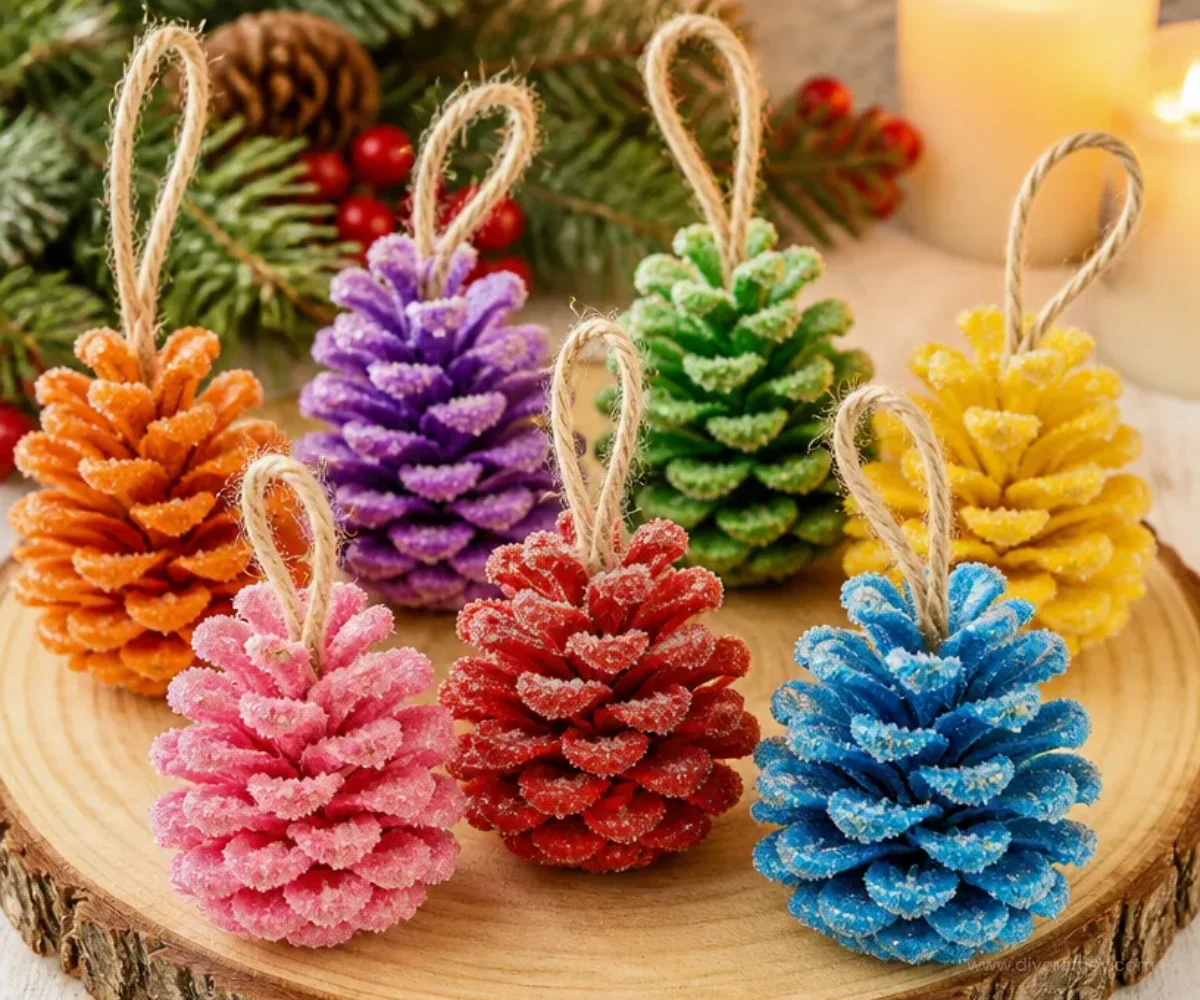
You may also find Diy Pine Cone Christmas Trees useful.
Why You’ll Enjoy This Project
- Natural Elements: Pine cones are abundant and free, making them an eco-friendly crafting material.
- Creative Freedom: Kids can express their creativity using various colors and decorations, resulting in unique ornaments.
- Simple Process: The steps involved are straightforward, making it accessible for young crafters.
- Family Bonding: This project is an excellent opportunity for families to craft together during the holiday season.
Materials You’ll Need
- Pine cones (collected from outside or purchased)
- Acrylic paint (in festive colors like red, green, gold, and white)
- Paintbrushes
- Glitter
- Glue (white school glue works well)
- Ribbons or string for hanging
- Optional: decorative items (buttons, beads, sequins)
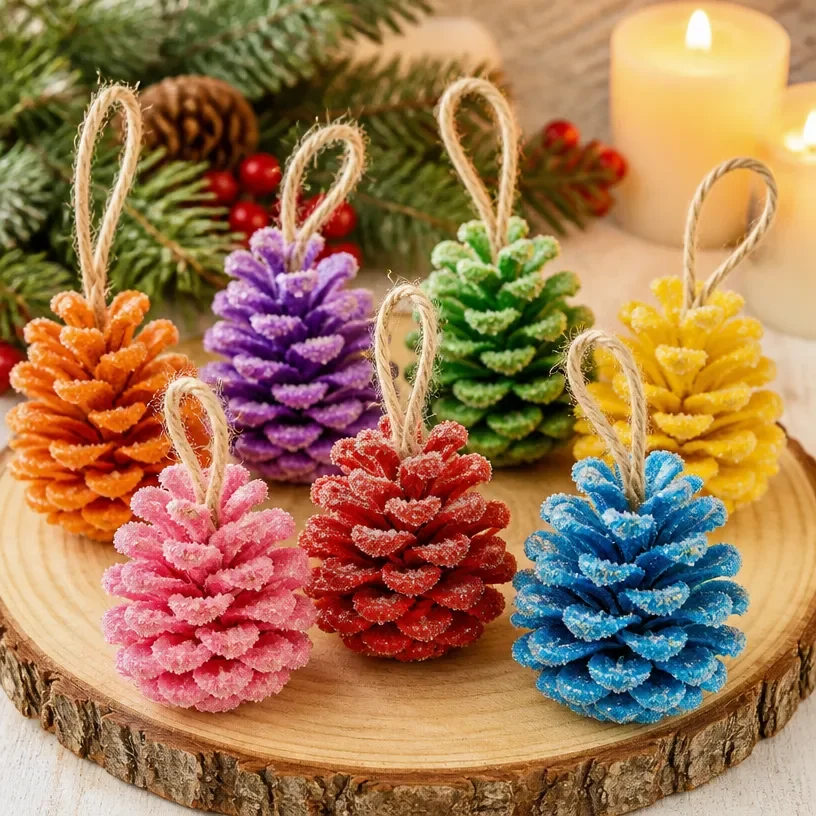
How to Make Pine Cone Christmas Decorations
Prepare Your Workspace: Lay down newspaper or a plastic sheet to protect your table from paint and glue spills. You may also find Diy Rainbow School Bus Photo Frame Craft For Kids useful.
Base Coat: Start by painting the pine cones with a base coat of your chosen acrylic color. For a classic look, try traditional holiday colors. Allow the paint to dry completely. You may also find Easy Salt Dough Christmas Ornaments For Kids useful.
Add Glitter: On wet paint, sprinkle glitter generously for a sparkly effect. If you want a more even coating, you can apply glue before sprinkling the glitter.
Decorate with Accessories: Glue decorative items such as sequins, buttons, or small pompoms onto the pine cone. This can be an excellent chance for kids to get creative with designs.
Create a Hang Loop: Cut a length of ribbon or string and, using hot glue (with adult supervision), attach it to the top of the pine cone for easy hanging.
Final Touch: Once everything is dry, you can add a clear coat of varnish if you want to make your ornament last longer.
Helpful Tips
- Painting Method: If kids are younger, consider using brushes with larger heads to help control paint application.
- Clean Up: Keep a bowl of water nearby to rinse brushes and hands as you work to make cleanup easier.
- Display Ideas: Use these decorated pine cones as table centerpieces, attach them to the tree, or even use them in wreath-making.
Easy Variations
- Color Themes: Create a set of decorations in a monochromatic color scheme such as all white with silver accents or all red with gold.
- Natural Finish: Leave the pine cones without paint for a rustic look, accentuating their natural beauty.
- Themed Ornaments: Create pine cones that resemble Christmas trees by gluing mini ornaments on them or painting them green.
Making This Craft With Kids
This craft is very suitable for kids, but it’s wise for adults to supervise particularly during painting and gluing stages. Ensure that the workspace is safe and that children are using non-toxic materials.
How to Display or Use It
Once your pine cone decorations are complete, they can be displayed in various ways. Hang them on the Christmas tree for an enchanting touch, use them as table centerpieces, or place them in a decorative bowl as part of your festive decor. These creations also make wonderful gifts for family members, bringing a personal touch to your holiday gatherings.

Frequently Asked Questions
Can we use other types of paint?
Acrylic paint is ideal, but tempera or spray paint can also work well for this project.
How can these ornaments be stored?
Store them in a box or container, separating with tissue paper to prevent scratches.
Will the paint stay on the pine cones?
Yes, once dry, the acrylic paint should adhere well to the surface.
Can we use faux snow on our pine cones?
Absolutely! Faux snow can add a lovely wintery touch to your decorations.
Is this project suitable for all ages?
Yes, with supervision for younger children, it can be adapted for different skill levels.
Conclusion
Crafting pine cone decorations is an enjoyable activity for families during the holiday season. You can find more inspiration and ideas with resources like Easy + Adorable Kid’s Pinecone Christmas Ornaments and explore even more projects at 25 Magical Pine Cone Christmas Crafts, Decorations & Ornaments. Enjoy your crafting time!
Print
Pine Cone Christmas Decorations
- Total Time: 45 minutes
- Makes: 5 decorations
Description
A fun and creative crafting project for kids to make beautiful pine cone decorations for Christmas, allowing families to bond and explore their creativity.
Materials
- Pine cones (collected or purchased)
- Acrylic paint (festive colors)
- Paintbrushes
- Glitter
- Glue (white school glue)
- Ribbons or string for hanging
- Optional: decorative items (buttons, beads, sequins)
Instructions
- Prepare your workspace: Lay down newspaper or a plastic sheet to protect your table.
- Start by painting the pine cones with a base coat of acrylic color. Allow to dry.
- On wet paint, sprinkle glitter generously for a sparkly effect.
- Glue decorative items such as sequins, buttons, or small pompoms onto the pine cone.
- Cut a length of ribbon or string and attach it to the top of the pine cone for easy hanging.
- Once everything is dry, you can add a clear coat of varnish.
Notes
Use brushes with larger heads for younger kids to help control paint application. Store finished ornaments in a box, separated with tissue paper.