

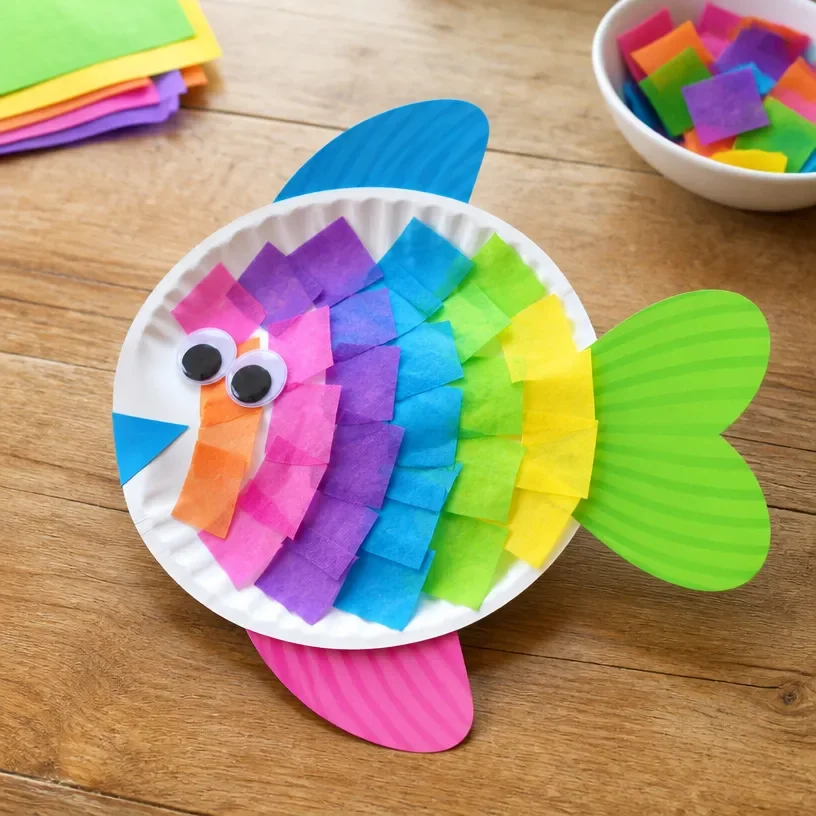
DIY Paper Plate Fish Craft for Kids
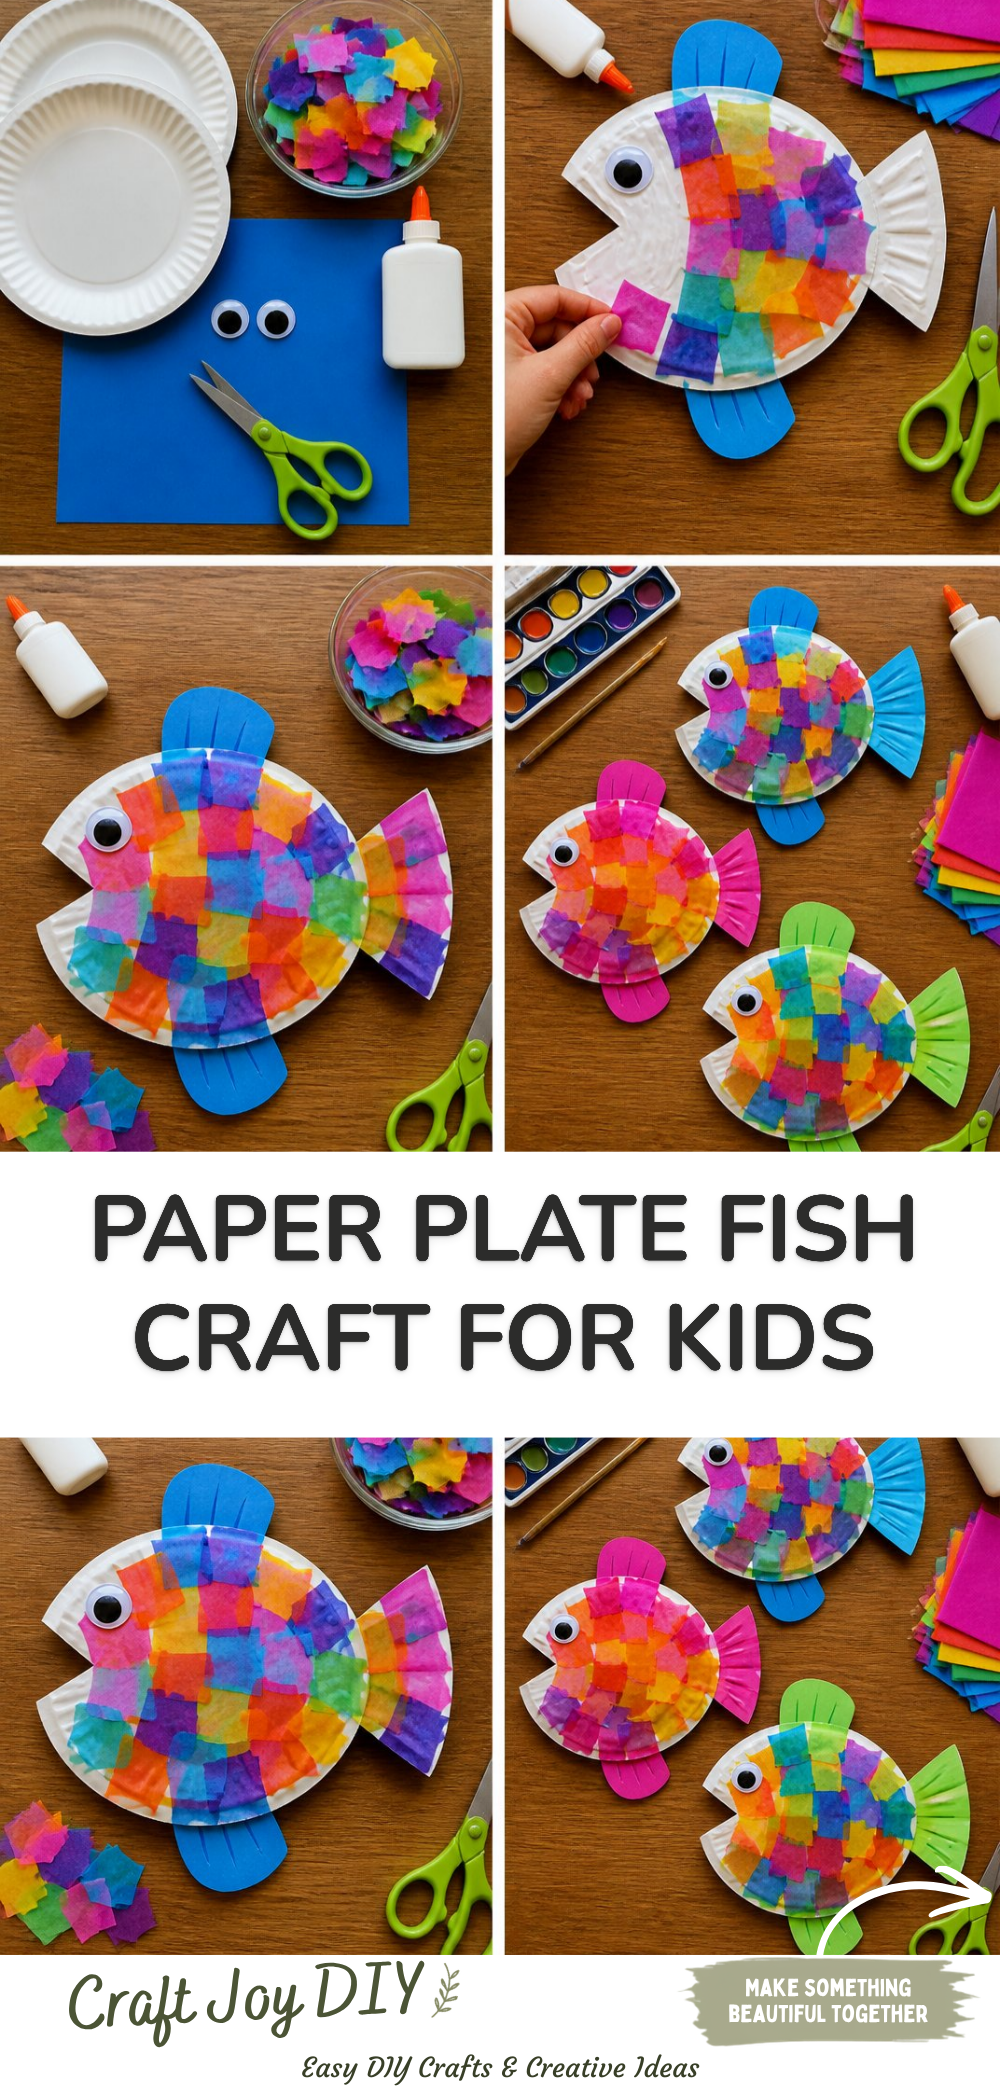
Creating a playful fish from a simple paper plate is a delightful and engaging activity that kids of all ages will enjoy. Not only is this DIY Paper Plate Fish Craft for Kids easy to make, but it also encourages creativity and can help in learning about sea life! Children can use their imagination to decorate their fish, making each piece unique and special. You may also find Easy Paper Plate Apple Craft For Kids useful.
This craft is perfect for a rainy day or as part of a themed art session, such as marine life or ocean animals. Let’s dive into how to create this fun project together! You may also find Paper Plate Fall Wreath Craft For Kids useful.
You may also find Diy Bubble Printed Butterfly Wings Craft For Kids useful.
Why You’ll Enjoy This Project
- Easy and Fun: This craft requires minimal supplies, making it quick and easy for kids to start crafting right away.
- Encourages Imagination: Kids can choose any colors and designs for their fish, promoting their creativity.
- Involving Learning: As you create, you can discuss different types of fish or ocean habitats, adding an educational twist to the fun.
- Great for Groups: This project is perfect for classrooms, parties, or family gatherings where multiple children can craft together.
- Display-Able Art: The finished fish can be proudly displayed at home or in the classroom, boosting a child’s confidence in their crafting skills.
Materials You’ll Need
- Paper plates
- Scissors
- Colorful paint or markers
- Glue
- Googly eyes (optional)
- Craft foam or construction paper for embellishments
- Brushes or sponges for painting (if using paint)
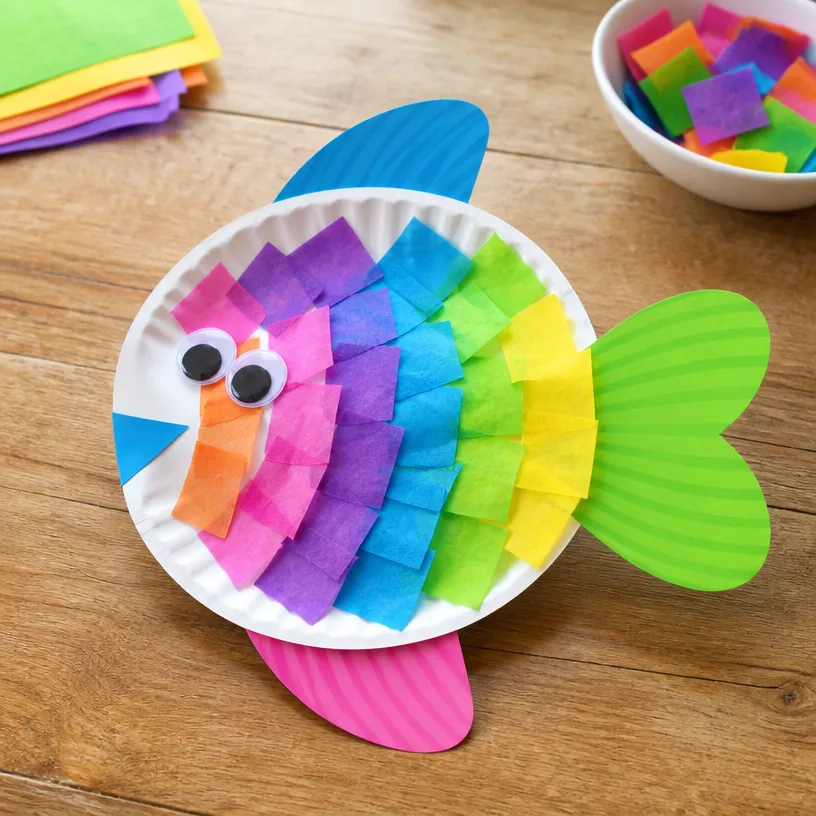
How to Make DIY Paper Plate Fish Craft for Kids
Step 1: Prepare the Plate
Start by taking your paper plate and flipping it over so the flat side is facing up. If you want to create a vibrant fish, feel free to paint the plate in your desired colors. Allow it to dry if you are using paint. You may also find Diy Butterfly Craft Kids Paper Wing Suncatcher useful.
Step 2: Cut the Fish Shape
Once the paint is dry, you can cut the plate into a fish shape. You can cut the paper plate in half and shape the curved edge to form the tail. Don’t worry about it being perfect; uniqueness is part of the fun!
Step 3: Add the Features
Next, use glue to attach googly eyes, or draw them with markers. You can also cut fins from craft foam or colored paper and glue them onto the fish.
Step 4: Decorate
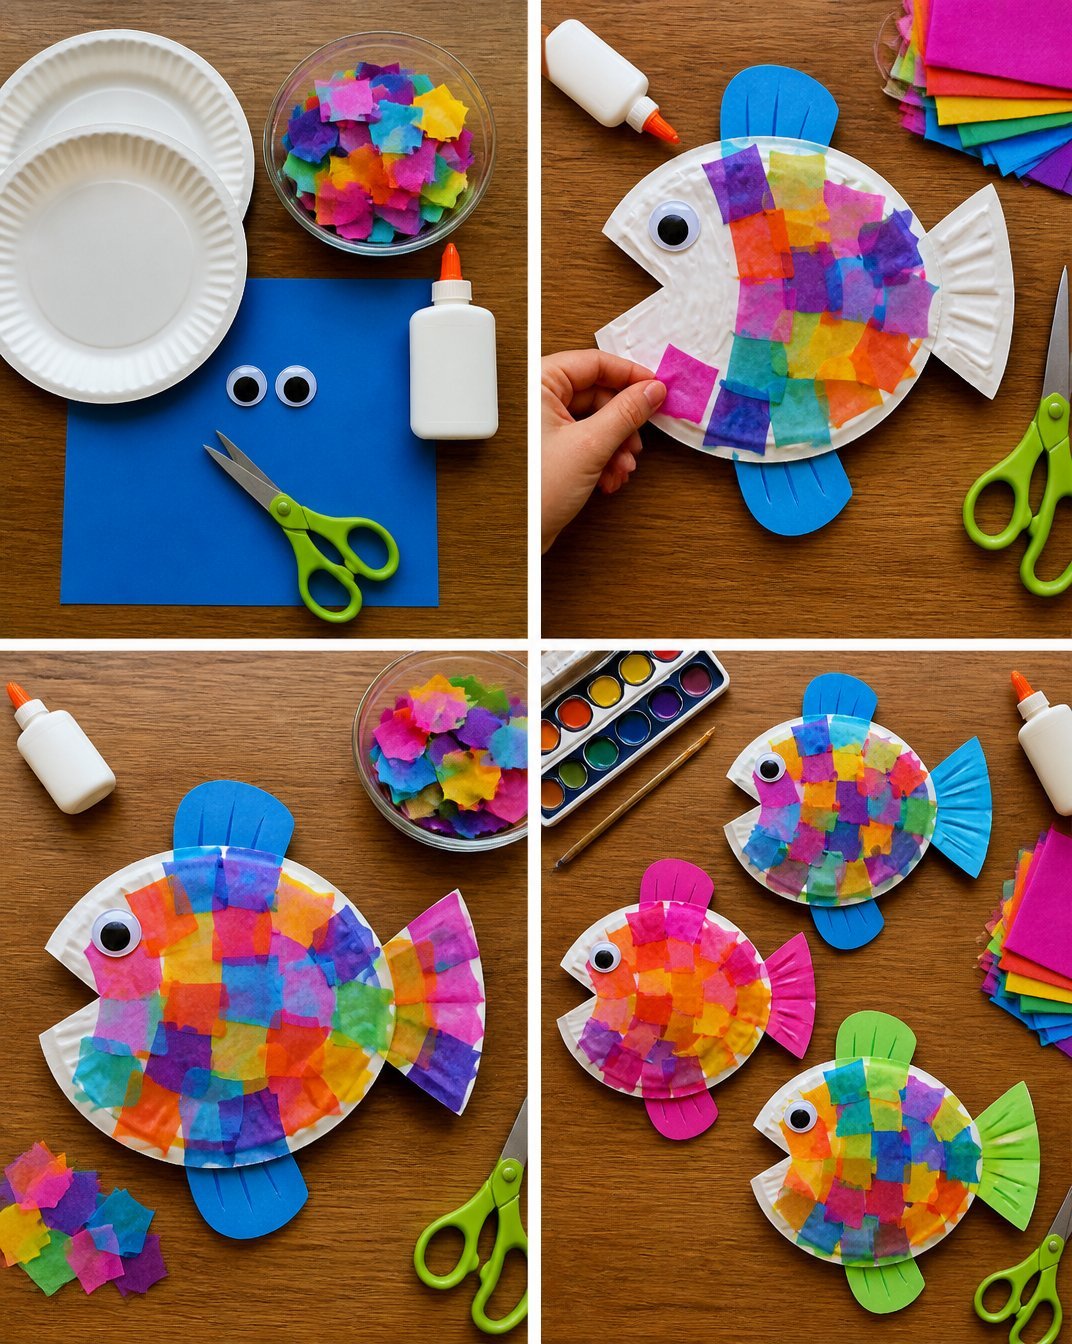
Encourage your kids to let their creativity shine by decorating the fish using markers, stickers, or any additional craft supplies like glitter. This is a great time to talk about different types of fish to inspire them to create more detailed designs.
Step 5: Display Your Creation
After everything is glued down and dried, you can display your fish on walls or the fridge, or even make a colorful fish collage together with other crafts, like this DIY Rainbow Sun Craft!
Helpful Tips
- Smooth Edges: Use rounded cutting techniques to avoid sharp edges while shaping the fish.
- Layering: When using paint, allow each layer to dry for more vivid colors.
- Safety First: If children are using scissors, ensure they are supervised to avoid accidents.
- Storage: If your craft involves paint, lay finished pieces flat on a surface to dry before storing or displaying.
Easy Variations
- Color Variation: Use warm colors for tropical fish or cool colors for an underwater theme.
- Themed Collections: Create a series with different sea creatures using similar techniques, like a paper plate octopus or jellyfish.
- Seasonal Themes: Decorate the fish according to different holidays, such as using red and green for Christmas.
- Different Materials: Experiment with different materials like fabric scraps for texture instead of paper.
- Size Options: Use small dessert plates for tiny fish, creating a school of fish together.
Making This Craft With Kids
This craft is well-suited for kids ages 4 and up. While older children can handle most tasks independently, younger ones may need help with cutting and using glue. Crafting together can be a wonderful bonding experience!
How to Display or Use It
There are numerous ways to showcase your finished paper plate fish. You can hang them from the ceiling to create an underwater scene, use them as part of a thematic display, or even gift them to friends or family as charming decorations.
Frequently Asked Questions
1. Can I use different types of paint?
Yes, any type of non-toxic paint works well. Just ensure it dries properly before handling.
2. What if I don’t have googly eyes?
You can simply draw eyes with markers or use small buttons as alternatives.
3. How can we expand this craft into a lesson?
This craft provides a great opportunity for lessons on marine life, colors, and creativity!
4. Can younger kids participate in this project?
Certainly! Just ensure they are supervised, particularly when using scissors or glue.
5. How do I clean up after crafting?
Have a designated space for materials and encourage kids to help clean up by putting items back in their places.
Conclusion
This DIY Paper Plate Fish Craft for Kids is a fantastic way to blend creativity and education. For more ideas on similar projects, consider exploring this Easy Paper Plate Fish Craft for Kids (Rainbow Fish Inspired) or if you want something even simpler, look into this Easy Paper Plate Fish Craft for Toddlers and Preschoolers. Happy crafting!
Print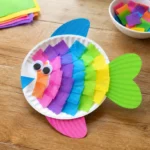
DIY Paper Plate Fish Craft for Kids
- Total Time: 15 minutes
- Makes: 1 craft
Description
A fun and easy paper plate fish craft for kids that encourages creativity and learning about marine life.
Materials
- Paper plates
- Scissors
- Colorful paint or markers
- Glue
- Googly eyes (optional)
- Craft foam or construction paper for embellishments
- Brushes or sponges for painting (if using paint)
Instructions
- Prepare the plate by flipping it over and painting it in your desired colors. Allow it to dry.
- Cut the plate into a fish shape, creating a tail from the curved edge.
- Add features by gluing googly eyes or drawing them with markers, and attach fins from craft foam.
- Decorate the fish using markers, stickers, or glitter to personalize it.
- Display your creation on walls, the fridge, or create a fish collage with other crafts.
Notes
Smooth edges when cutting and supervise children using scissors and glue.