


Paper Plate Stained-Glass Fall Wreath
Creating a Paper Plate Stained-Glass Fall Wreath is a delightful way to bring some seasonal cheer into your home. This craft project allows you to transform simple paper plates into vibrant, colorful decorations that mimic the look of stained glass. It’s not only a fun activity for families but also serves as a beautiful piece to hang in your home or give as a gift. You may also find Paper Plate Stained Glass Fall Wreath For Kids useful.
The process of making this wreath is straightforward and engaging, making it accessible for crafters of all ages. Plus, it’s an excellent chance to discuss the colors of fall with kids, as they choose which hues to incorporate into their creations. Let’s get started on this colorful craft! You may also find Cupcake Liner Sunflower Wreath Craft For Kids useful.
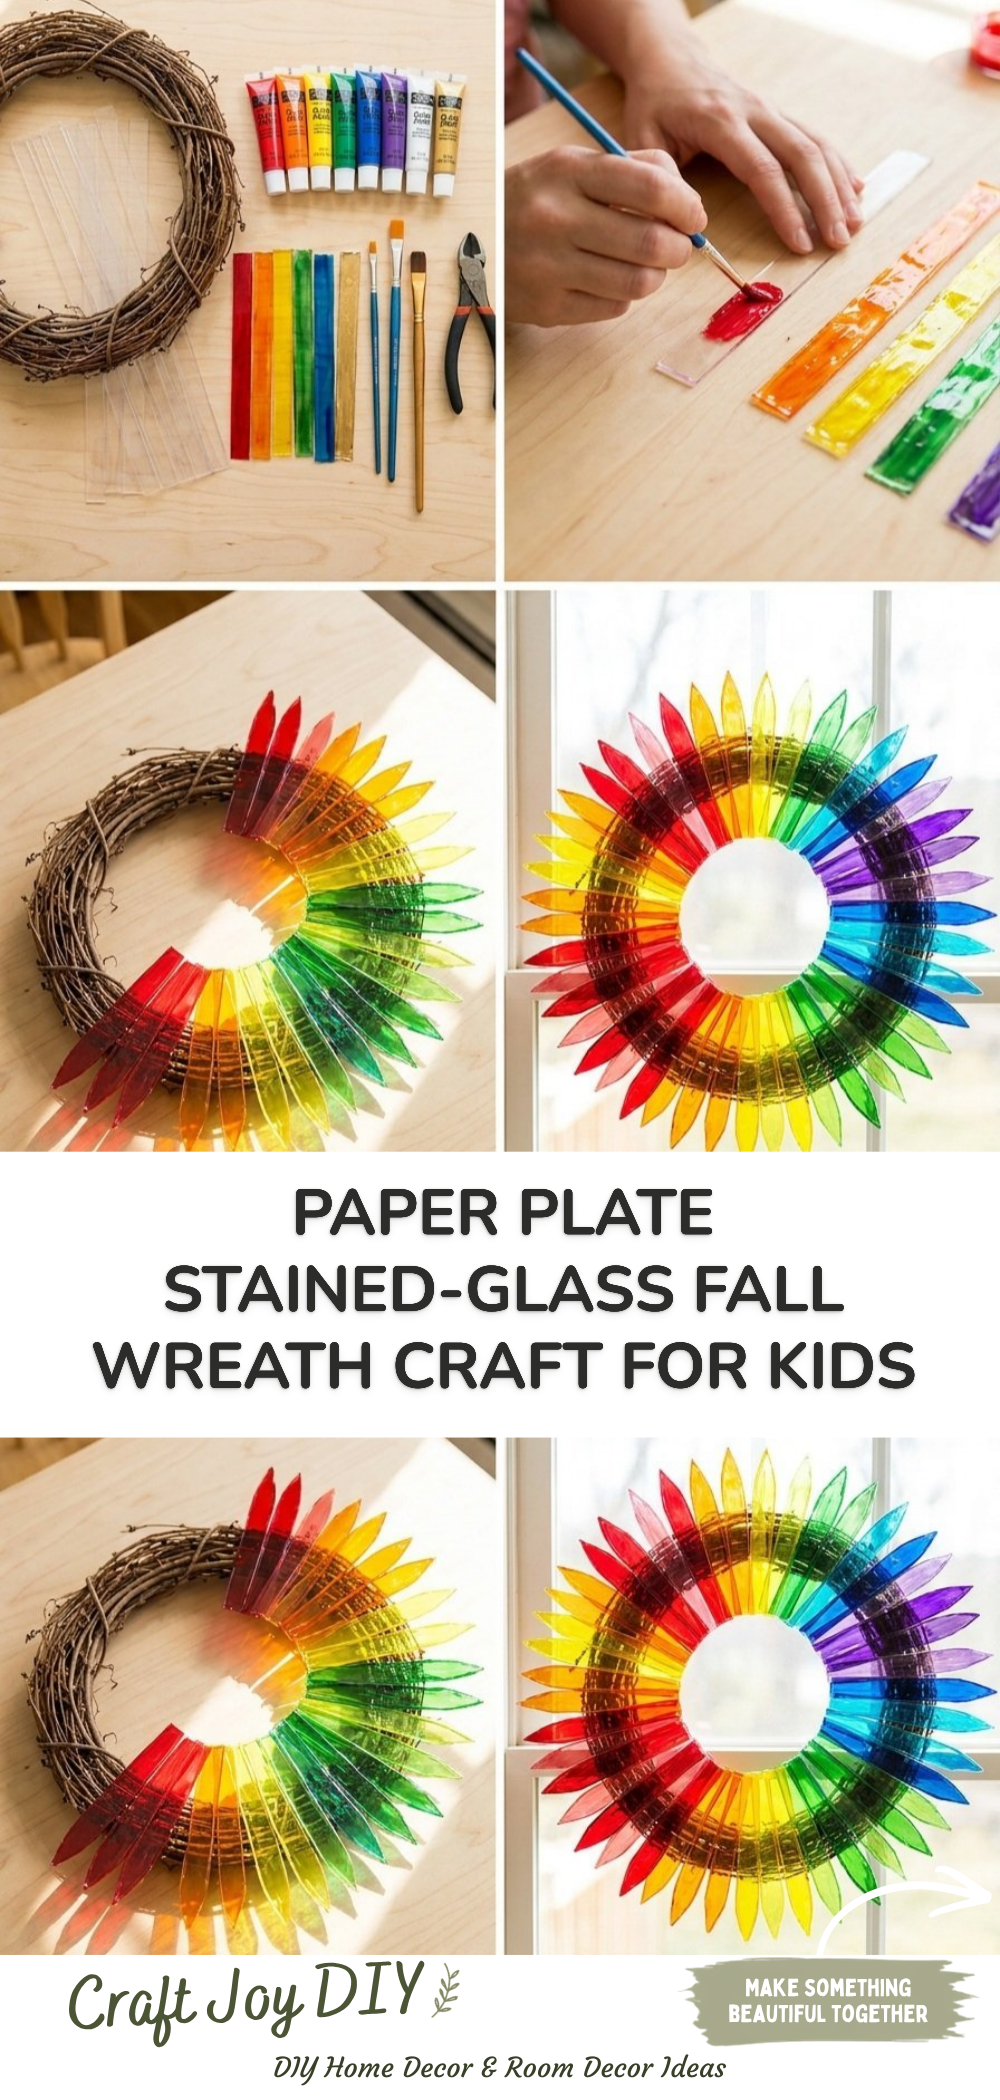
You may also find Melted Crayon Fall Leaf Garland Craft For Kids useful.
Why You’ll Enjoy This Project
- Easy to Make: The steps are simple, making it a perfect craft for young children with adult supervision.
- Creative Expression: Kids can choose their favorite colors and designs, making each wreath unique.
- Budget-Friendly: Using materials like paper plates and tissue paper keeps costs low while allowing for creativity.
- Seasonal Decor: This wreath adds a festive touch to your home, celebrating the beauty of fall.
- Engaging Learning: It’s a fantastic way to talk about the changing seasons and enhance fine motor skills.
Materials You’ll Need
To make your Paper Plate Stained-Glass Fall Wreath, you’ll need the following materials: You may also find Perler Bead Autumn Leaf Coasters Fall Decor useful.
- Paper plates
- Colored tissue paper
- Scissors
- Glue
- Markers or paint
- String or ribbon (for hanging)
You can easily find these materials at home or at your local craft store. If you don’t have colored tissue paper, consider using colored cellophane or even old magazines.
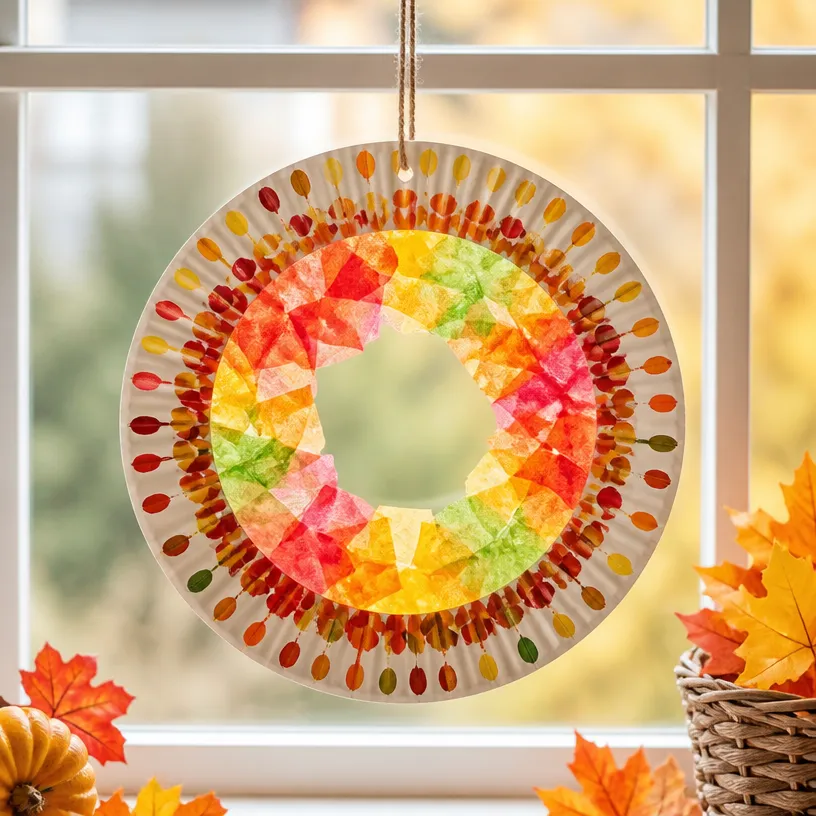
How to Make Paper Plate Stained-Glass Fall Wreath
- Cut the Plate: Begin by cutting a circle out of the middle of each paper plate to create a ring.
- Tear the Tissue Paper: Next, tear the colored tissue paper into small pieces. Let kids enjoy this tactile part!
- Glue the Tissue Paper: Use glue to attach the tissue paper pieces to the back of the paper plate ring, filling in the center area.
- Allow to Dry: Let your creation dry completely to ensure everything sticks well.
- Decorate the Edge: If desired, decorate the outer edge with markers or paint for added flair.
- Attach Hanging String: Attach a string or ribbon to the top of the wreath for hanging.
- Hang Your Wreath: Finally, hang your beautiful stained-glass wreath as a festive fall decoration.
This is a good moment to consider other projects you can enjoy together, like the easy paper plate apple craft, which would be another seasonal theme.
Helpful Tips
- Cut Carefully: When cutting the paper plates, an adult should assist young children to avoid injuries.
- Mix Colors: Encourage creativity by mixing colors; vibrant combinations can enhance the stained-glass effect.
- Drying Area: Place the wreath in a safe area to dry, away from direct sunlight and pets.
- Display Ideas: Hang the wreath near a window to enjoy the light shining through, illuminating the colors beautifully.
Easy Variations
- Theme-Based Wreaths: Use colors that represent other holidays, like reds and greens for Christmas.
- Larger Wreaths: Combine multiple paper plates for a bigger wreath that makes an even bolder statement.
- Different Shapes: Instead of circular, experiment with different shapes like hearts or stars.
- Added Decorations: Incorporate natural elements like leaves or twigs for a rustic look.
- Seasonal Changes: Swap out colors and themes as the seasons change, keeping your decor fresh and exciting.
Making This Craft With Kids
This is a wonderful project to do with kids! The entire process can be fun and educational. Supervise during cutting and gluing, but let them take the lead in choosing colors and applying the tissue paper. This independence can foster creativity and boost confidence.
How to Display or Use It
Your Paper Plate Stained-Glass Fall Wreath can be displayed on doors, windows, or walls. Consider using it as part of a seasonal display on a mantel or dining table. Additionally, it can make for a lovely handmade gift for family and friends, sharing the joy of crafting.
Frequently Asked Questions
1. What age is this craft suitable for?
This craft is suitable for children ages 4 and up, with adult supervision for cutting.
2. Can we use different materials instead of tissue paper?
Yes, you can use colored cellophane, fabric scraps, or even old photographs for a unique look.
3. How long does the project take?
The total time may vary, but typically it can take 30 to 60 minutes, depending on drying times.
4. What if we don’t have markers or paint?
You can skip decorating the outer edge entirely or use colored pencil crayons as an alternative.
5. Can this be a group project?
Absolutely! This project is perfect for classrooms, scout groups, or family gatherings.
Conclusion
Creating a Paper Plate Stained-Glass Fall Wreath is a charming way to celebrate the season while fostering creativity and family bonding. If you’re looking for more inspiration, you might enjoy exploring the Paper Plate stained glass wreath festive craft for kids or check out A Fall Wreath Paper Plate Craft – Life as Mom for additional ideas. Happy crafting!