

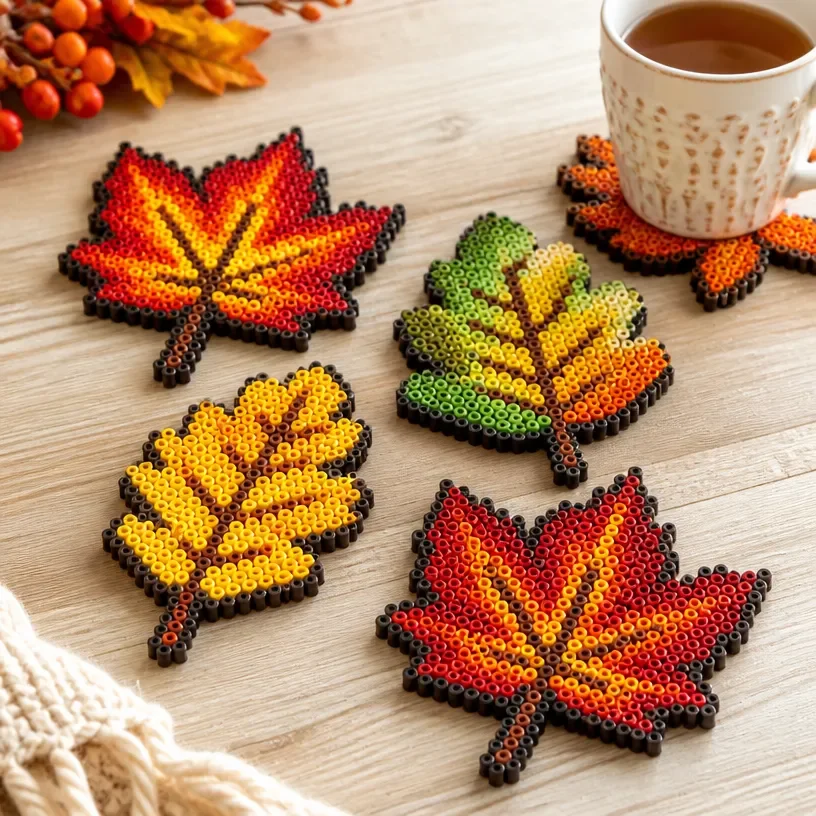
Perler Bead Autumn Leaf Coasters
Creating Perler bead autumn leaf coasters is a delightful and hands-on project that families can enjoy together. These vibrant coasters not only serve a practical purpose but also add a splash of color to your home decor during the fall season. Working with Perler beads is an engaging way for crafters of all ages to express their creativity while developing fine motor skills. You may also find Beaded Pipe Cleaner Snail Craft For Kids useful.
In this tutorial, you’ll learn to make charming autumn leaf coasters that can be used for cups, as trivets, or even as decoration. Let’s gather our materials and get started on this fun crafting journey!
Why You’ll Enjoy This Project
- Creative Expression: This project allows you to choose from various colors to create your ideal autumn leaves.
- Family-Friendly: Making these coasters is a perfect way to bond with kids or friends while creating something useful.
- Simple Instructions: With straightforward steps, even beginners will find this craft easy and enjoyable.
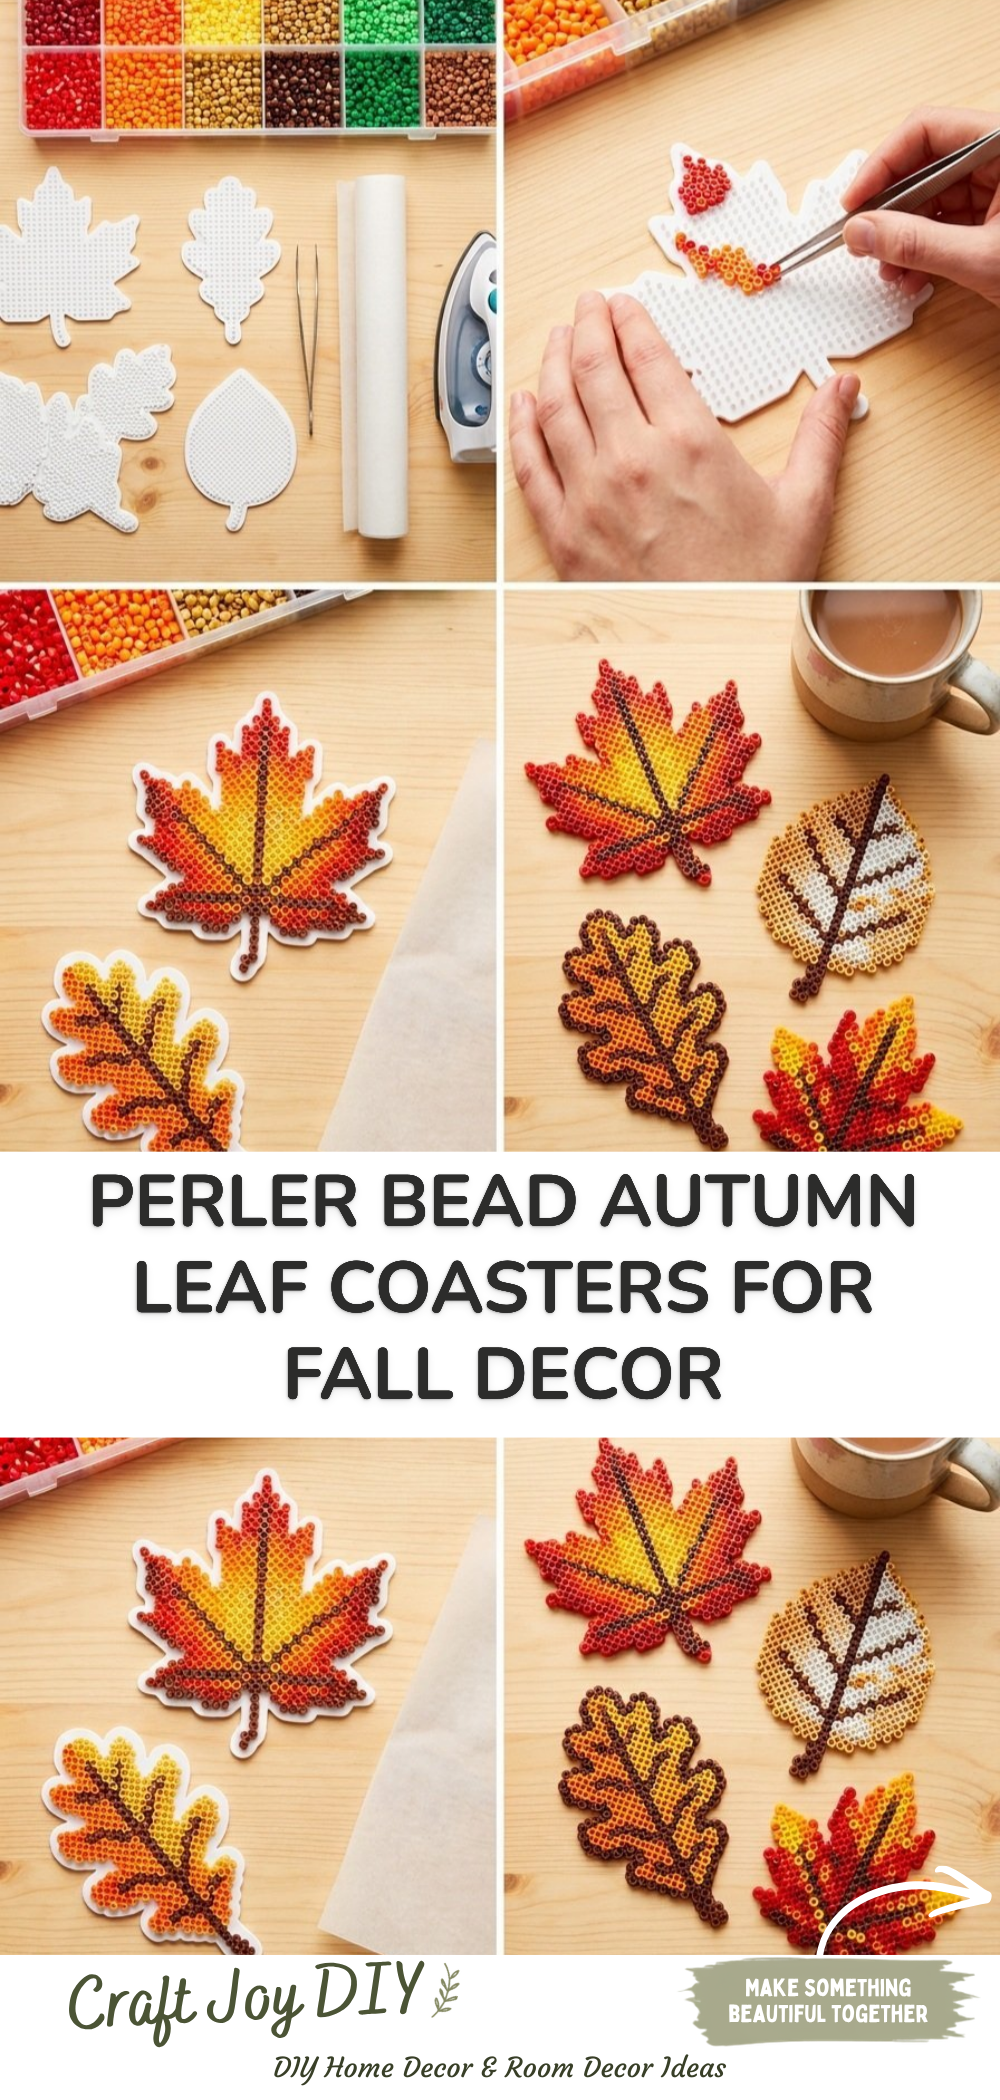
Materials You’ll Need
- Perler beads in fall colors (reds, oranges, yellows, and greens)
- Perler bead pegboards
- Ironing paper
- Iron
- Scissors (optional, for cutting the paper to size)
- A tray for organizing beads
You can also consider using recycled items, like cardboard for a base, to make the coasters sturdier.
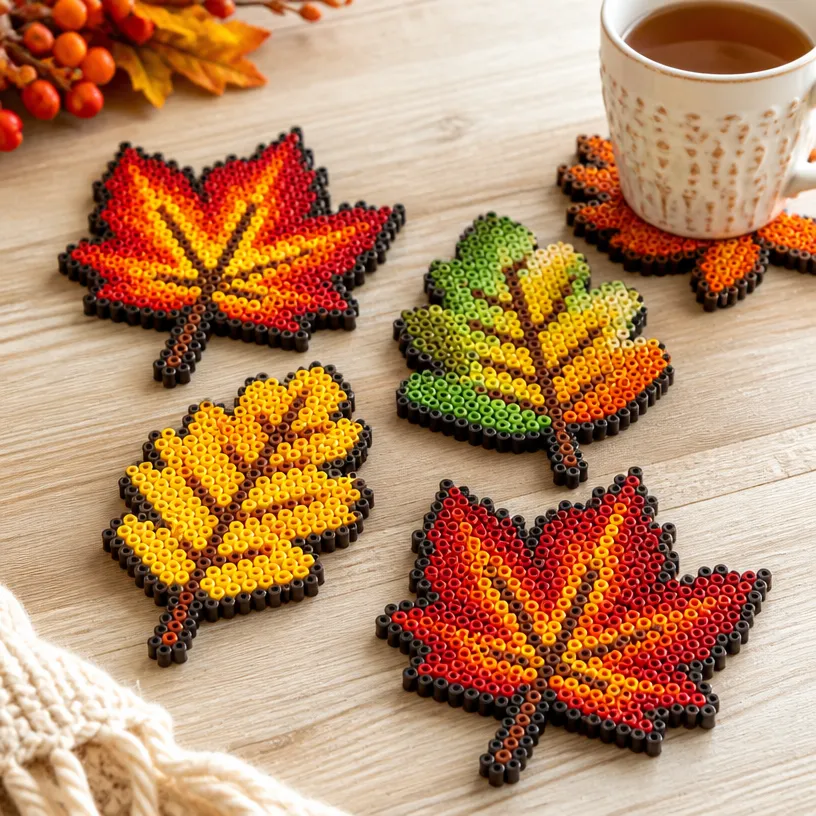
How to Make Perler Bead Autumn Leaf Coasters
Set Up Your Pegboard: Place your pegboard on a flat surface. This is where you will arrange the Perler beads.
Design Your Leaf: Start placing your beads on the pegboard to form the shape of a leaf. You can look for leaf templates online or use your imagination.
Fill in the Colors: Use autumn-inspired colors to fill in your design, making sure to leave space around the edges for easier handling.
Iron Your Beads: Once you’re satisfied with your design, cover it with ironing paper. Heat your iron on a medium setting and gently iron over the paper in a circular motion until the beads fuse together. This should take about 10-20 seconds.
Cool and Remove: Allow the coasters to cool for a few minutes, then gently lift them from the pegboard.
Finishing Touches: Trim off any rough edges with scissors if necessary. Your coasters are now ready to use!
Helpful Tips
- Be careful with the iron; it’s best for adults or older children to handle this part of the craft.
- If you want a smoother finish, try to press the iron evenly over the paper to ensure the beads adhere well without burning off.
- Display your coasters on a tray or use them for steaming mugs to protect your furniture.
Easy Variations
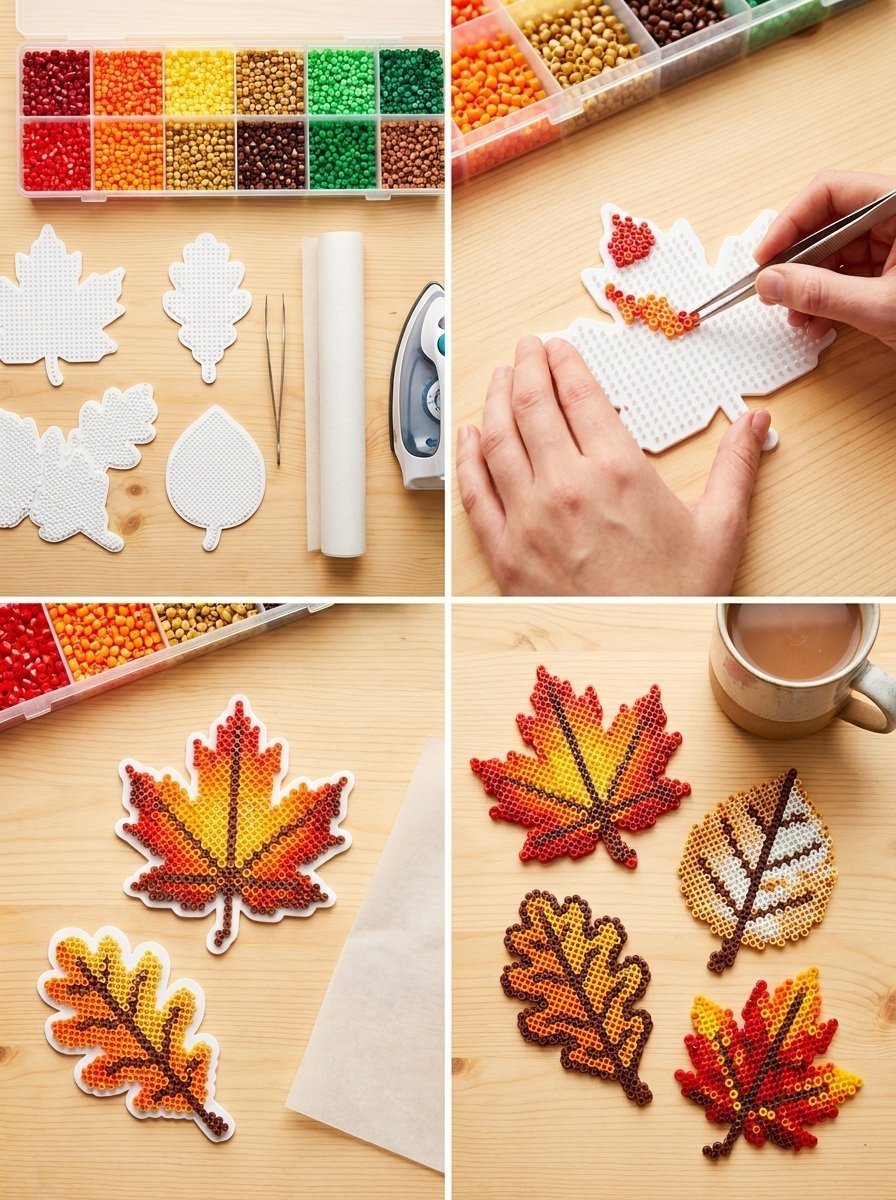
- Different Leaf Shapes: Experiment with various leaves like oak or maple for unique coaster designs.
- Mixed Colors: Instead of traditional autumn colors, try using neon beads for a modern twist.
- Size Variations: Make larger or smaller coasters by adjusting the pegboard size.
Making This Craft With Kids
This project works well for children ages 5 and up, but adult supervision is recommended when using the iron. Encourage kids to create their own patterns or even combine beads to make fun shapes like pumpkins or acorns alongside the leaves.
How to Display or Use It
These finished coasters make wonderful gifts, especially during the fall season. Display them on your coffee table or use them as part of your autumn home decorations. They can also be a great addition to a seasonal gathering, protecting surfaces from hot drinks while adding a festive touch.
Frequently Asked Questions
Can I use a different type of bead?
You can, but make sure they are meant for melting and can fuse together when heated.
What if I don’t have a pegboard?
You can use a plate as a makeshift surface, but keep in mind that it may not yield precise shapes.
How do I clean my coasters?
Wipe them down with a damp cloth; avoid soaking them in water to maintain their shape.
Can these coasters be used outdoors?
It’s best to use them indoors, as prolonged sun exposure may warp the beads.
Conclusion
Making Perler bead autumn leaf coasters is not only a fun fall activity, but it can also enhance your decor. For more creative projects, you might want to try Autumn Leaf Hama bead coasters or explore 35 Autumn Perler Bead Patterns, Designs and Ideas for further inspiration. Enjoy crafting!
Print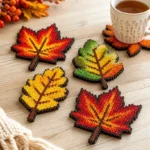
Perler Bead Autumn Leaf Coasters
- Total Time: 20 minutes
- Makes: 4 coasters
Description
Create vibrant autumn leaf coasters with Perler beads, perfect for home decor and family bonding.
Materials
- Perler beads in fall colors (reds, oranges, yellows, greens)
- Perler bead pegboards
- Ironing paper
- Iron
- Scissors (optional)
- A tray for organizing beads
Instructions
- Set up your pegboard on a flat surface.
- Design your leaf by placing beads on the pegboard.
- Fill in your design with autumn-inspired colors, leaving space around the edges.
- Iron your beads by covering with ironing paper and gently heating with an iron for 10-20 seconds.
- Cool the coasters for a few minutes, then lift them from the pegboard.
- Trim off any rough edges with scissors if necessary.
Notes
Ensure adult supervision while using the iron. Display coasters on a tray for aesthetic appeal.