

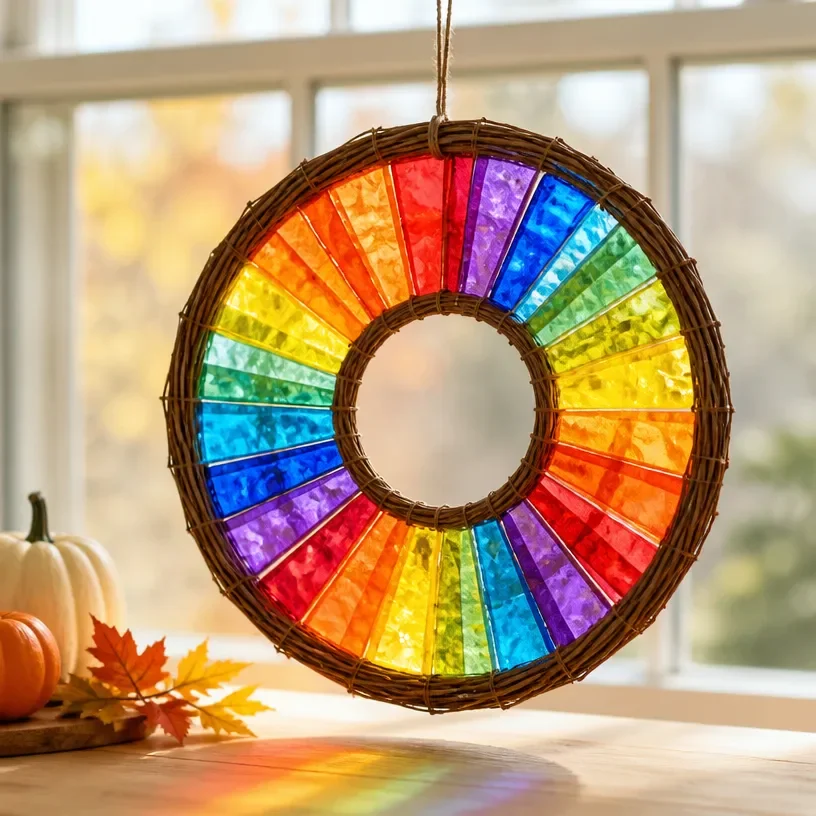
Paper Plate Stained-Glass Fall Wreath
Creating a stained-glass fall wreath using paper plates is a delightful project that can add a splash of color to your home. This craft combines the beauty of seasonal art with the simplicity of materials that you likely already have at home. The best part? It allows for creativity and expression, making it a perfect activity for families, schools, or simply a quiet afternoon at home. You may also find Cupcake Liner Sunflower Wreath Craft For Kids useful.
In just a few steps, you and your little ones will have a lovely wreath to display, brightening your space during the fall season. If you’re interested in more creative paper plate crafts, this project is an excellent addition to your collection.
Why You’ll Enjoy This Project
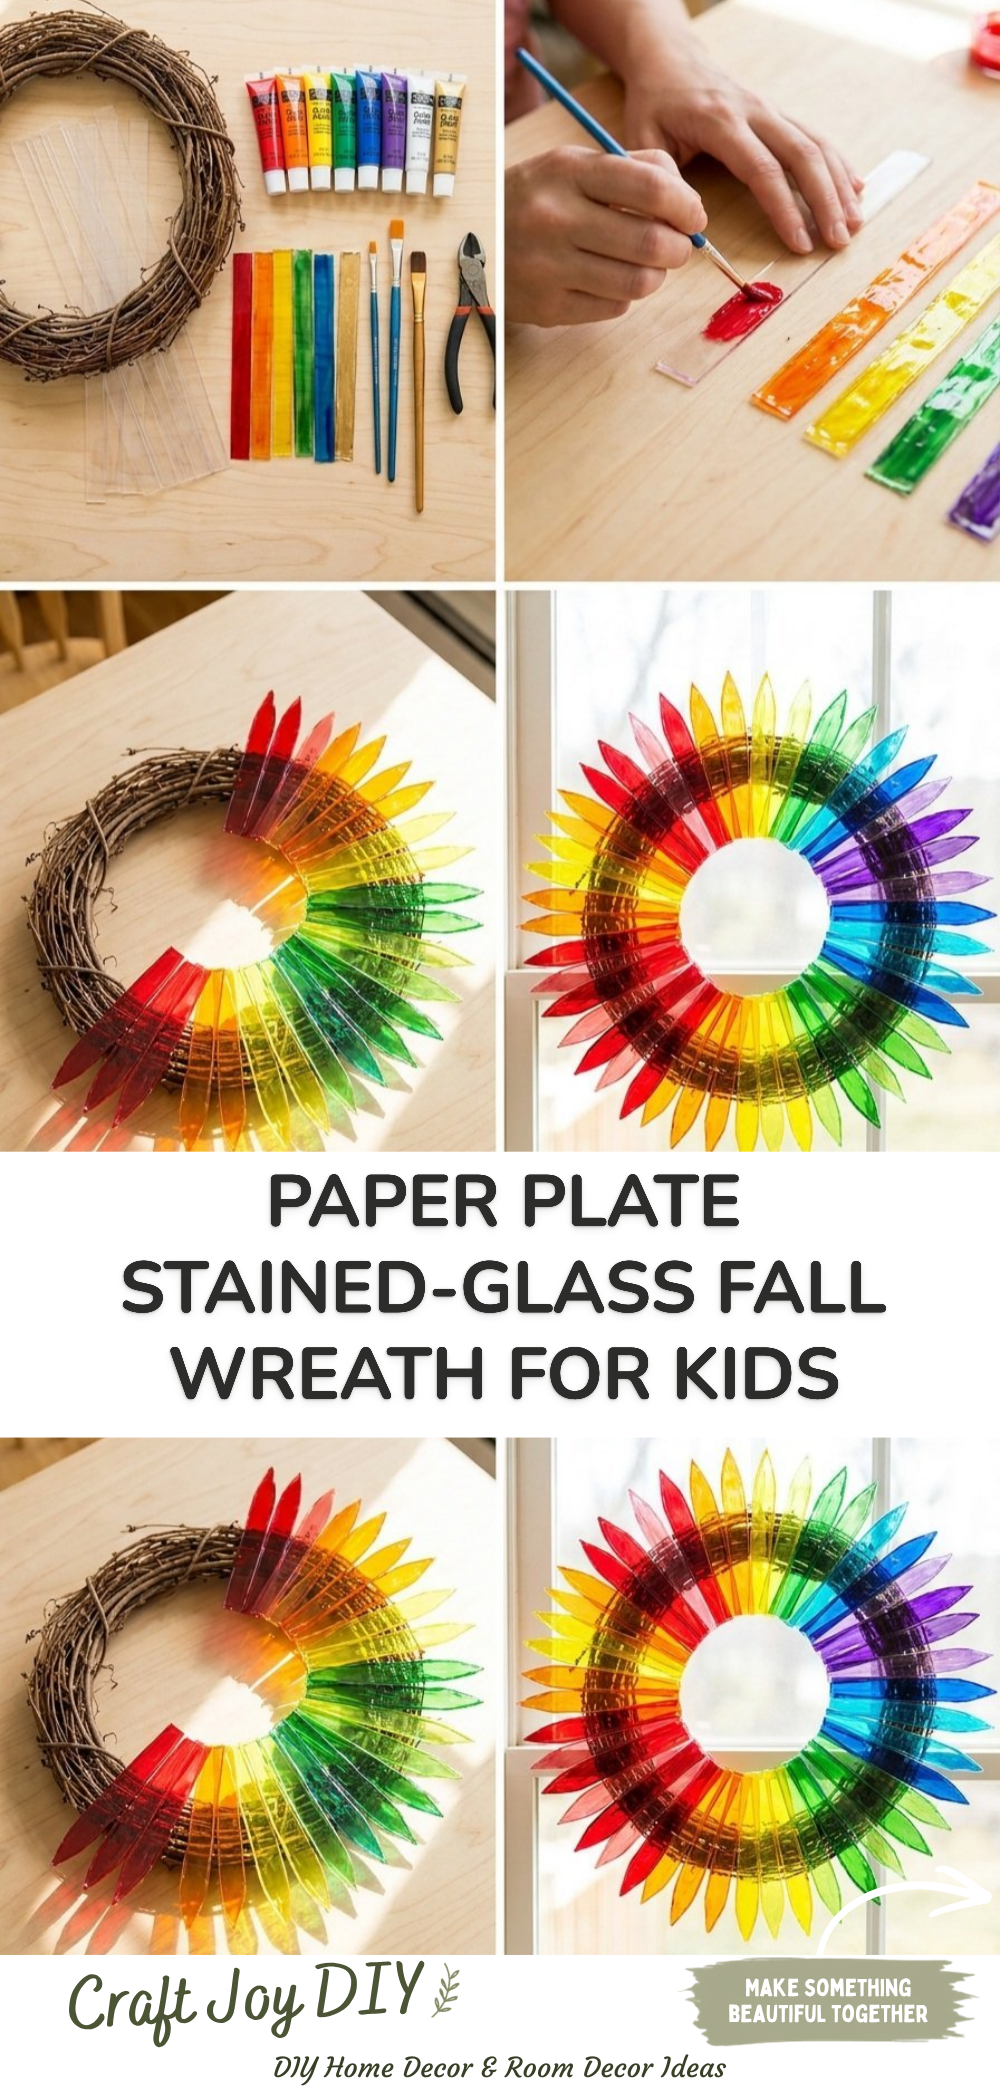
- Colorful Decoration: The vibrant colors of tissue paper create a stunning effect when light shines through, making your wreath a beautiful piece of art.
- Easy and Accessible: With simple materials, this project is perfect for crafters of all ages and skill levels.
- Quality Time: Making this wreath is a great opportunity for families to bond while creating something special together.
You may also find Rainbow Cupcake Liner Monster Wreath Halloween useful.
Materials You’ll Need
- Paper plates (two for each wreath)
- Tissue paper in various fall colors (red, orange, yellow, brown)
- Scissors
- Clear tape or glue
- A glass or bowl (to trace a circle if desired)
- String or ribbon for hanging
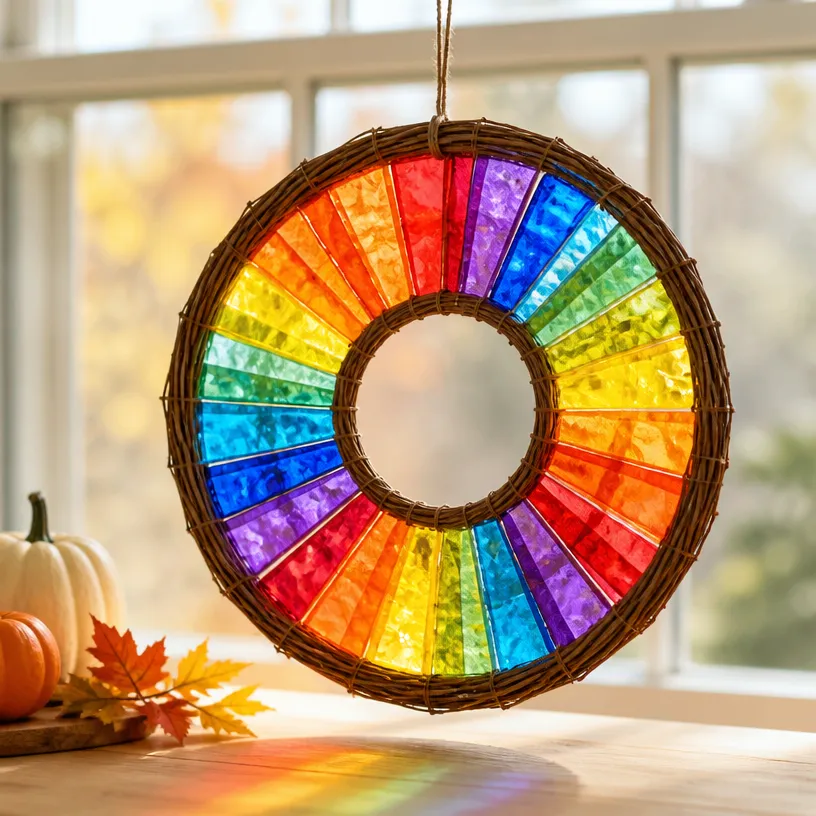
How to Make Paper Plate Stained-Glass Fall Wreath
- Prepare the paper plate: Take one paper plate and cut a circle out of the center, leaving a border of about 1 inch. This will serve as the frame of your wreath.
- Cut tissue paper: Cut your tissue paper into squares, about 1-2 inches in size. Feel free to vary the colors and sizes to create a unique look!
- Design the back: Take the second paper plate and lay it face up. Begin placing pieces of cut tissue paper randomly on the plate. Use as many colors as you like to create a vibrant, fall-themed collage.
- Secure the tissue paper: Use clear tape or glue to secure the tissue paper in place. Make sure there are no bare spots, as this will be the stained-glass effect once your wreath is complete.
- Attach the frame: Place the first paper plate (the frame) on top of the second plate, aligning it so that the tissue paper peeks through. Secure the plates together with tape or glue around the edges.
- Create a hanging loop: Cut a piece of string or ribbon and attach it to the top of your wreath with tape or glue, allowing you to hang it wherever you’d like.
Helpful Tips
- When using scissors, supervise young children closely to ensure safety.
- For cleaner edges, try using a craft knife for cutting the center circle from the paper plate.
- Placing the wreath in a well-lit area will enhance the stained-glass effect, so choose your display spot wisely.
Easy Variations
- Seasonal Changes: Swap out the tissue paper colors based on other seasons, like pastels for spring or a mix of greens for summer.
- Different Shapes: Instead of a circular wreath, experiment with other shapes like stars or hearts for different occasions.
- Decorative Embellishments: Add glitter or small decorative items like leaves or acorns for extra flair.
Making This Craft With Kids
This project is perfect for kids, especially those who enjoy working with their hands. Adults may need to assist with cutting the plate and handling scissors. Encourage children to express themselves with their choice of colors and design. You may also find Rainbow Tissue Paper Flower Lantern Diy For Kids useful.
How to Display or Use It
Once your wreath is complete, find a special spot to hang it. Consider places like the front door, a kitchen wall, or even a window to showcase the colorful stained-glass effect. This wreath can also serve as a thoughtful gift for family or friends.
Frequently Asked Questions
Can I use other materials instead of paper plates?
Yes! You can use cardboard or even old pizza boxes as alternatives.
How can I store the wreath after the season?
To keep it safe, store it flat in a box or between sheets of tissue paper to prevent damage.
Can we add real leaves to this project?
Absolutely! Just be sure to dry them well before attaching them to avoid moisture damage.
How long does it take to make this wreath?
The entire process usually takes about an hour, depending on the drying time for glue.
Conclusion
Creating a stained-glass fall wreath provides a wonderful hands-on experience for families and can enhance your seasonal decorations. If you’re looking for more festive ideas, check out this paper plate stained glass wreath festive craft for kids or explore A Fall Wreath Paper Plate Craft for additional inspiration. Enjoy crafting!
Print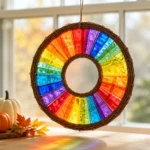
Paper Plate Stained-Glass Fall Wreath
- Total Time: 60 minutes
- Makes: 1 wreath
Description
A colorful and creative project to make a fall-themed wreath using simple materials like paper plates and tissue paper.
Materials
- 2 paper plates
- Assorted tissue paper in fall colors (red, orange, yellow, brown)
- Scissors
- Clear tape or glue
- A glass or bowl (for tracing)
- String or ribbon for hanging
Instructions
- Prepare the paper plate by cutting a circle out of the center, leaving a 1-inch border.
- Cut tissue paper into 1-2 inch squares in various colors.
- Design the back of the second paper plate with cut tissue pieces, creating a vibrant collage.
- Secure the tissue paper with tape or glue, ensuring no bare spots are visible.
- Attach the frame by placing the first plate on top and securing it around the edges.
- Create a hanging loop with string or ribbon, attaching it to the top of the wreath.
Notes
Use caution with scissors when crafting with children. Consider using a craft knife for cleaner cuts.