

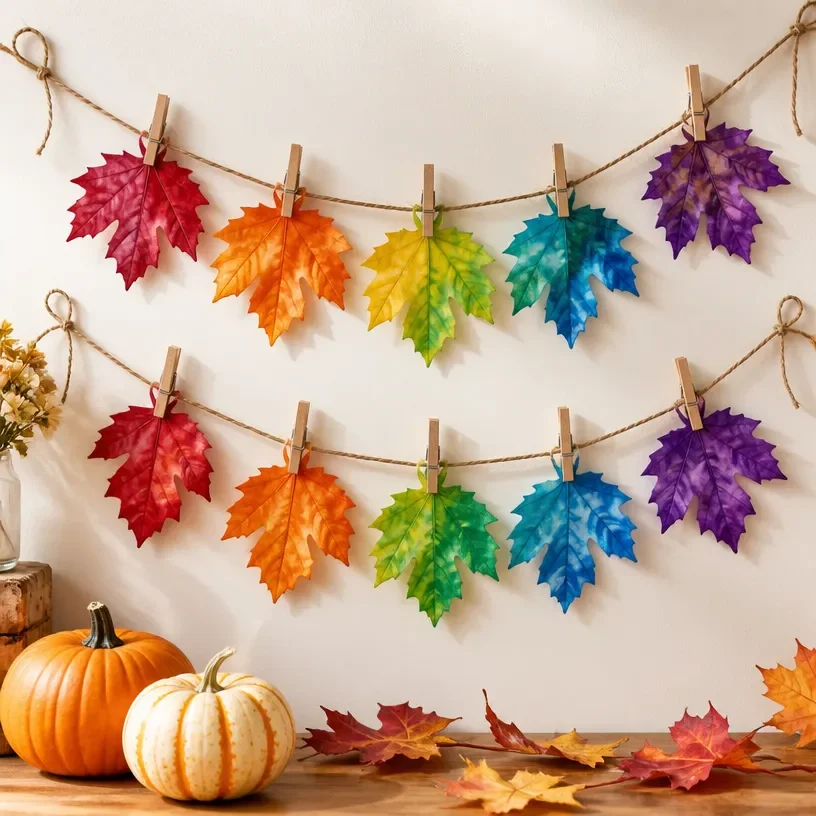
DIY Melted Crayon Rainbow Fall Leaf Garland
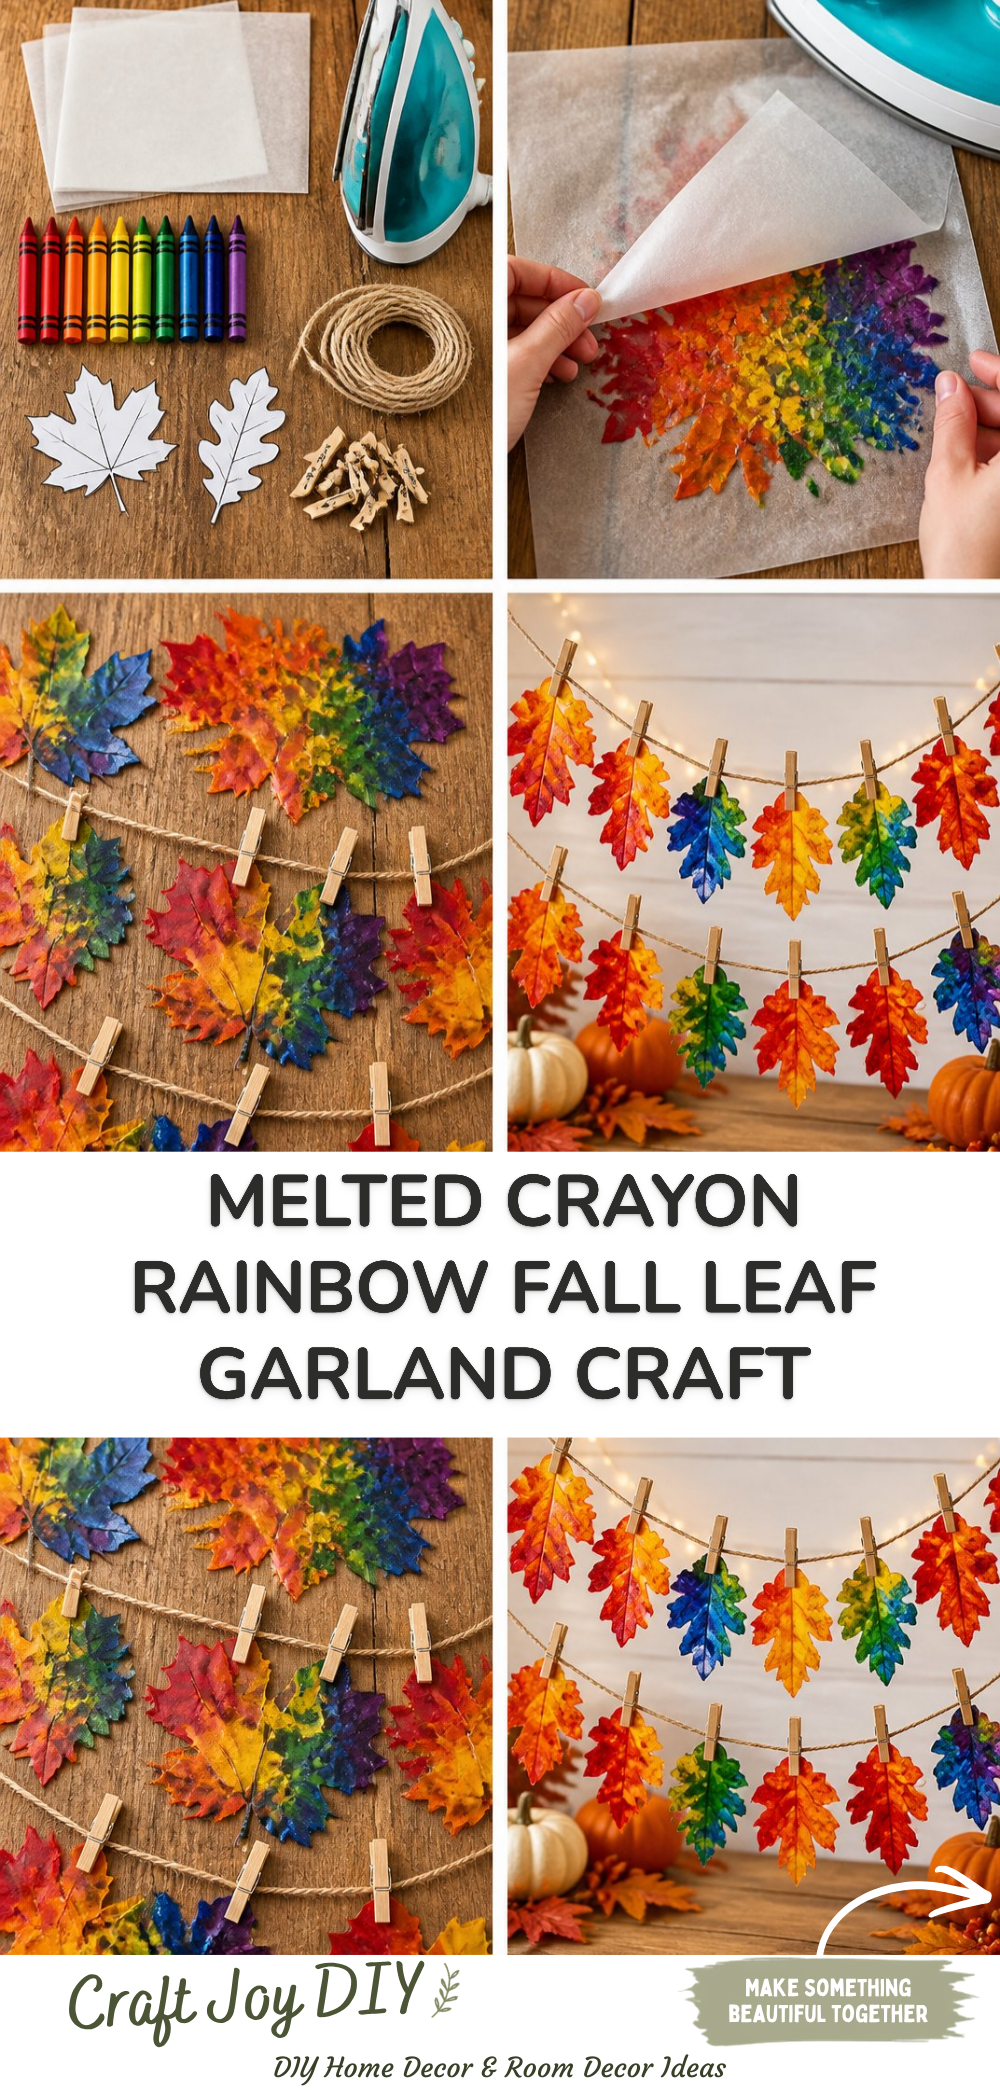
Creating a DIY Melted Crayon Rainbow Fall Leaf Garland combines the beauty of autumn with the joy of crafting. This fun project not only allows you to express your creativity but also serves as a lovely decor piece that celebrates the vibrant colors of the fall season. Whether you’re decorating for a holiday or simply wishing to add some color to your home, this garland offers an engaging activity for you and your family. You may also find Melted Crayon Fall Leaf Garland Craft For Kids useful.
The melted crayon technique is both simple and mesmerizing. By transforming crayons into colorful, unique leaves, you can enjoy an afternoon of crafting that results in a stunning display. Moreover, this craft is perfect for families who want to work on something together, bringing warmth and creativity into your home. You may also find Rainbow Melted Crayon Maple Leaf Suncatcher Diy useful.
You may also find Fall Leaf Friends Craft Kids Rainbow Panda useful.
Why You’ll Enjoy This Project
- Creative Freedom: You can choose any colors you like, creating a garland that truly reflects your style.
- Kid-Friendly: This project is accessible for children, allowing them to experiment with colors and shapes.
- Seasonal Decor: The finished garland adds a cheerful touch to your autumn decorations.
- Simple Materials: Most of the materials needed are easy to find and affordable.
- Fun Process: Watching the crayons melt and transform into beautiful leaves is fascinating for both kids and adults.
Materials You’ll Need
- Crayons (autumn colors preferred, like red, orange, yellow, and brown)
- Wax paper or parchment paper
- Iron
- Scissors
- String or twine
- Craft glue (optional)
- Leaf templates (or you can freehand your shapes)
How to Make DIY Melted Crayon Rainbow Fall Leaf Garland
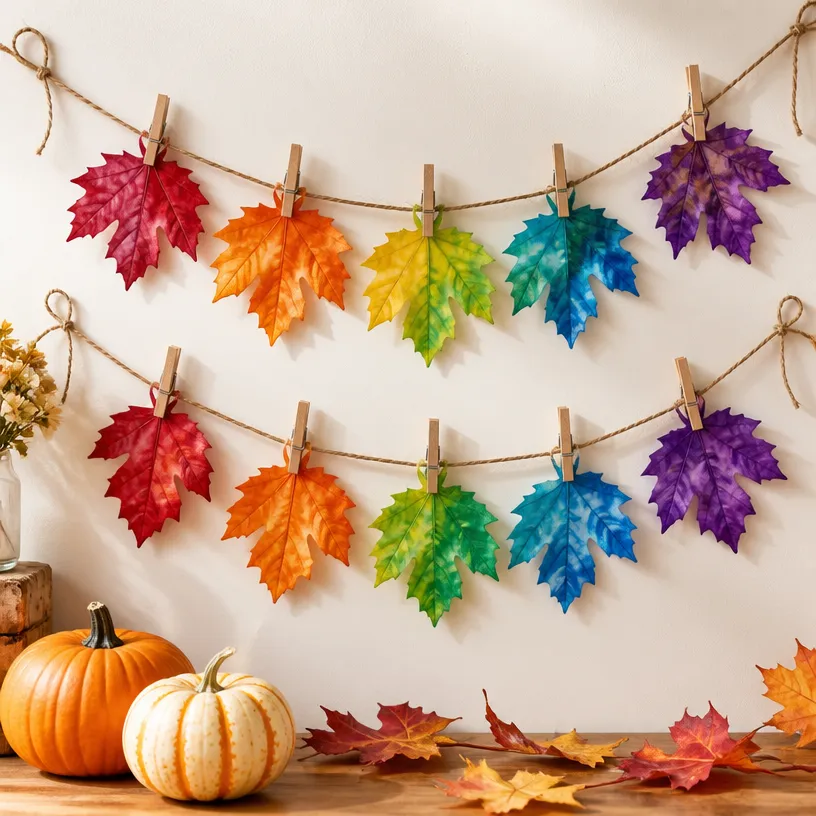
Prepare the Crayons: Remove the paper from the crayons. You can break them into smaller pieces if you prefer quicker melting. You may also find Melted Crayon Rainbow Butterfly Suncatcher Craft useful.
Layer the Crayons: Place a piece of wax paper or parchment paper on a flat surface. Arrange the crayon pieces in leaf shapes, layering different colors to create your design. You may also find Melted Crayon Rainbow Butterfly Suncatcher For Kids useful.
Melt the Crayons: Fold the wax paper over the crayons and press with a warm iron. Make sure to move the iron gently until the crayons completely melt and blend together.
Cool Down: Carefully open the wax paper to reveal the melted crayon design. Let it cool for a few minutes, then carefully peel it off.
Cut Out Leaf Shapes: Once cooled, use scissors to cut out your leaf shapes. You can also use templates for more uniformity.
Assemble the Garland: Attach the leaves to string or twine using craft glue or by simply tying them on. Space them out evenly for a pleasing look.
Helpful Tips
- Choosing Crayon Colors: Consider using hues that mimic fall foliage for a more authentic look.
- Ironing Technique: Use a medium heat setting and be cautious not to leave the iron in one spot too long, as this could burn the wax paper.
- Supervision: Ensure kids are monitored during the ironing phase for safety.
- Hanging Your Garland: You can display your garland on a wall, over a mantle, or even across a doorway for an inviting autumn touch.
Easy Variations
- Different Shapes: Experiment by cutting out shapes other than leaves, like pumpkins or acorns, to broaden the harvest theme.
- Color Themes: Try using just one color family, such as reds and pinks, to create a monochromatic effect.
- Size Adjustments: Create small versions of the leaves for a daintier garland or larger ones for a bolder statement.
- Layering Techniques: Overlay different sheets of melted crayons to create textured designs.
Making This Craft With Kids
This crafting activity is ideal for children, as it helps develop their fine motor skills and creativity. Adults might need to assist with melting the crayons and handling the hot iron, ensuring a safe and enjoyable experience for everyone involved.
How to Display or Use It
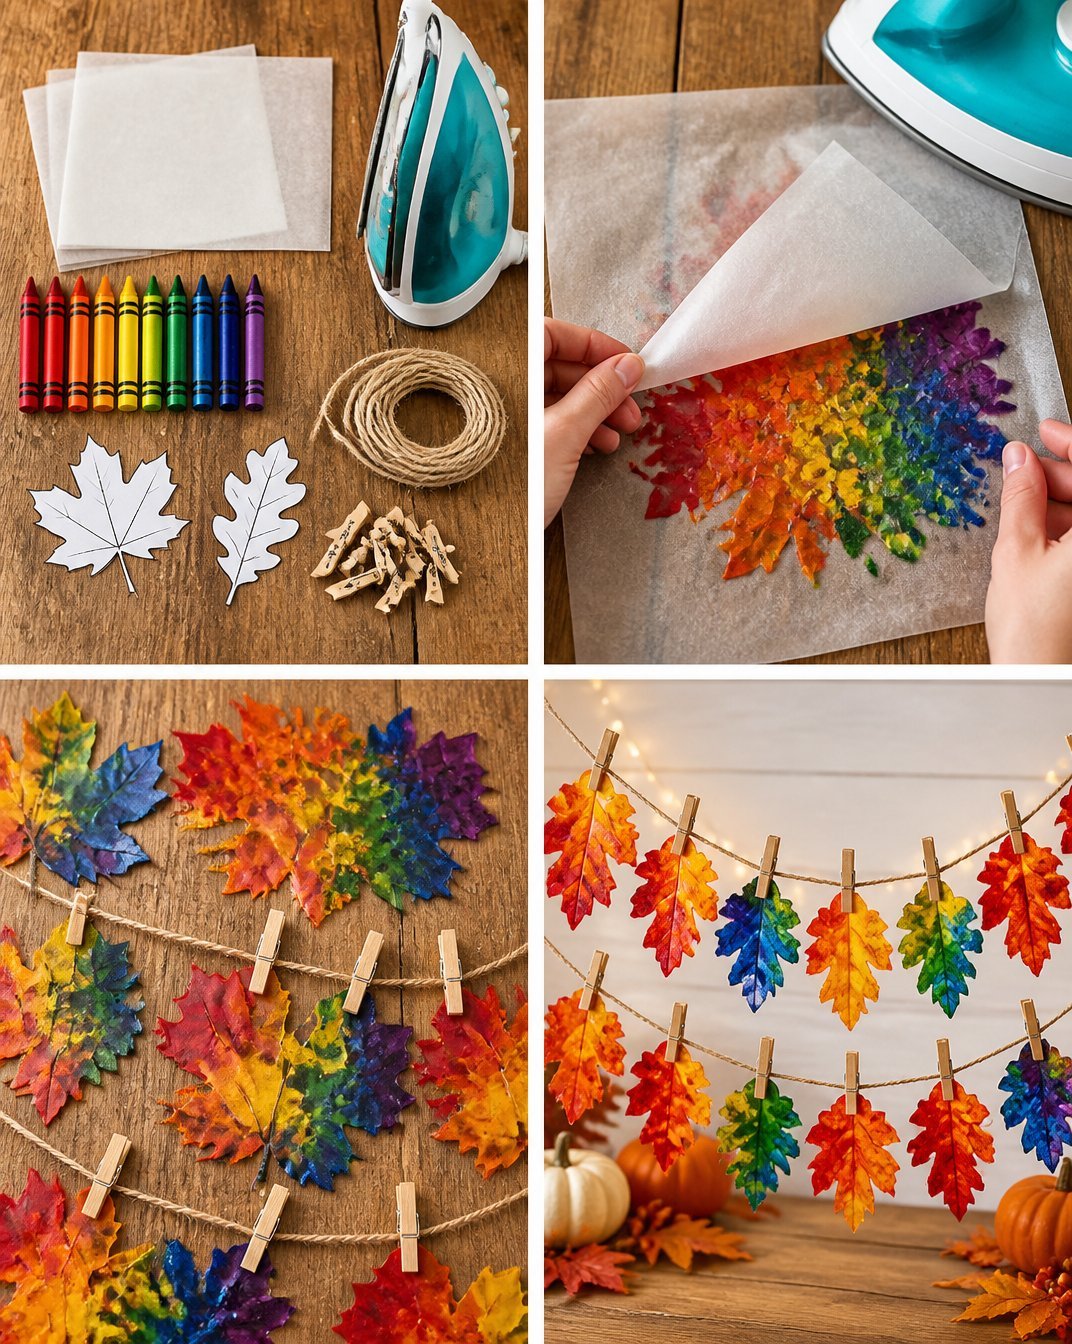
The finished melted crayon leaf garland can be draped on porches, hung in windows, or used as a centerpiece for your fall table settings. You may also consider giving them as handmade gifts to family and friends, sharing the beauty of your work.
Frequently Asked Questions
What type of crayon works best?
Use standard wax crayons rather than washable ones, as they melt better.
Can I use a hairdryer instead of an iron?
Yes, a hairdryer works, but it may take longer to melt the crayons uniformly.
How long will the garland last?
With proper care, the garland can last for several seasons but should be kept away from direct sunlight to prevent fading.
Can I add glitter to my garland?
Absolutely! Just sprinkle some glitter on the melted crayon leaves before they fully set.
What’s the best way to store my garland?
Store your garland in a dry place, preferably in a decorative box to keep it safe from damage.
Conclusion
The DIY Melted Crayon Rainbow Fall Leaf Garland is a delightful project that captures the beauty of fall while providing a hands-on creative experience. Integrating various colors and designs makes it a unique piece for your home. If you’re looking for more crafty ideas, explore This inspiring blog on craft activities for additional projects. For another exciting craft involving melted crayons, you can check out this great resource on sun catchers. Enjoy your crafting!
Print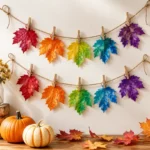
DIY Melted Crayon Rainbow Fall Leaf Garland
- Total Time: 25 minutes
- Makes: 1 garland
Description
Create a stunning DIY melted crayon garland that captures the vibrant colors of fall, perfect for seasonal decor.
Materials
- Crayons (autumn colors preferred, like red, orange, yellow, and brown)
- Wax paper or parchment paper
- Iron
- Scissors
- String or twine
- Craft glue (optional)
- Leaf templates (or freehand shapes)
Instructions
- Prepare the crayons by removing the paper and breaking them into smaller pieces if desired.
- Layer the crayons on wax paper in leaf shapes, arranging different colors.
- Melt the crayons by folding the wax paper over them and pressing with a warm iron.
- Cool down the melted crayon design before peeling it off carefully.
- Cut out leaf shapes using scissors or templates.
- Assemble the garland by attaching the leaves to string or twine.
Notes
Use medium heat for ironing and supervise kids during the melting process for safety.