

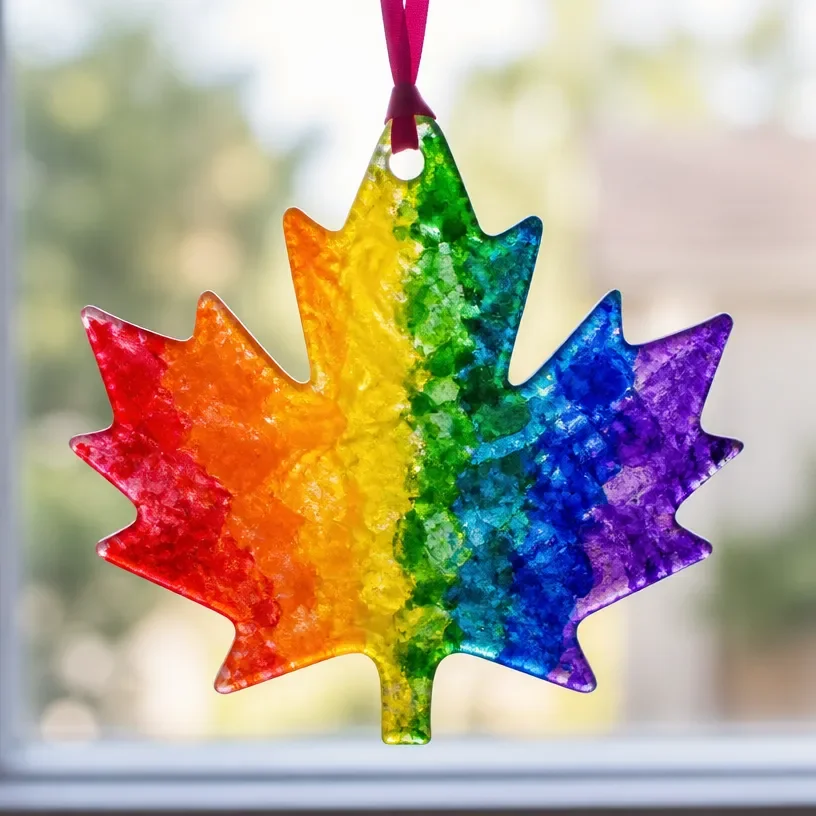
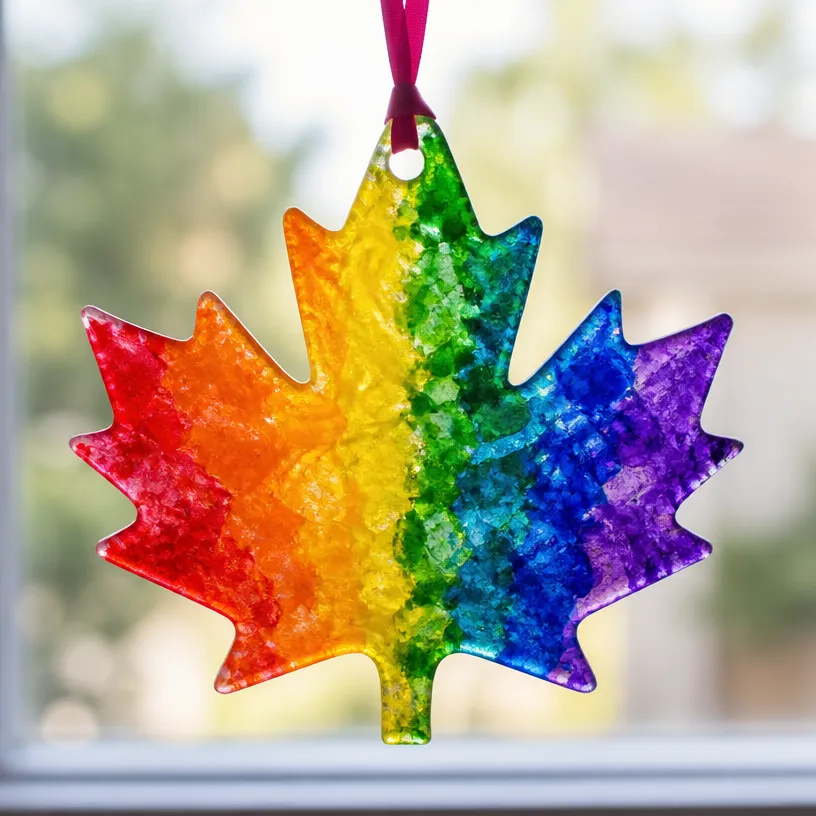
Rainbow Melted-Crayon Maple Leaf Suncatcher DIY
Creating a beautiful Rainbow Melted-Crayon Maple Leaf Suncatcher is a delightful way to celebrate fall and enjoy some fun crafting with your family. This project is not only visually stunning but also allows you to use simple materials that you likely already have at home. The vibrant colors of the melted crayons will create a lovely display that catches sunlight and brightens your space. You may also find Melted Crayon Rainbow Butterfly Suncatcher For Kids useful.
In this guide, you’ll learn how to make your very own suncatcher using melted crayons. This process is enjoyable for all ages and can serve as a perfect fall decoration. So, let’s move on to why you’ll enjoy this project! You may also find Melted Crayon Rainbow Haunted House Suncatcher Craft useful.
Why You’ll Enjoy This Project
- Educational Fun: This craft provides a great opportunity to discuss colors and the science behind melting crayons with kids.
- Customizable Designs: You can easily modify the color scheme to suit your personal style.
- Creative Expression: Children can freely design their own shapes and patterns, making each suncatcher unique.
- Simple Materials: Most of the supplies are easy to find and inexpensive.
- Lovely Decor: The final product is not only practical but also enhances any window display with its beautiful colors.
You may also find Melted Crayon Rainbow Heart Suncatcher For Kids useful.
Materials You’ll Need
To create your Rainbow Melted-Crayon Maple Leaf Suncatcher, you will need the following materials: You may also find Rainbow Melted Crayon Ghost Suncatcher For Kids useful.
- Crayons (various colors)
- A maple leaf template (you can print one online)
- Parchment paper
- An iron
- A baking tray
- Scissors
- Optional: a hole punch and string for hanging
How to Make Rainbow Melted-Crayon Maple Leaf Suncatcher DIY
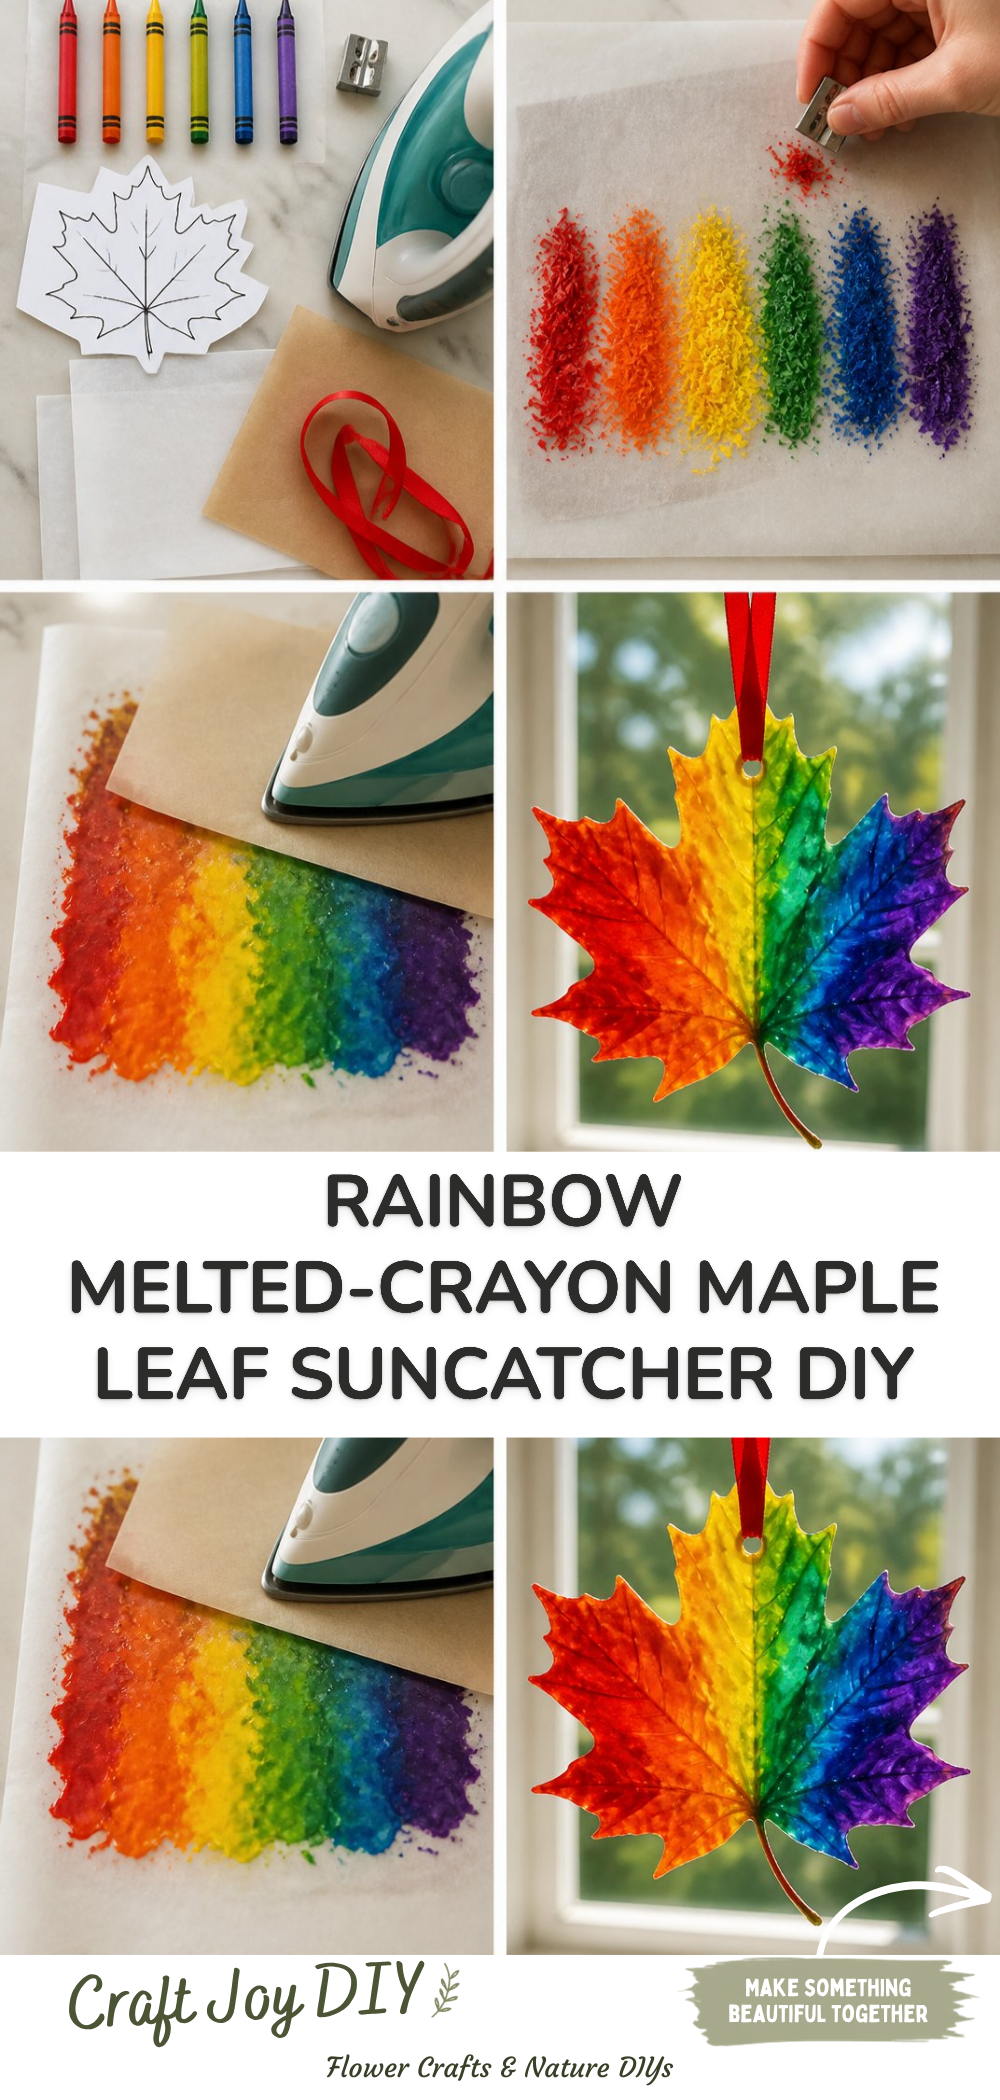
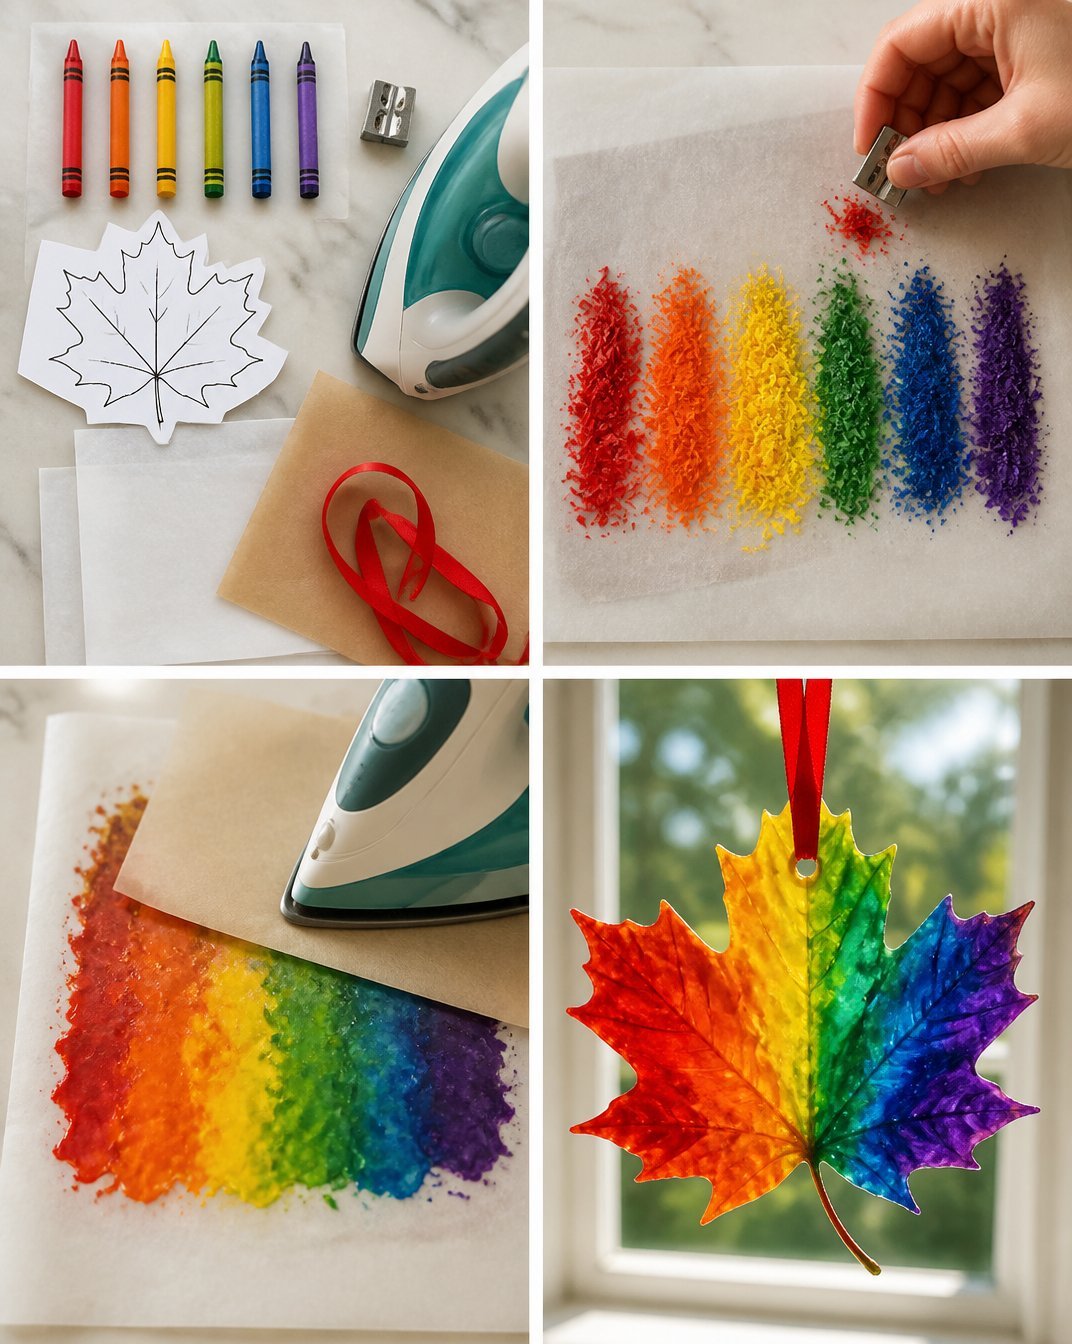
Follow these steps to create your stunning suncatcher: You may also find Rainbow Melted Crayon Pumpkin Suncatcher For Kids useful.
- Preheat Your Iron: Set your iron to a low heat setting without steam.
- Prepare Crayons: Peel off the crayon wrappers and break them into small pieces. You will need a mix of colors.
- Trace the Template: Place your maple leaf template under a piece of parchment paper and trace the outline lightly with a pencil.
- Arrange Crayon Pieces: Scatter the broken crayon pieces inside the outline of the leaf on the parchment paper, making sure they are evenly distributed.
- Cover and Iron: Place another piece of parchment paper over the crayon pieces. Gently press the iron over the parchment for about 10-15 seconds until the crayons start to melt. Be cautious not to burn the crayons or the parchment paper.
- Let It Cool: Once melted, allow the suncatcher to cool completely before removing the top layer of parchment.
- Cut Out the Leaf Shape: Carefully cut along the outline of the maple leaf to create your suncatcher shape.
- Add a Hanging Option: If desired, punch a hole at the top and thread a piece of string for hanging.
Helpful Tips
- When selecting crayons, vibrant colors tend to create the most stunning suncatchers.
- If you want to avoid mess, work on a protected surface and handle the iron with care.
- To display your suncatcher, consider hanging it in front of a sunny window for the best colorful effect.
- You might find it helpful to have an adult supervise the ironing steps for safety.
Easy Variations
- Different Leaf Shapes: Feel free to experiment with other leaf shapes or seasonal designs.
- Add Glitter: For a sparkly touch, sprinkle some glitter into the melted crayon layer before it cools.
- Seasonal Colors: Use colors associated with different seasons (like pastels for Spring or deep reds for Winter) for variety.
- Layered Colors: Try using multiple layers of crayon pieces for a more complex design.
- Small Suncatchers: Create smaller versions of the suncatcher for kid’s crafts or gifts.
Making This Craft With Kids
This craft is suitable for kids, but keep an adult nearby to help with the ironing. Adults should handle the iron at all times while ensuring kids can enjoy the creative parts like choosing colors and arranging the crayon pieces.
How to Display or Use It
Your Rainbow Melted-Crayon Maple Leaf Suncatcher can be proudly displayed in any window. They also make wonderful gifts for family and friends. Hang them up during the fall season to catch the light and showcase your kids’ creativity!
Frequently Asked Questions
Can I use different types of crayons?
Yes, you can use any type of crayon, but wax crayons usually melt best for this project.
What if I don’t have a maple leaf template?
You can easily find a variety of leaf templates online to print and use.
How long will the suncatcher last?
If kept out of direct sunlight, your suncatcher can last for years. However, prolonged exposure to sunlight can fade the colors over time.
Can I make this craft with younger children?
Yes, but adult supervision is necessary, especially during the ironing steps.
What can I do if I accidentally burn the paper?
If the parchment paper gets burned, discard it and try again with a fresh piece. Always ensure the iron is set on low.
How can I clean the iron after melting crayons?
Turn the iron off, let it cool, and carefully wipe the plate with a cloth while it’s still warm. Make sure to follow safety precautions while cleaning.
Conclusion
Making a Rainbow Melted-Crayon Maple Leaf Suncatcher is a simple and enjoyable craft that the whole family can participate in together. This project not only enhances your decor but also offers a creative outlet for kids. For more ideas on autumn crafting, you might enjoy exploring 21 Fall Craft with Leaves – Celebrate Autumn. Another fun option is checking out the project on Melted Bead Suncatchers: Fall Craft Idea for Tweens. Happy crafting!
Print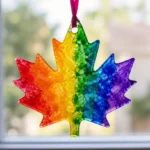
Rainbow Melted-Crayon Maple Leaf Suncatcher DIY
- Total Time: 25 minutes
- Makes: 1 suncatcher
Description
Create a stunning Rainbow Melted-Crayon Maple Leaf Suncatcher using simple materials at home, perfect for celebrating fall.
Materials
- Crayons (various colors)
- A maple leaf template
- Parchment paper
- An iron
- A baking tray
- Scissors
- Optional: a hole punch and string for hanging
Instructions
- Preheat your iron to a low heat setting without steam.
- Peel the crayon wrappers and break them into small pieces.
- Place the maple leaf template under a piece of parchment paper and trace the outline lightly with a pencil.
- Scatter the broken crayon pieces inside the outline of the leaf on the parchment paper.
- Cover with another piece of parchment paper and gently press the iron for about 10-15 seconds.
- Allow the suncatcher to cool completely before removing the top layer of parchment.
- Cut along the outline of the maple leaf to create your suncatcher shape.
- Punch a hole at the top and thread a piece of string for hanging, if desired.
Notes
Keep an adult nearby for supervision during ironing steps. Consider hanging the suncatcher in a sunny window for the best effect.