

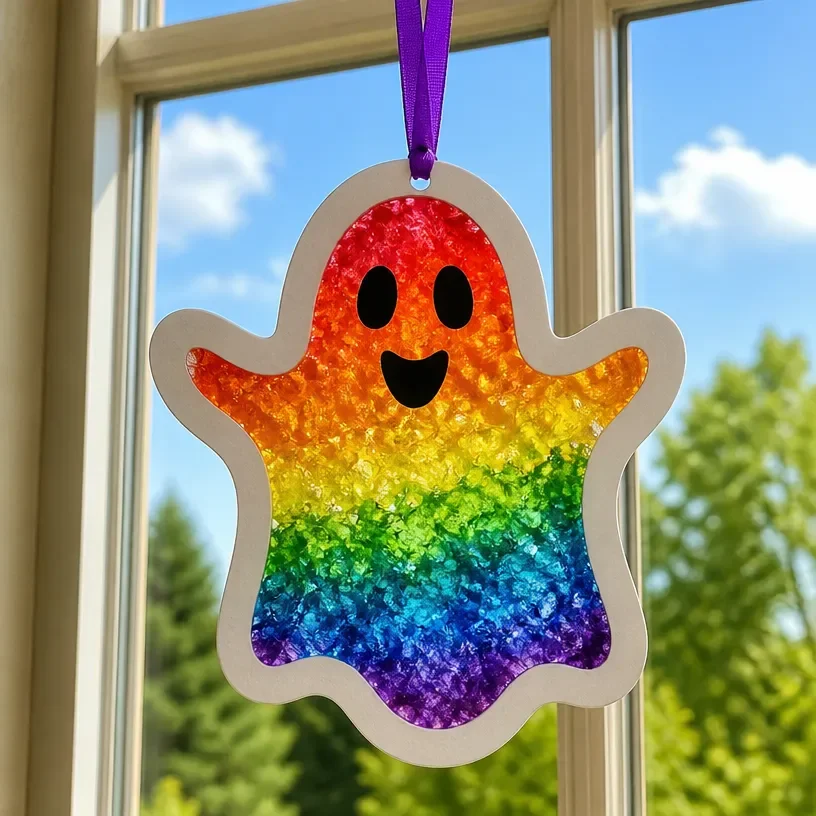
Rainbow Melted-Crayon Ghost Suncatcher for Kids
Creating a Rainbow Melted-Crayon Ghost Suncatcher is a wonderful way to add some colorful charm to your home. This craft project not only helps kids express their creativity but also teaches them about colors and shapes in a fun and engaging way. The end result is a beautiful decoration that brightens up any window, perfect for Halloween or any time of the year! You may also find Melted Crayon Rainbow Heart Suncatcher For Kids useful.
Let’s get started on this enjoyable craft that’s simple enough for kids (with some adult supervision) and delightful to display. You may also find Flower Petal Window Suncatcher Craft For Kids useful.
Why You’ll Enjoy This Project
- Colorful and Fun: The melted crayon technique creates vibrant, eye-catching colors that kids will love.
- Easy Clean-Up: With just a few materials and a simple process, this project is as easy to clean up as it is to make.
- Creative Learning: This craft encourages artistic expression and develops fine motor skills in little ones.
- Perfect for Seasonal Decor: These suncatchers can easily transition from Halloween to year-round decor.
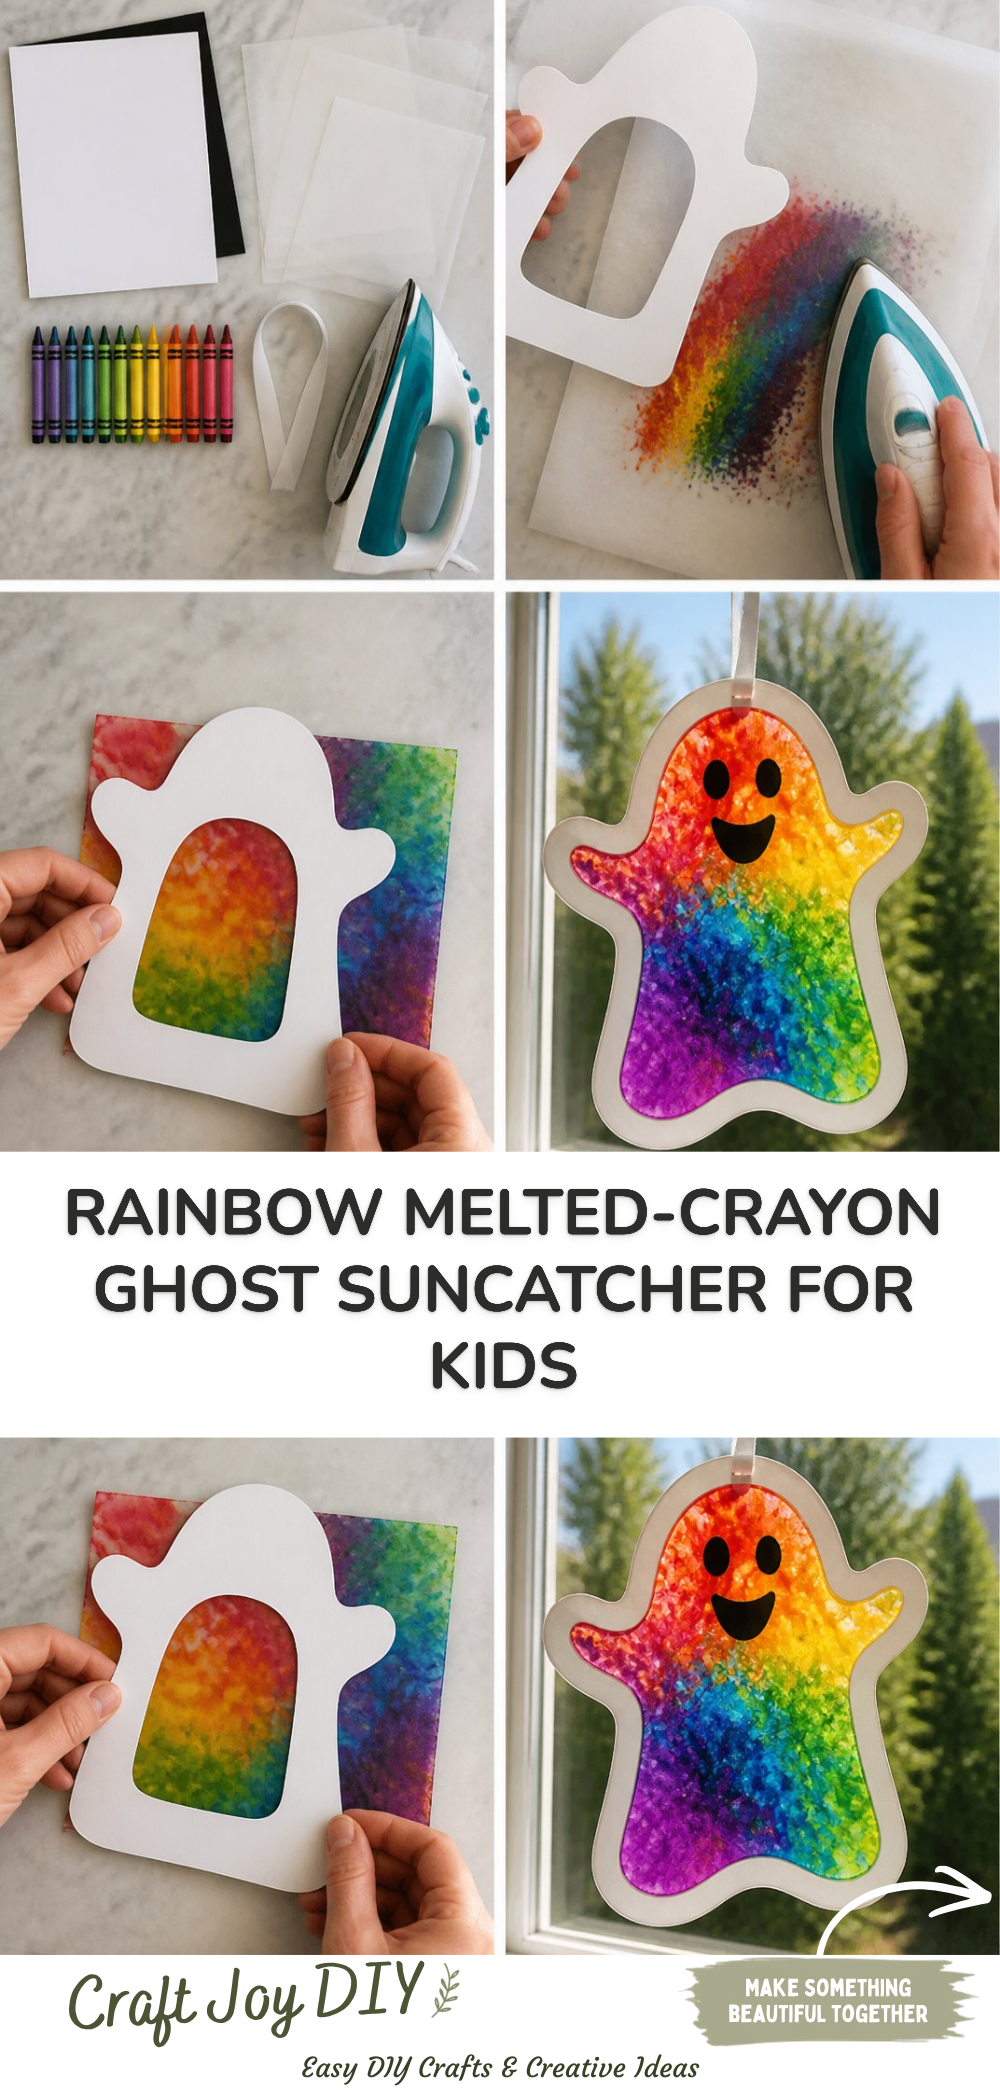
You may also find Melted Crayon Fall Leaf Garland Craft For Kids useful.
Materials You’ll Need
- Wax crayons (various colors)
- Parchment paper
- A baking sheet
- Scissors
- Clear contact paper (or clear adhesive)
- Black construction paper
- Tape (optional)
When selecting crayons, feel free to use broken or old ones you’ll be giving them a second life in this project! You may also find Melted Crayon Rainbow Haunted House Suncatcher Craft useful.
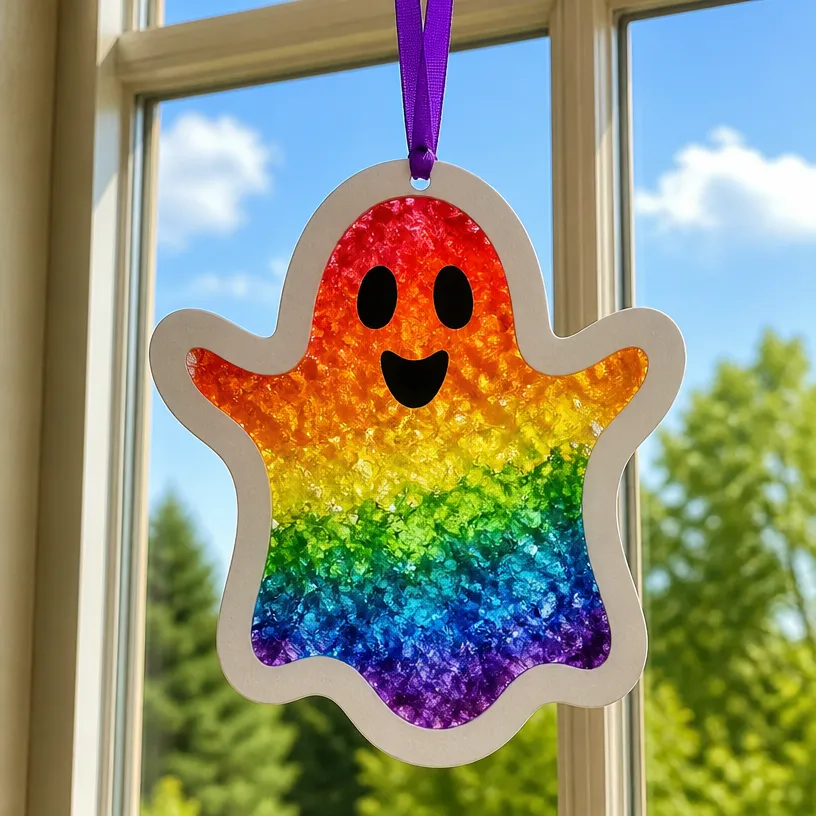
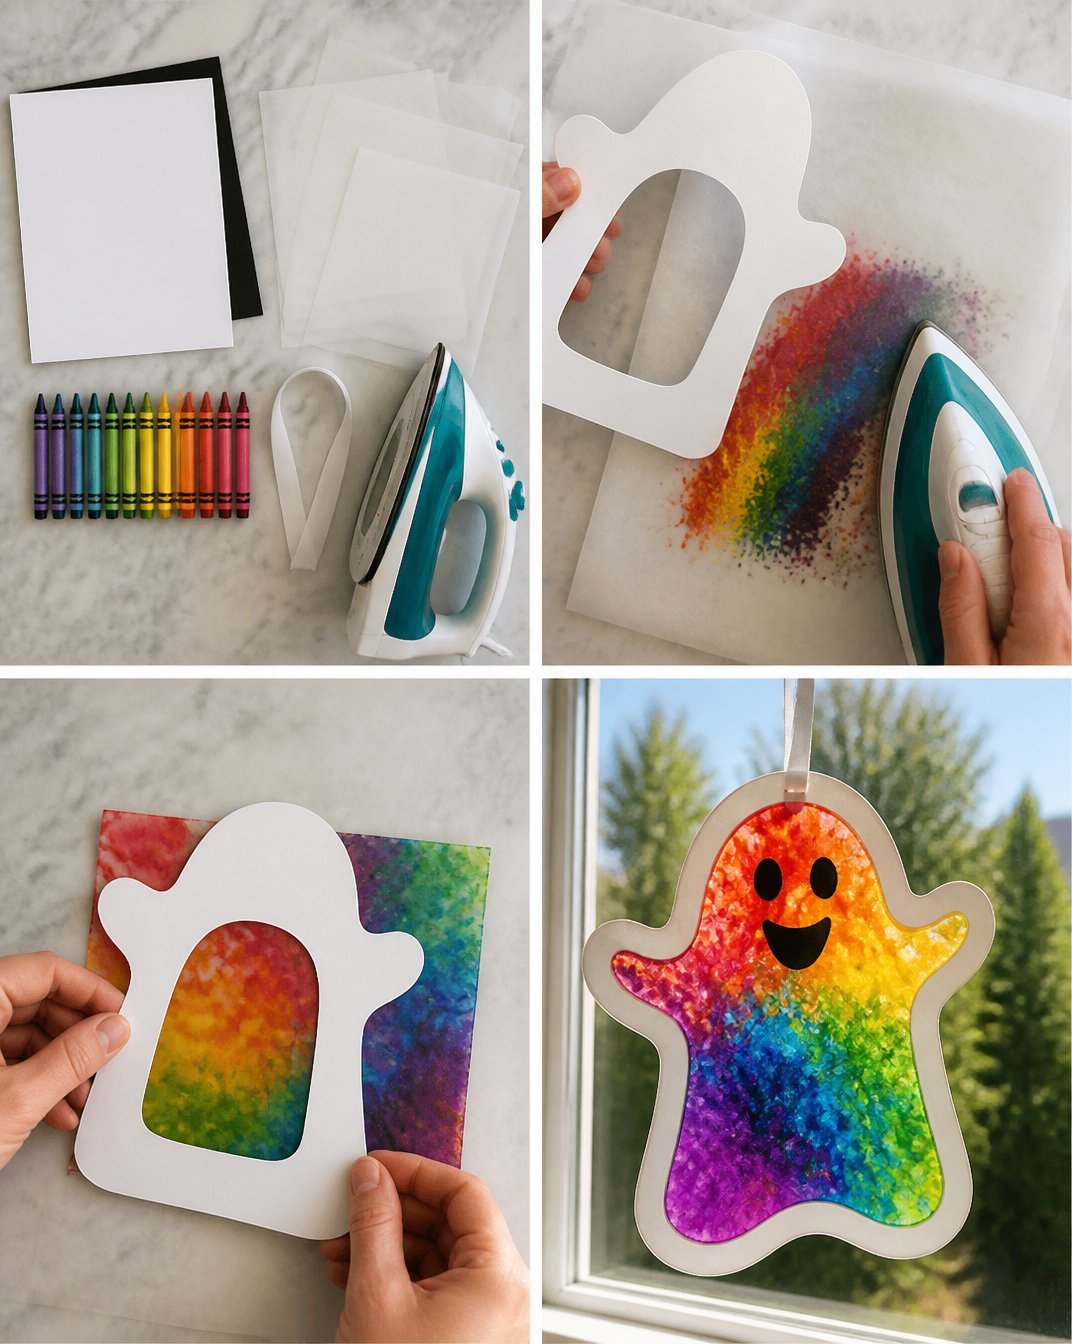
How to Make Rainbow Melted-Crayon Ghost Suncatcher for Kids
Preheat the Oven: Set your oven to 200°F (93°C). This low heat will help melt the crayons without burning them.
Prepare the Crayons: Peel the paper off the crayons and break them into small pieces. Aim for sizes about 1 inch long. Mixing different colors together will create beautiful rainbow effects.
Create a Template: On a sheet of black construction paper, draw a ghost shape. Cut it out to create a stencil.
Arrange the Crayons: Place a piece of parchment paper on the baking sheet. Arrange the crayon pieces in ghostly shapes some pieces can be scattered for a swirling effect.
Melt the Crayons: Put the baking sheet in the oven and watch closely as the crayons melt, usually within 5-10 minutes. Once melted, take it out and let it cool for a moment.
Cut and Shape: After the crayon wax cools and hardens, peel it off the parchment paper carefully. Use the ghost stencil to cut out ghost shapes from the melted crayon sheet.
Apply Contact Paper: Adhere a piece of clear contact paper larger than your ghost shape. Press your ghost onto the sticky side of the contact paper.
Final Touches: You can use more black construction paper to create little eyes and a mouth for your ghost. Stick them onto the ghost, and then seal everything with another layer of contact paper.
Display: Cut around the ghost, leaving a small border of contact paper. Use tape to hang your suncatcher in a sunny window.
Feel free to explore other variations of this craft. For instance, you might like to check out the Rainbow Butterfly Suncatcher for a different seasonal touch.
Helpful Tips
- Supervise Melting: Make sure to supervise this step closely since the oven can be hot and the melted crayons may produce a faint odor.
- Use Less Heat: If you’re worried about burning the crayons, you can also use a hairdryer on low heat for a similar melting effect.
- Let Kids Choose Colors: Encourage children to pick colors that they love, which helps personalize their ghost suncatchers.
- Display Ideas: Hang the finished suncatchers using string or suction cups to catch the sunlight.
Easy Variations
- Color Themes: Change the crayon colors based on holidays or seasons, like cooler colors for winter.
- Different Shapes: Instead of ghosts, try making different shapes, like pumpkins or stars.
- Layering: Create layered suncatchers by adding more melted layers for a thicker, more vibrant effect.
- Nature-Inspired: Incorporate small leaves or petals for a floral design with the crayon pieces.
Making This Craft With Kids
This project is great for kids, though adults should handle the oven and melting process. Ask your kids to help with sorting and peeling the crayons, which can be a fun, hands-on experience for them.
How to Display or Use It
Once finished, these suncatchers can be hung in windows or used to brighten up a child’s room. They also make great gifts for family members, especially around Halloween!
Frequently Asked Questions
How long does it take to melt the crayons?
Typically, it takes about 5-10 minutes in the oven, but every oven is different, so keep an eye on them.
Can I use crayons that have been broken?
Yes! Broken crayons work perfectly for this project and help reduce waste.
What’s the best way to clean up after melting crayons?
If crayon wax spills, let it cool and then scrape it up gently with a plastic spatula.
How can I make the suncatcher last longer?
Keeping the suncatcher away from direct sunlight can help prevent fading over time.
Can I use other materials instead of contact paper?
Clear adhesive sheets work well, or you can use laminate sheets for a more professional finish.
Conclusion
The Rainbow Melted-Crayon Ghost Suncatcher for Kids is a delightful project that combines fun, creativity, and learning. If you’re looking for more craft ideas, check out this guide on melted crayon rocks or explore the spooky Puffy Paint Ghost craft for an exciting Halloween-themed activity. Happy crafting!
Print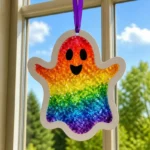
Rainbow Melted-Crayon Ghost Suncatcher for Kids
- Total Time: 20 minutes
- Makes: 1 suncatcher
Description
A fun and colorful craft that teaches kids about creativity and shapes while making beautiful suncatchers.
Materials
- Wax crayons (various colors)
- Parchment paper
- A baking sheet
- Scissors
- Clear contact paper (or clear adhesive)
- Black construction paper
- Tape (optional)
Instructions
- Preheat the oven to 200°F (93°C).
- Prepare the crayons by peeling off the paper and breaking them into small pieces.
- Create a ghost shape stencil on black construction paper.
- Arrange the crayon pieces on parchment paper on the baking sheet.
- Melt the crayons in the oven for 5-10 minutes, watching closely.
- Cut the melted crayon into ghost shapes using the stencil.
- Apply clear contact paper to adhere the ghost shapes.
- Final touches with black construction paper eyes and mouth.
- Display the suncatcher by cutting around it and hanging it in a sunny window.
Notes
Supervise the melting process closely and encourage kids to choose their favorite colors.