

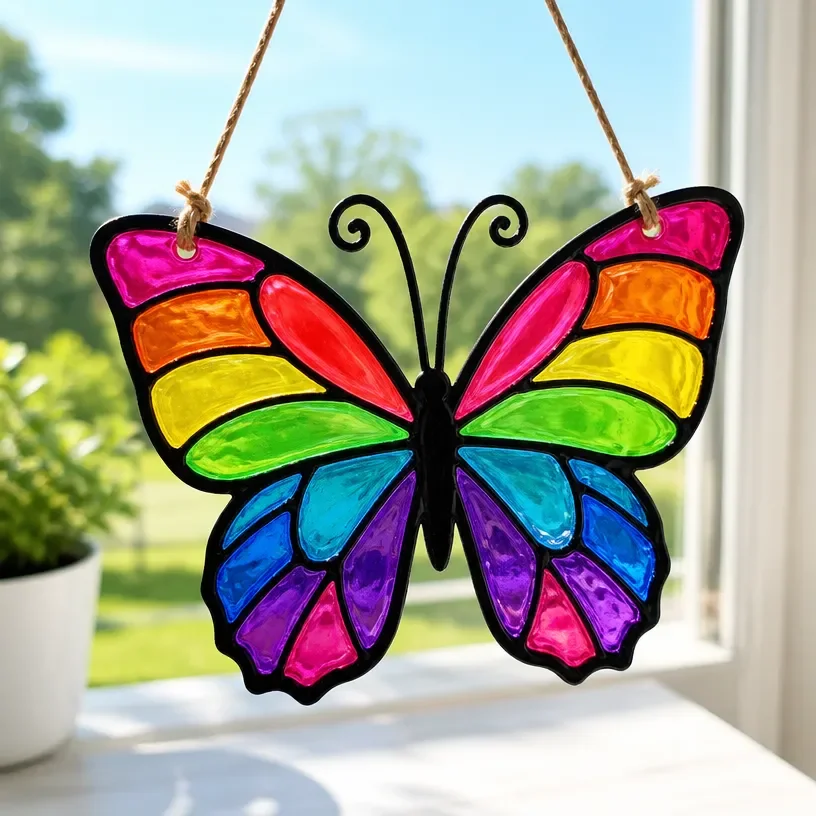
DIY Rainbow Glue Butterfly Suncatcher
Creating a DIY Rainbow Glue Butterfly Suncatcher is a delightful way to brighten up your space while engaging in a fun craft project. This craft combines vibrant colors and a simple technique that is suitable for families and beginners. As you embark on this creative journey, you’ll not only make a beautiful piece of art but also enjoy quality time with loved ones. You may also find Diy Butterfly Craft Kids Paper Wing Suncatcher useful.
In this tutorial, you’ll learn how to make a stunning butterfly suncatcher using clear glue, colorful materials, and your imagination. This project is perfect for enhancing your home décor or even gifting to a friend! You may also find Diy Clear Glue Suncatcher Craft Tutorial For Kids useful.
You may also find Diy Crayon Suncatcher Rainbow Flower Spring useful.
Why You’ll Enjoy This Project
Here are a few reasons why making your own butterfly suncatcher will be enjoyable: You may also find Diy Rainbow Butterfly Garden Cupcake Liners useful.
- Creativity Unleashed: You can experiment with colors and designs, making each suncatcher unique.
- Easy to Assemble: The steps are straightforward, making it an excellent project for all skill levels.
- Fun for Everyone: This craft is suitable for kids and adults alike, making it a fantastic family activity.
- Brightens Up Your Space: Once completed, it will add a splash of color to any room or window.
Materials You’ll Need
Gather the following materials before you start crafting: You may also find Melted Crayon Rainbow Butterfly Suncatcher Craft useful.
- Clear glue
- Food coloring or liquid watercolors
- A piece of wax paper or parchment paper
- Scissors
- A paintbrush (optional for spreading glue)
- A butterfly template (you can find one online or draw your own)
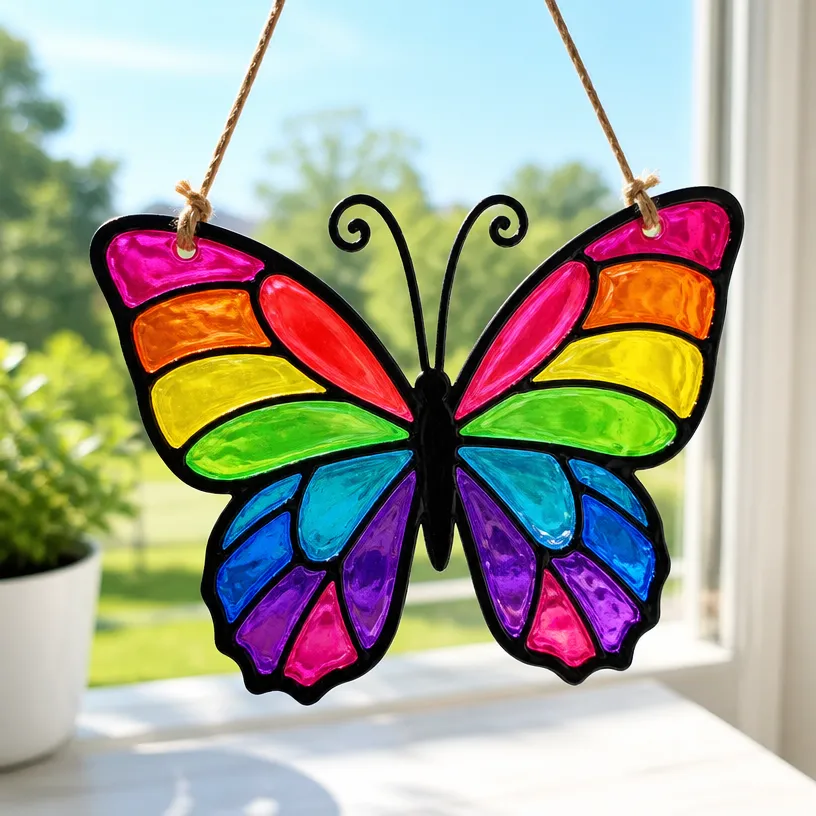
How to Make DIY Rainbow Glue Butterfly Suncatcher
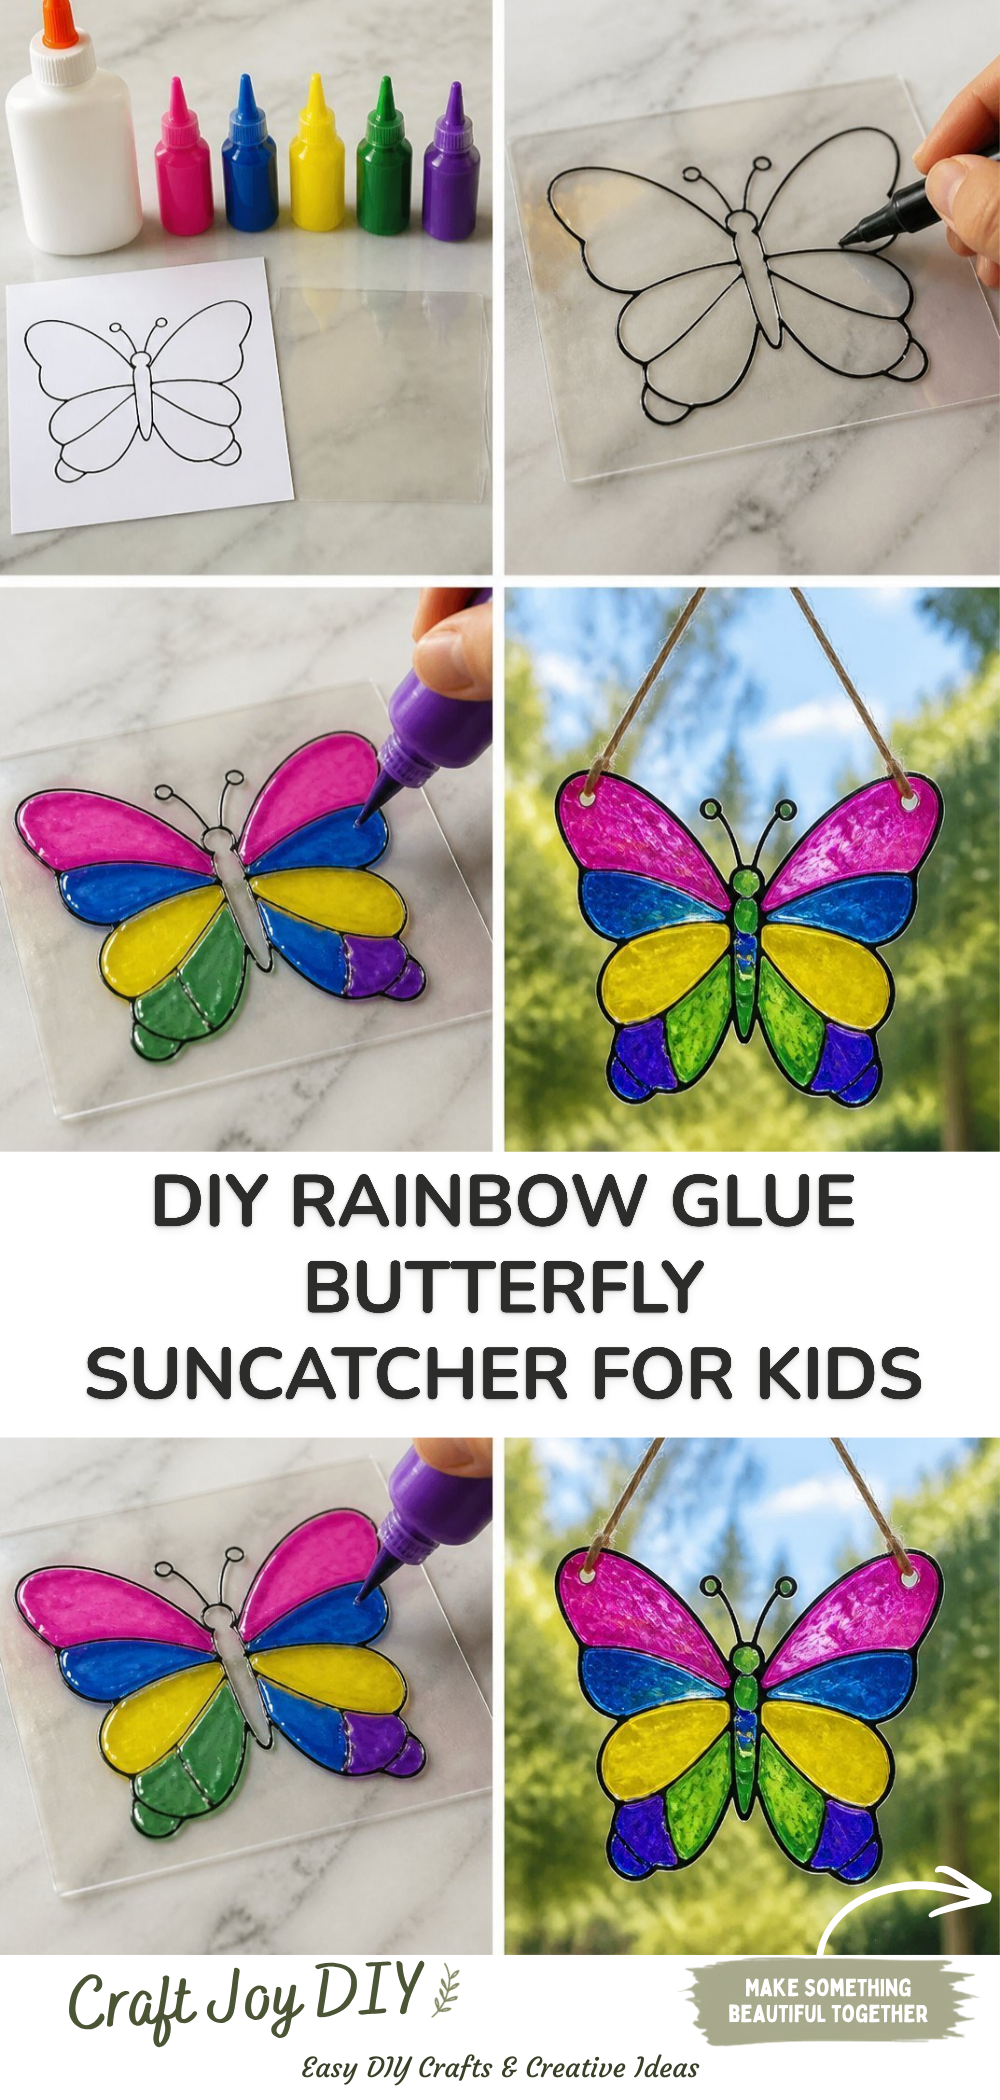
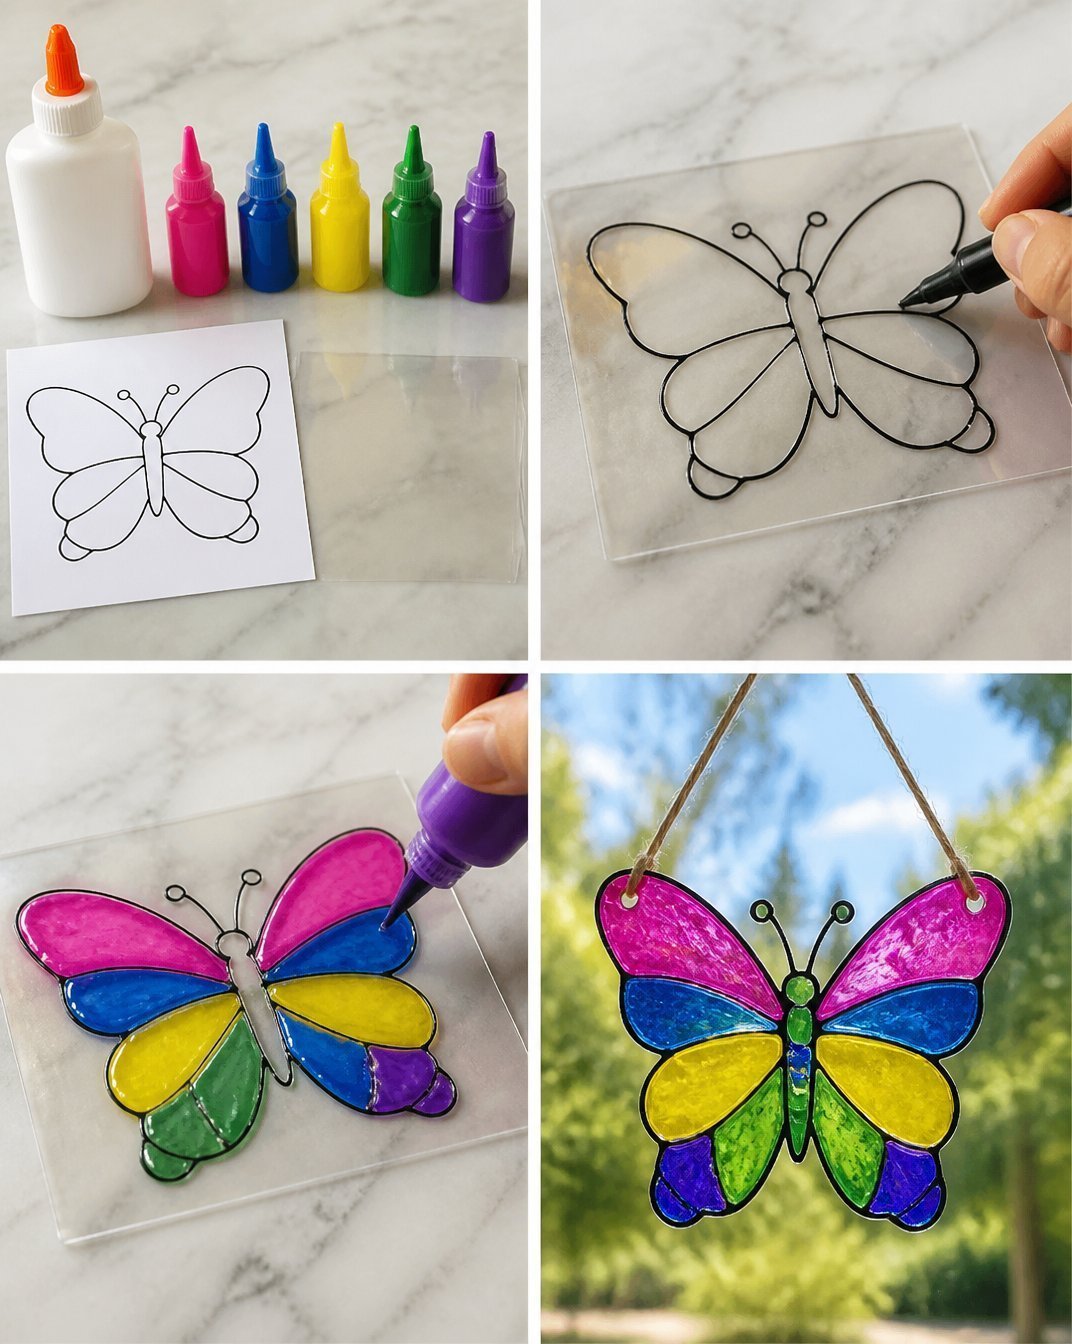
Follow these easy steps to create your suncatcher:
- Prepare Your Workspace: Lay out your materials on a flat surface. Make sure you have everything you need at hand.
- Trace the Butterfly Shape: Place the butterfly template under the wax paper and trace the outline using a pencil.
- Create the Glue Mixture: In a bowl, mix the clear glue with a few drops of food coloring or liquid watercolor to create your desired shade.
- Fill in the Butterfly: Use the paintbrush or squeeze the glue directly onto the traced butterfly shape, filling it in completely. You can blend different colors together for a rainbow effect.
- Let it Dry: Allow your butterfly to dry completely. This may take several hours, so be patient! You can place it in a warm spot to speed up the drying process.
Helpful Tips
To enhance your project experience, consider these helpful tips:
- Mess-Free Glue Application: If younger children are helping, consider pouring the colored glue into squeeze bottles for more precise application.
- Use Thick Layers: Applying a thicker layer of glue will give your suncatcher a more vibrant appearance once dried.
- Displaying Your Artwork: After the suncatcher is dry, carefully peel it off the wax paper and hang it using tape or strings in a sunny window.
Easy Variations
Here are some fun variations to try with this project:
- Seasonal Colors: Change the colors based on the season, like warm hues for fall or pastels for spring.
- Add Glitter: Mix in some glitter for extra sparkle.
- Larger Designs: Form a bigger butterfly or create a whole scene with multiple butterflies.
- Different Shapes: Try other shapes like flowers or stars for variety.
Making This Craft With Kids
This project is perfect for crafting with kids! Adults may need to supervise the use of scissors and help younger children with the glue application to ensure a mess-free experience. Letting kids pick their colors can also make the craft more fun and personalized.
How to Display or Use It
Once your suncatcher is complete, display it in a sunny place to enjoy the colorful light reflections. You could hang it in a window or give it away as a heartfelt gift to someone special. This project is not only decorative but also serves as a wonderful conversation piece!
Frequently Asked Questions
1. How do I prevent my suncatcher from sticking to the wax paper?
Make sure to use a good amount of glue, ensuring it creates a strong layer. Allow it to dry completely before trying to peel it off.
2. Can I use other materials besides glue?
Yes! You can incorporate alternative materials like tissue paper or leaves to create a mixed-media effect.
3. How can I clean the suncatcher if it gets dusty?
Gently wipe it with a damp cloth to remove any dust without damaging the artwork.
4. What is the best way to hang the suncatcher?
You can use clear tape or strings to hang it securely on a window.
Conclusion
Making a DIY Rainbow Glue Butterfly Suncatcher can be a rewarding experience for anyone looking to enhance their crafting skills. It’s great for family bonding and encourages creativity in all ages. If you’re interested in exploring more suncatcher ideas, check out the Black Glue & Sharpies Butterfly Suncatcher for a different twist. Additionally, you can find more inspiration at this DIY Suncatcher resource. Enjoy crafting!
Print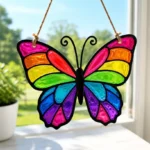
DIY Rainbow Glue Butterfly Suncatcher
- Total Time: 250 minutes
- Makes: 1 butterfly suncatcher
Description
Create a vibrant butterfly suncatcher using clear glue and food coloring, perfect for brightening up your space.
Materials
- Clear glue
- Food coloring or liquid watercolors
- A piece of wax paper or parchment paper
- Scissors
- A paintbrush (optional)
- A butterfly template
Instructions
- Prepare your workspace by laying out all materials.
- Trace the butterfly shape onto the wax paper.
- Create the glue mixture with clear glue and food coloring.
- Fill in the butterfly shape with the glue mixture.
- Let it dry completely before peeling off the wax paper.
Notes
Consider using squeeze bottles for younger children to apply glue mess-free. Use thick layers for vibrant colors.