

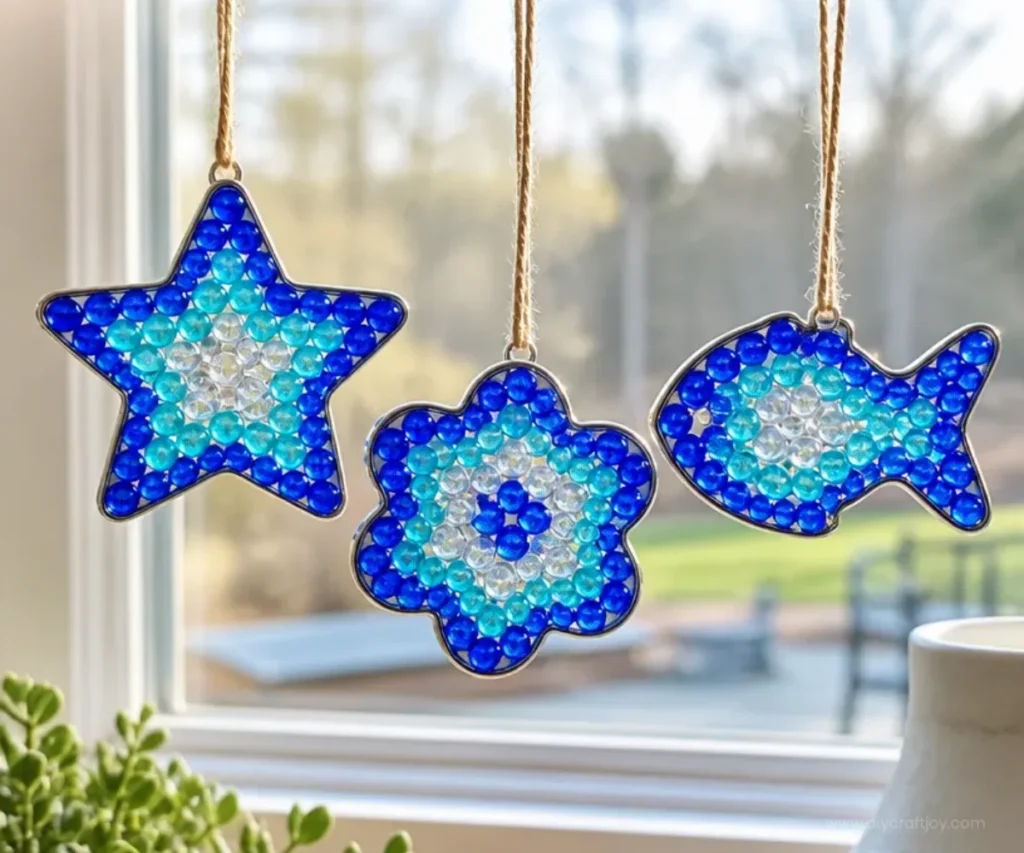
How to Make a Star Ornament | Crafts Made with Beads
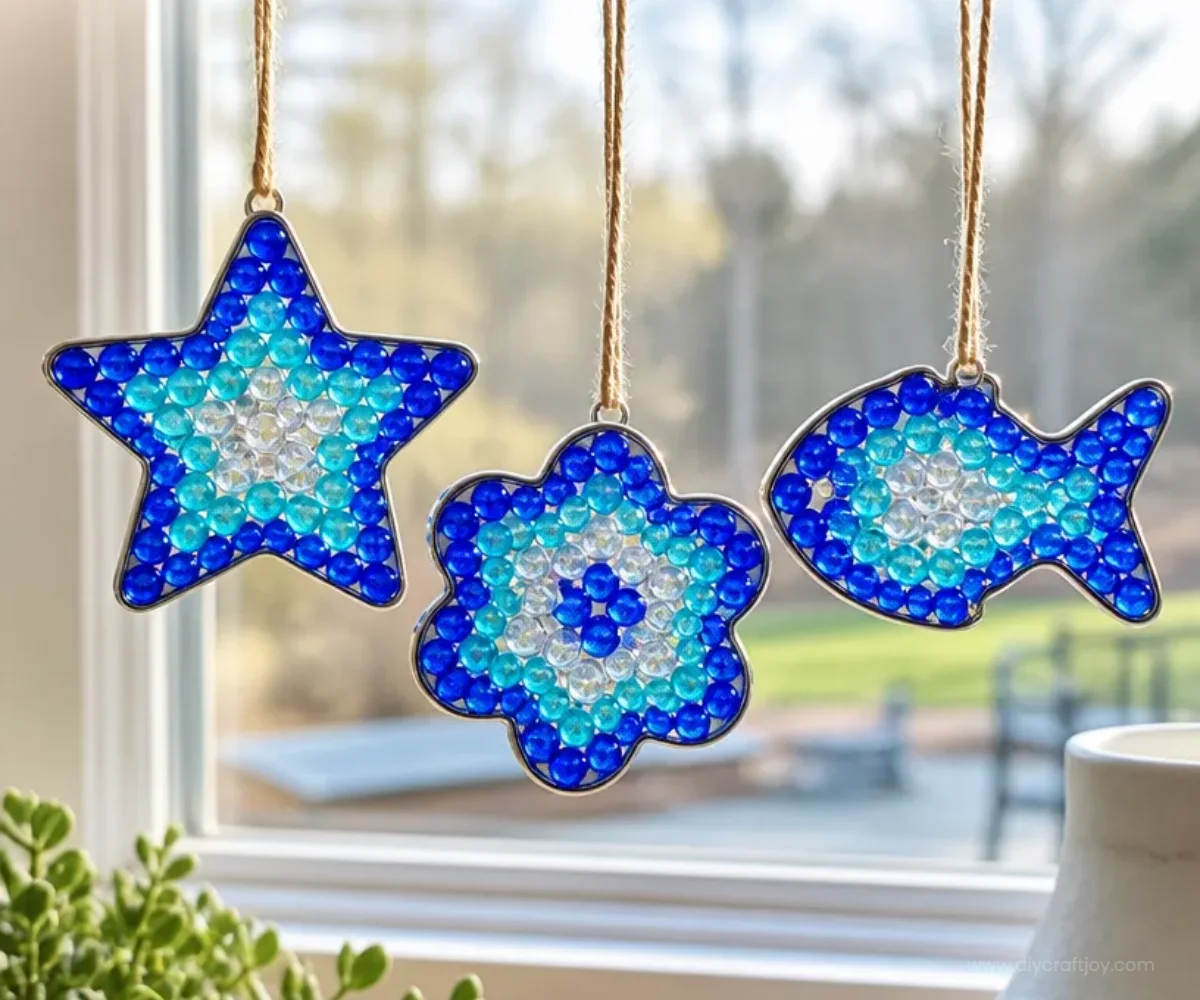
Making a star ornament from beads is a delightful activity that allows you to craft a unique decoration for your home or a thoughtful gift for someone special. This project is not only enjoyable but also easy to customize, making it a great fit for crafters of all ages. The beauty of these star ornaments lies in their shimmering designs, which can gracefully catch the light in any setting. You may also find Dollar Store Starfish Crystal Beach Decor Diy useful.
In this guide, you’ll learn how to create star ornaments using simple materials, including glass beads, which add a pop of color and elegance. Whether you’re making these for a holiday display or just for fun, you’ll find that this craft is both rewarding and relaxing. You may also find Diy Blooming Paper Flowers Step By Step Tutorial useful.
Why You’ll Enjoy This Project
- Creative Expression: Choose your favorite colors and patterns to make the ornament truly yours.
- Simple Steps: This project is straightforward, making it suitable for beginners and experts alike.
- Great for Gifting: Handmade ornaments make wonderful gifts for friends and family, showcasing your creativity.
- Quality Time: It’s a perfect craft to do together with children or friends, creating memories along the way.
You may also find Diy Botanical Butterfly Ornament Pressed Flowers useful.
Materials You’ll Need
- Glass beads: Choose a variety of colors for a vibrant ornament.
- Wire: Use floral or craft wire for durability.
- Wire cutter: Essential for cutting your wire to the needed length.
- Bead stringing needle: Helpful for threading beads.
- Scissors: You may need these to trim any excess wire.
This project allows for flexibility; if you don’t have glass beads, feel free to use plastic or wooden alternatives that suit your needs. You may also find Diy Butterfly Wall Decor Toilet Paper Rolls useful.

How to Make a Star Ornament | Crafts Made with Beads, Star Ornaments with Beads, DIY Glass Beads
- Cut the Wire: Start by cutting a piece of wire about 24 inches long. This will ensure you have enough length to work with for your ornament.
- Create the Star Shape: Bend the wire to form a star shape. Aim for five points with equal spacing; this might take a little practice to get the angles right.
- String the Beads: Use your needle to thread beads onto the wire, alternating colors as you go. Cover the wire with beads while ensuring they fit snugly against each other.
- Secure the Ends: Once you’ve reached the end of the wire, twist the two ends together to secure the beads in place. You can also create a loop at the top for hanging.
- Finishing Touches: Trim any excess wire with scissors and adjust the shape of the star to ensure it looks neat and tidy.
Helpful Tips
- Be Gentle: When bending the wire, apply gentle pressure to avoid breaking it.
- Mixing Colors: Consider using a mix of frosted and shiny beads to enhance the ornament’s visual appeal.
- Display Ideas: Hang your star ornament on a tree, in a window, or use it as a charming gift tag on presents.
- Adult Supervision: If children are involved, supervise them during the stringing and cutting steps for safety.
Easy Variations
- Seasonal Themes: Use red and green beads for a festive holiday star, or soft pastels for spring.
- Size Adjustments: Create larger or smaller stars by adjusting the length of the wire.
- Additional Embellishments: Add small charms or glitter to the beads for extra sparkle and interest.
- Layered Stars: Make multiple stars of varying sizes and layer them for a three-dimensional effect.
Making This Craft With Kids
This project is excellent for kids under adult supervision. Younger children may need help with the wire cutting, while everyone can enjoy the bead stringing process. This activity encourages fine motor skills and creativity. You may also find Diy Clear Glue Suncatcher Craft Tutorial For Kids useful.
How to Display or Use It
Your completed star ornament can be hung on a tree, used as a window decoration to catch sunlight, or even given as a personalized gift for a friend or family member. They can also be added to a mobile or wreath for additional decoration.
Frequently Asked Questions
What kind of wire should I use?
Floral or craft wire works best as it is flexible yet sturdy enough to hold its shape.
Can I use different types of beads?
Absolutely! Plastic and wooden beads are great alternatives if glass beads aren’t available.
How do I hang the ornament?
Make a small loop at the top of your star with the wire for easy hanging.
Is this project suitable for very young children?
Children under 5 should be supervised closely, especially during the wire cutting and threading stages.
Can I paint or decorate the beads?
Yes, you can personalize the beads further by painting them before assembly!
How do I store my ornaments?
Keep them in a safe box or hang them in a drawer, ensuring they are not crushed or tangled.
Conclusion
Crafting star ornaments with beads is a delightful and accessible project that can brighten up your decor or serve as a heartfelt gift. If you’re looking for inspiration for more beading crafts, be sure to check out creative ideas on Instructables. Additionally, if you’re interested in a variety of beads for your projects, consider visiting this Amazon page to explore different options. Happy crafting!
Print
How to Make a Star Ornament
- Total Time: 10 minutes
- Makes: 1 ornament
Description
A delightful project to create unique star ornaments using glass beads, perfect for home decor or gifting.
Materials
- Glass beads (variety of colors)
- Wire (floral or craft wire)
- Wire cutter
- Bead stringing needle
- Scissors
Instructions
- Cut the wire about 24 inches long.
- Create the star shape by bending the wire.
- String the beads onto the wire, alternating colors.
- Secure the ends by twisting them together.
- Finish by trimming excess wire and adjusting the shape.
Notes
Consider using a mix of frosted and shiny beads for visual appeal. Supervise children during cutting and stringing.