

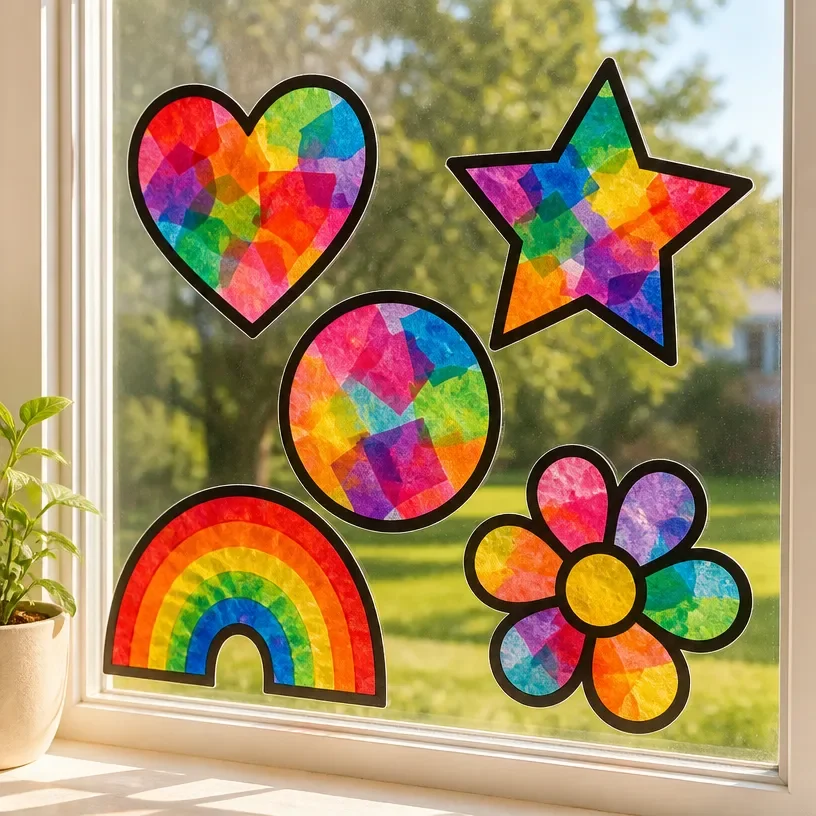
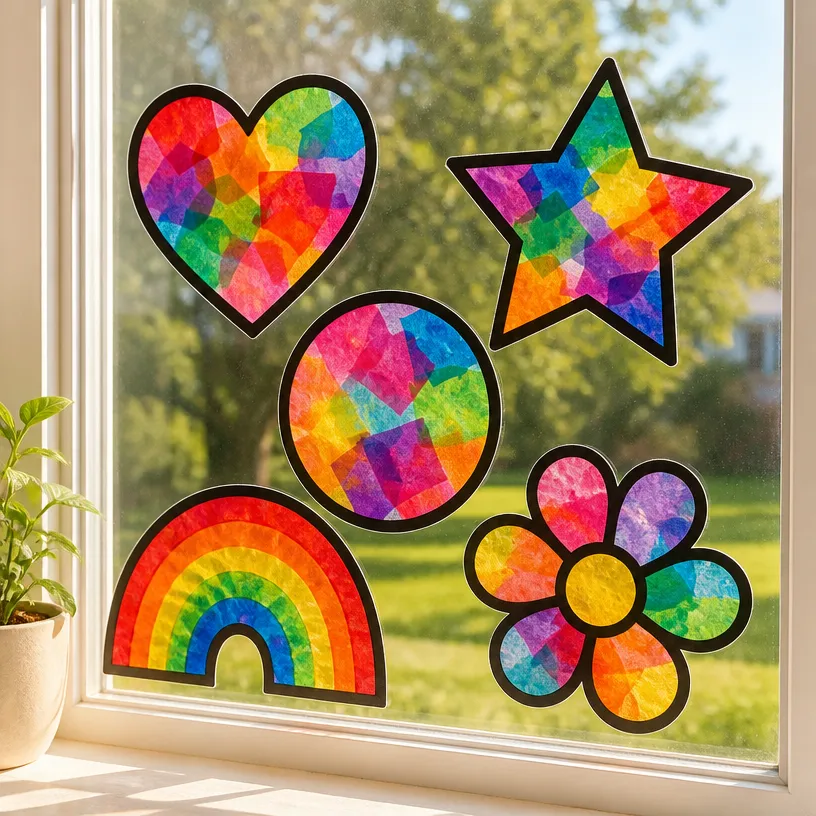
Tissue Paper Sun Catchers for Sunny Windows
Making tissue paper sun catchers is a delightful way to add color and charm to your home’s windows. This craft project is not only enjoyable but it also allows children to express their creativity. Plus, these vibrant decorations will brighten up any room and can be easily made with materials you likely have at home. By the end of this project, you’ll have lovely sun catchers that dance with light as they catch the sun’s rays. You may also find Cornstarch Suncatchers For Kids Colorful Window Art useful.
Why You’ll Enjoy This Project
There are several reasons to embrace creating tissue paper sun catchers: You may also find Rainbow Tissue Paper Flower Lantern Diy For Kids useful.
- Simple Materials: This project requires just a few basic supplies, making it accessible for everyone.
- Creative Freedom: Kids can choose their favorite colors and designs, resulting in unique pieces of art.
- Educational Aspect: It’s a great way to teach children about colors and light while being hands-on.
- Great for All Ages: Whether you’re a child or an adult, crafting these sun catchers can be fun and relaxing.
- Versatile Display: Once finished, these sun catchers make terrific decorations for any room or occasion.
You may also find Cupcake Liner Sunflower Wreath Craft For Kids useful.
Materials You’ll Need
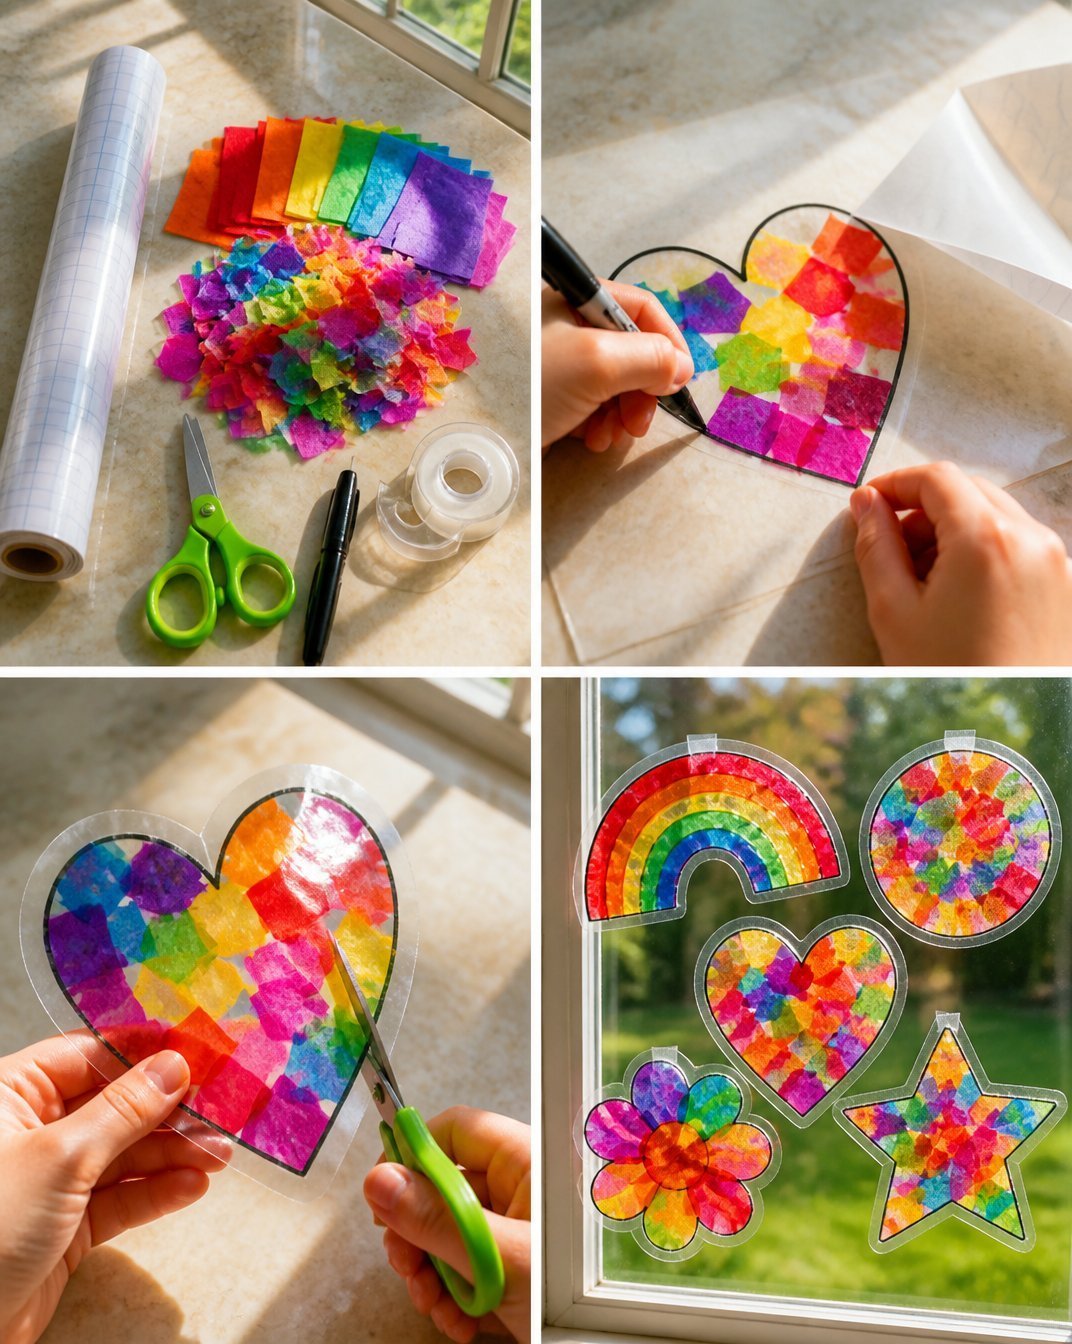
To get started on your tissue paper sun catchers, gather the following materials: You may also find Diy Butterfly Craft Kids Paper Wing Suncatcher useful.
- Colored tissue paper
- Clear contact paper or transparency sheets
- Scissors
- A pencil
- A frame or a stiff backing (like cardboard)
- Tape or a glue stick (optional)
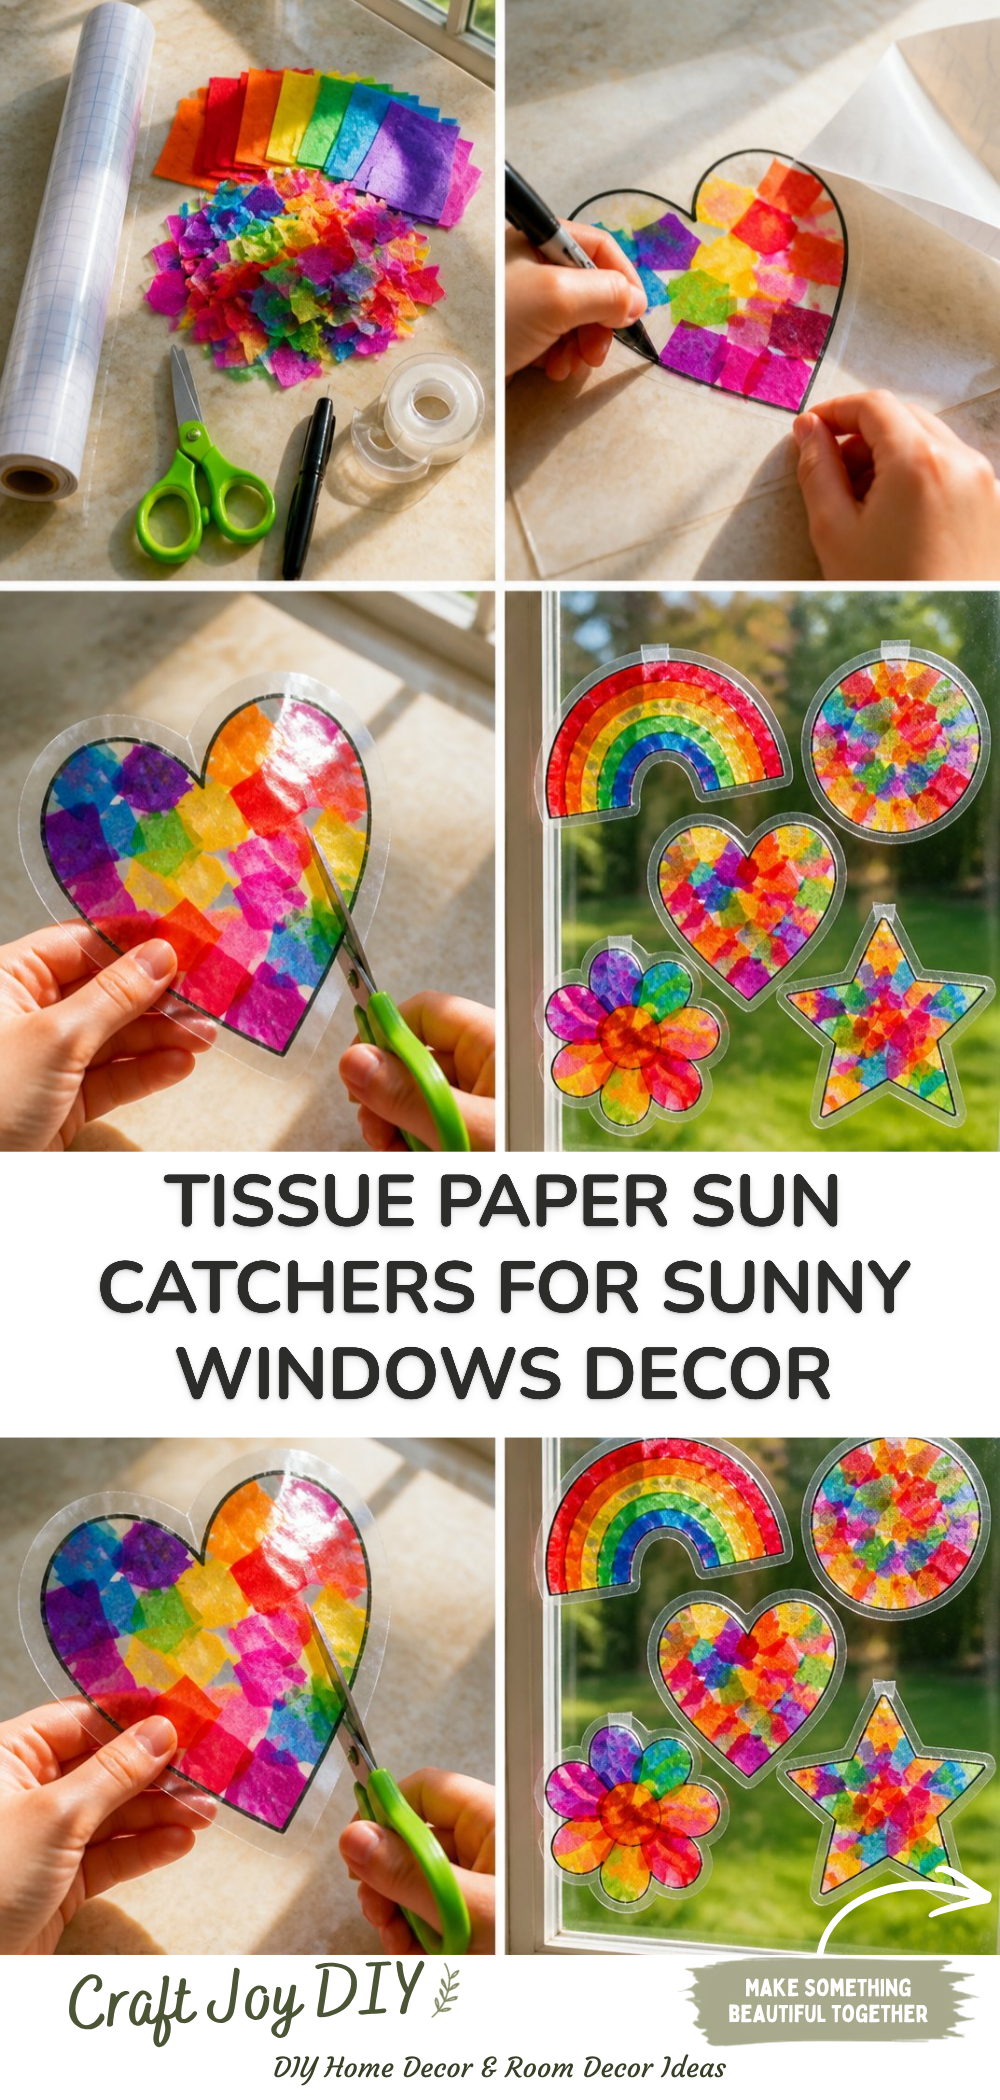
How to Make Tissue Paper Sun Catchers for Sunny Windows
Here’s a simple step-by-step guide to create your beautiful sun catchers: You may also find Diy Clear Glue Suncatcher Craft Tutorial For Kids useful.
Cut Tissue Paper: Start by cutting the tissue paper into various shapes and sizes. You can use squares, circles, or even freeform shapes, depending on your design.
Prepare the Contact Paper: If using contact paper, cut it to the desired size of the sun catcher, leaving some excess around the edges for handling.
Arrange Shapes: Place the tissue paper shapes on the sticky side of the contact paper. Feel free to overlap them to create a layered effect for more color.
Seal the Design: Once you’re satisfied with your arrangement, carefully cover it with another piece of contact paper or a transparency sheet, pressing out any bubbles.
Trim Excess Edges: Cut off any excess contact paper around the edges, leaving a border of about half an inch for a cleaner look.
Mount Your Sun Catcher: Use tape or glue to attach the sun catcher to a window, or place it inside a frame for a more polished appearance.
Helpful Tips
- Easy Assembly: Begin with simpler shapes for younger children to ensure they enjoy the process without frustration.
- Cleaner Results: When applying contact paper, take your time to smooth out air bubbles for a neat finish.
- Drying Time: Let the finished sun catchers sit for a few minutes before displaying them to ensure they stick well.
- Displaying: Hang them in spots where they’ll catch the most light, such as near a sunny window or on a sliding glass door.
Easy Variations
You can customize your tissue paper sun catchers with these fun variations:
- Seasonal Themes: Use fall colors for autumn or pastel colors for spring.
- Size Options: Experiment with large sun catchers for a dramatic effect or smaller ones for a subtle touch.
- Different Shapes: Create themed shapes like hearts, stars, or flowers to match celebrations or holidays.
- Mixed Materials: Incorporate materials like pressed flowers or glitter for an added embellishment.
Making This Craft With Kids
Creating tissue paper sun catchers is a fantastic activity to enjoy with children. Adults may need to assist with cutting the contact paper and supervising the arrangement of tissue shapes for younger kids. It’s a great opportunity to bond and share creative ideas together!
How to Display or Use It
Once you have your sun catchers ready, think about displaying them in a way that highlights their beauty. You can hang them in windows, stick them on glass doors, or even use them as decorations for parties. If you have multiple sun catchers, displaying them together can create a beautiful kaleidoscope of color.
Frequently Asked Questions
Can I use regular paper instead of tissue paper?
Regular paper does not allow as much light to pass through, resulting in a less vibrant look.
What if I don’t have contact paper?
Transparency film or even wax paper can be effective substitutes.
Can we make these sun catchers outside?
While it’s fun to craft outdoors, ensure the sun catchers are placed inside to enjoy their full effect.
How do I remove them from the window?
Gently peel them away from the glass; they should come off easily without damaging the surface.
Can I make bigger designs?
Absolutely! Just use larger sheets of contact paper for your designs.
Is this project safe for younger children?
Yes, as long as an adult supervises the use of scissors and any small parts.
Conclusion
In exploring the joy of crafting tissue paper sun catchers, you’ll find a project that encourages creativity and adds warmth to your home. For more inspiration on creating colorful tissue paper crafts, check out this article on How to Make Tissue Paper Suncatchers. If you’re looking for easy designs that kids will love, consider this guide on Colorful Tissue Paper Suncatchers: 3 Easy Designs Kids Love. Happy crafting!
Print
Tissue Paper Sun Catchers for Sunny Windows
- Total Time: 15 minutes
- Makes: 5 sun catchers
Description
A delightful craft project for all ages, making vibrant tissue paper sun catchers that brighten up your home.
Materials
- Colored tissue paper
- Clear contact paper or transparency sheets
- Scissors
- A pencil
- A frame or stiff backing (like cardboard)
- Tape or glue stick (optional)
Instructions
- Cut tissue paper into various shapes and sizes.
- Prepare the contact paper by cutting it to size with excess edges.
- Arrange tissue paper shapes on the sticky side of the contact paper.
- Seal the design with another piece of contact paper or transparency sheet.
- Trim excess edges, leaving a half inch border.
- Mount your sun catcher to a window or place it inside a frame.
Notes
Begin with simpler shapes for younger children. Allow sun catchers to sit for a few minutes before displaying.