

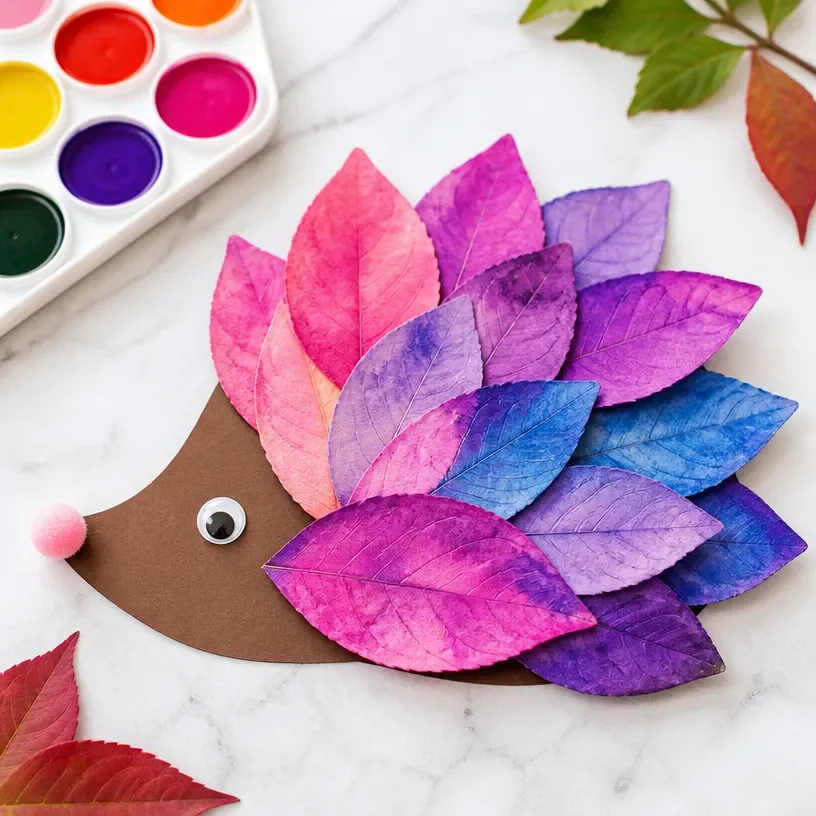
Rainbow Watercolor Leaf Hedgehog Craft for Kids
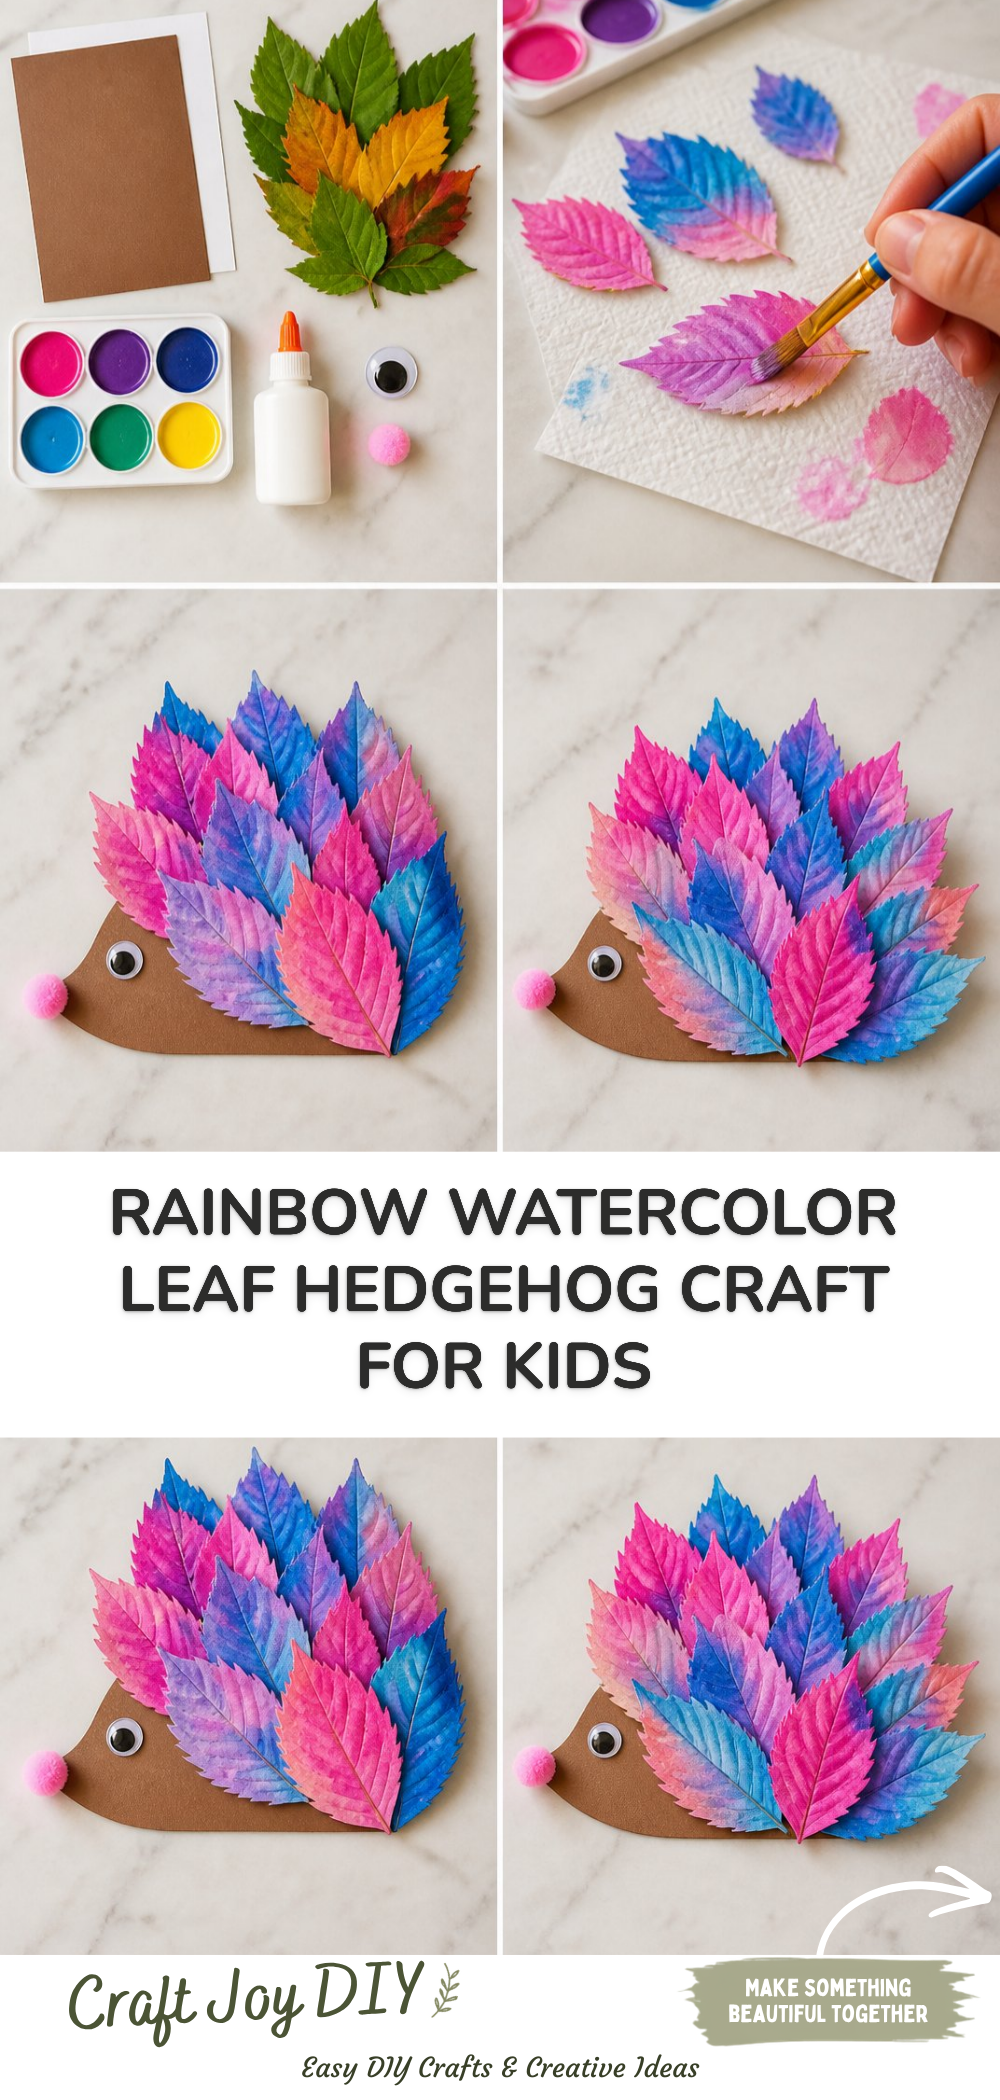
Creating a Rainbow Watercolor Leaf Hedgehog is not just a fun craft but also an opportunity to explore colors and creativity together. This project blends nature with art, allowing children to express themselves while utilizing easy-to-find materials. The whimsical design delights kids and transforms your crafting time into a joyful experience. You may also find Rainbow Watercolor Leaf Fox Suncatcher For Kids useful.
In this guide, you’ll discover how to make your very own hedgehog using beautiful, colorful leaves. This craft is particularly engaging as it encourages children to immerse themselves in the magic of fall while promoting fine motor skills through leaf manipulation and watercolor techniques. So, let’s gather our supplies and create something beautiful! You may also find Diy Rainbow School Bus Photo Frame Craft For Kids useful.
You may also find Melted Crayon Fall Leaf Garland Craft For Kids useful.
Why You’ll Enjoy This Project
- Creative Expression: Kids can explore their creativity by choosing different colors and leaf shapes to make unique hedgehogs.
- Nature Connection: Collecting leaves provides a wonderful opportunity to connect with nature, discussing the different types and colors you find.
- Simple Steps: The project is straightforward, making it suitable for young and beginner crafters.
- Skill Development: It promotes fine motor skills and hand-eye coordination, especially when creating the hedgehog’s features.
- Displayable Art: The finished craft can be used as home décor or gifts, celebrating the beauty of handmade creations.
Materials You’ll Need
Gather the following materials to make your Rainbow Watercolor Leaf Hedgehog: You may also find Rainbow Ghost Shaker Suncatcher Craft For Kids useful.
- Colorful leaves (preferably from different trees)
- Watercolor paints
- Glue (pvc or school glue)
- Scissors
- Black marker or pen
- Cardstock or sturdy paper as the base
- Paintbrushes
- Water cup for rinsing brushes
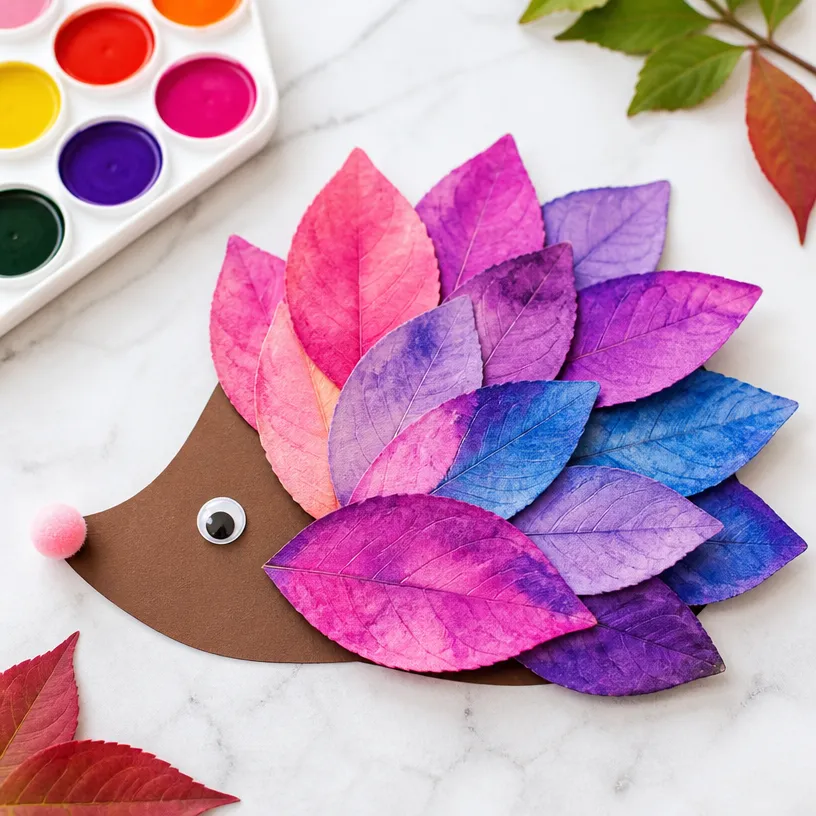
How to Make Rainbow Watercolor Leaf Hedgehog Craft for Kids
Step 1: Collect Leaves
Begin by going on a little adventure to find various colorful leaves. Once you have collected enough, you can bring them back to your crafting area.
Step 2: Prepare Your Workspace
Set up a clean, dry workspace where your little ones can get creative without worry. Lay down newspaper or an old cloth to catch any spills during painting.
Step 3: Paint Your Leaves
Using watercolor paints, let the children decorate the leaves. Encourage them to blend colors for a more vibrant effect. After painting, set the leaves aside to dry.
Step 4: Create the Hedgehog Body
Take a piece of cardstock and cut out a hedgehog shape (a rounded body with a flat bottom). This will serve as the base to attach the leaves.
Step 5: Attach the Leaves
Once the leaves are dry, use glue to attach them to the hedgehog’s body, layering them to form a spiky back. For added fun, you can also include a few leaves sticking out from the sides.
Step 6: Add Details
Using a black marker, draw on eyes, a nose, and feet to bring your hedgehog to life! This is where kids can add their personal touch.
Helpful Tips
- Material Handling: Encourage kids to be gentle when attaching leaves to avoid tearing.
- Display Ideas: Once completed, display the hedgehogs on a mantle or in a window to show off their creativity.
- Drying Time: Make sure to allow adequate drying time for the glue and paint before moving or displaying the crafts.
Easy Variations
- Seasonal Themes: Change the leaves for seasonal colors to create winter, spring, or summer versions.
- Different Animals: Instead of a hedgehog, use the same technique to create other animals, like a colorful fox or a panda. You can check out the fall leaf friends craft for inspiration.
- Texture Play: Introduce other natural materials like twigs for legs or acorns for eyes.
Making This Craft With Kids
This project is perfect for kids of various ages, although adult supervision is recommended when using scissors or markers. Providing assistance as they create ensures safety and enhances their experience.
How to Display or Use It
These charming hedgehogs can be placed on a shelf, used as unique holiday ornaments, or given as gifts to family members. Encourage kids to showcase their masterpieces at home or during crafting gatherings.
Frequently Asked Questions
1. What types of leaves work best for this project?
Brightly colored leaves that are firm, like maple or oak, work wonderfully.
2. Can I use other types of paint?
Watercolor is preferred for its vibrant colors, but you can experiment with acrylics if needed.
3. How long does it take for the leaves to dry?
Drying time can vary based on the thickness of the paint, but typically it should take about 30 minutes to an hour.
4. What do I do if the leaves tear?
If a leaf tears, you can either glue it back together or simply use a new one to maintain the hedgehog’s look.
5. Can older kids do this project independently?
Absolutely! Older kids will likely appreciate the creative freedom and can handle the steps with less supervision.
Conclusion
Crafting a Rainbow Watercolor Leaf Hedgehog not only brings joy but also offers a cherished way to engage with nature. For additional paper crafting ideas, consider exploring the paper crafting resources available online. For a different take using watercolor and hot glue, you might enjoy the project shared at No Time For Flash Cards. Happy crafting!
Print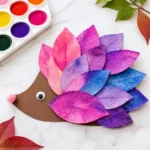
Rainbow Watercolor Leaf Hedgehog Craft for Kids
- Total Time: 30 minutes
- Makes: 1 hedgehog craft
Description
A fun and engaging craft project that combines nature with art by creating colorful hedgehogs using leaves and watercolor paints.
Materials
- Colorful leaves
- Watercolor paints
- Glue (PVC or school glue)
- Scissors
- Black marker or pen
- Cardstock or sturdy paper
- Paintbrushes
- Water cup for rinsing brushes
Instructions
- Collect Leaves: Go on an adventure to find various colorful leaves.
- Prepare Your Workspace: Set up a clean area and lay down newspaper or cloth.
- Paint Your Leaves: Let the children decorate the leaves using watercolor paints.
- Create the Hedgehog Body: Cut out a hedgehog shape from cardstock as the base.
- Attach the Leaves: Use glue to attach the dried leaves to the hedgehog’s body.
- Add Details: Draw on eyes, a nose, and feet using a black marker.
Notes
Encourage kids to handle the materials gently and provide display ideas for showcasing their creations.