

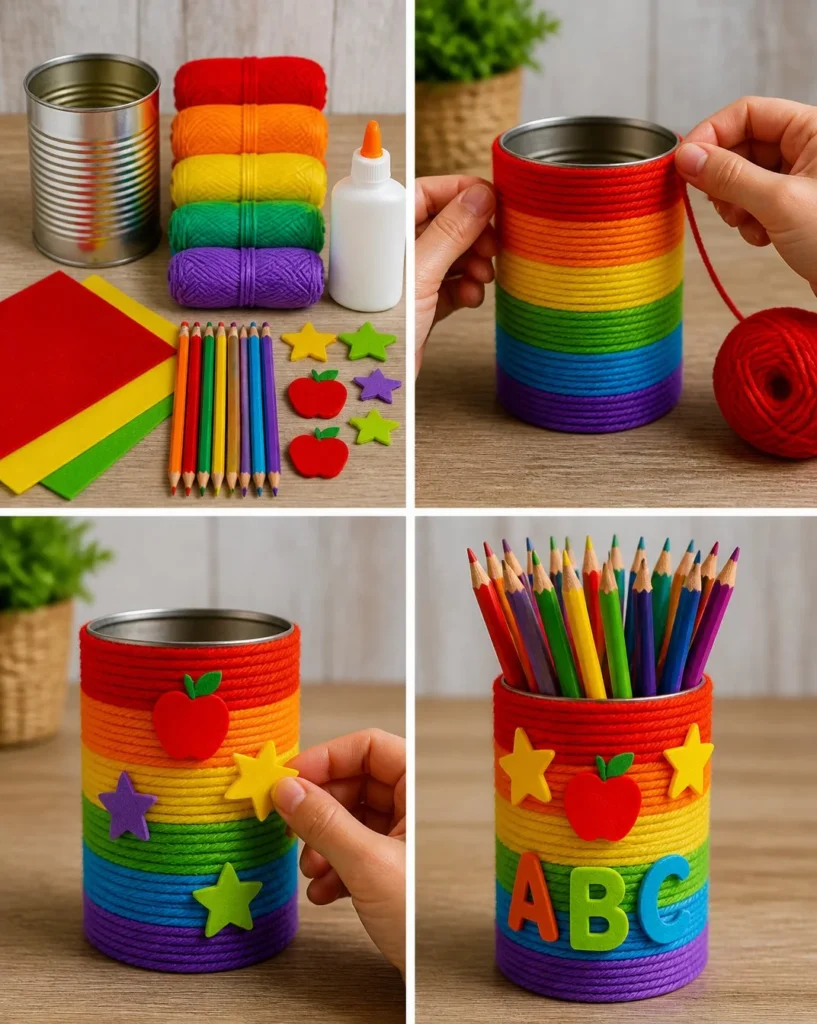
Rainbow Pencil Cup: Colorful Desk Organizer for School Supplies
Creating a rainbow pencil cup is a fun and colorful way to organize school supplies. Not only does this project help you manage your desk clutter, but it also adds a vibrant touch to your workspace. By making your own colorful desk organizer, you can use materials that suit your style and personality. You may also find Pencil Holder For Kids Rainbow Panda Desk Organizer useful.
There’s something truly satisfying about crafting a personalized item that adds life to your desk. This rainbow pencil cup will definitely brighten your space and make it easier to find your writing tools when you need them. Let’s get started on this enjoyable project! You may also find Rainbow Ruler Pencil Jar Desk Organizer For Teachers useful.
Why You’ll Enjoy This Project
- Creative Expression: You can choose your colors and designs, allowing you to personalize your pencil cup to match your taste.
- Practical Use: This desk organizer is not just decorative; it is also functional in helping you keep your school supplies in order.
- Easy and Fun: This project is suitable for all ages and can be completed in a short amount of time, making it a perfect family activity.
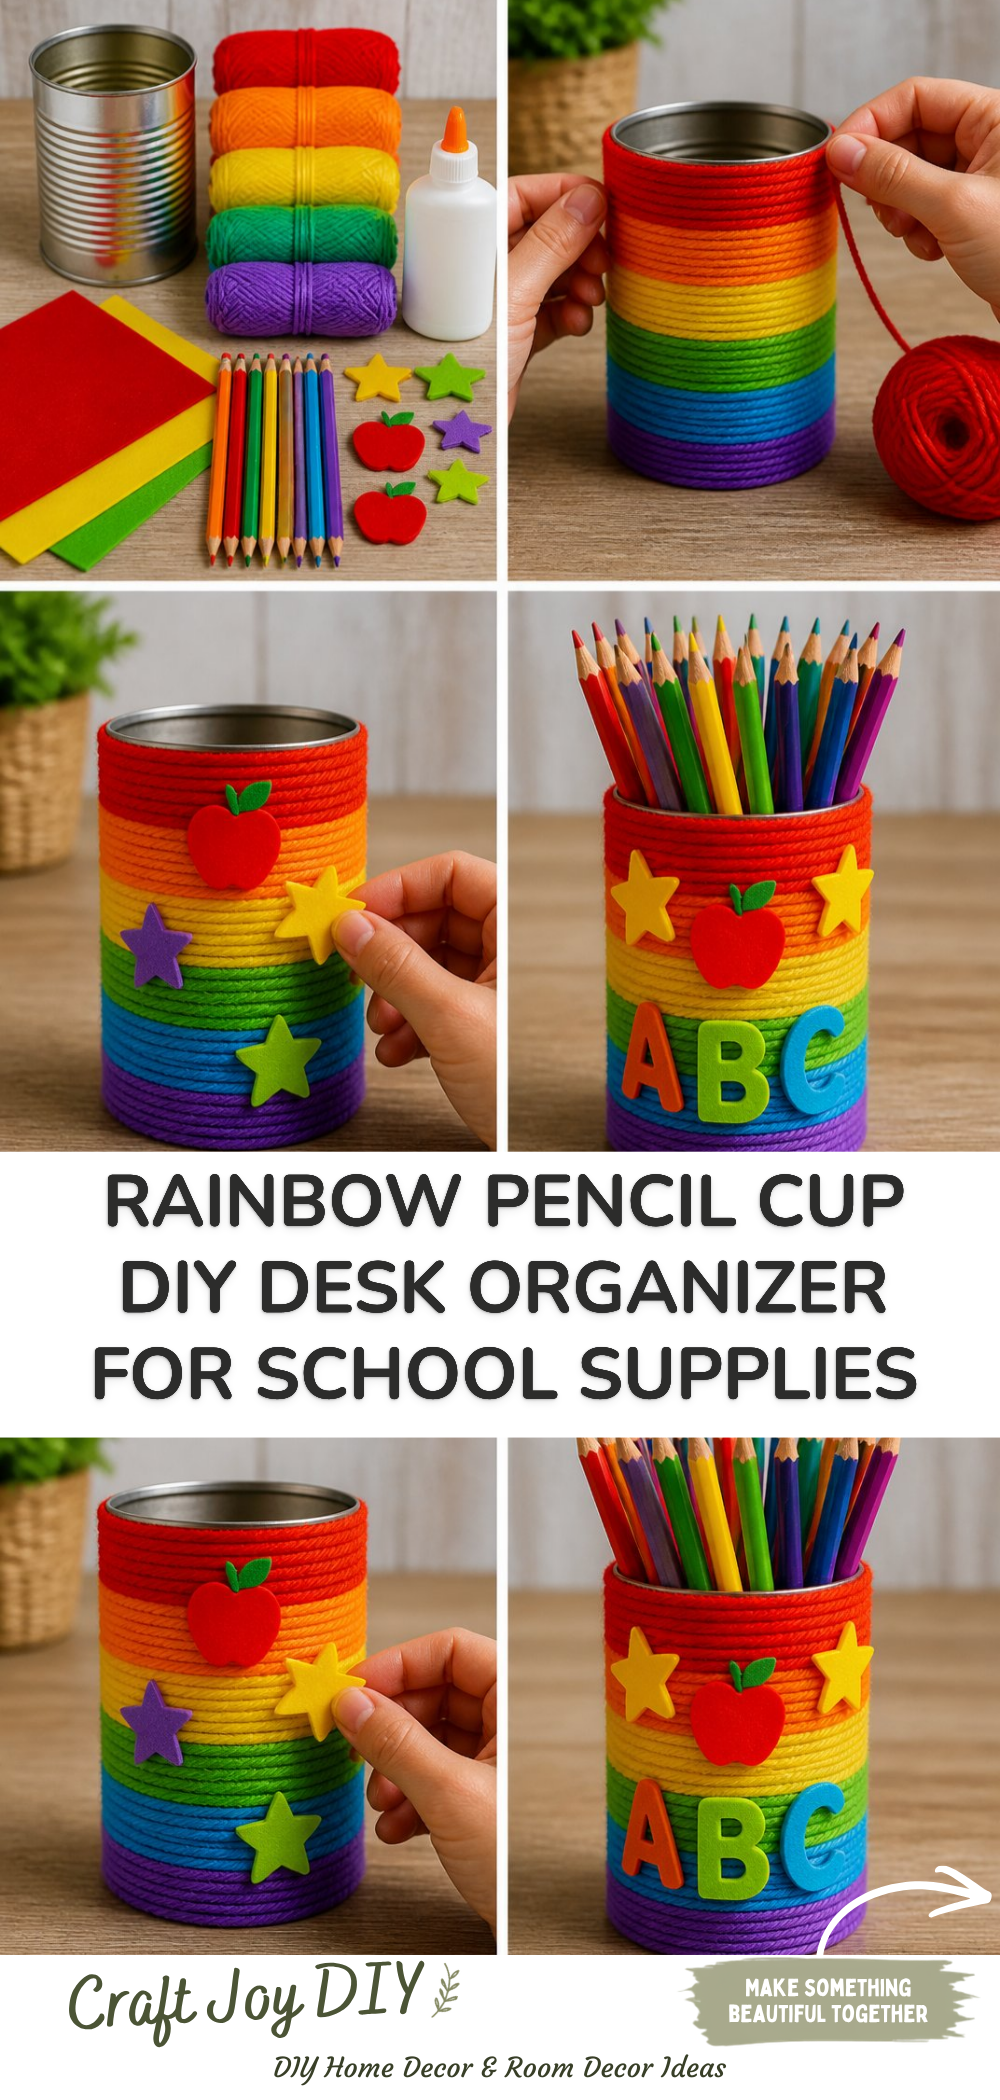
You may also find Desk Organizer Kids Rainbow Monster Pencil Cup Garden Theme useful.
Materials You’ll Need
- One clean tin can (like a soup can)
- Acrylic paints in rainbow colors (red, orange, yellow, green, blue, purple)
- Paintbrushes (various sizes)
- Clear sealant spray (optional for finishing)
- Paper towels or a cloth (for cleanup)
Feel free to substitute the tin can with a plastic cup if preferred, but it might not be as sturdy. You may also find Colorful Monster Pencil Tin Organizer Classroom useful.
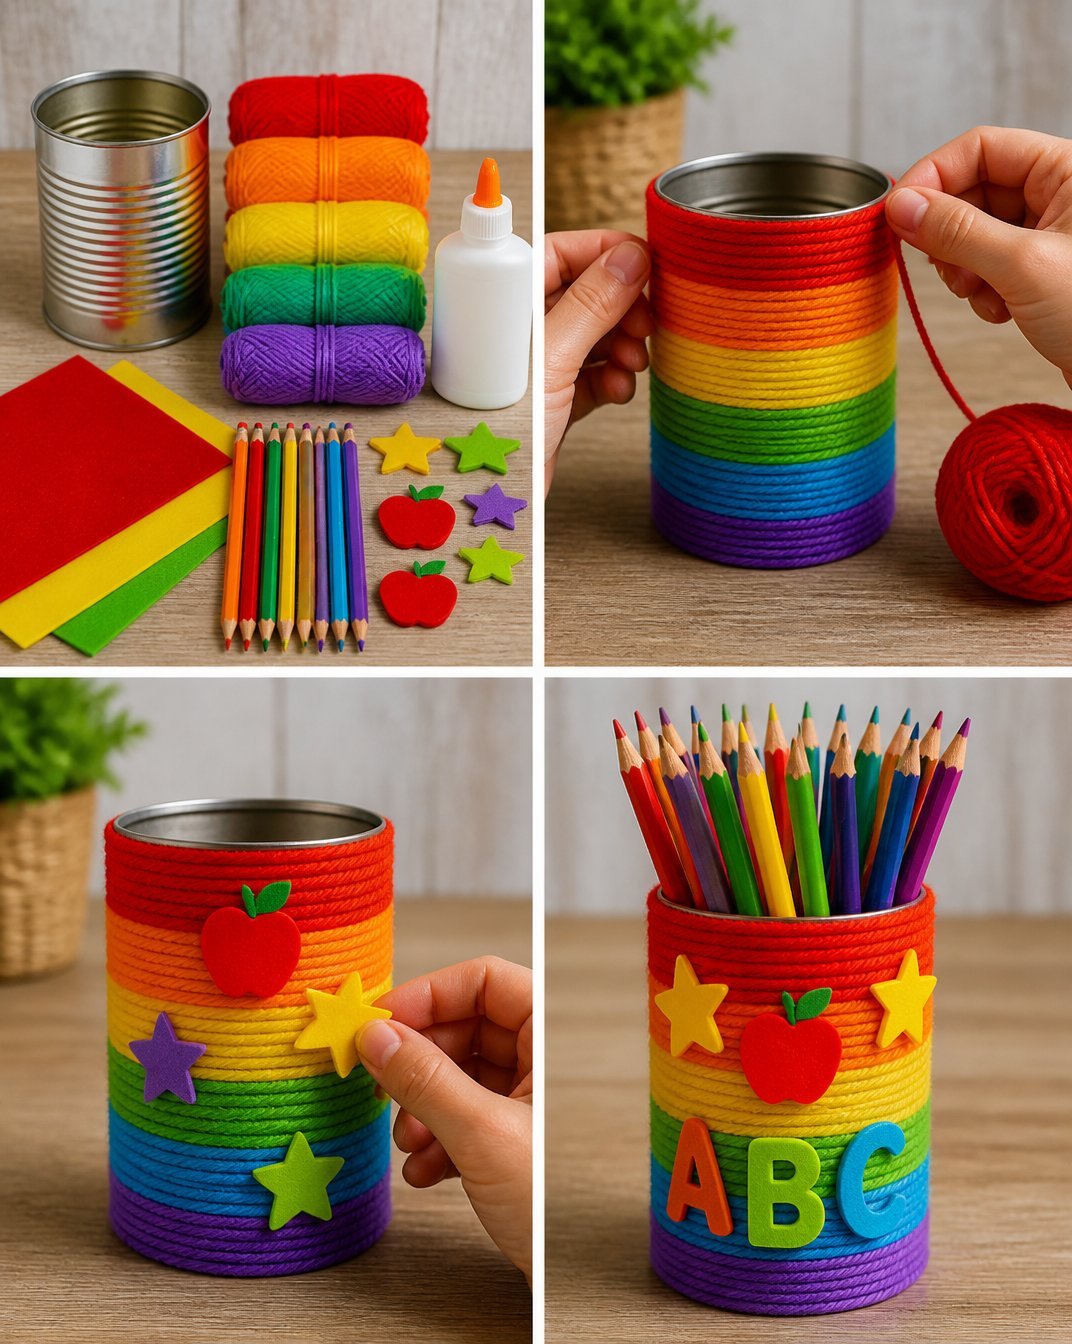
How to Make Rainbow Pencil Cup: Colorful Desk Organizer for School Supplies
Clean the Can: Ensure your tin can is clean and dry. Remove any labels and residue to prepare for painting. You may also find Colorful Rainbow Monster Pencil Holders Diy useful.
Base Coat: If desired, apply a white base coat to help the colors pop. Wait until it is completely dry.
Paint the Rainbow: Start painting stripes of the rainbow colors around the can. Use a larger brush for the wider stripes and smaller brushes for finer details. You might find it helpful to begin with red at the bottom, followed by orange, yellow, green, blue, and purple on top.
Let It Dry: Allow the paint to dry fully. You may need to apply a second coat for better coverage, depending on your colors.
Seal the Design: Once the paint is dry, spray a clear sealant over the surface to protect your design from scratches and chips. This step is optional but recommended for longevity.
Helpful Tips
- Avoid Smudging: When painting, let each color dry a bit before layering on the next to prevent smudging.
- Practice First: If you’re unsure about the design, practice on paper before painting directly onto your can.
- Use a Stencil: If you want numbers or letters, consider using a stencil for clean lines.
Easy Variations
- Seasonal Themes: Change colors according to seasons pastels for spring or warm tones for autumn.
- Different Sizes: Create smaller cups for holding paperclips or larger ones for markers.
- Add Decorations: Glue on decorative elements such as beads, stickers, or glitter for extra flair.
Making This Craft With Kids
This project is great for kids, but adults should supervise when it comes to paint application and handling the tin can. Use non-toxic paints to ensure safety while crafting.
How to Display or Use It
Your rainbow pencil cup can sit proudly on your desk or be gifted to a teacher or a friend! It also serves well as a container for various small items such as brushes, scissors, or even plants if you choose to repurpose it.
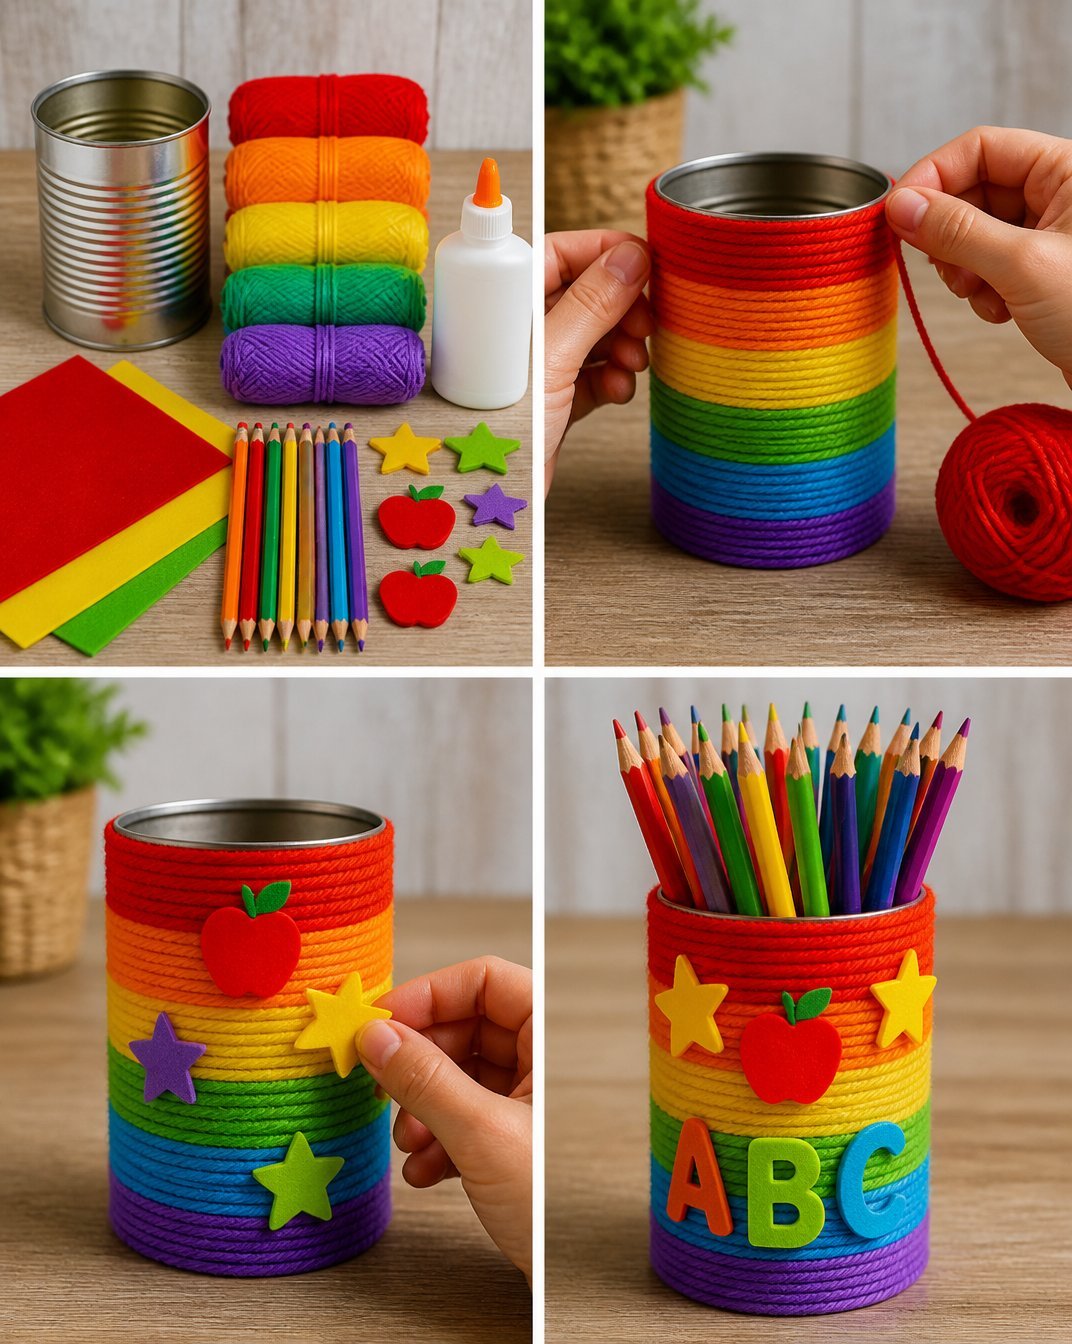
Frequently Asked Questions
Can I use spray paint instead?
Yes, spray paint can provide an even finish, but remember to work in a well-ventilated area.
What if I accidentally paint outside the lines?
Don’t worry! You can touch up with a small brush or easily cover it up with a design element.
How long does the paint take to dry?
Drying times vary, but typically it takes about 1-2 hours for acrylic paint.
Is it safe for young children to paint?
Supervision is important, especially with younger kids handling paint and tools.
Conclusion
Creating a rainbow pencil cup is an excellent way to express creativity while organizing your workspace. If you’re looking for more unique desk organizers, consider exploring options like the GAMENOTE Rainbow Wooden Desk Organizer for a natural wood option. Additionally, the PUZZLE EZ Crayon Organizer might spark more inspiration for your crafting projects. Enjoy crafting!
Print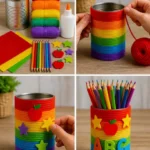
Rainbow Pencil Cup: Colorful Desk Organizer for School Supplies
- Total Time: 45 minutes
- Makes: 1 pencil cup
Description
Create a vibrant and personalized rainbow pencil cup to organize your school supplies while expressing your creativity.
Materials
- One clean tin can (like a soup can)
- Acrylic paints in rainbow colors (red, orange, yellow, green, blue, purple)
- Paintbrushes (various sizes)
- Clear sealant spray (optional for finishing)
- Paper towels or a cloth (for cleanup)
Instructions
- Clean the can: Ensure your tin can is clean and dry. Remove any labels and residue to prepare for painting.
- Base coat: If desired, apply a white base coat to help the colors pop. Wait until it is completely dry.
- Paint the rainbow: Start painting stripes of the rainbow colors around the can, beginning with red at the bottom and ending with purple on top.
- Let it dry: Allow the paint to dry fully, applying a second coat if necessary for better coverage.
- Seal the design: Once dry, spray a clear sealant over the surface to protect your design from scratches and chips.
Notes
This project is great for kids, but adults should supervise when it comes to paint application and handling the tin can. Use non-toxic paints to ensure safety while crafting.