

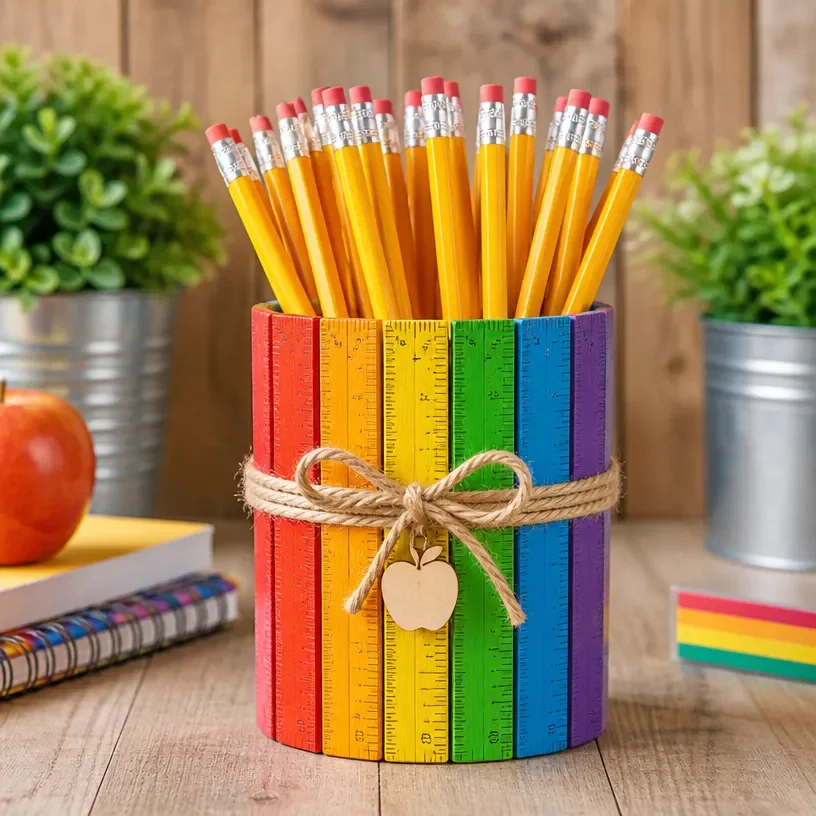
Rainbow Ruler Pencil Jar for Teachers – Desk Organizer
Are you ready to create a delightful and functional desk organizer? This Rainbow Ruler Pencil Jar is not only a colorful addition to any teacher’s desk but also a practical way to keep all those pencils and pens in one place. With its bright colors and charming design, it’s sure to bring a smile to anyone who sees it. Let’s dive into making this fun and useful project that blends creativity with organization! You may also find Desk Organizer Kids Rainbow Monster Pencil Cup Garden Theme useful.
Why You’ll Enjoy This Project
Creating the Rainbow Ruler Pencil Jar helps to: You may also find Pencil Cup Organizer Rainbow Panda Craft Kids useful.
- Encourage organization: This craft is perfect for keeping classroom supplies tidy and makes them easy to find.
- Spark creativity: You can customize it with different colors and designs, depending on your personal style.
- Support learning: Crafting allows for hands-on engagement, which is great for children, and this project can inspire them to organize their own supplies.
- Make a thoughtful gift: This project is ideal for teacher appreciation or end-of-year gifts.
- Utilize recycled materials: Think about using old rulers or containers, promoting sustainability while crafting!

You may also find Rainbow Apple Suncatcher For Teachers useful.
Materials You’ll Need
- A clean, empty jar (mason jar or similar type)
- Colorful rulers (or you can use washi tape or paint for a custom look)
- Hot glue gun (with glue sticks)
- Scissors
- Paint markers or permanent markers (for decoration)
- Optional embellishments: Stickers, ribbons, or decorative paper
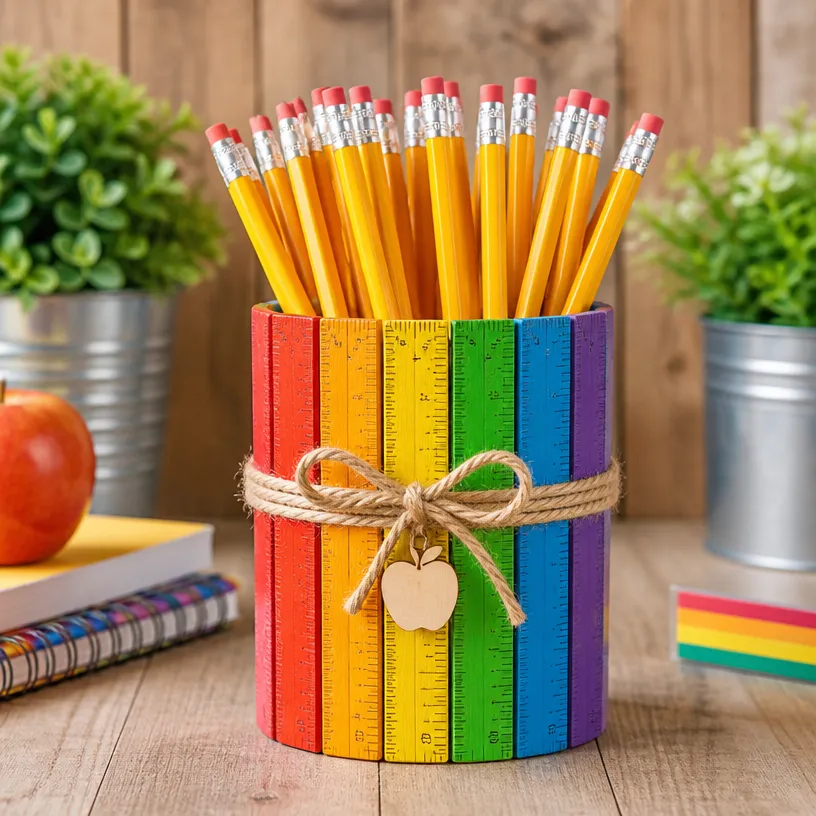
How to Make Rainbow Ruler Pencil Jar for Teachers – Desk Organizer
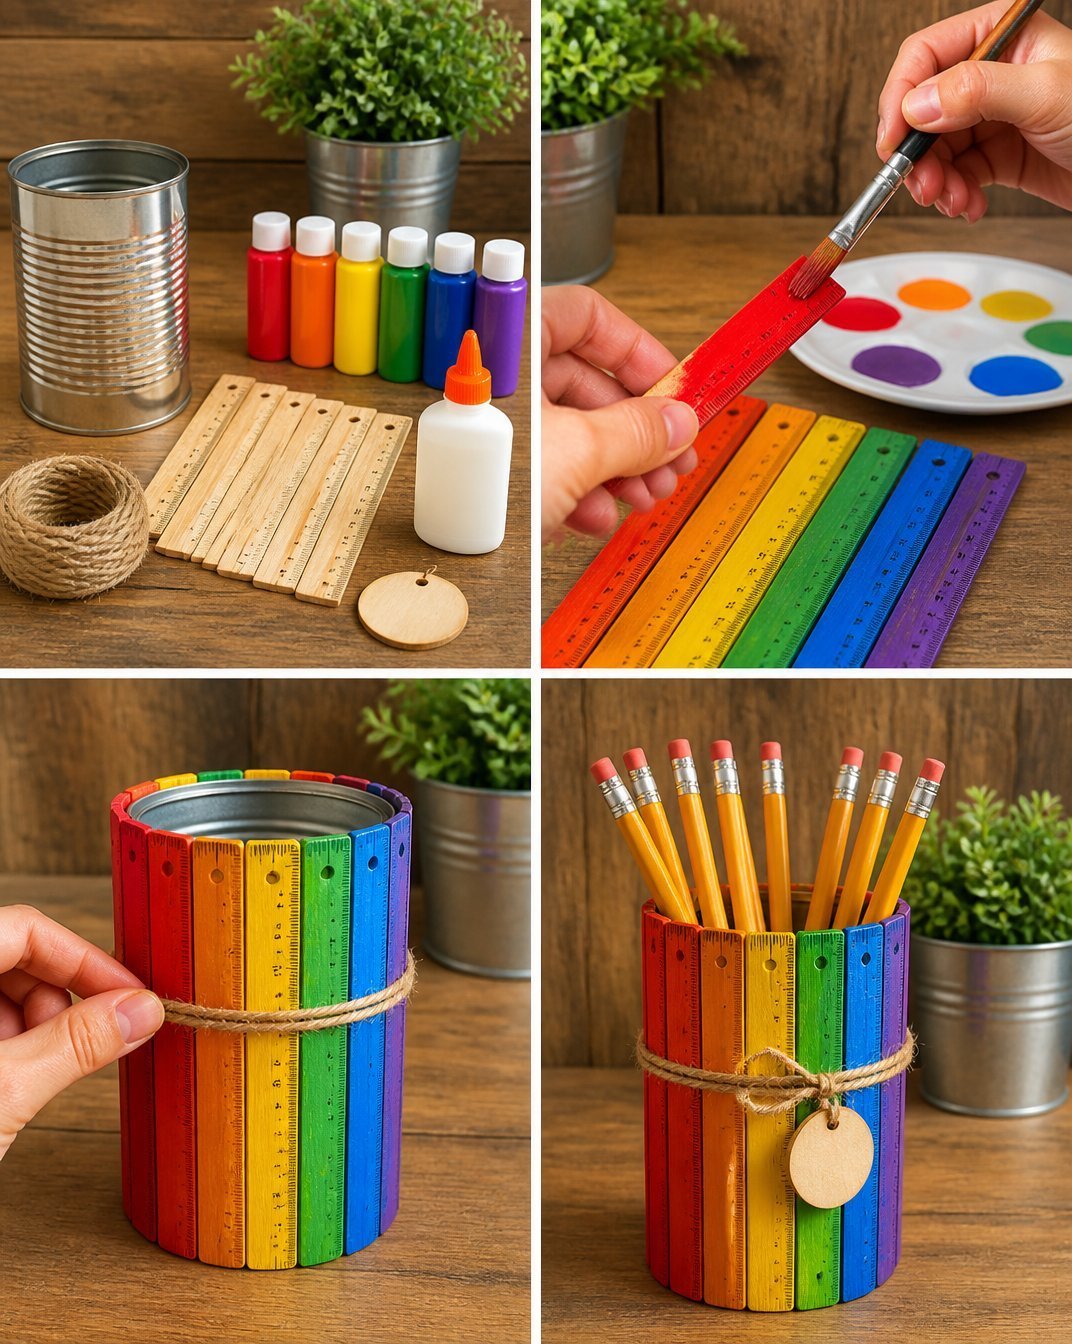
Prepare the jar: Start by ensuring your jar is clean and dry. Remove any labels to have a smooth surface. You may also find Rainbow Monster Pencil Holders Diy Craft For Kids useful.
Cut the rulers: Using scissors, cut the rulers into various lengths. These will be your rainbow “sticks” that create a fun look for your pencil jar. You may also find Rainbow Pencil Butterfly Suncatcher Craft For Kids useful.
Arrange the rulers: Before gluing, place the cut rulers around the jar to see how they fit best. You can create a rainbow pattern by alternating colors.
Glue the rulers: Once you’re happy with the arrangement, use the hot glue gun to carefully attach each piece of the ruler to the jar’s side. Hold each ruler in place for a few seconds to ensure it sticks well.
Decorate the jar: After the glue has dried, use paint markers to add your designs and personalize the jar. You can write words like “Pencils” or draw fun designs.
Helpful Tips
- Use clear glue if you want a cleaner look where the glue won’t stand out.
- Opt for lightweight materials like paper or thin plastic rulers if working with younger children, to make handling easier.
- Display this craft in a bright spot on your desk or give it as a gift to someone special!
Easy Variations
- Different color themes: Choose seasonal colors for holidays or favorite colors of the recipient.
- Bigger or smaller jars: Use jars of varied sizes for different classroom supplies, like markers or crayons.
- Add a lid: If using a jar with a lid, consider decorating the lid as well, creating a fully themed look.
- Include a base: Create a colored base for the jar to give it more stability and decoration.
- Attach a name tag: Personalize the pencil jar with a name tag for a special touch.
Making This Craft With Kids
This project is ideal for children but may require adult supervision with the hot glue gun. Young crafters will love gluing the rulers and decorating the jar, while adults can assist with cutting and handling the hot glue. Adjust the complexity of the design according to the skill levels of those participating.
How to Display or Use It
Once your Rainbow Ruler Pencil Jar is complete, place it prominently on your desk to store pencils, pens, and other small supplies. It makes a cheerful statement while also keeping your workspace organized. You can easily transport it for teacher meetings or use it at home for crafting supplies.
Frequently Asked Questions
Can I use other materials besides rulers?
Yes! You can use colored paper, fabric, or even paint to create a similar look.
What if I don’t have a hot glue gun?
You can use regular craft glue, but keep in mind it may take longer to dry.
How can I clean the jar if it gets messy?
Use a damp cloth to wipe the outside gently, avoiding any water on the glued elements.
Can I use this project for other supplies?
Absolutely! Adjust the size and shape of the jar to organize anything from brushes to markers.
Is this suitable for all ages?
While children can enjoy making it, adult supervision is recommended for using hot glue and scissors.
Conclusion
Crafting your own Rainbow Ruler Pencil Jar for Teachers not only enhances your desk with a splash of color but also serves a practical purpose. If you’re looking for some fun supplies to make your pencil holder even more special, check out this adorable wooden rainbow pencil holder. For unique gift ideas, explore the teacher appreciation gift pencil vase. Happy crafting!
Print
Rainbow Ruler Pencil Jar for Teachers
- Total Time: 15 minutes
- Makes: 1 desk organizer
Description
Create a colorful and functional Rainbow Ruler Pencil Jar to organize your desk supplies in style.
Materials
- A clean, empty jar (mason jar or similar type)
- Colorful rulers (or washi tape/paint)
- Hot glue gun (with glue sticks)
- Scissors
- Paint markers or permanent markers
- Optional embellishments (stickers, ribbons, decorative paper)
Instructions
- Prepare the jar: Ensure it is clean and dry and remove labels.
- Cut the rulers into various lengths for your rainbow sticks.
- Arrange the cut rulers around the jar to find the best fit.
- Glue the rulers to the jar’s side with a hot glue gun, holding each in place.
- Decorate the jar with paint markers to personalize it.
Notes
Use clear glue for a cleaner look and lightweight materials for easier handling by children.