

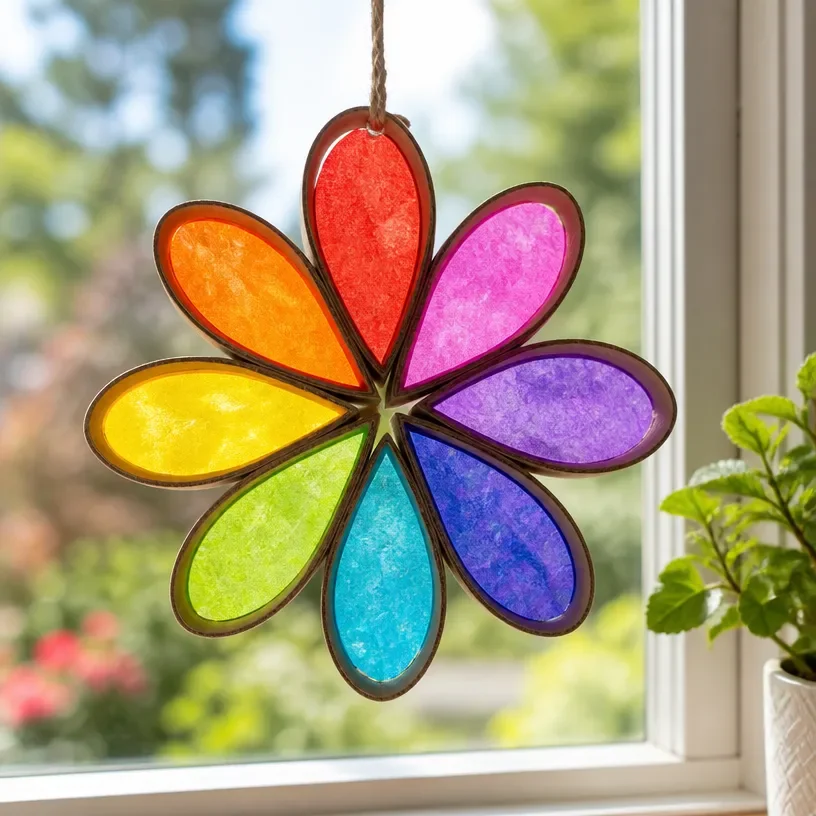
DIY Rainbow Paper Roll Window Flower Craft
Bring a splash of color into your home with this charming DIY Rainbow Paper Roll Window Flower Craft. This project is a delightful way to use up toilet paper rolls while creating something visually appealing to brighten up your space. Not only is it enjoyable to make, but it also allows kids and adults alike to express creativity using simple materials. You may also find Diy Rainbow Popsicle Stick Flower Wheel Craft useful.
By transforming ordinary paper rolls into stunning flowers, you can create a beautiful window display that celebrates the joy of crafting together. It’s creative projects like these that truly make crafting a joyful experience for the whole family. You may also find Diy Rainbow Sun Craft Kids Paper Plates useful.
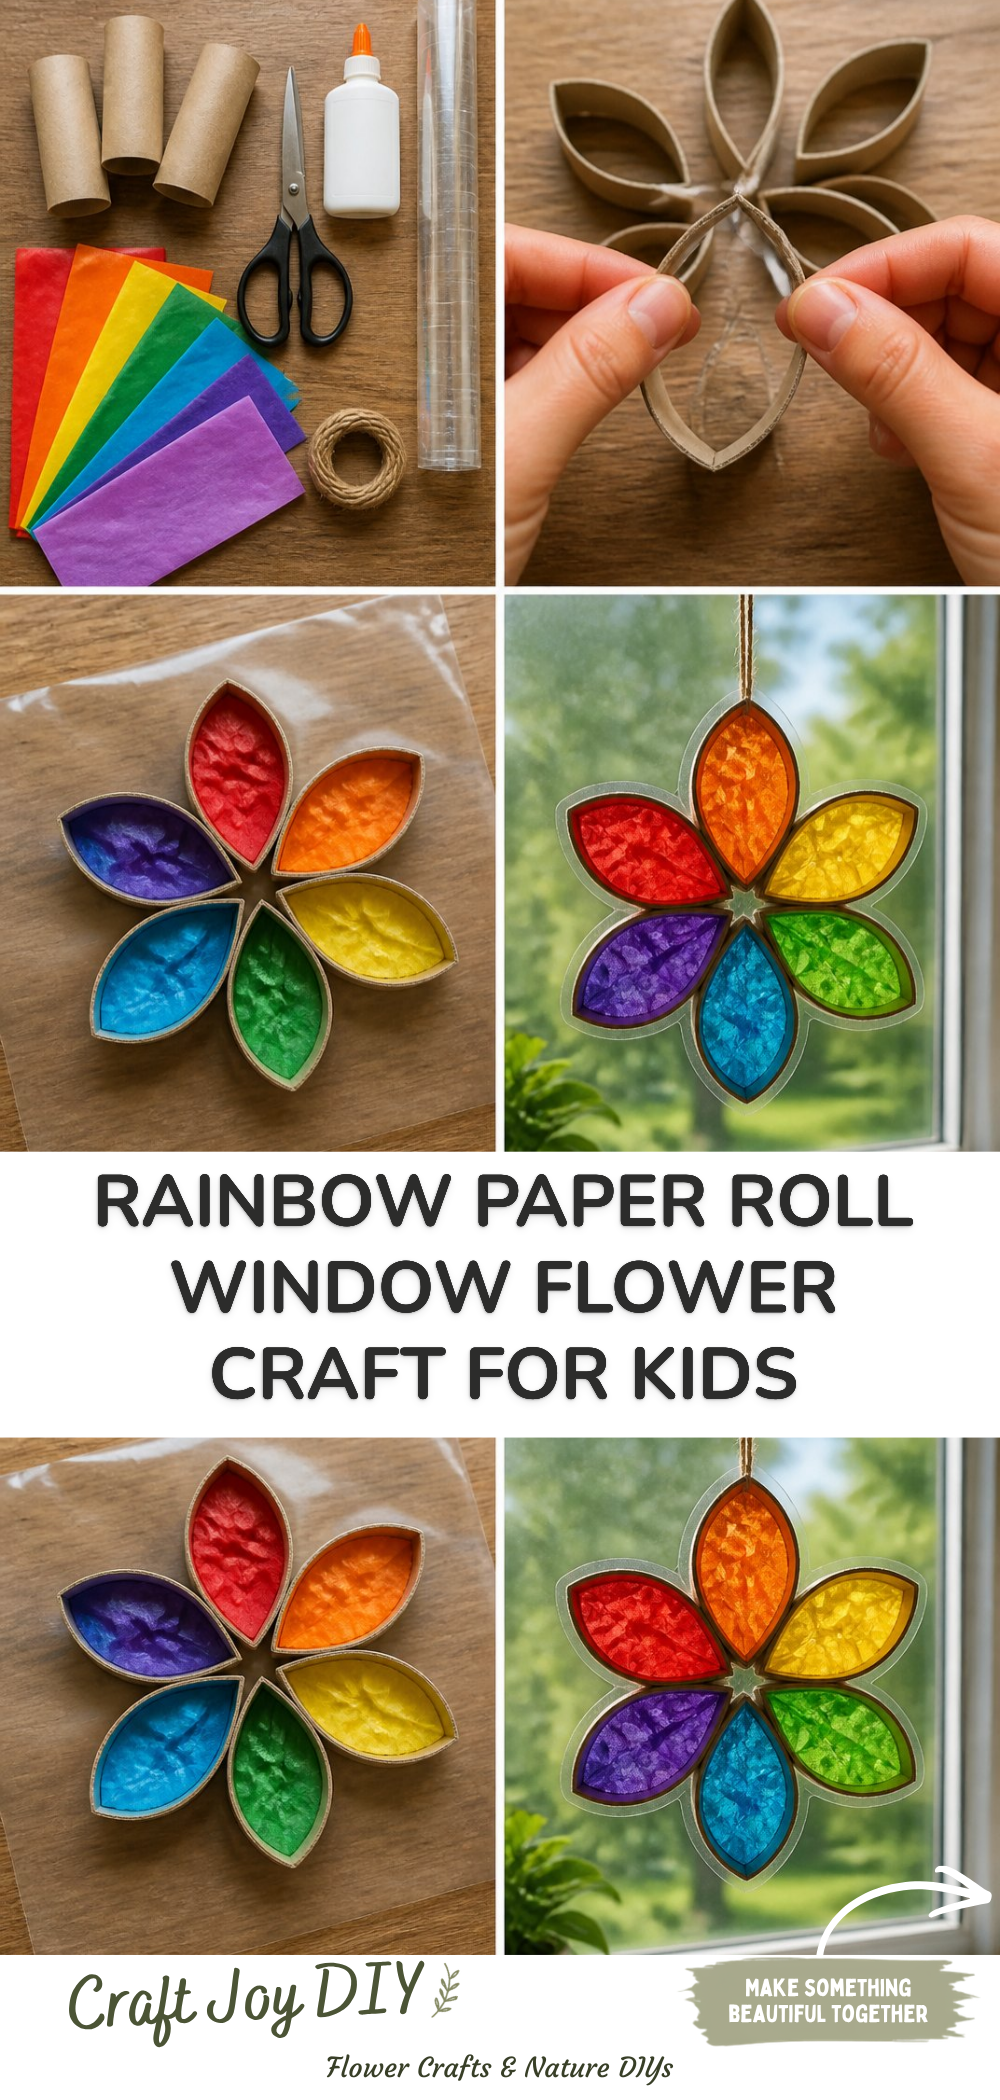
You may also find Rainbow Tissue Paper Flower Lantern Diy For Kids useful.
Why You’ll Enjoy This Project
- Simple Materials: You only need a few household items to create lovely flowers.
- Colorful Display: This craft brings bright colors into your space, perfect for any season.
- Kids Can Participate: Children can assist with various steps, making it a great family activity.
- Encourages Creativity: Each flower can be uniquely designed, allowing for personal expression.
- Fun for All Ages: Whether you are a beginner or an experienced crafter, this project is enjoyable for everyone.
Materials You’ll Need
- Empty toilet paper rolls (or paper towel rolls cut into smaller sections)
- Colored tissue paper (choose your favorite colors)
- Scissors
- Craft glue or a hot glue gun (make sure to supervise younger children with the hot glue)
- Green pipe cleaners or green paper (for stems)
- Markers or paint (optional for extra decoration)
- A base (like cardstock or cardboard) to attach your flowers
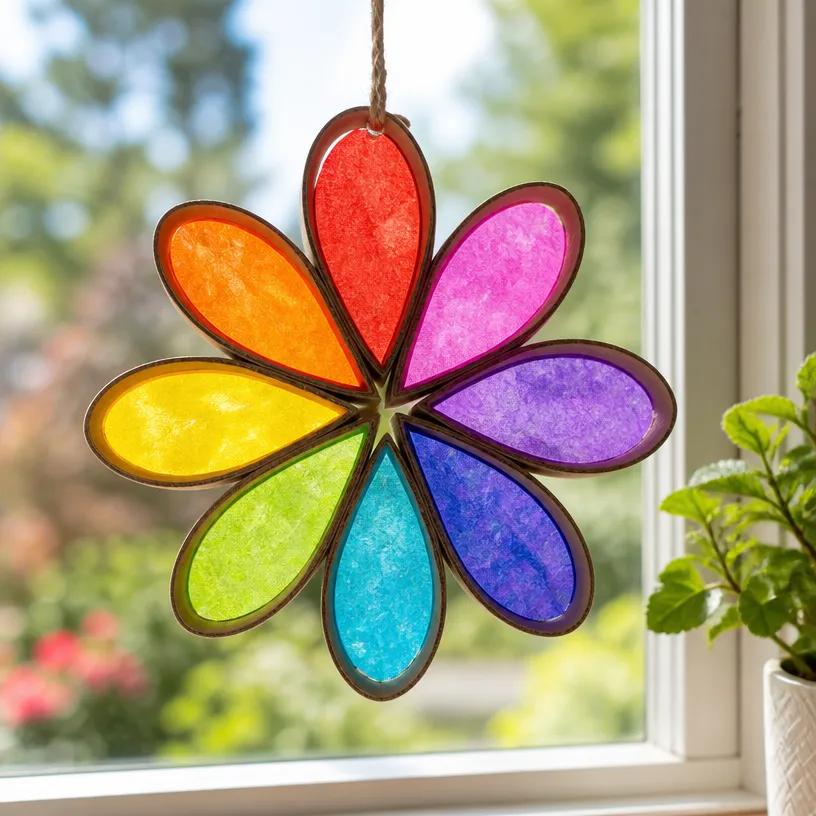
How to Make DIY Rainbow Paper Roll Window Flower Craft
- Prepare the Paper Rolls: Start by cutting your toilet paper rolls into sections that are approximately 1-2 inches tall.
- Cut the Tissue Paper: Cut various colors of tissue paper into squares (about 4×4 inches works well).
- Create Flower Petals: Gently crumple a piece of tissue paper to make petals. You can also layer multiple squares for a fuller look.
- Glue the Petals: Insert the crumpled tissue paper into the top end of the paper roll, adding glue to hold them in place. Repeat until the top is full and resembles a flower.
- Attach the Stem: Use a green pipe cleaner to make a stem by inserting it into the bottom of the paper roll. If using paper, you can cut out leaves or a long strip and glue it to the base.
- Secure to a Base: Glue the finished flowers onto the cardstock or cardboard base to create a lovely arrangement.
Helpful Tips
- Layering Colors: For an eye-catching effect, consider layering different colored tissue paper squares for each flower.
- Mixing Styles: Try varying the height of the toilet paper roll sections for a more dynamic display.
- Add Details: Use markers or paint to add dots or lines to mimic flower details before assembling.
- Temporary Display: If you want to change the flowers seasonally, consider using adhesive putty to attach the flowers to a window, making them easily removable.
- Safety First: Adult supervision is recommended when hot glue is used, especially with children involved.
Easy Variations
- Seasonal Themes: Use different colors for each season; think pastels for spring or warm tones for autumn.
- Size Alterations: Experiment with larger paper towel rolls to create gigantic flowers.
- Artist’s Choice: Allow kids to paint the rolls first for added creativity before adding petals.
- Additional Decorations: Add glitter, sequins, or beads to give an extra sparkle to your flowers.
- Hanging Flowers: Use string to transform this project into hanging decorations for a playful look.
Making This Craft With Kids
This project is perfect for children, as it involves simple steps and colorful materials. Adults may need to assist with cutting the rolls and using the hot glue, but kids can take the lead in crumpling tissue paper and assembling their flowers. This allows them to build confidence in their crafting skills while enjoying quality time together. You may also find Diy Butterfly Craft Kids Paper Wing Suncatcher useful.
How to Display or Use It
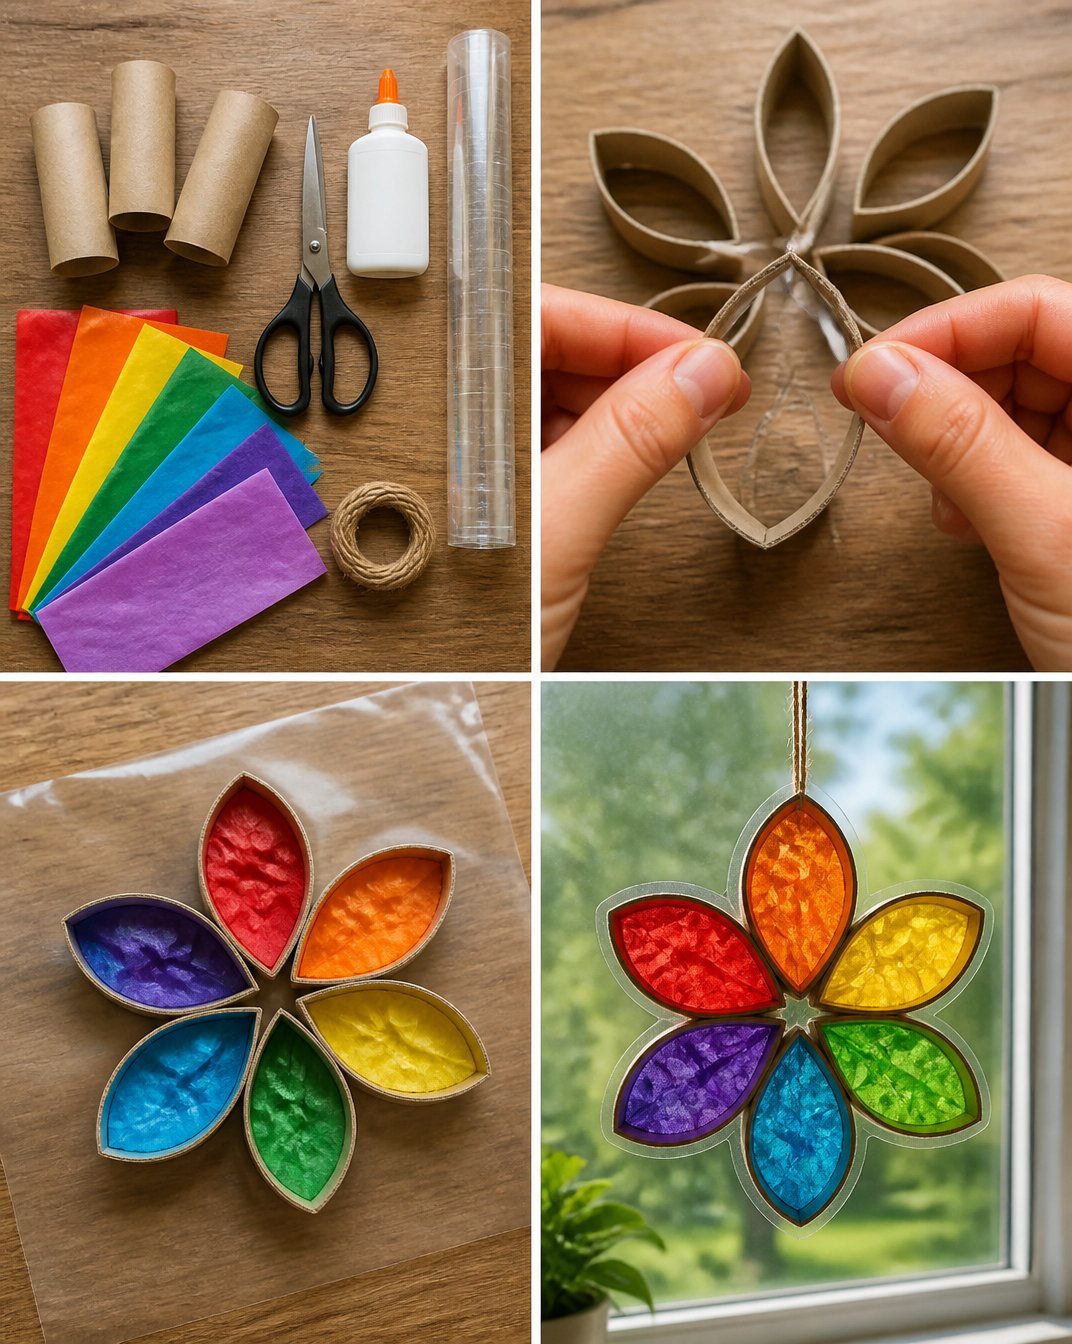
Once you finish your beautiful rainbow flowers, consider displaying them in a sunny window or on a shelf. They can also serve as cheerful centerpieces for a dining table or as a thoughtful gift for friends and family. Arrange them according to color or style to create a fun visual impact. You may also find Diy Rainbow School Bus Craft For Kids useful.
Frequently Asked Questions
1. Can I use other materials?
Yes, you can substitute paper rolls with other cylindrical materials like cardboard tubes from wrapping paper.
2. How long does it take to complete this project?
This project typically takes about 1 to 2 hours, depending on how many flowers you make.
3. Are these flowers weatherproof?
The flowers are not weatherproof, so they are best displayed indoors or in a sheltered outdoor area.
4. Can I paint the rolls before crafting?
Absolutely! Painting the paper rolls before adding tissue paper can enhance the overall look.
5. What age group is this craft suitable for?
This craft is suitable for children aged 5 and up, with adult supervision for younger kids, especially when using glue.
Conclusion
Crafting is a fantastic way to engage creatively with your family, and this DIY Rainbow Paper Roll Window Flower Craft is no exception. By using simple materials, you can create a beautiful display that brightens any room. If you’re looking for additional crafting ideas, consider exploring the Zonon Iridescent Cellophane Wrap for unique decorations or check out a Rainbow Painted Bookcase for another colorful project!
Print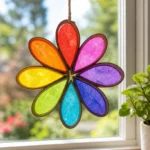
DIY Rainbow Paper Roll Window Flower Craft
- Total Time: 60 minutes
- Makes: Varies depending on the number of flowers made
Description
Create a colorful display with this charming DIY Rainbow Paper Roll Window Flower Craft using simple materials.
Materials
- Empty toilet paper rolls (or paper towel rolls cut into smaller sections)
- Colored tissue paper (various colors)
- Scissors
- Craft glue or hot glue gun (adult supervision recommended)
- Green pipe cleaners or green paper (for stems)
- Markers or paint (optional for decoration)
- A base (cardstock or cardboard) to attach flowers
Instructions
- Prepare the Paper Rolls: Cut toilet paper rolls into sections about 1-2 inches tall.
- Cut the Tissue Paper: Cut squares of tissue paper (about 4×4 inches).
- Create Flower Petals: Crumple tissue paper to make petals, layering for a fuller look.
- Glue the Petals: Insert crumpled tissue into the top end of the paper roll and glue in place.
- Attach the Stem: Use a green pipe cleaner as a stem or glue on paper leaves.
- Secure to a Base: Glue flowers onto cardstock or cardboard to create an arrangement.
Notes
Supervise children when using hot glue. Consider layering colors for eye-catching effects.