

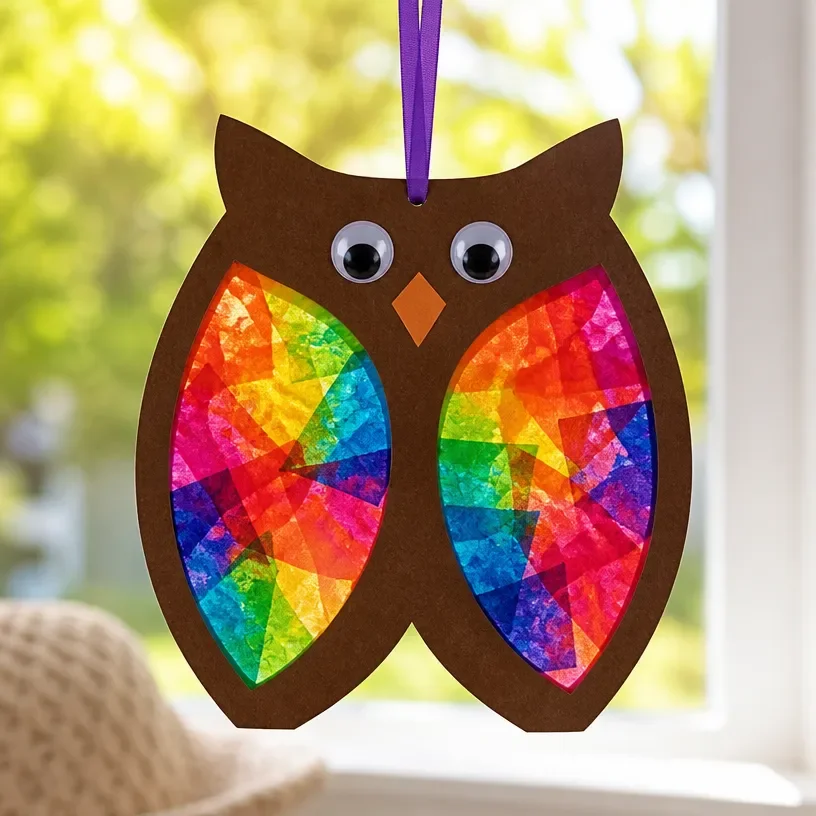
Melted Rainbow Crayon Owl Suncatcher
Creating a melted rainbow crayon owl suncatcher is a joyful and creative way to brighten up your home or classroom. It’s a wonderful craft that combines art and science, allowing the vibrant colors of crayons to create beautiful patterns. Not only is this project enjoyable, but it also provides a unique way to bring the beauty of nature inside, especially during the fall or winter months when you might want to enjoy colorful views. You may also find Melted Crayon Rainbow Butterfly Suncatcher For Kids useful.
This craft is perfect for kids and adults alike. By melting down crayons, you can create mesmerizing shapes that will catch the light in your window. Plus, the process is simple and can be tailored to various age levels with a bit of adult supervision. Enjoy making this melted rainbow crayon owl suncatcher and explore the creativity it inspires! You may also find Melted Crayon Rainbow Haunted House Suncatcher Craft useful.
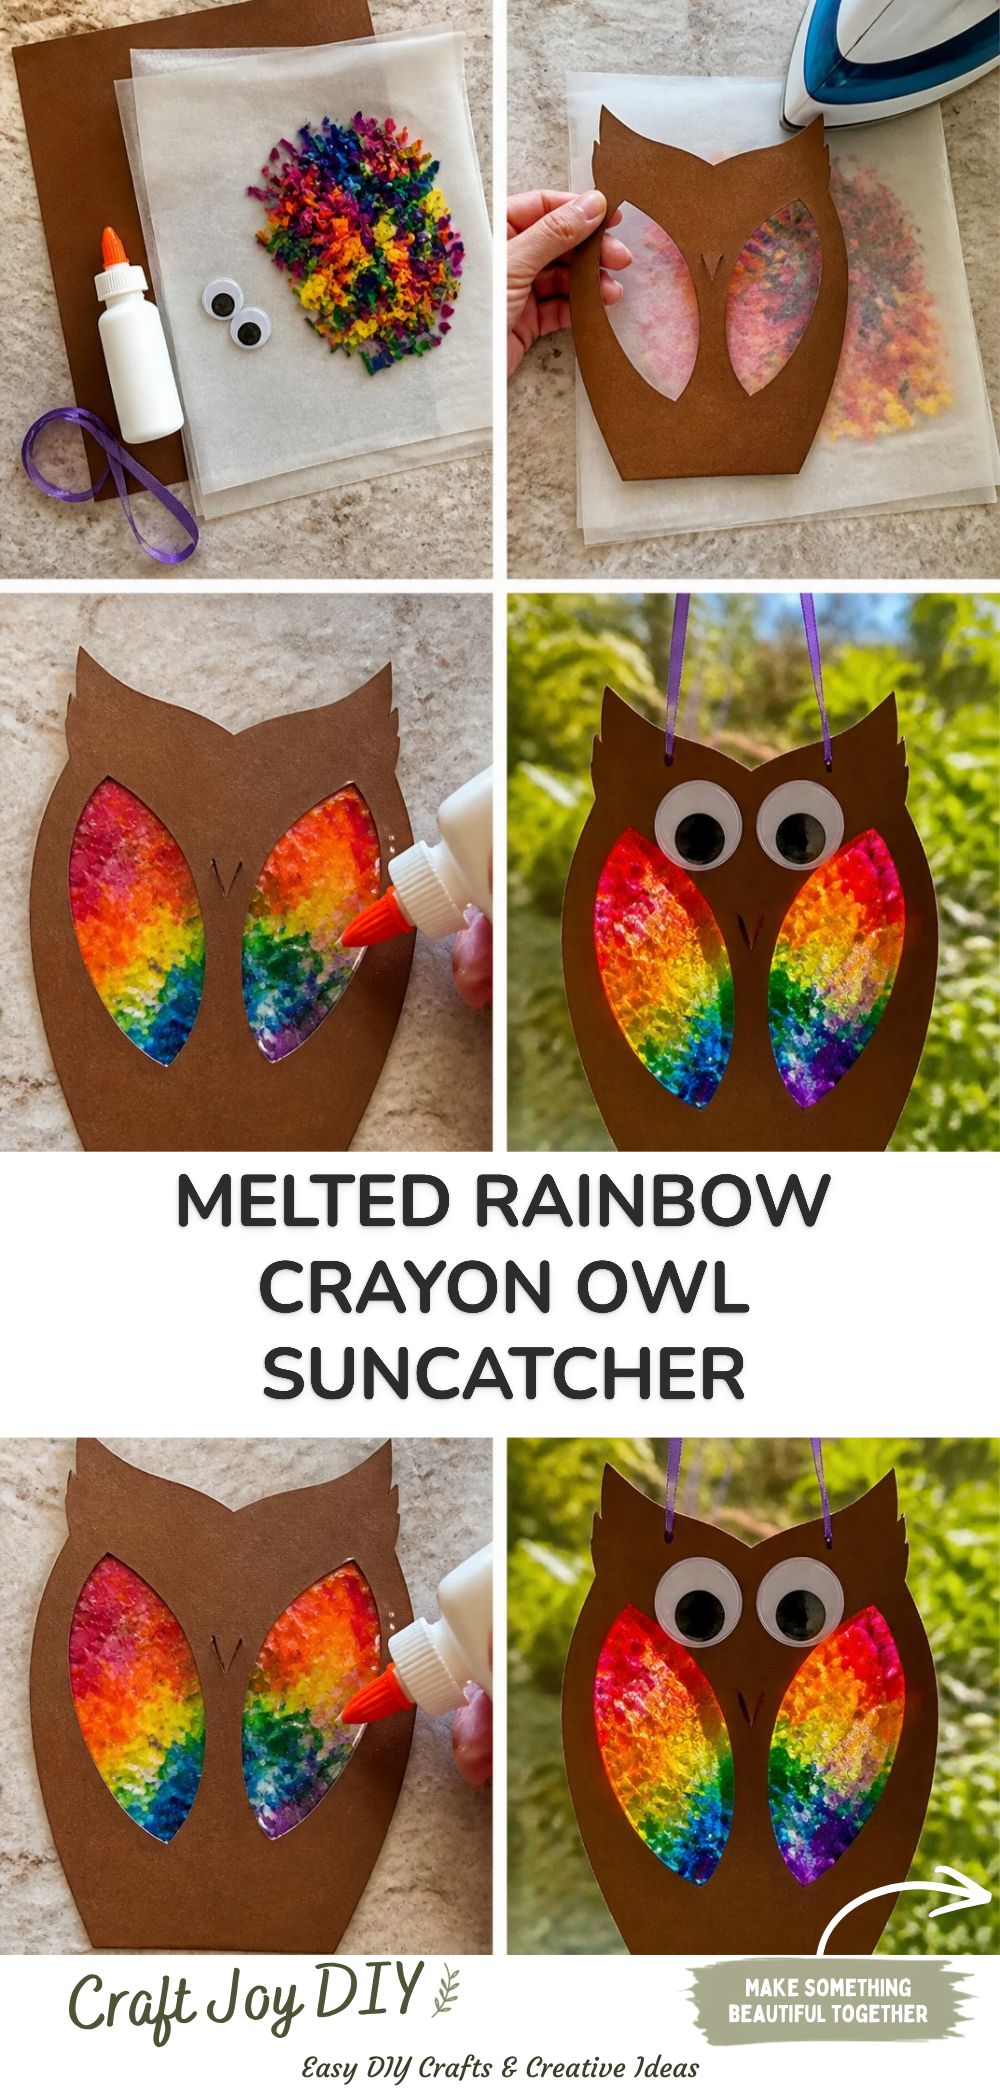
You may also find Melted Crayon Rainbow Heart Suncatcher For Kids useful.
Why You’ll Enjoy This Project
- Fun for All Ages: Whether you’re crafting with children or taking time for a solo project, this suncatcher is a delightful way to express creativity.
- Educational Element: Kids can learn about color mixing and the science behind melting and solidifying materials during the process.
- Personalized Decor: This project allows for customization, letting you choose colors that fit your decorating style or the season.
- Simple and Inexpensive: Most materials are affordable or can be found at home, making it accessible for families and classrooms.
Materials You’ll Need
- Crayons (various colors)
- Wax paper
- Cardstock or heavyweight paper
- Oven or a hairdryer (for melting)
- Scissors
- A pencil (for tracing)
- Optional: Contact paper (for added durability)
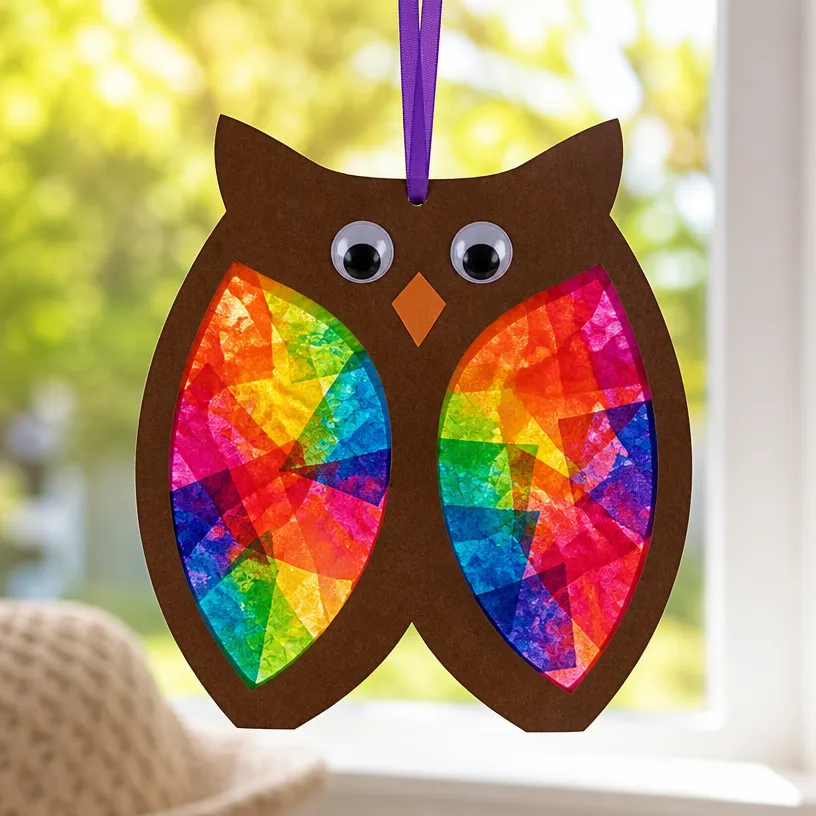
How to Make Melted Rainbow Crayon Owl Suncatcher
Prep the Crayons: Start by peeling the wrappers off your crayons. This step can be a fun task for kids to help with and will get them excited for the project. You may also find Rainbow Melted Crayon Ghost Suncatcher For Kids useful.
Chop and Melt: Break the crayons into small pieces and layer them in a pattern on a piece of wax paper. Be creative! Use different colors to create a rainbow effect. You may also find Rainbow Melted Crayon Maple Leaf Suncatcher Diy useful.
Cover with Another Layer: Place another piece of wax paper on top of your crayon pieces. This prevents a mess while melting.
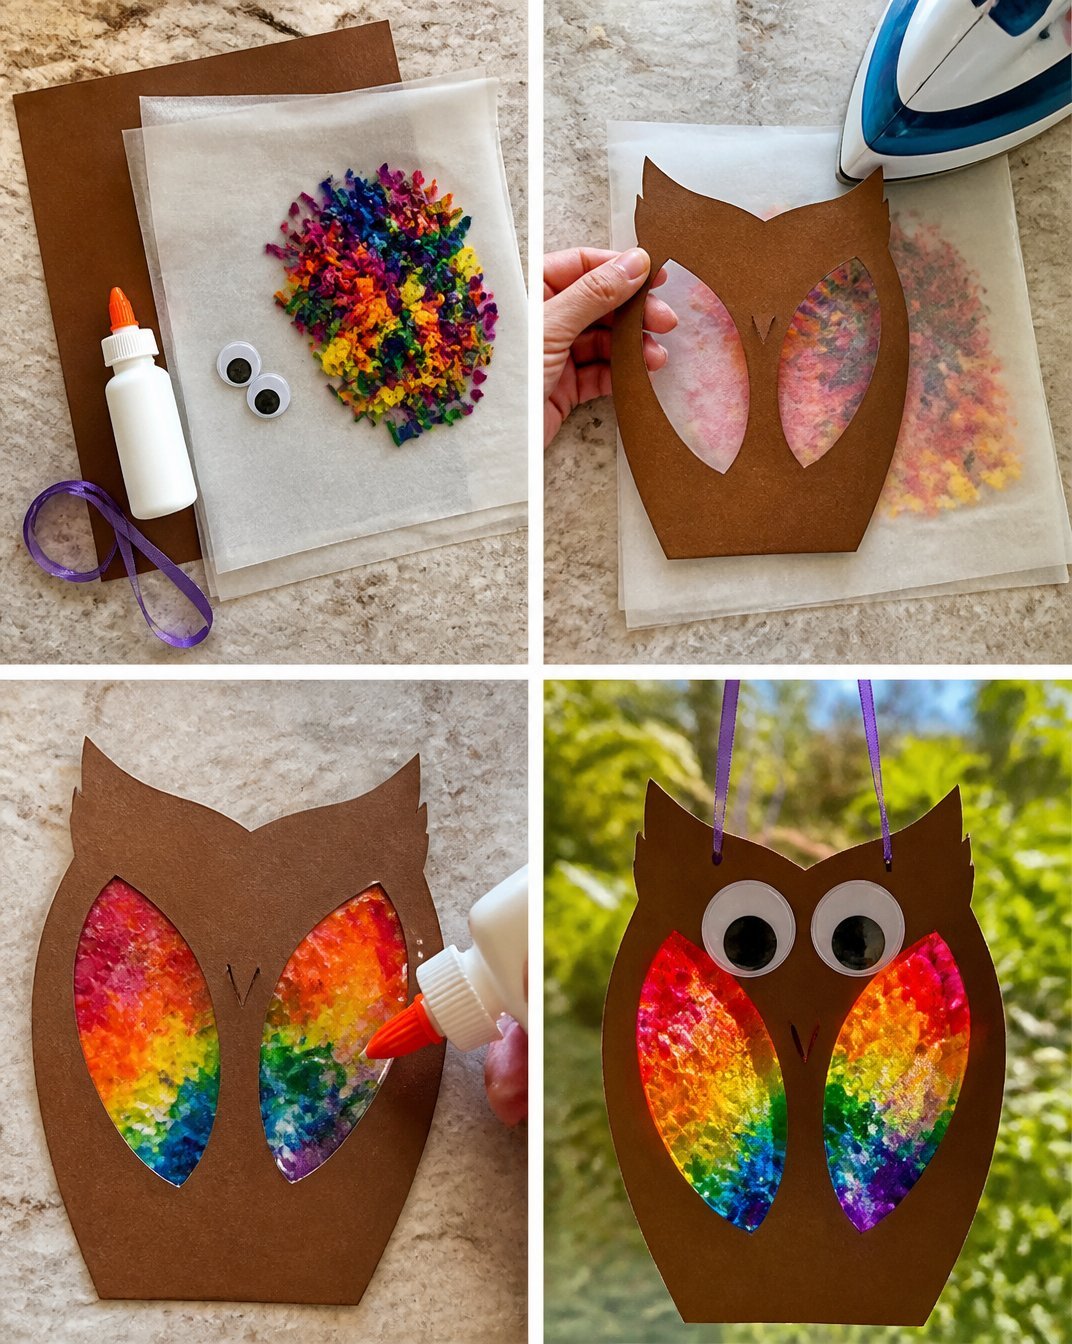
Melt the Crayons: Use an iron set to low heat, or carefully use a hairdryer to melt the crayon pieces between the wax paper until they are completely smooth and combined.
Cool and Shape: After melting, allow it to cool for a few minutes. Once cool, use scissors to cut out your owl shape. Make sure to use a template if you’re not confident freehanding the outline.
Trace and Cut the Body: Using the cooled melted crayon design, trace your owl onto the cardstock, making sure to leave a little edge around the melted crayon piece for stability. Cut this out.
Attach the Suncatcher: Use tape or glue to attach the melted crayon piece to the cardstock owl.
Display: Use a hole punch to make a hole at the top of your owl suncatcher and string up some yarn or ribbon to hang it in a window.
Helpful Tips
- Melt Evenly: When using an iron, ensure you keep it moving to avoid burning the crayon wax.
- Safety First: Always supervise children when handling hot materials or sharp scissors, and never allow them to operate the iron by themselves.
Easy Variations
- Color Themes: Adapt this project for holidays by using color themes like red and green for Christmas or pastels for Easter.
- Different Shapes: Instead of an owl, try other shapes like a butterfly or a heart; you can adjust the image template easily!
- Layering Colors: Experiment with layering colors for a multi-colored suncatcher effect; just make sure to mix complementary colors for visual appeal.
Making This Craft With Kids
While making this craft, adults should handle the melting process since it involves heat. Engage kids in the designing aspect, such as choosing colors and cutting shapes. This promotes teamwork and creativity while ensuring safety.
How to Display or Use It
Hang your suncatcher in a window where it can catch the light, showcasing those bright colors. This craft also makes for a thoughtful handmade gift for family or friends.
Frequently Asked Questions
What kind of crayons work best for this project?
Regular wax crayons work best. Avoid any specialty or glitter crayons as they may not melt consistently.
Can I use other papers instead of wax paper?
Wax paper is recommended due to its heat resistance, but parchment paper can be used as an alternative.
How long will the melted crayon suncatcher last?
When properly displayed in indirect sunlight, your suncatcher should last a long time, but be cautious of exposure to direct sunlight that could cause fading.
Is there a specific age group this craft is best for?
This project is suitable for ages 8 and up, with supervision needed for younger children.
Can I add glitter to the melted crayons?
While it’s possible, it’s often not recommended as it may affect how the crayon melted and adhered to the paper.
Conclusion
Creating a melted rainbow crayon owl suncatcher is a fantastic way to bring color and joy into your space. Not only does it serve as beautiful decor, but it also facilitates creativity and learning. If you’re looking for more ideas, check out this wonderful crayon suncatcher project or explore different styles of melted crayon art at Super Simple. Happy crafting!
Print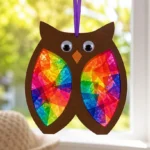
Melted Rainbow Crayon Owl Suncatcher
- Total Time: 30 minutes
- Makes: 1 suncatcher
Description
A delightful and creative craft project that combines art and science, making a beautiful owl suncatcher from melted crayons.
Materials
- Crayons (various colors)
- Wax paper
- Cardstock or heavyweight paper
- Oven or a hairdryer (for melting)
- Scissors
- A pencil (for tracing)
- Optional: Contact paper (for added durability)
Instructions
- Prep the crayons: Start by peeling the wrappers off your crayons.
- Chop and melt: Break the crayons into small pieces and layer them on a piece of wax paper.
- Cover with another layer: Place another piece of wax paper on top of your crayon pieces.
- Melt the crayons: Use an iron set to low heat or a hairdryer to melt the crayon pieces.
- Cool and shape: After melting, allow it to cool and cut out your owl shape.
- Trace and cut the body: Trace your owl onto the cardstock and cut it out.
- Attach the suncatcher: Use tape or glue to attach the melted crayon piece to the cardstock owl.
- Display: Use a hole punch to make a hole at the top and use yarn or ribbon to hang it.
Notes
Always supervise children when handling hot materials or sharp scissors. Keep the iron moving to avoid burning the crayon wax.