

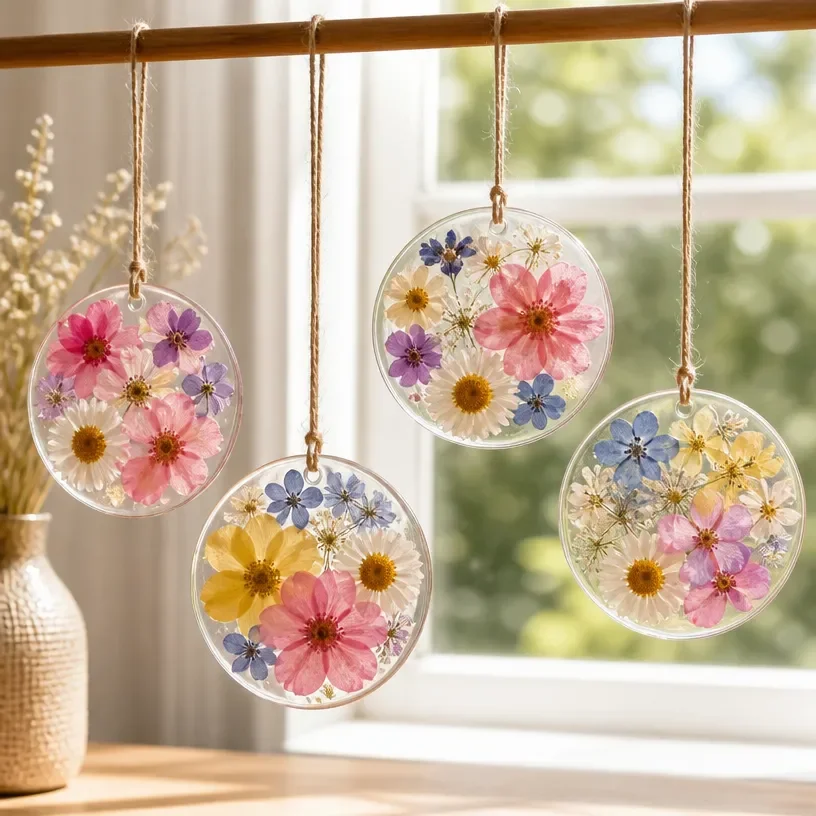
How to Make Pastel Flower Glue Suncatchers
Creating pastel flower glue suncatchers is a fun and colorful craft project that can brighten any room. Using simple materials, you can make beautiful decorations that catch the light and add a touch of spring to your home. This project is perfect for families looking to spend quality time together and engage in a creative activity that results in something lovely. You may also find Rainbow Pencil Flower Bouquet Craft Back To School useful.
You’ll learn how to combine glue with pastel colors, shaping it into delightful flower designs that can be hung in windows. Not only does this project allow for artistic expression, but it can also be an enjoyable way to learn about color blending and light refraction. You may also find Coffee Filter Butterfly Chromatography Craft For Kids useful.
Why You’ll Enjoy This Project
Here are a few reasons why making pastel flower glue suncatchers will be an enjoyable experience: You may also find Coffee Filter Butterfly Chromatography Craft useful.
- It’s a straightforward craft that uses accessible materials, making it perfect for all ages.
- You can mix and match colors to create beautiful, personalized designs.
- As they dry, the suncatchers transform beautifully, offering a creative anticipation as you wait to see the final result.
- These suncatchers make wonderful gifts for family members, adding a personal touch to your present.
- You can easily combine this project with others, such as a handprint flower photo frame.
You may also find Colorful Button Mosaic Art Apple Inspired Rainbow Design useful.
Materials You’ll Need
Gather these materials to get started on your suncatcher project:
- Clear glue (school glue is a great option)
- Food coloring or liquid watercolors
- Wax paper or parchment paper
- Scissors or a craft knife
- A pencil or marker
- A tray or flat surface for drying
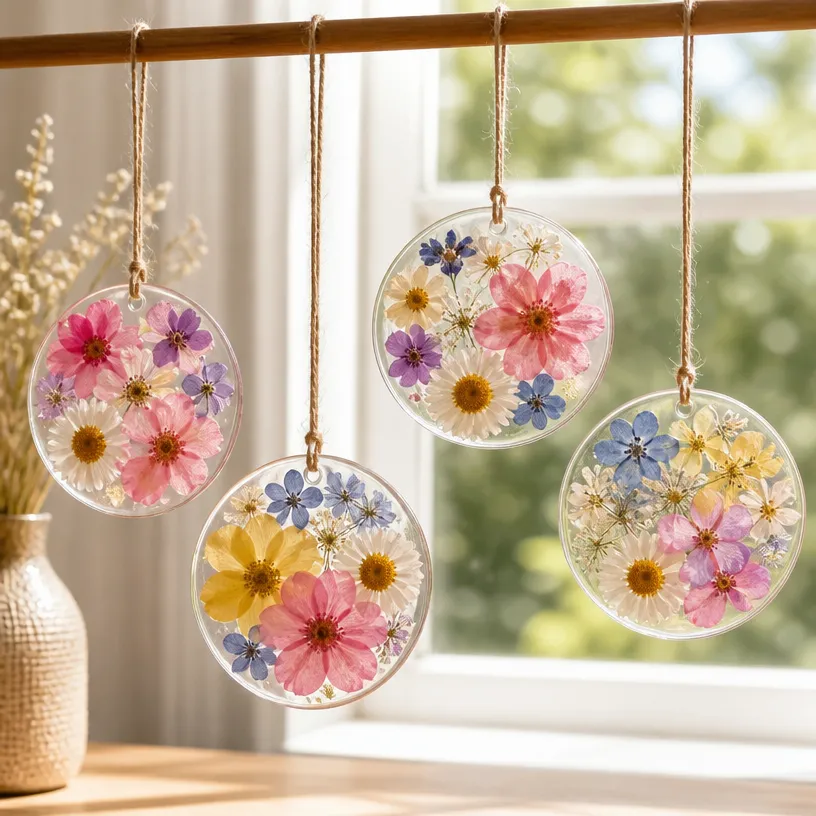
How to Make Pastel Flower Glue Suncatchers
Step 1: Prepare Your Workspace
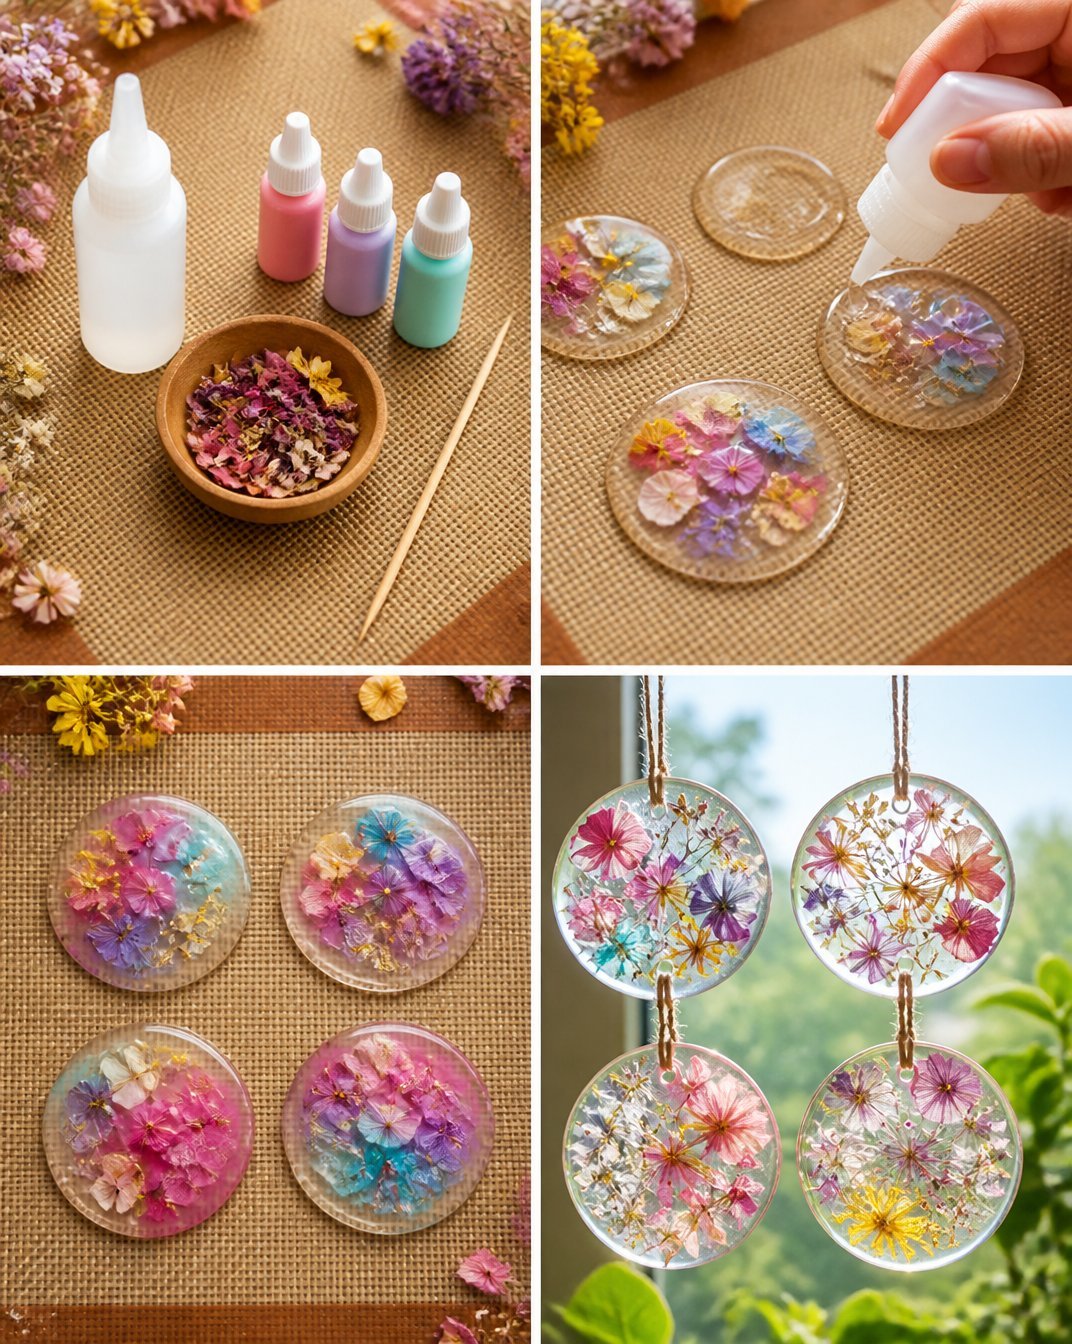
Start by laying wax paper or parchment paper flat on your workspace. This will help prevent the glue from sticking to your surface.
Step 2: Draw Flower Shapes
Using a pencil or marker, sketch flower shapes on the wax paper. You can create a variety of flower designs to make your suncatchers unique.
Step 3: Mix Glue and Color
In a separate container, mix clear glue with a few drops of food coloring or liquid watercolors. Adjust the amount of color based on how vibrant you want the flowers to be.
Step 4: Fill in the Flower Designs
Using a paintbrush or a squeeze bottle, fill in your flower shapes on the wax paper with the colored glue. Don’t worry about being too precise; a little freehanding adds character!
Step 5: Let It Dry
Allow the glue flowers to dry completely. This can take several hours, so be patient. It’s a good time to clean up!
Helpful Tips
- For a cleaner result, use a squeeze bottle for applying glue to achieve precision in your flower designs.
- Consider placing a piece of cardboard under the wax paper to catch any drips of glue, making cleanup easier.
- If you want to add details like stems or leaves, use a similar process with green glue or colored add-ins.
- Ensure your suncatchers are completely dry before attempting to peel them off the wax paper; this helps maintain their shape.
- To display your suncatchers, consider using suction cups or tape to hang them in windows.
Easy Variations
- Experiment with different color combinations for a rainbow effect.
- Try making larger or smaller flowers to create a diverse display with various sizes.
- Use glitter or metallic paint in your mix to add some sparkle!
- Instead of flowers, create abstract shapes or designs for a modern twist.
- Include seasonal colors for upcoming holidays to reflect the time of year.
Making This Craft With Kids
This project is highly suitable for children, as it encourages creativity and fine motor skills. However, younger children might need adult supervision when handling scissors and mixing glue. Adults can assist them by drawing flower outlines and discussing color choices.
How to Display or Use It
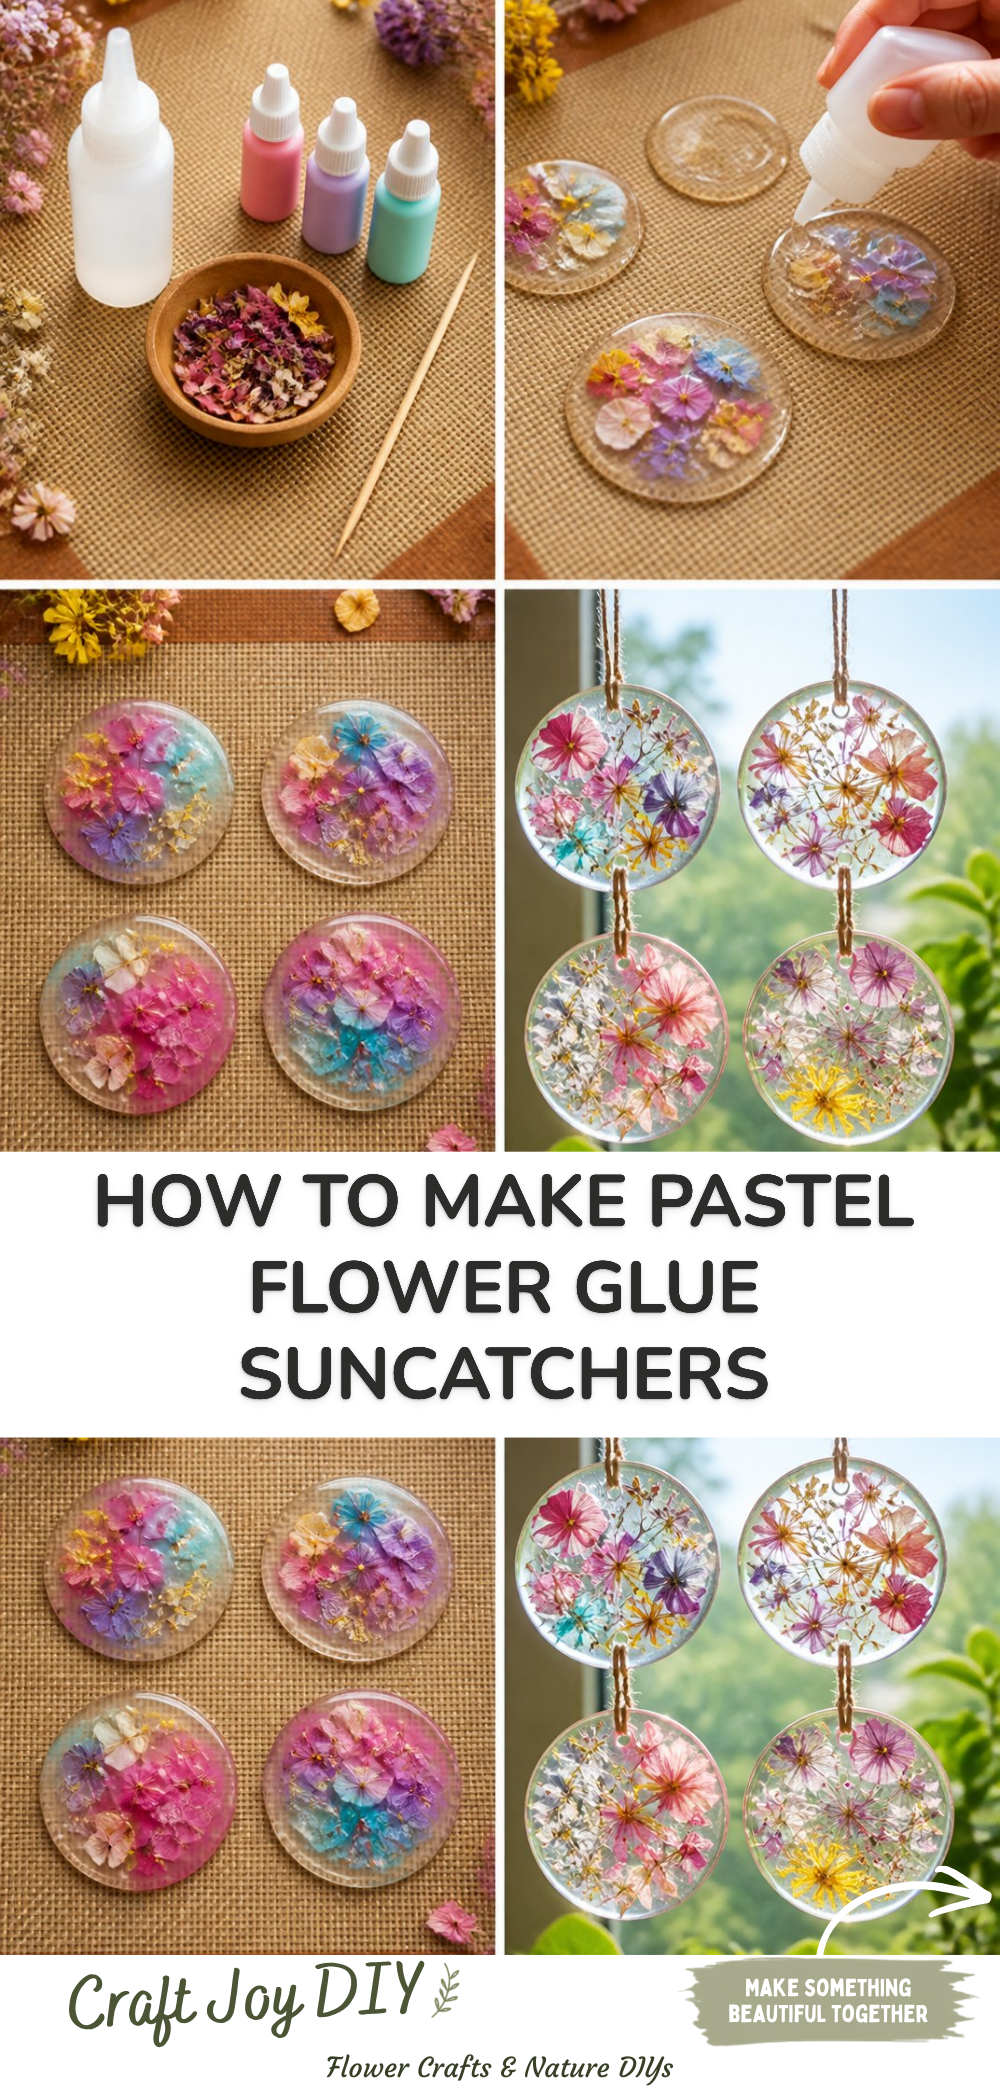
Once your pastel flower glue suncatchers are dried and ready, hang them in sunny windows to see the beauty of light shining through. They also work wonderfully as decorative pieces for spring-themed parties or simply to brighten up a room. You can even gift them in handmade envelopes or frames to share with family and friends.
Frequently Asked Questions
1. How long does it take for the suncatchers to dry?
Drying time can vary but generally takes about 4 to 6 hours depending on the thickness of the glue.
2. Can I use colored tissue paper instead of glue?
While you may try using tissue paper, the classic glue and color mixture gives a more vibrant appearance.
3. How can I store my suncatchers?
Store your suncatchers in a flat box or container to avoid bending or damaging them.
4. What if I want to create more designs?
Feel free to play around with different shapes and combinations. You can even try designs inspired by nature!
Conclusion
Making pastel flower glue suncatchers is a delightful craft that brings joy and color into your home. If you enjoy projects like this, you might want to explore other fun ideas such as various suncatcher designs to keep the creativity flowing. For even more inspiration, check out a variety of glow and light crafts that can add a magical touch to your home decor. Happy crafting!
Print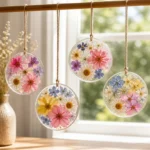
Pastel Flower Glue Suncatchers
- Total Time: 370 minutes
- Makes: Several suncatchers
Description
Create beautiful pastel flower glue suncatchers that brighten your home and engage creativity.
Materials
- Clear glue (school glue)
- Food coloring or liquid watercolors
- Wax paper or parchment paper
- Scissors or a craft knife
- A pencil or marker
- A tray or flat surface for drying
Instructions
- Prepare your workspace by laying wax paper or parchment paper flat.
- Draw flower shapes on the wax paper using a pencil or marker.
- Mix clear glue with a few drops of food coloring or liquid watercolors.
- Fill in your flower shapes on the wax paper with the colored glue using a paintbrush or squeeze bottle.
- Let the glue flowers dry completely, which may take several hours.
Notes
Consider using a squeeze bottle for precision and adding cardboard underneath for easy cleanup.