


DIY Paper Bats 🦇✂️ | Easy Halloween Craft
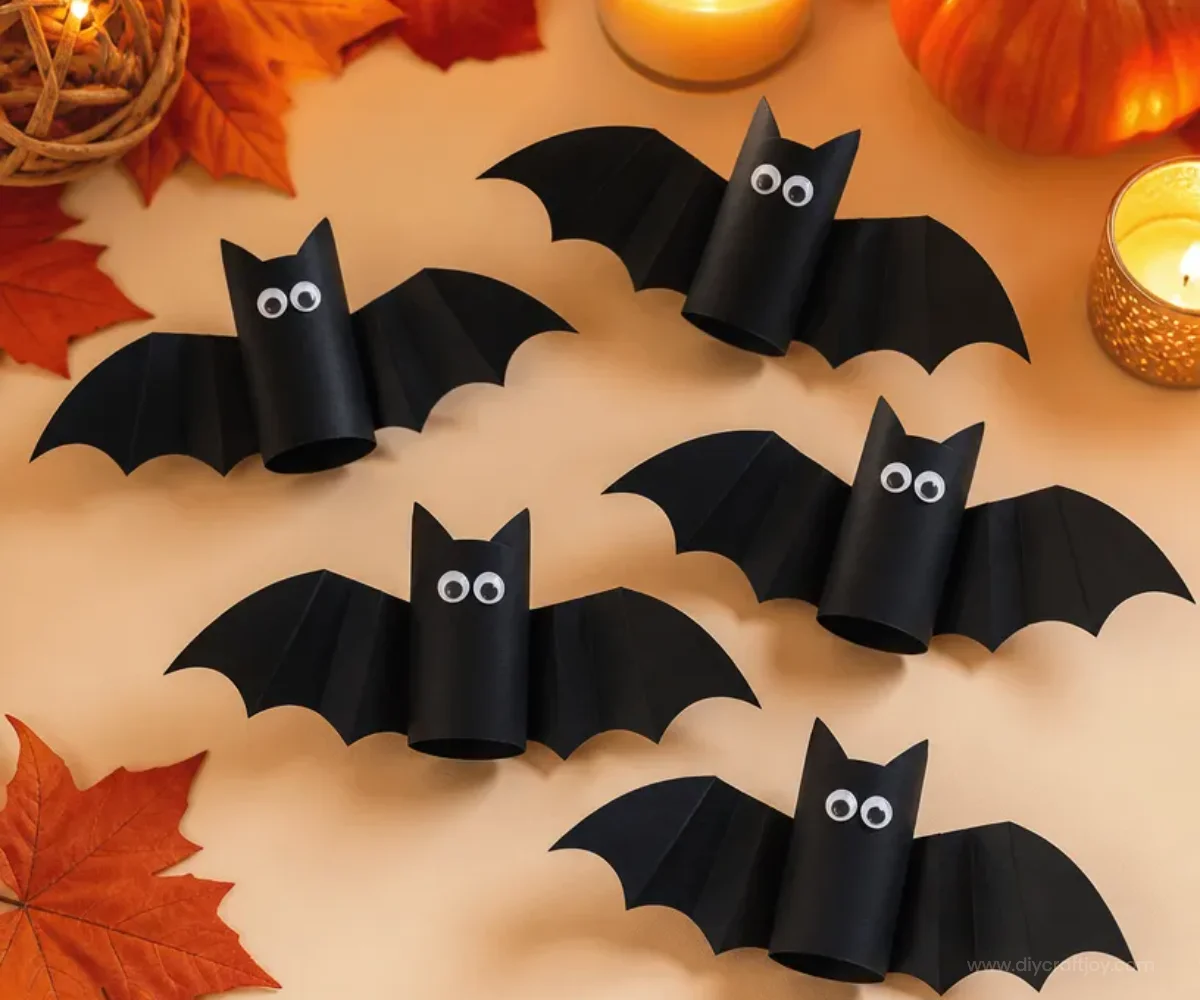
Get ready to make adorable paper bats for Halloween! This DIY craft project is not only fun but also a great way to add a spooky touch to your home decor. Using simple materials, you can create these charming little creatures that will delight kids and adults alike. Plus, it’s an excellent opportunity to explore crafting together as a family. You may also find Easy Paper Plate Apple Craft For Kids useful.
The best part about these DIY paper bats is how quick and easy they are to make. Perfect for those looking to add festive decorations without complicated steps, this craft is a wonderful way to bring a bit of Halloween spirit into your home. You may also find Rainbow Tissue Paper Lantern Diy Easy Decor useful.
You may also find Bottle Cap Spinner American Flag Diy Craft useful.
Why You’ll Enjoy This Project
- Simple Materials: You can find most of what you need around your home, making it an economical choice.
- Engaging for Kids: Children will love cutting and decorating their own bats, encouraging their creativity.
- Customizable: You can tailor the colors and sizes to suit your personal style or seasonal theme.
- Great for Group Activities: This craft is perfect for parties or classroom activities, promoting teamwork and shared creativity.
Materials You’ll Need
- Black construction paper
- Scissors
- Glue stick
- Googly eyes (optional)
- White chalk or chalk marker (for details)
- String (for hanging)
For a fun twist, you can use colored papers if you want a unique look for your bats!
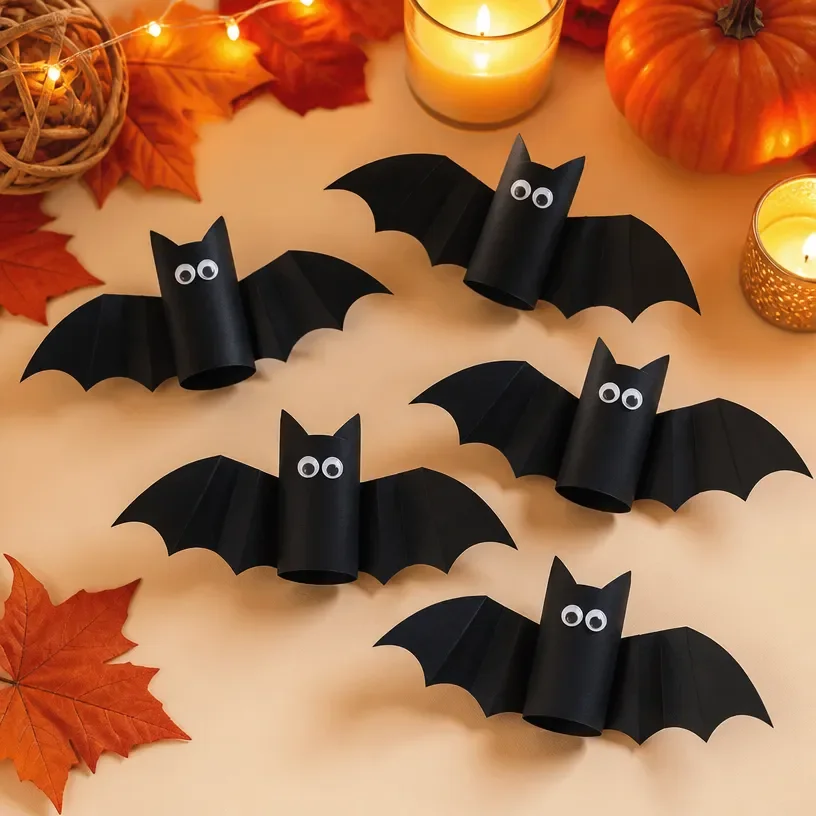
How to Make DIY Paper Bats 🦇✂️ | Easy Halloween Craft
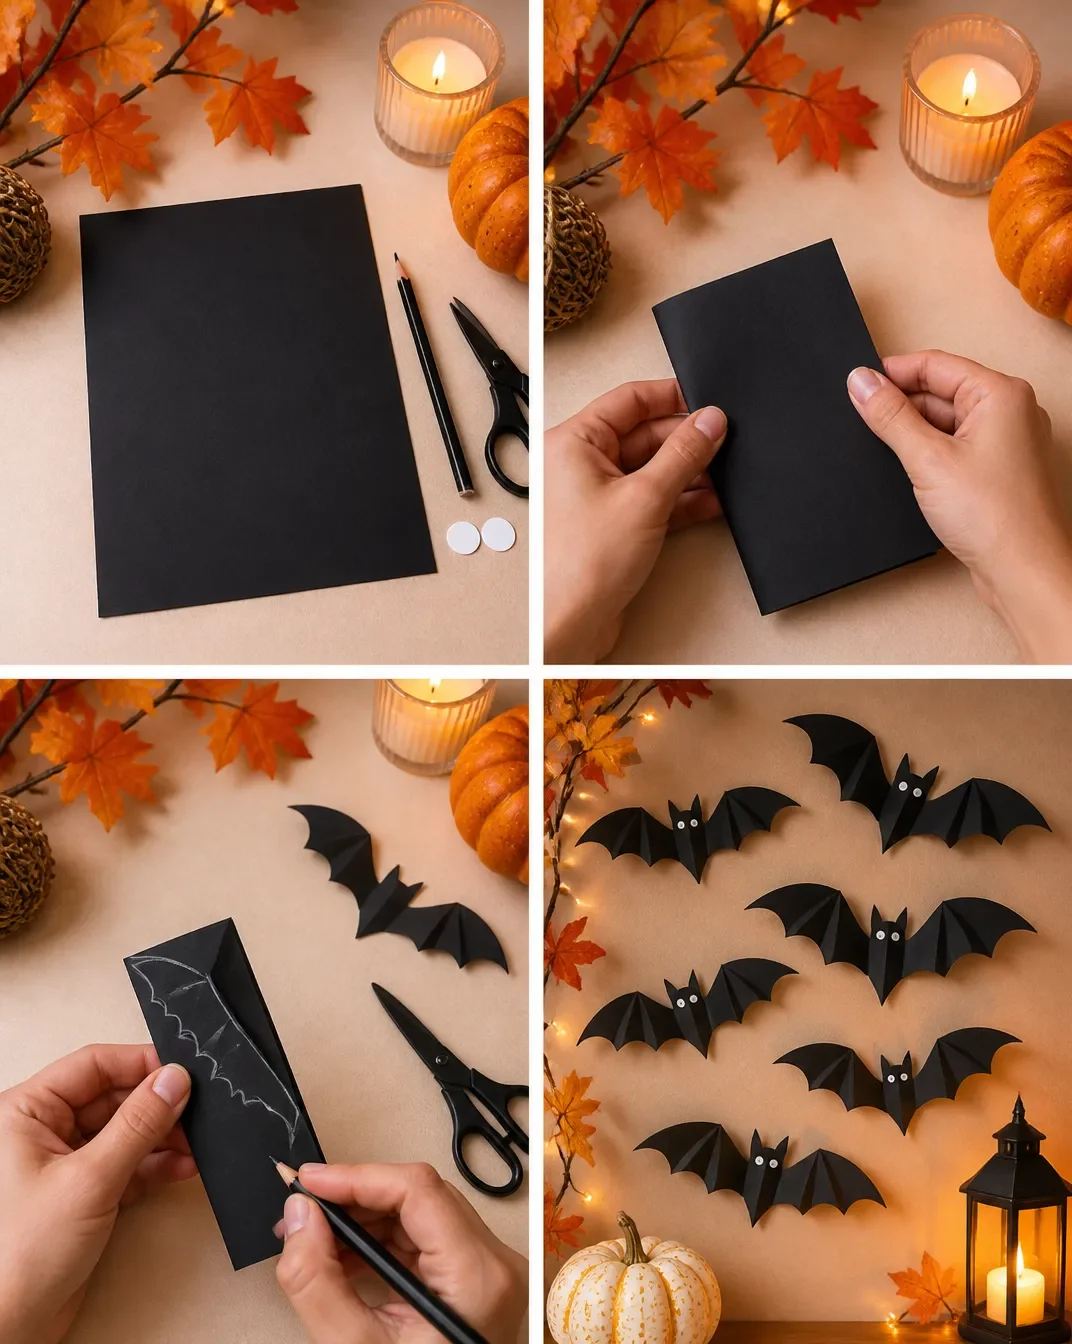
Cut Out the Bat Shape: Start by folding a piece of black construction paper in half. Draw half of a bat shape along the fold. When you cut it out, you will have a symmetrical bat shape once unfolded.
Add Wings: If you want larger wings, extend the wings while drawing. Feel free to reference examples from projects like the DIY Butterfly Craft for inspiration.
Decorate: Use white chalk or a chalk marker to add details to your bat, like fangs or eyes. This is a great time to get creative!
Attach Googly Eyes: If you have googly eyes, stick them onto your bat for an extra fun touch.
Hang Your Bats: If desired, attach a piece of string to the top of your bat to hang it in a window or from the ceiling. This will make your bats look like they’re flying!
Helpful Tips
- Make sure to supervise young kids while using scissors to ensure their safety.
- If you want cleaner edges, consider using a craft knife instead of scissors, which also gives more precise cuts.
- For a more streamlined decor, you can group multiple bats together at varying heights.
Easy Variations
- Colorful Bats: Instead of black, use vibrant colors for a fun twist; they can be great for parties.
- Larger Bats: Scale up your bat design to create larger decorations that can also serve as wall art.
- Glittery Touch: Add a little sparkle by using glitter glue around the edges for a festive look.
- Seasonal Designs: Change up the design for other seasons; for instance, you could create bats for a Halloween display or swap them for pumpkins.
- Animated Bats: Create a simple puppet version using popsicle sticks for storytelling or performances.
Making This Craft With Kids
This project is a fantastic activity for children of all ages. Younger children may need assistance when cutting or gluing, so it’s best for adults to handle the scissor work. Be sure to provide guidance during the drawing and decorating steps. Letting them express their creativity through colors and shapes can lead to some hilarious and sweet results.
How to Display or Use It
You can hang your paper bats from windows, eaves, or even ceiling fans to make them appear as if they are flying around your space. Creating a whole swarm of bats on a bulletin board can also work well as seasonal decoration. For a classroom project, consider using them to decorate for Halloween parties or school events.
Frequently Asked Questions
Can we use other types of paper?
Yes, you can use any colored paper you have at home, such as scrapbook paper or old wrapping paper.
How long does this project take?
The entire project should take about 30 minutes to an hour depending on the number of bats being made.
Can I make larger bats?
Absolutely! Just adjust the dimensions when cutting the paper.
Is this project suitable for toddlers?
With adult supervision, toddlers can participate by decorating the bats, although cutting may be too challenging for them.
What if I don’t have googly eyes?
You can easily draw eyes with a marker or use pieces of white paper for the eyes instead.
Can we make this a themed craft?
Yes! Bats could be combined with other Halloween crafts, like making rainbow suns and pumpkins for a full display.
Conclusion
Creating DIY paper bats is a delightful way to celebrate the Halloween season while encouraging creativity and family bonding. Be sure to check out the Ghost’s Halloween Craft Kit for more festive projects, or explore the Flying Paper Bat craft with free template for even more crafting fun together!
Print
DIY Paper Bats
- Total Time: 30 minutes
- Makes: Multiple bats
Description
Create adorable paper bats for Halloween using simple materials. Ideal for family fun and seasonal decorations.
Materials
- Black construction paper
- Scissors
- Glue stick
- Googly eyes (optional)
- White chalk or chalk marker (for details)
- String (for hanging)
Instructions
- Cut out the bat shape by folding a piece of black construction paper in half and drawing half of a bat shape along the fold.
- Add larger wings if desired by extending the wings while drawing.
- Decorate your bat using white chalk or a chalk marker to add details.
- Attach googly eyes for an extra fun touch.
- Hang your bats using string to make them appear like they are flying.
Notes
Supervise young kids when using scissors. Consider using a craft knife for cleaner edges.