

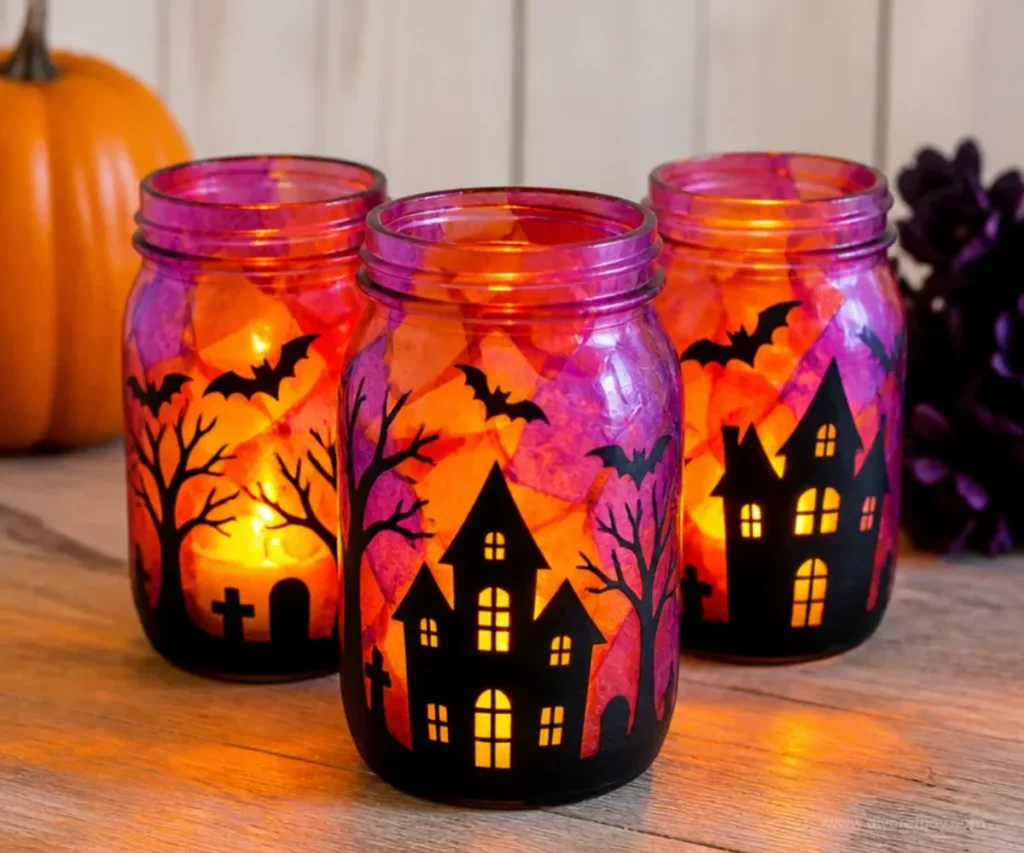
DIY Halloween Decorations to Sell
Halloween is just around the corner, and creating DIY decorations can be a fun family activity and a great way to earn a little extra cash. By engaging in crafting together, children aged 7 to 9 can not only build their creativity but also learn valuable skills. In this project, you’ll discover how to make simple yet charming Halloween crafts that can be sold or used to adorn your home for the spooky season. You may also find Autumn Leaf Crafts For Kids Rainbow Panda Leaf Art useful.
One delightful way to start is by making decorations that incorporate fun materials and seasonal themes. With ideas inspired by nature and basic craft supplies, these creations can capture the essence of Halloween while appealing to both kids and their parents. For example, you can explore how to make autumn leaf crafts that reflect the beautiful fall colors. You may also find Diy Halloween Boo Basket For Kids useful.
You may also find Diy Rainbow School Bus Photo Frame Craft For Kids useful.
Why You’ll Enjoy This Project
- Creative Expression: Kids will love letting their imaginations run wild as they design their Halloween crafts.
- Simple Materials: Most of the supplies are easy to find and budget-friendly, making it accessible for everyone.
- Family Fun: This project is perfect for quality time with family, allowing everyone to contribute their ideas.
- Sellable Crafts: The finished products can be offered for sale at local fairs or community events, providing an opportunity to teach kids about entrepreneurship.
- Holiday Spirit: Crafting decorations gets everyone in the festive mood, making it a joyful way to celebrate the season.
Materials You’ll Need
- Black construction paper
- Scissors
- Glue
- Paint (orange, purple, and green)
- Paint brushes or sponge applicators
- Twine or string
- Decorations such as googly eyes or sequins
When selecting paint, you might consider using non-toxic options for safe handling with children. You may also find Rainbow Rock Painted Stone Craft For Kids And Decor useful.

How to Make DIY Halloween Decorations
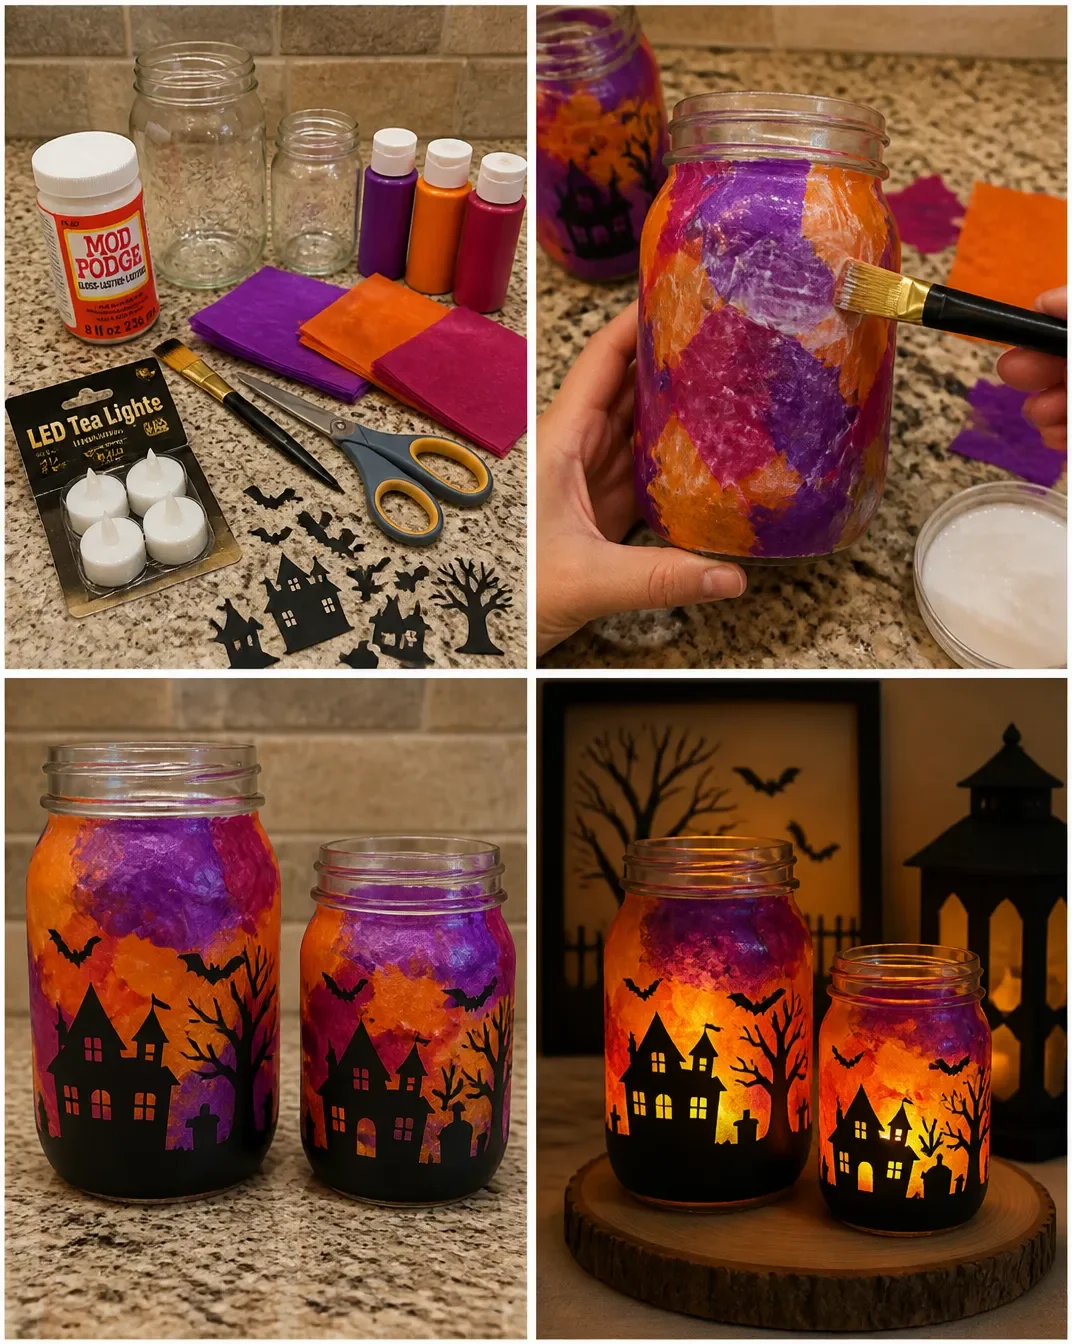
Step 1: Prepare Your Work Area
Start by laying down newspaper or a plastic sheet on your work surface. This will keep things tidy while you craft.
Step 2: Cut Out Shapes
Using black construction paper, cut out various Halloween shapes such as bats, pumpkins, and ghosts. Encourage the kids to create their own designs too!
Step 3: Paint Your Shapes
Once the shapes are cut out, let the kids paint them in festive colors. Using a sponge can create a nice texture on pumpkins and ghosts.
Step 4: Add Fun Details
After the paint dries, the kids can add details like googly eyes, sequins, or even glitter to make their decorations pop.
Step 5: Attach Twine
Use glue to attach twine or string to the top of each shape so they can be hung as garlands or displayed around the house.
Helpful Tips
- Cleanup: Keep baby wipes or a damp cloth handy for easy cleanup as little hands get messy during painting.
- Provide Guidance: For intricate cutting, be ready to assist younger kids with scissors.
- Storing Supplies: After crafting, store unused paint and decorations in airtight containers to keep them from drying out for future projects.
- Display Tips: Consider the best spots in your home or yard to display these crafts. They can brighten up windows or doorways!
Easy Variations
- Color Changes: Use different colors of paint based on your family’s preferences pinks, blues, or even metallic shades can add variety!
- Size Adjustments: Create larger or smaller shapes for varied decoration styles; these can be used to create layered displays.
- Themed Creations: Focus on a specific theme, like spooky spiders or friendly witches, to streamline your crafts.
- Gift Ideas: Use mini decorations to make unique gift tags for Halloween treats.
Making This Craft With Kids
This project is ideal for children ages 7 to 9 with adult supervision. Adults should supervise activities involving scissors and hot glue. Kids can independently handle painting and gluing once shown how to do it safely. Each step can be a fantastic learning opportunity for creativity and skill development.
How to Display or Use It
These Halloween decorations can be hung indoors or outdoors, creating a festive atmosphere. They also make wonderful gifts for friends and family or can be sold at local craft fairs. Consider using them to enhance a Halloween party ambiance or as part of a trick-or-treating setup.
Frequently Asked Questions
1. How long will the crafts take to make?
Depending on the complexity of the shapes and designs, the crafting can take about 1-2 hours.
2. Can we use alternate materials?
Absolutely! You can use recycled materials like cardboard or old fabric to add various textures.
3. What should we do if our paint smudges?
If the paint smudges before it dries, simply allow it to dry and then touch it up with the corresponding color.
4. How can we sell our crafts?
Consider attending local craft fairs or setting up an online shop to reach more customers!
5. Are there other crafts we can try after this?
You might enjoy making suncatchers next; you can find simple tutorials for that project! Check out this guide to get started.
Conclusion
Crafting your own Halloween decorations can be a rewarding experience for families. For even more ideas that will thrill your kids, check out Michaels for arts and crafts supplies or discover 15 easy Halloween party crafts for kids. With a little creativity and teamwork, you’ll have delightful decorations for your home or craft sales in no time!
Print
DIY Halloween Decorations
- Total Time: 135 minutes
- Makes: Varies
Description
Create fun and sellable DIY Halloween decorations with kids using simple materials and their imagination.
Materials
- Black construction paper
- Scissors
- Glue
- Paint (orange, purple, and green)
- Paint brushes or sponge applicators
- Twine or string
- Decorations (googly eyes, sequins)
Instructions
- Prepare your work area with newspaper or plastic sheets.
- Cut out various Halloween shapes from the black construction paper.
- Paint the shapes in festive colors and textures.
- Add details like googly eyes and sequins to enhance decorations.
- Attach twine or string for hanging the decorations.
Notes
Use non-toxic paint and supervise children during scissor usage.