

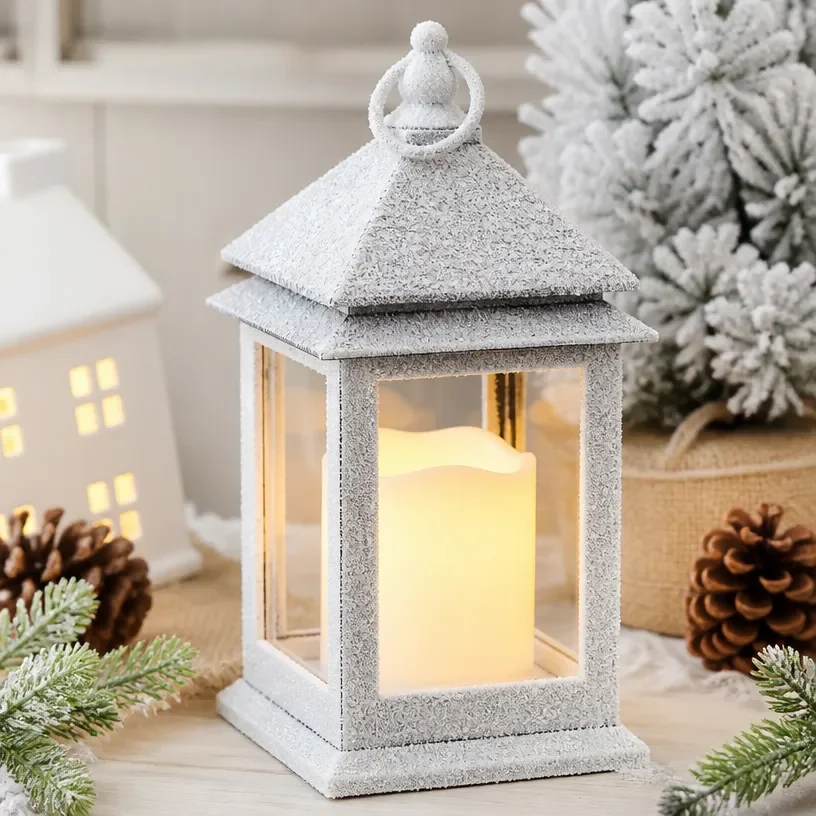
Dollar Tree Lanterns for Winter Wonderland Decor
Creating beautiful winter decorations can be a delightful way to embrace the season, especially when making Dollar Tree lanterns for winter wonderland decor. These charming lanterns not only light up your space but can also be a fun and fulfilling craft to do with family or friends. Using affordable materials from Dollar Tree makes this project manageable for anyone! You may also find Floral Ice Candle Centerpiece Diy Winter Decor useful.
Making these lanterns allows for creativity and personalization. You can choose different colors and designs to match your home decor. Plus, these lanterns make great gifts or festive decorations for holiday gatherings, enhancing the warm and cozy atmosphere of winter. You may also find Pencil Shaving Autumn Tree Art For Kids useful.
You may also find Rainbow Pencil Shaving Fall Tree Art For Kids useful.
Why You’ll Enjoy This Project
- Affordable: Using supplies from Dollar Tree means you can create beautiful decor without breaking the bank.
- Easy to Customize: You can play with colors and embellishments to create unique pieces.
- Family-Friendly: This project is suitable for all ages, making it a perfect group activity.
- Quick to Complete: You’ll be able to craft these lanterns in just a few hours!
- Versatile Uses: Use these lanterns for decoration, as centerpieces, or even to brighten up your outdoor space.
Materials You’ll Need
- Clear glass jars or votives
- LED tealight candles
- Faux snow or cotton balls
- Decorative ribbon or twine
- Glitter or spray paint (optional)
- Epsom salt (optional for a frosty effect)
- Scissors
- Glue
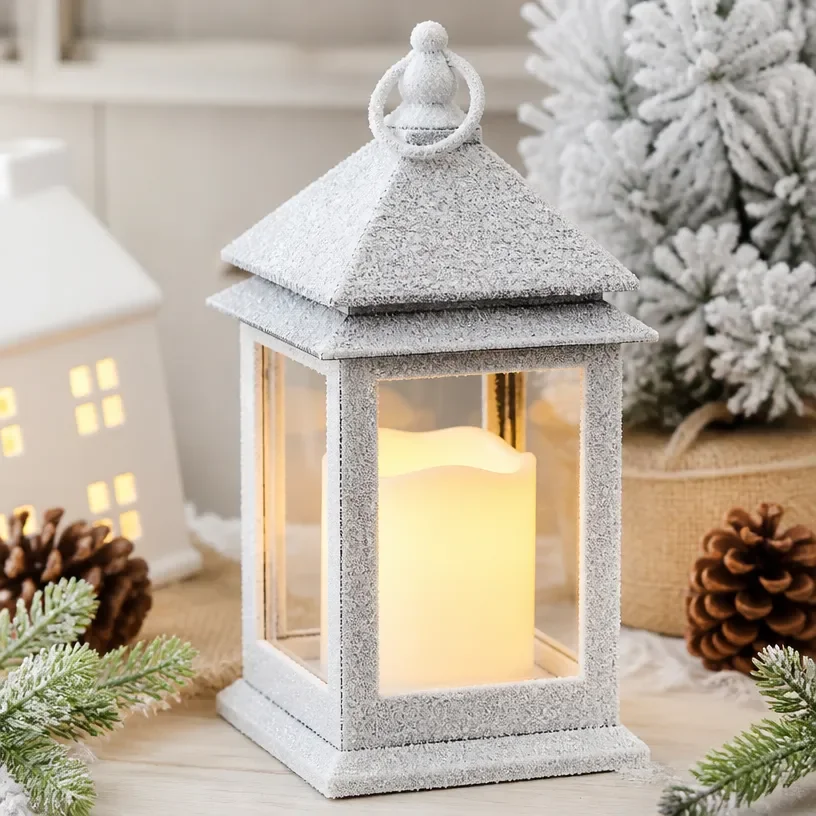
How to Make Dollar Tree Lanterns for Winter Wonderland Decor
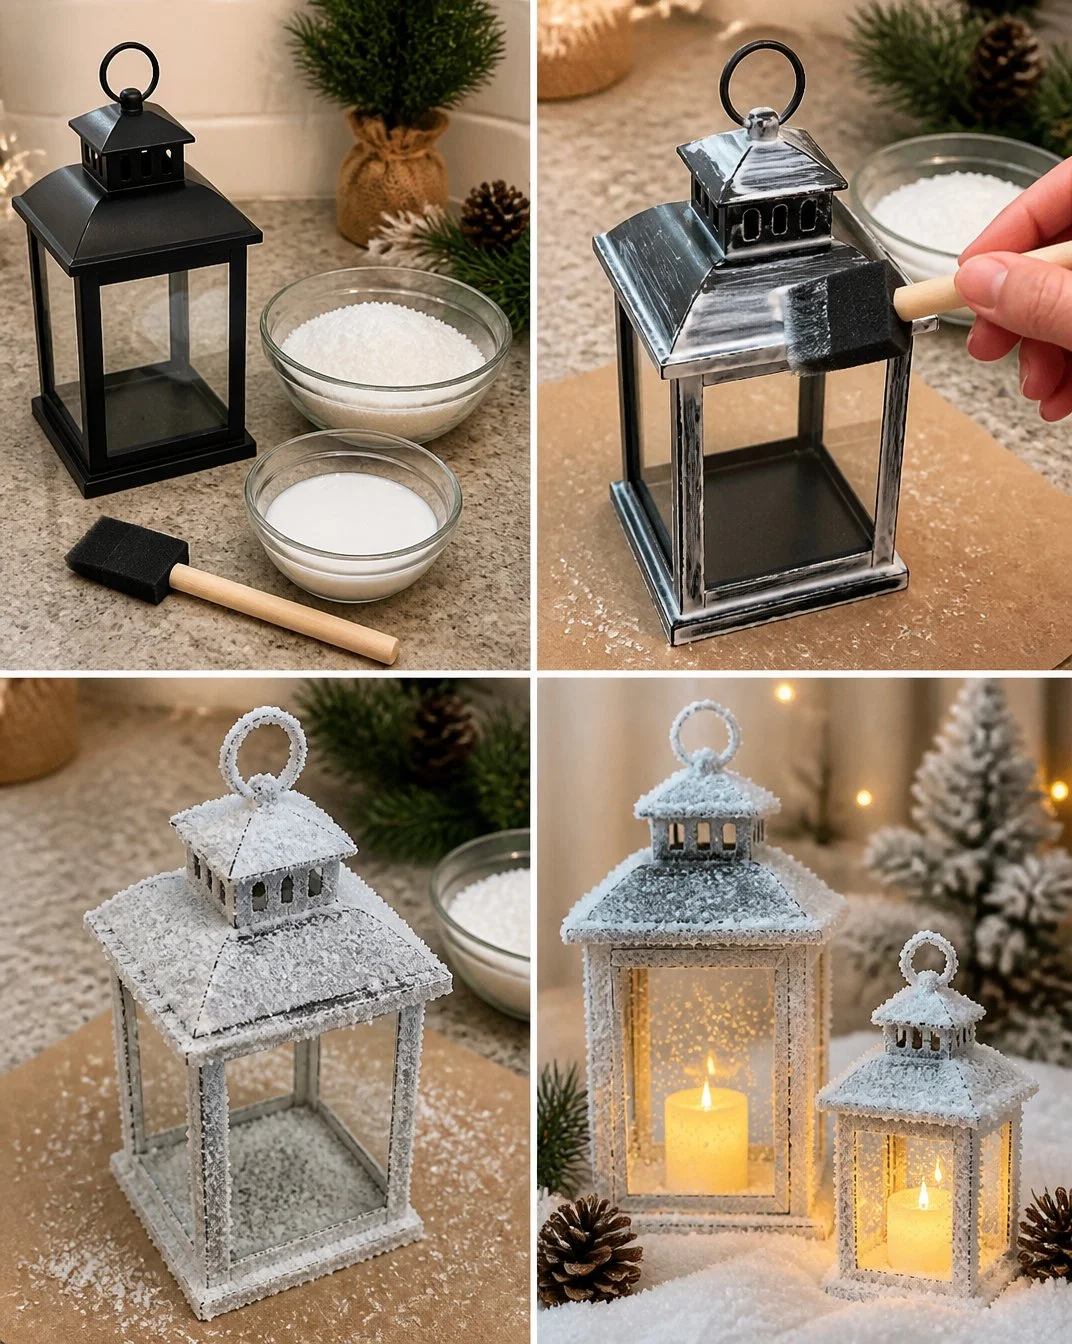
Prepare Your Jars: Start by cleaning and drying the glass jars. If you want a frosty look, consider applying a thin layer of glue and then sprinkling Epsom salt on the outside. You may also find 3D Salt Painting For Kids Textured Art useful.
Add Faux Snow: Fill the bottom of each jar with faux snow or cotton balls. This will create a wintery base for your lantern. You may also find Beaded Pipe Cleaner Snail Craft For Kids 2 useful.
Place the LED Candles: Next, place an LED tealight candle on top of the faux snow. This will provide a warm glow when lit.
Decorate: Use decorative ribbon or twine to wrap around the neck of the jar. You can also tie it in a bow for added charm.
Finalize Your Look: If desired, sprinkle glitter on the faux snow for a sparkling effect. You can also spray paint the outside of the jar before decorating if you want a different color.
Display: Arrange your lanterns on tables, window sills, or as part of a holiday centerpiece.
Helpful Tips
- If crafting with children, ensure they handle scissors and any glue safely.
- To prevent mess, conduct this project on a disposable tablecloth or newspaper.
- For cleaner results, consider using a funnel for filling the jars with faux snow.
- If your jars are too slick for glue or paint to adhere, roughen the surface lightly with sandpaper or a file.
Easy Variations
- Themed Lanterns: Use colors associated with different holidays, like red and green for Christmas or blue and silver for Hanukkah.
- Size Variations: Create mini lanterns using smaller glass jars for a cute display.
- Nature-Inspired: Incorporate pinecones or small branches with the faux snow for a rustic touch.
- Colorful Base: Instead of white faux snow, use colored salt or sand for a vibrant bottom layer.
- Glow-in-the-Dark: Find glow-in-the-dark paint to add a fun twist to your lanterns, perfect for kids’ rooms.
Making This Craft With Kids
This project is ideal for children as they can enjoy decorating their lanterns. Adults should supervise the use of scissors and glue, ensuring that kids handle them safely. Let children experiment with their designs, allowing plenty of room for creativity.
How to Display or Use It
Once completed, these lanterns can be displayed indoors or outdoors. They make wonderful table centerpieces during winter gatherings or can be hung from hooks on outdoor patios. Arrange them in groups for a more dramatic effect, or place them along pathways for an inviting glow.
Frequently Asked Questions
Can I use real candles instead of LED tealights?
It is recommended to use LED tealights to avoid any fire hazards, especially if using faux snow or other flammable materials.
How can I clean the jars for reuse?
Soak the jars in warm soap water and scrub gently to remove any paint or residue.
Is it possible to personalize these lanterns as gifts?
Absolutely! Adding a personal message tag or a family photo can make these lanterns a heartfelt gift.
What if I don’t have faux snow?
Cotton balls or shredded white paper can serve as great alternatives to represent snow.
How long will the lanterns last?
With LED tealights, these lanterns can last through the winter season, making them perfect for long-term displays.
Conclusion
Creating Dollar Tree lanterns for winter wonderland decor is a joyful and engaging activity for families. Not only does it encourage creativity, but it can also lead to beautiful homemade decor that enhances your holiday atmosphere. If you’re looking for additional supplies, check out the selection of Christmas supplies for decorations and crafts. For some eye-catching outdoor decor, consider the LED candy cane lawn décor as a festive addition. Happy crafting!
Print
Dollar Tree Lanterns for Winter Wonderland Decor
- Total Time: 15 minutes
- Makes: 4 lanterns
Description
Create beautiful and affordable winter lanterns using materials from Dollar Tree for a delightful decor project.
Materials
- Clear glass jars or votives
- LED tealight candles
- Faux snow or cotton balls
- Decorative ribbon or twine
- Glitter or spray paint (optional)
- Epsom salt (optional for a frosty effect)
- Scissors
- Glue
Instructions
- Prepare your jars by cleaning and drying them.
- Add faux snow to the bottom of each jar.
- Place an LED tealight candle on top of the faux snow.
- Decorate with ribbon or twine around the jar’s neck.
- Finalize by adding glitter or spray paint if desired.
- Display your lanterns as part of your home decor.
Notes
If crafting with children, supervise the use of scissors and glue. Use a funnel to fill jars with faux snow neatly.