

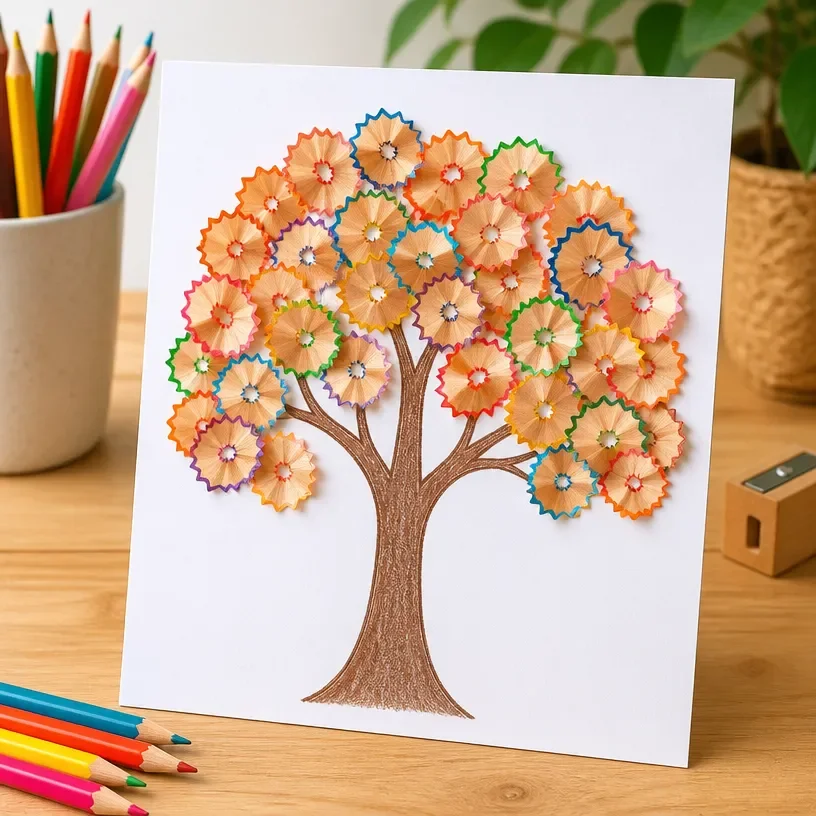
Pencil Shaving Autumn Tree Art
Creating Pencil Shaving Autumn Tree Art is a delightful way to celebrate the season while also recycling materials you might already have at home. This craft is particularly engaging for families, as it allows kids to express their creativity and explore the beautiful colors of autumn. By using pencil shavings, you’ll create a unique texture that mimics the look of fallen leaves, making your artwork truly one-of-a-kind. You may also find Melted Crayon Rainbow Heart Suncatcher For Kids useful.
This project is enjoyable because it encourages creative thinking and hands-on participation from everyone involved. Plus, it’s an eco-friendly option that showcases how everyday items can be transformed into beautiful art. If you’re interested in other fun craft ideas, consider trying our DIY Egg Carton Tulip Bouquet for a spring-themed project.
Why You’ll Enjoy This Project
Here are a few reasons to love this project: You may also find Rainbow Milk Art Colorful Swirl Prints For Kids useful.
- Simple Materials: Most of the supplies are items you already have at home, making it easy to start crafting.
- Textural Appeal: The use of pencil shavings creates a lovely texture, allowing for a rich, three-dimensional look in your artwork.
- Perfect for All Ages: This craft is suitable for both kids and adults, providing an experience that everyone can enjoy together.
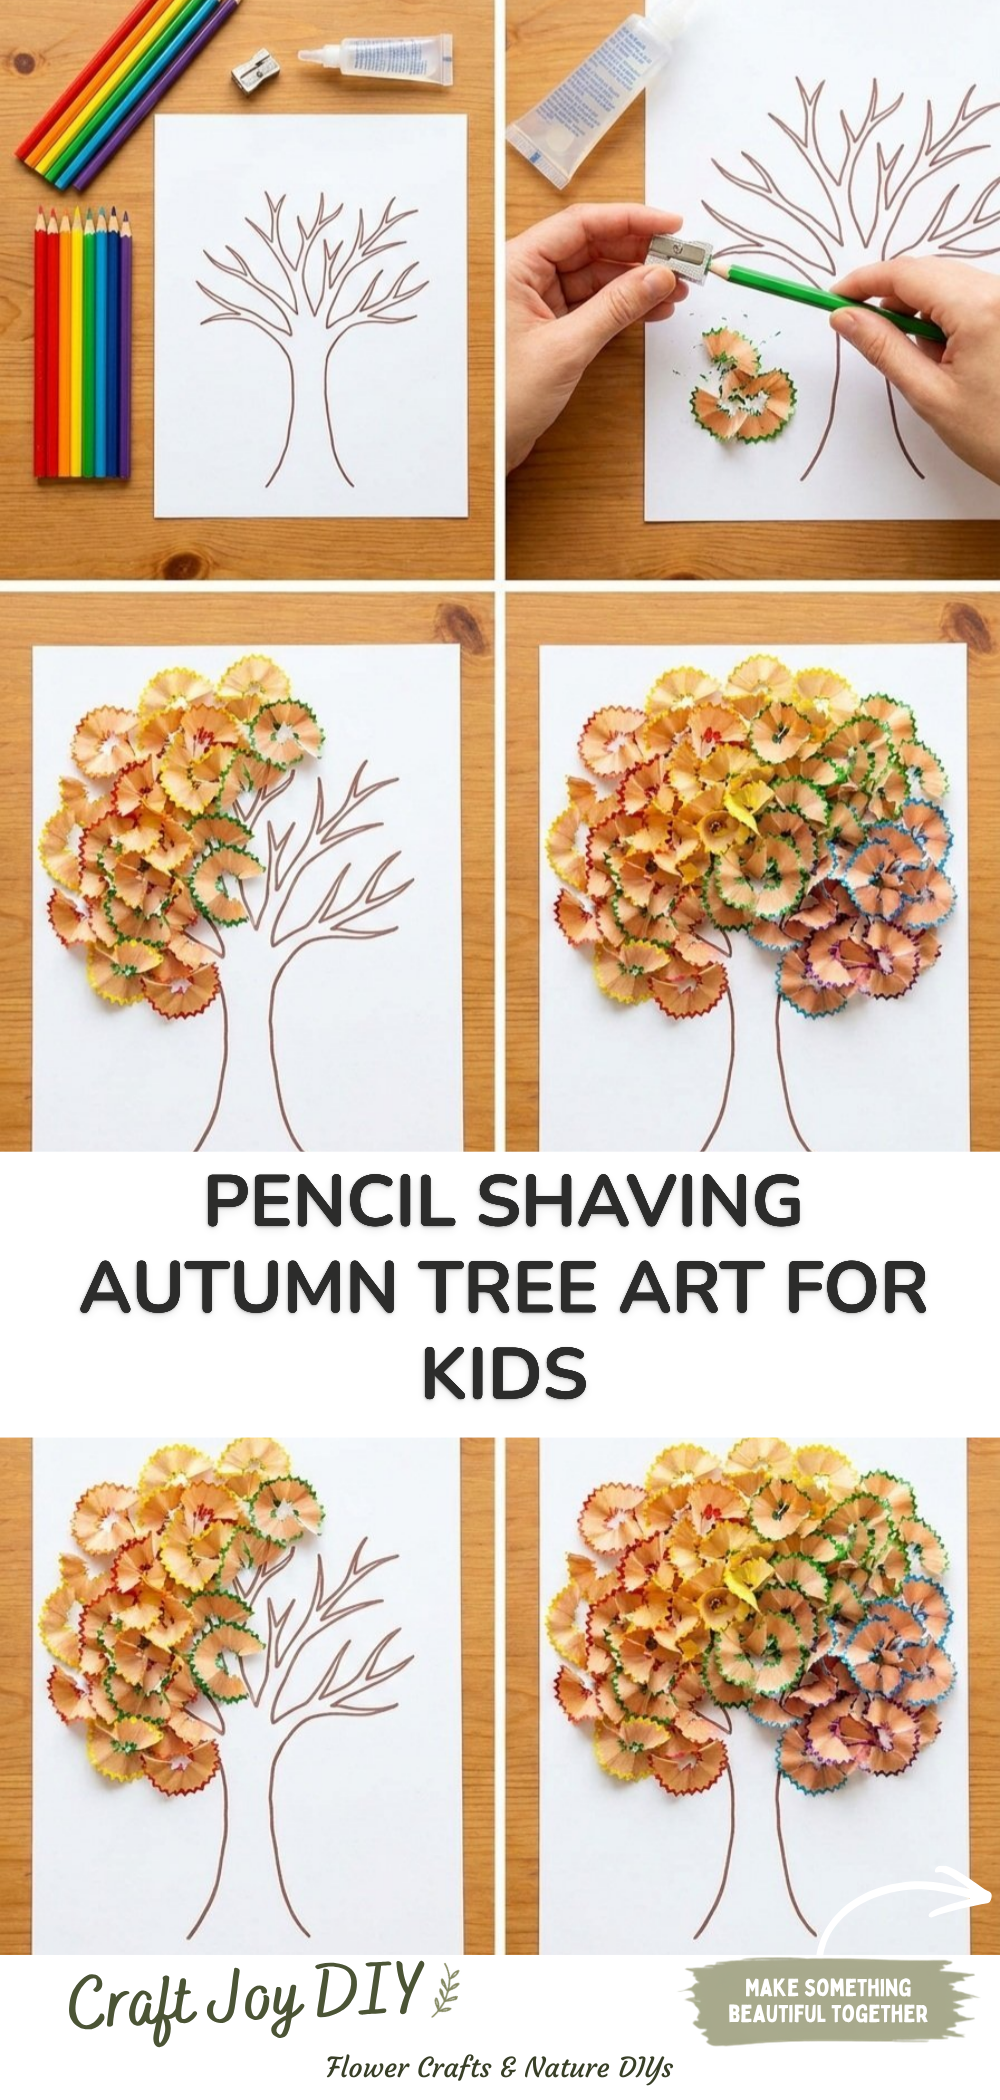
You may also find Rainbow Monster Pencil Holders Diy Craft For Kids useful.
Materials You’ll Need
Gather these simple materials for your project: You may also find Rainbow Pencil Flower Bouquet Craft Back To School useful.
- Pencil shavings (from colored pencils for vibrant colors)
- Construction paper (brown and other fall colors)
- White glue or a glue stick
- Scissors
- A pencil
- Optional: markers or crayons for additional details
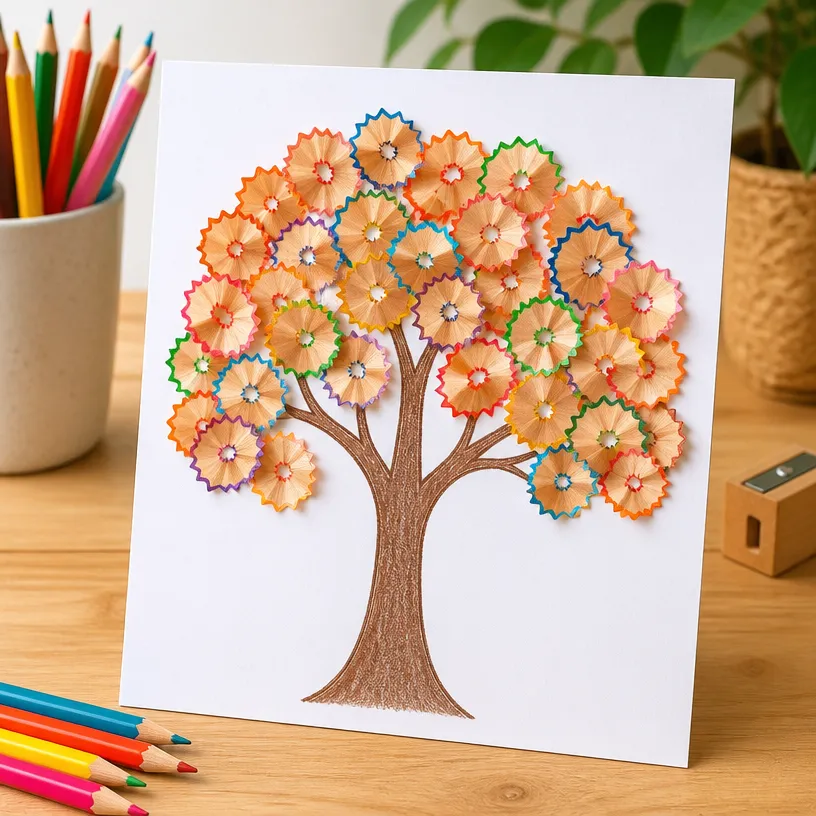
How to Make Pencil Shaving Autumn Tree Art
- Prepare Your Workspace: Begin by laying down newspaper or a plastic tablecloth to keep the area clean.
- Draw the Tree Trunk: Use a pencil to draw a tree trunk on the brown construction paper. Make it as wide or as narrow as you like.
- Cut Out the Trunk: Once you are satisfied with your tree trunk shape, carefully cut it out with scissors.
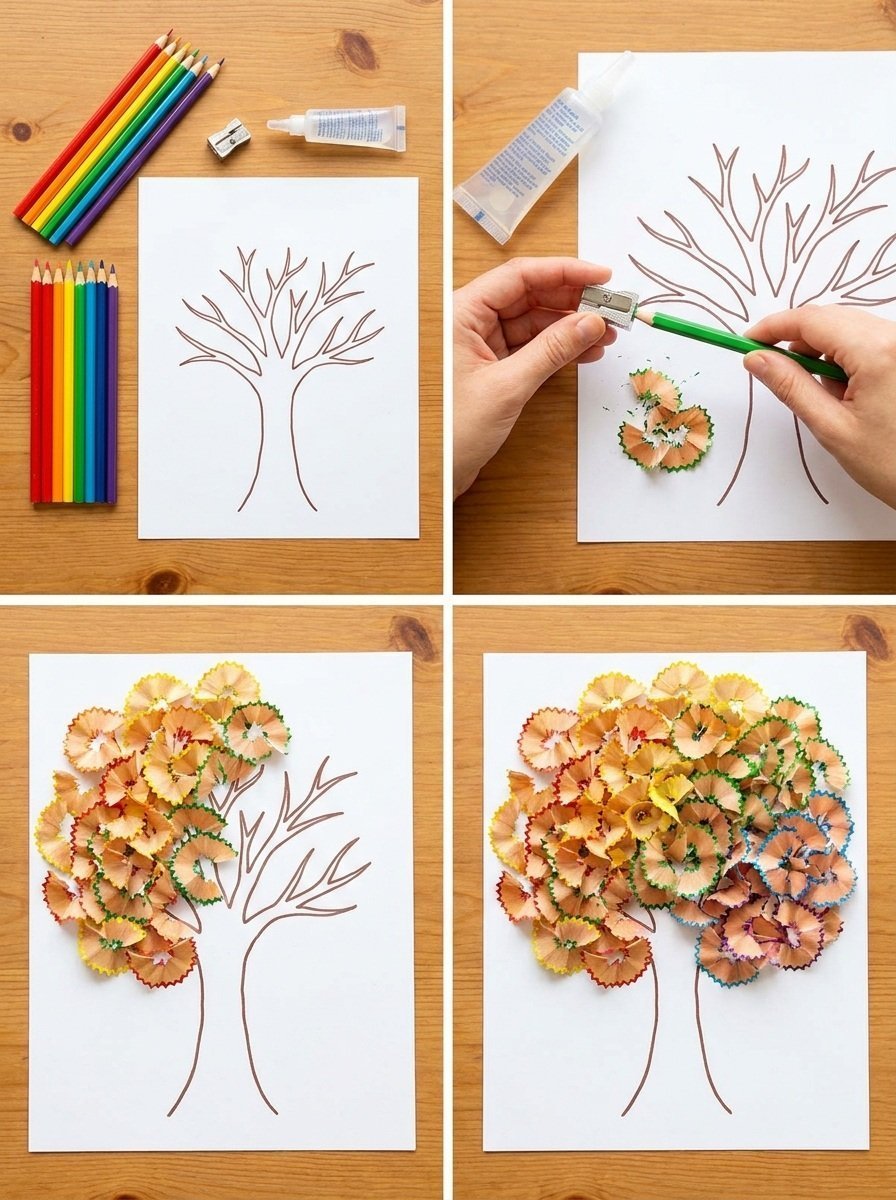
- Create Leaves with Shavings: Take your pencil shavings and separate them by color if you wish. This will allow you to have a range of autumn colors for your leaves.
- Glue the Trunk: Affix the tree trunk onto the other sheet of construction paper (this will be your background) by applying glue and pressing it down firmly.
- Add the Leaves: Start placing the pencil shavings on the branches and around the trunk, gluing them down to create a lush, autumn foliage effect. Feel free to overlap colors for a more realistic look.
- Finish Your Artwork: Let the glue dry completely. Once dry, you can add additional details like birds, clouds, or grass using markers or crayons if desired.
Helpful Tips
- Using Pencil Shavings: To achieve a nice variety of colors, consider using different colored pencils for shavings. Softer pencils often yield more vibrant shavings.
- Cleaning Up Easier: To reduce the mess, do this project on a tray or large surface that can easily be moved outside for cleanup.
- Taking Your Time: Allow for plenty of drying time before displaying your artwork. This ensures that the pencil shavings stay put.
Easy Variations
- Change the Tree Shape: Experiment with different shapes for the tree trunk by drawing curvy or whimsical designs.
- Use Other Materials: Instead of pencil shavings, try using torn paper or fabric scraps to create a unique textural effect.
- Seasonal Twist: Adapt this project for different seasons by changing the colors to match spring flowers or summer foliage.
- Layering Technique: Create a multi-layered effect by first gluing down some shavings, letting them dry, and then adding more on top.
Making This Craft With Kids
This project is perfect for children, as it allows them to explore their creativity while developing fine motor skills through cutting and gluing. However, adult supervision may be required, especially when handling scissors and applying glue. Encourage kids to mix colors and come up with unique interpretations of autumn trees.
How to Display or Use It
Once your Pencil Shaving Autumn Tree Art is complete, consider framing it or hanging it on the wall to showcase your pride in your art. This makes a lovely decoration for your home or classroom. Alternatively, you can gift it to family or friends as a thoughtful handmade present.
Frequently Asked Questions
Can I use regular shavings instead of colored pencil shavings?
Yes, but colored pencil shavings will provide a more vibrant and festive look for your autumn tree.
What if we don’t have colored pencils?
You can use crayons or markers to color the leaves after gluing the shavings, although the texture will differ.
Is this project suitable for preschoolers?
Yes, with help from an adult, preschoolers can enjoy gluing the shavings and drawing the tree.
How do I store leftover pencil shavings?
Keep any extra shavings in a small container for future projects to reduce waste.
Can we discuss our artwork after completion?
Absolutely! Sharing about each person’s creation enhances the experience and builds confidence in their artistic abilities.
Conclusion
Creating Pencil Shaving Autumn Tree Art is a joyful and creative way to celebrate the fall season with your family. You can dive into more nature-inspired craft ideas by checking out the Pencil Shaving Tree project or explore the Fall Tree Crayon Melt Handprint Art for additional fun activities. Enjoy your crafting!
Print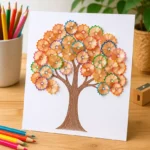
Pencil Shaving Autumn Tree Art
- Total Time: 30 minutes
- Makes: 1 artwork
Description
A delightful art project that celebrates autumn using recycled pencil shavings to create a textured tree artwork.
Materials
- Pencil shavings (from colored pencils for vibrant colors)
- Construction paper (brown and other fall colors)
- White glue or a glue stick
- Scissors
- A pencil
- Optional: markers or crayons for additional details
Instructions
- Prepare your workspace by laying down newspaper or a plastic tablecloth.
- Draw the tree trunk using a pencil on the brown construction paper.
- Cut out the trunk carefully with scissors.
- Create leaves from the pencil shavings, separating them by color if desired.
- Glue the trunk onto the background sheet of construction paper.
- Add the pencil shavings to the tree branches and around the trunk, gluing them down.
- Finish by allowing the glue to dry completely and adding additional details if desired.
Notes
Encourage creativity by exploring different shapes and materials. Ideal for all ages, with adult supervision required for younger children.