

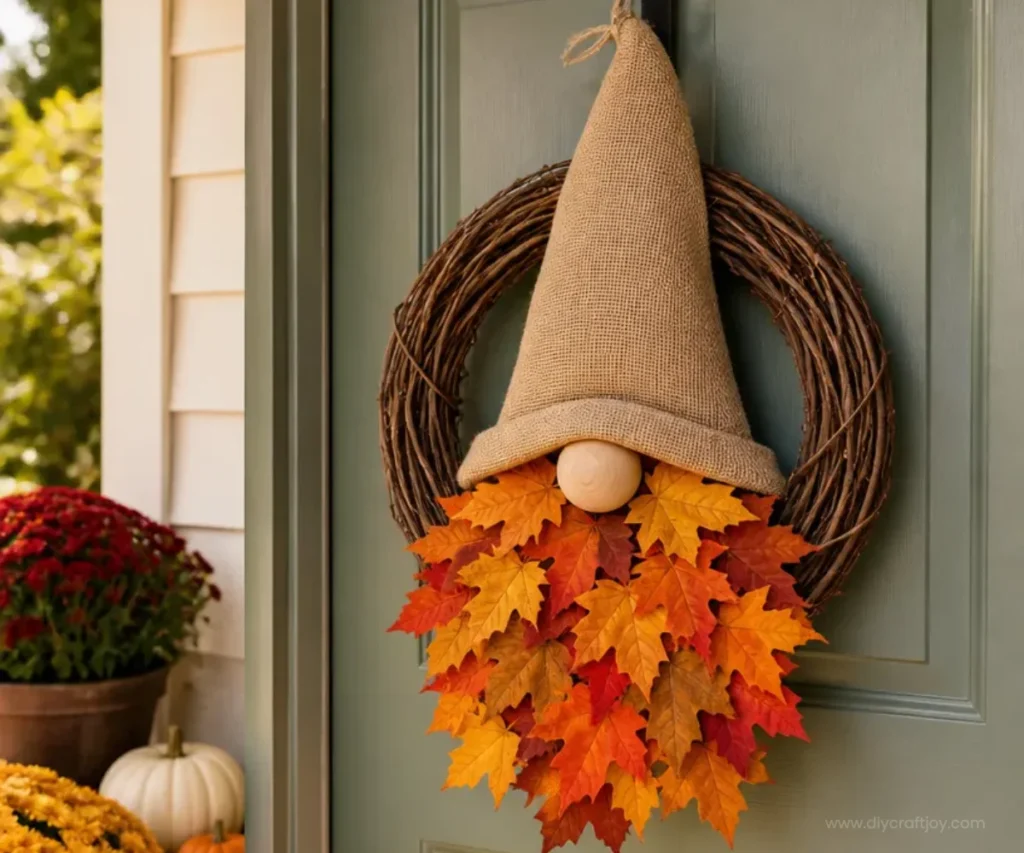
How to Make a Gnome Out of Wreath
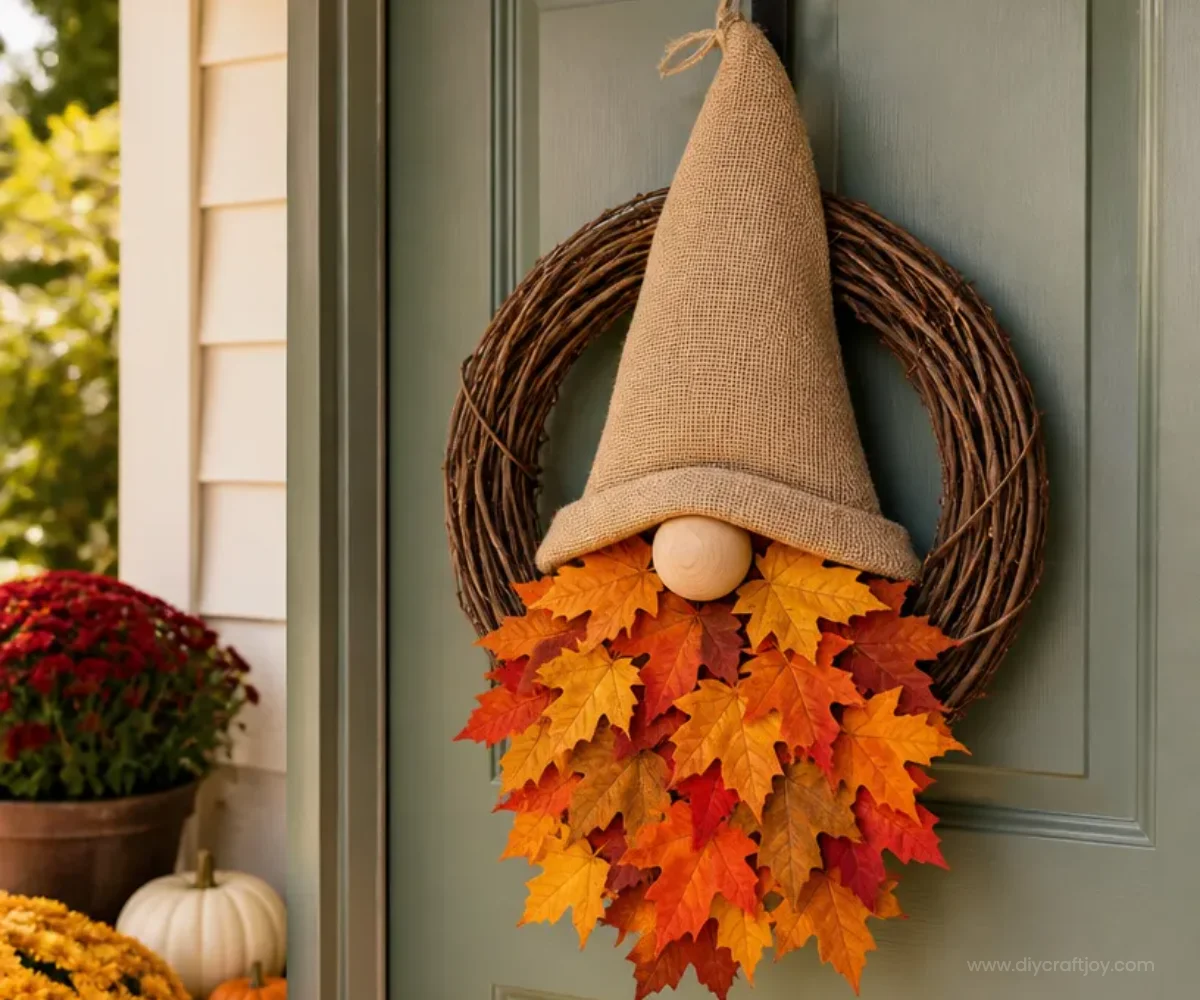
Creating a gnome wreath is a fun and festive way to add handcrafted charm to your home. This project combines creativity with simple crafting techniques, perfect for family gatherings or seasonal celebrations. A gnome wreath can serve as a lively decoration for holidays and add a touch of whimsy to your front door. You may also find Diy Rainbow Spiderweb Wreath Tutorial useful.
In this tutorial, you’ll learn how to make a gnome wreath step by step using accessible materials. It’s an enjoyable craft that not only beautifies your space but also brings together loved ones for a delightful crafting experience. You may also find Coffee Filter Butterfly Chromatography Craft For Kids useful.
You may also find Coffee Filter Butterfly Chromatography Craft useful.
Why You’ll Enjoy This Project
- Creativity Unleashed: This project allows you to express your personality with colors and designs that showcase your style.
- Family Fun: It’s a perfect activity to do with your children or grandchildren, making memories as you create together.
- Seasonal Versatility: The gnome wreath can be adapted for various seasons and holidays, making it a great year-round decoration.
- Satisfying Results: Completing a gnome wreath can be incredibly fulfilling, resulting in eye-catching decor that can spark joy.
- Affordable Materials: You can use many items you already have at home or find inexpensive supplies locally, making it budget-friendly.
Materials You’ll Need
- A round wreath base (styrofoam or grapevine)
- Felt in various colors (for the gnome’s body and hat)
- A small pom-pom or craft ball (for the gnome’s nose)
- Hot glue gun and glue sticks
- Scissors
- Decorative elements (e.g., flowers, ribbons, or twine)
Choosing the right materials is essential for achieving the desired look. Felt is an excellent choice for this project as it easily holds shape and can be cut into various sizes and designs. You may also find Coffee Filter Ghost Garland Diy Halloween Decor useful.
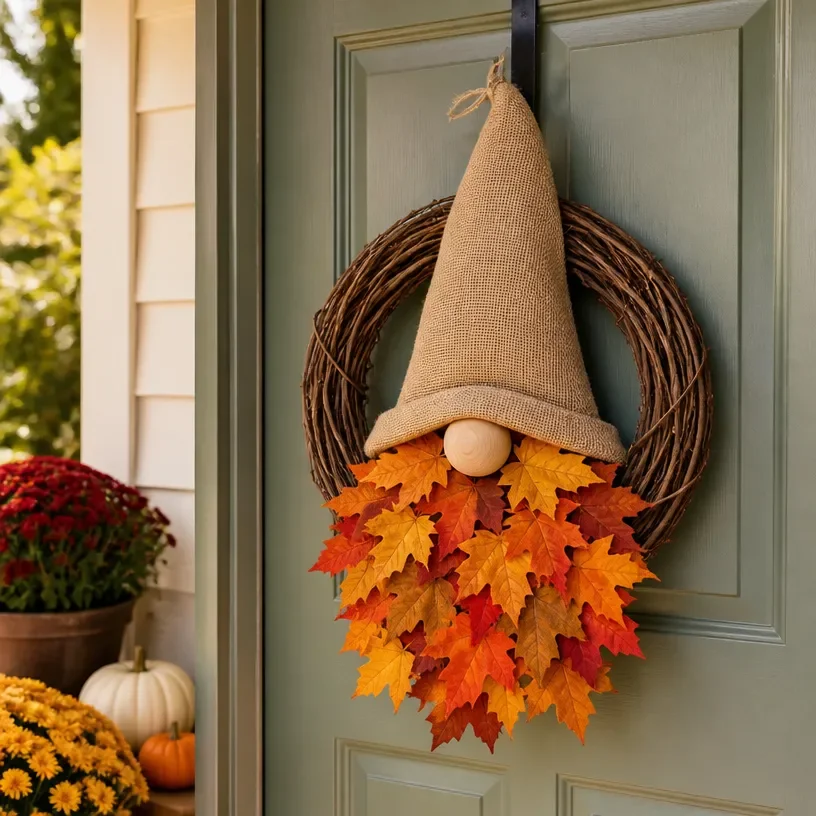
How to Make a Gnome Out of Wreath | How to Make a Gnome Wreath Step by Step, DIY
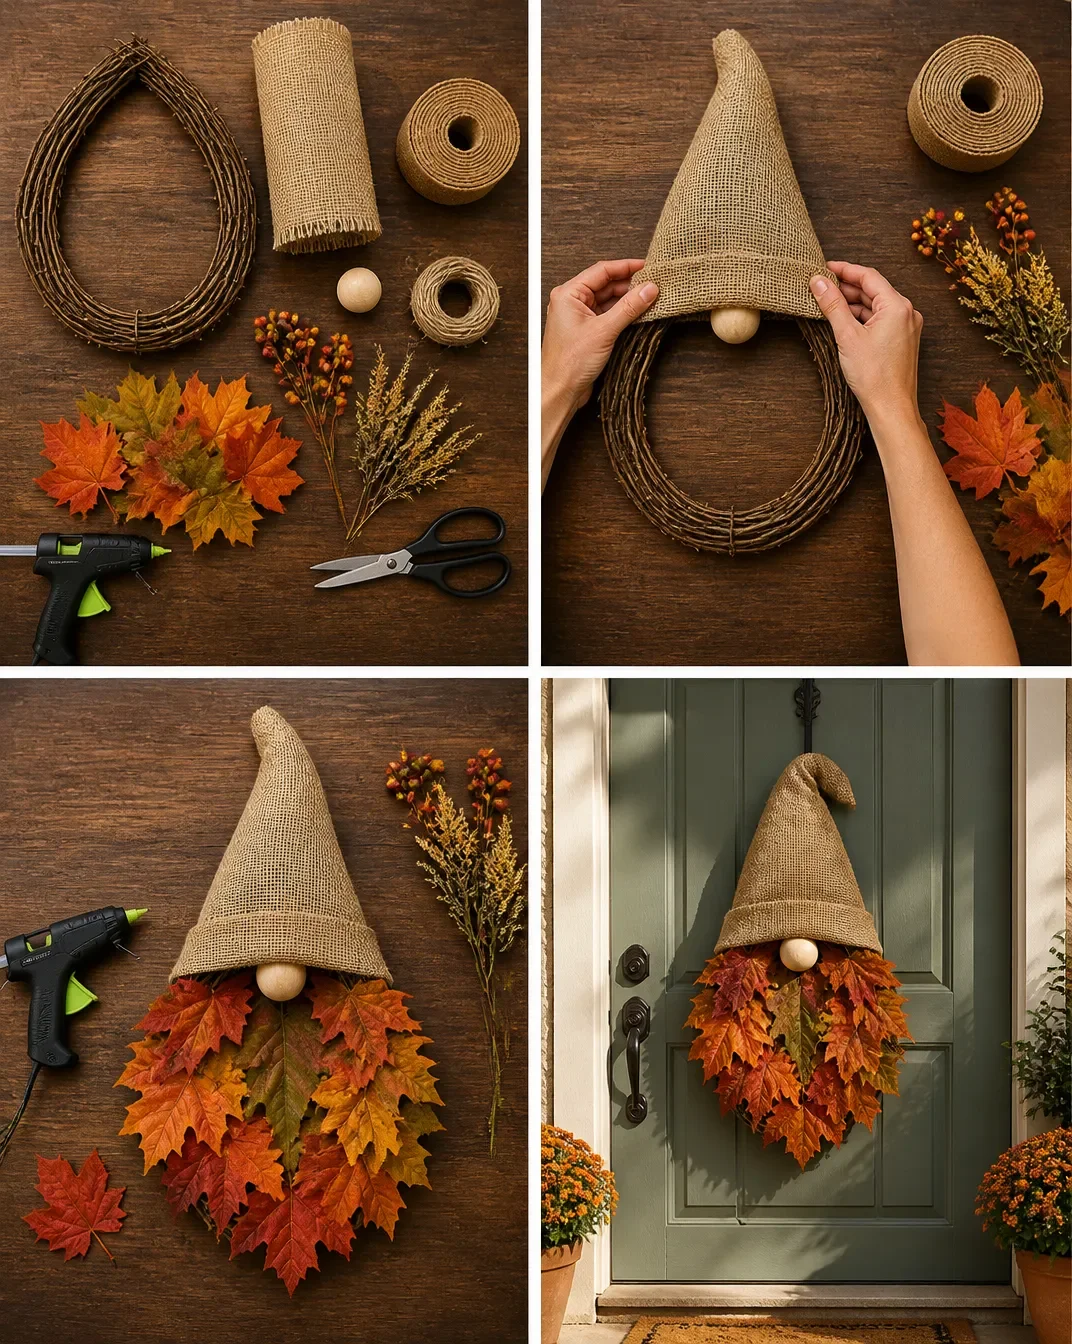
Prepare the Wreath Base: Start by deciding how you’d like your gnome to be positioned on the wreath. Secure your wreath on a stable surface.
Cut Felt Pieces: Cut out felt pieces for the gnome’s hat (a triangle shape) and body (a rectangular shape or rounded if preferred). Choose colors that will contrast beautifully with your wreath.
Create the Gnome’s Face: Attach the small pom-pom to the top of the rectangular piece for the nose. You can stitch or glue it on securely.
Assemble the Gnome: Attach the felt body and hat to the wreath using the hot glue gun, ensuring they are positioned as desired. Allow glue to cool and secure everything in place.
Add Decorative Elements: Enhance your wreath with flowers, small ornaments, or twine. This will add texture and interest, making your gnome wreath even more special. Explore more designs by checking out this blooming paper flowers tutorial for additional decorative ideas.
Helpful Tips
- Consider using different textures of felt to create depth and interest in your wreath.
- If making this with kids, allow them to pick their favorite colors and decide on the placement of the gnome and decorations.
- Keep the hot glue gun supervised to avoid any burns, especially with younger children around.
- Once finished, display your gnome wreath on your front door or as part of your home decor.
Easy Variations
- Seasonal Themes: Use colors and decorations that reflect different seasons e.g., bright colors for summer or warm tones for fall.
- Gnome Size: Adjust the size of your gnome by enlarging the felt pieces for a more prominent look.
- Accessory Additions: Add mini snowflakes for winter or leaves for autumn to further personalize your wreath.
Making This Craft With Kids
This project is suitable for children, but adult supervision is advisable, especially when using scissors and hot glue. Let children experiment with colors and designs while helping them with the more delicate tasks, like gluing pieces together.
How to Display or Use It
A gnome wreath can be hung on your front door, placed as a centerpiece on your dining table, or even gifted to a friend or neighbor. Its cheerful appearance is sure to bring smiles. Ensure to use hooks or strong adhesive strips that won’t damage your door.
Frequently Asked Questions
Can I make this wreath without a glue gun?
Yes, you can use fabric glue or sewing techniques if you prefer not to use a hot glue gun.
How do I store my gnome wreath after the season?
Store it in a cool, dry place away from direct sunlight to keep the colors vibrant.
Can I use other materials instead of felt?
Yes, you can use fabric remnants, old clothes, or even paper if you prefer a lighter option.
Is there a way to personalize it further?
Absolutely! Adding a name tag or personalized message would make this wreath even more special for a gift.
Conclusion
Crafting your own gnome wreath is a wonderful and fulfilling way to express creativity while enjoying time with loved ones. For more inspiration with wreath-making, check out this easy DIY Dollar Tree Fall Gnome Wreath and find even more festive ideas such as the Dollar Store Gnome Wreath that you can complete in just minutes!
Print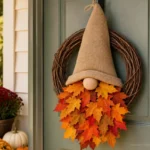
How to Make a Gnome Out of Wreath
- Total Time: 25 minutes
- Makes: 1 wreath
Description
Learn to create a charming gnome wreath, perfect for adding a whimsical touch to your home decor.
Materials
- A round wreath base (styrofoam or grapevine)
- Felt in various colors (for the gnome’s body and hat)
- A small pom-pom or craft ball (for the gnome’s nose)
- Hot glue gun and glue sticks
- Scissors
- Decorative elements (e.g., flowers, ribbons, or twine)
Instructions
- Prepare the wreath base: Start by deciding how you’d like your gnome to be positioned on the wreath. Secure your wreath on a stable surface.
- Cut felt pieces: Cut out felt pieces for the gnome’s hat (a triangle shape) and body (a rectangular shape or rounded if preferred). Choose colors that will contrast beautifully with your wreath.
- Create the gnome’s face: Attach the small pom-pom to the top of the rectangular piece for the nose. You can stitch or glue it on securely.
- Assemble the gnome: Attach the felt body and hat to the wreath using the hot glue gun, ensuring they are positioned as desired. Allow glue to cool and secure everything in place.
- Add decorative elements: Enhance your wreath with flowers, small ornaments, or twine. This will add texture and interest, making your gnome wreath even more special.
Notes
Consider using different textures of felt for added depth. Supervise kids closely when using scissors and hot glue.