

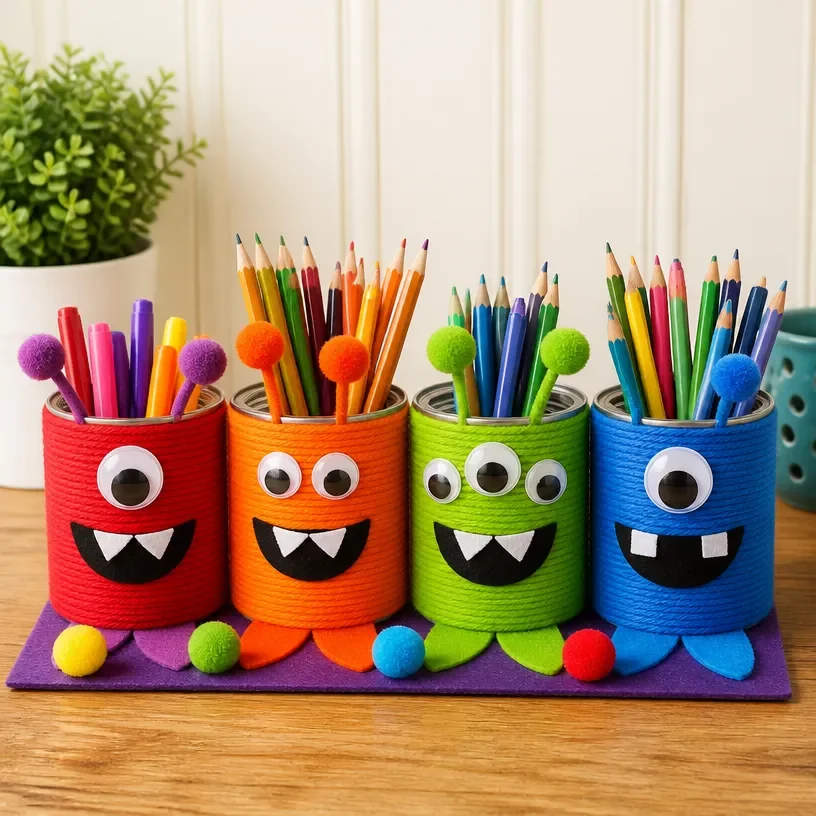
Colorful Monster Pencil Tin Organizer for the Classroom
Creating a colorful monster pencil tin organizer is not only a fun crafting activity but also serves a practical purpose in keeping the classroom tidy and organized. This project combines creativity with functionality, making it a delightful experience for both kids and adults. By the end of this tutorial, you’ll have a vibrant pencil holder that adds a splash of joy to your desk while providing a creative outlet for artistic expression. You may also find Desk Organizer Kids Rainbow Monster Pencil Cup Garden Theme useful.
Why You’ll Enjoy This Project
- Engaging and Fun: Crafting this colorful monster organizer allows kids to express their creativity while making something useful.
- Customizable: You can personalize each tin based on favorite colors or characters, making it unique for every child.
- Practical Use: The pencil organizer helps keep all writing supplies in one place, reducing clutter in the classroom.
- Simple and Accessible: This project uses common materials, making it easy to complete at home or in a classroom setting.
- Promotes Responsibility: Having their own organized space teaches kids to take care of their supplies.
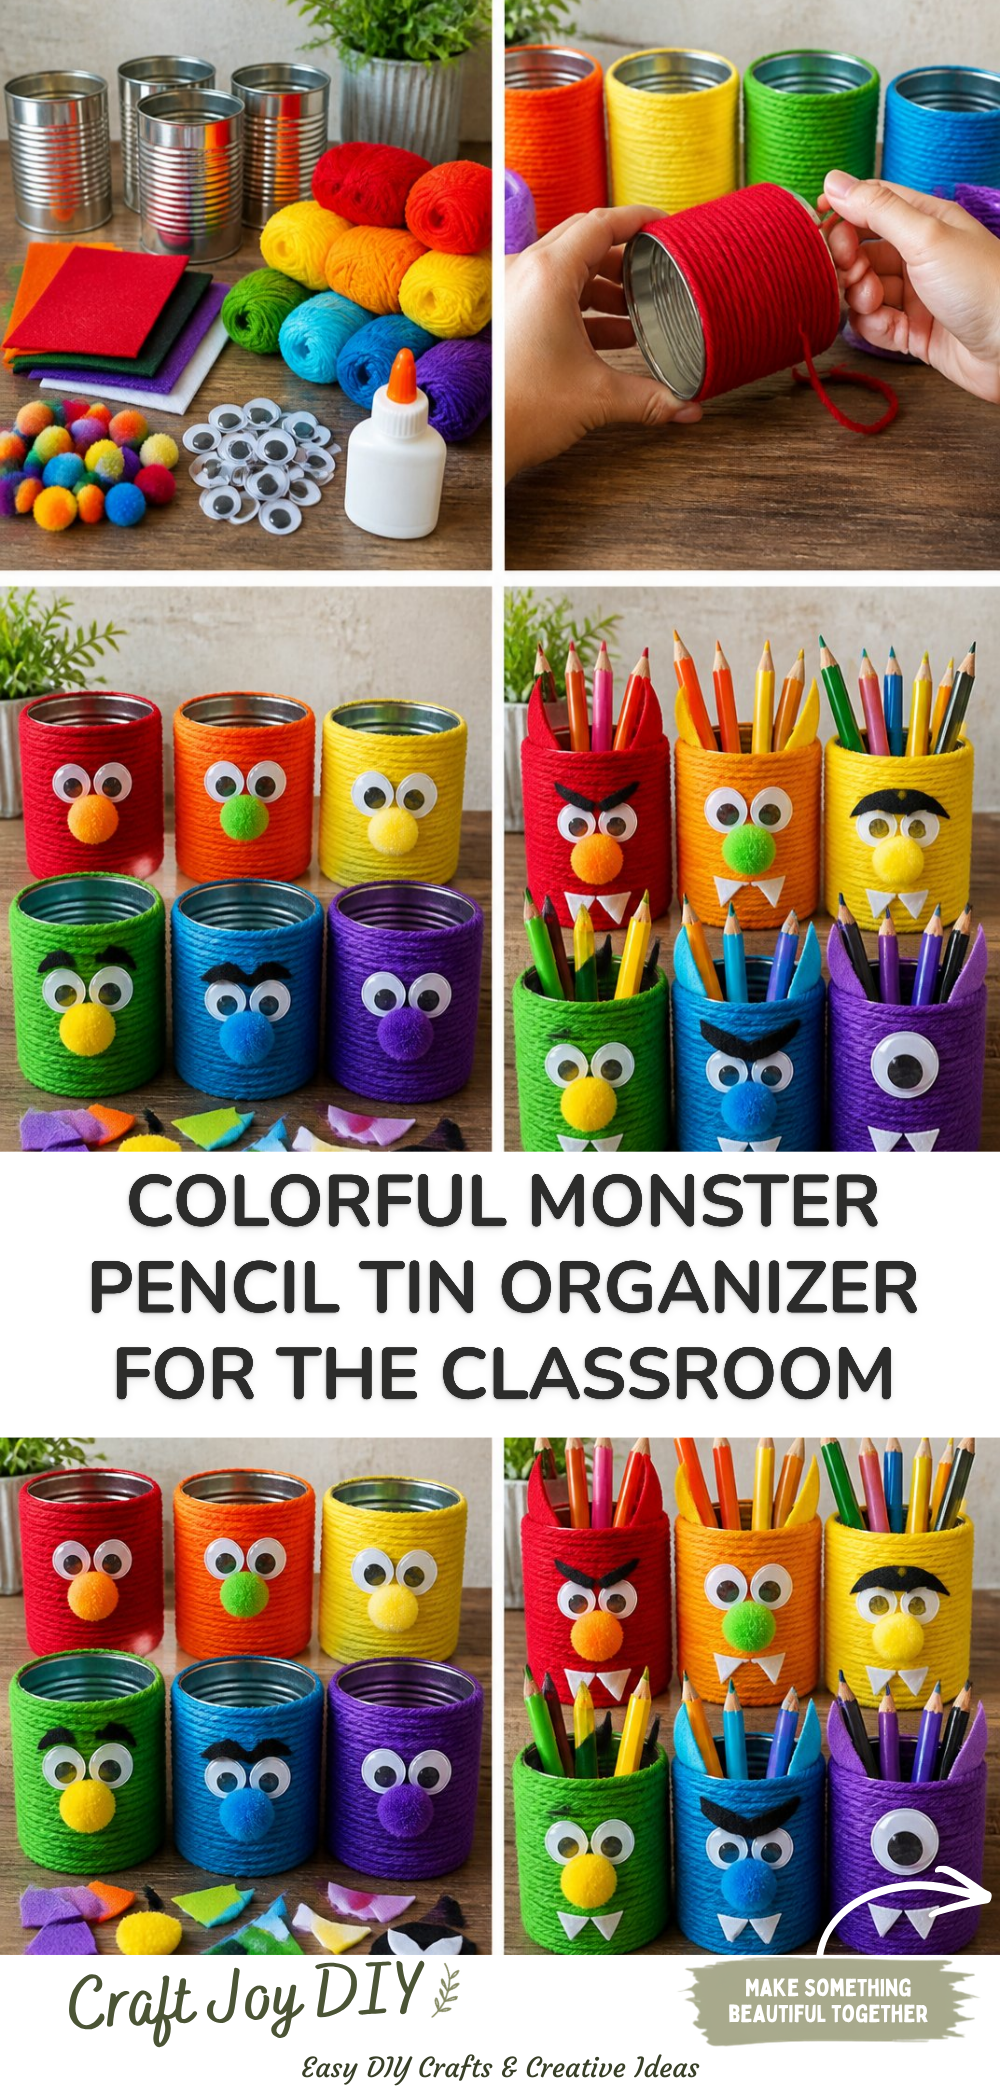
You may also find Rainbow Monster Pencil Holders Diy Craft For Kids useful.
Materials You’ll Need
- Tin cans or empty containers
- Colorful paint or markers
- Craft paper (felt or cardstock works well)
- Googly eyes
- Scissors
- Glue
- Paintbrush (if using paint)
- Optional: stickers or other decorative items
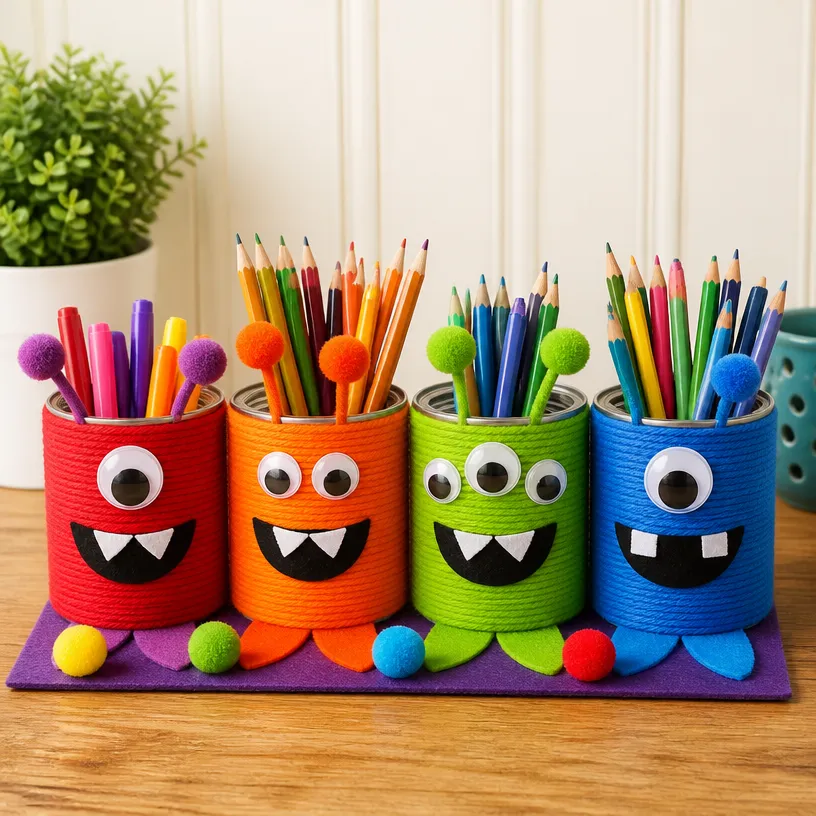
How to Make Colorful Monster Pencil Tin Organizer for the Classroom
- Prepare the Tin: Start by cleaning the tin cans to remove any labels. Make sure they’re dry before proceeding.
- Paint the Base: Use colorful paint to cover the exterior of the tin the brighter, the better! If you want a rainbow theme, consider using various colors.
- Create the Monster Features: While the paint dries, cut out shapes for the eyes and mouth from craft paper. Feel free to get creative with different shapes and sizes to make your monster unique.
- Attach the Features: Once the tin is dry, use glue to attach the googly eyes and mouth pieces to the can, making it look like a friendly monster. You can find more ideas to decorate with fun features by checking out colorful monster pencil holders.
- Final Touches: Add any additional decorations like stickers or glitter to give your monster personality.
Helpful Tips
- Do a Test Run: If you’re crafting with kids, consider making a sample first to demonstrate the procedures.
- Use Non-Toxic Supplies: When crafting with children, always choose non-toxic paint and glue for safety.
- Let it Dry: Ensure that each layer of paint or glue dries fully to avoid smudges and to keep the decorations intact.
- Display Your Creation: Once completed, place the organizer in a visible spot on your desk to enjoy the fun designs and encourage kids to keep their writing tools tidy.
Easy Variations
- Seasonal Themes: Alter the colors and decorations based on seasons or holidays, like using autumn colors for fall.
- Animal Variants: Turn your tin into different animals instead of monsters using similar principles.
- Multi-Functional Use: Enhance its utility by using a larger tin to store art supplies or craft scraps.
- Color Schemes: Match them with classroom colors or themes for a more cohesive look.
Making This Craft With Kids
This project is perfect for kids, and they’ll have a blast designing their monster pencil tins! Adults should supervise the painting and cutting stages to ensure safety and help with tricky parts. Encourage children to express themselves through their designs. You may also find Rainbow Ruler Pencil Jar Desk Organizer For Teachers useful.
How to Display or Use It
Once your monster pencil organizer is complete, use it to hold crayons, markers, or pencils on your desk. It can also make a charming gift for a teacher or friend, demonstrating the joy of handmade crafts. You may also find 3D Salt Painting For Kids Textured Art useful.
Frequently Asked Questions
Can we use plastic instead of tin?
Yes, any solid container will work, but tin provides a sturdier base for the craft.
What type of paint is best?
Acrylic paint is a great choice because it’s vibrant and easy to use, drying quickly.
How long should I let it dry?
Allow the paint at least 30 minutes to dry before attaching any features.
Can this craft be adapted for other supplies?
Absolutely! You can use it to store markers, brushes, or even small toys.
Is it suitable for all ages?
The project is ideal for children but may require adult supervision for younger creators, especially during cutting and using glue.
Conclusion
This colorful monster pencil tin organizer is a fantastic way to combine creativity and utility. For those looking to expand their craft supplies, consider options like the MotiMind 6 Pcs Crayon Box Pouch with Zipper for extra storage. You can also browse Classroom Pencil Storage for more functional ideas. Happy crafting!
Print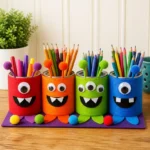
Colorful Monster Pencil Tin Organizer
- Total Time: 45 minutes
- Makes: 1 organizer
Description
Create a vibrant monster pencil tin organizer that’s fun to make and helps keep your desk tidy.
Materials
- Tin cans or empty containers
- Colorful paint or markers
- Craft paper (felt or cardstock)
- Googly eyes
- Scissors
- Glue
- Paintbrush (if using paint)
- Optional: stickers or other decorative items
Instructions
- Prepare the tin by cleaning it and ensuring it’s dry.
- Paint the exterior of the tin with bright colors.
- Create shapes for eyes and mouth from craft paper.
- Attach the googly eyes and mouth pieces with glue.
- Add additional decorations like stickers or glitter.
Notes
Use non-toxic supplies for safety when crafting with children.