

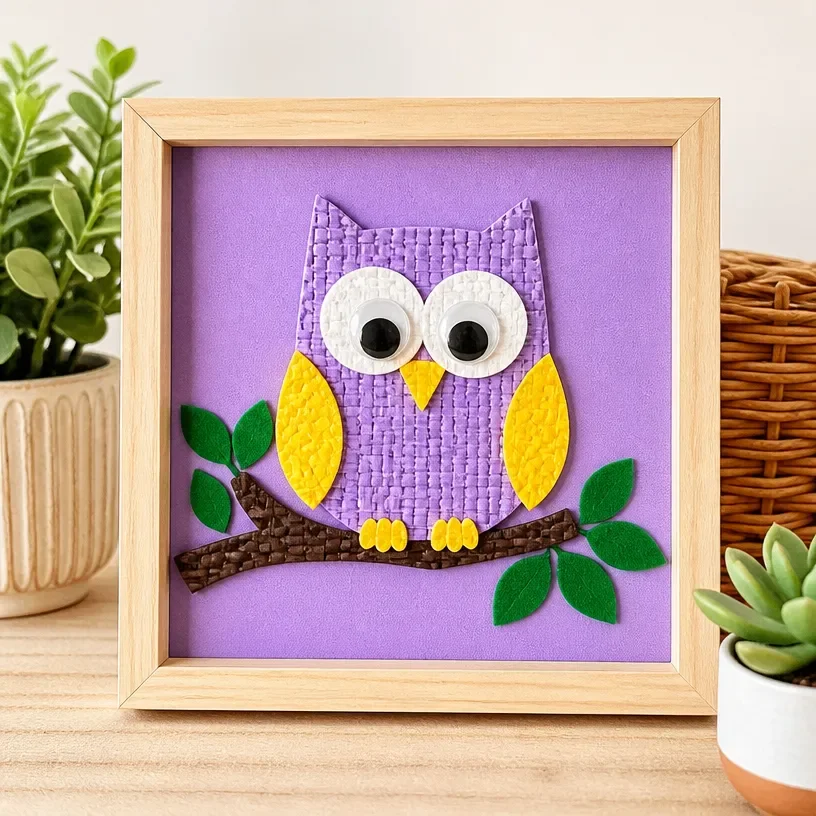
DIY Owl Wall Art: Easy Handmade Decor
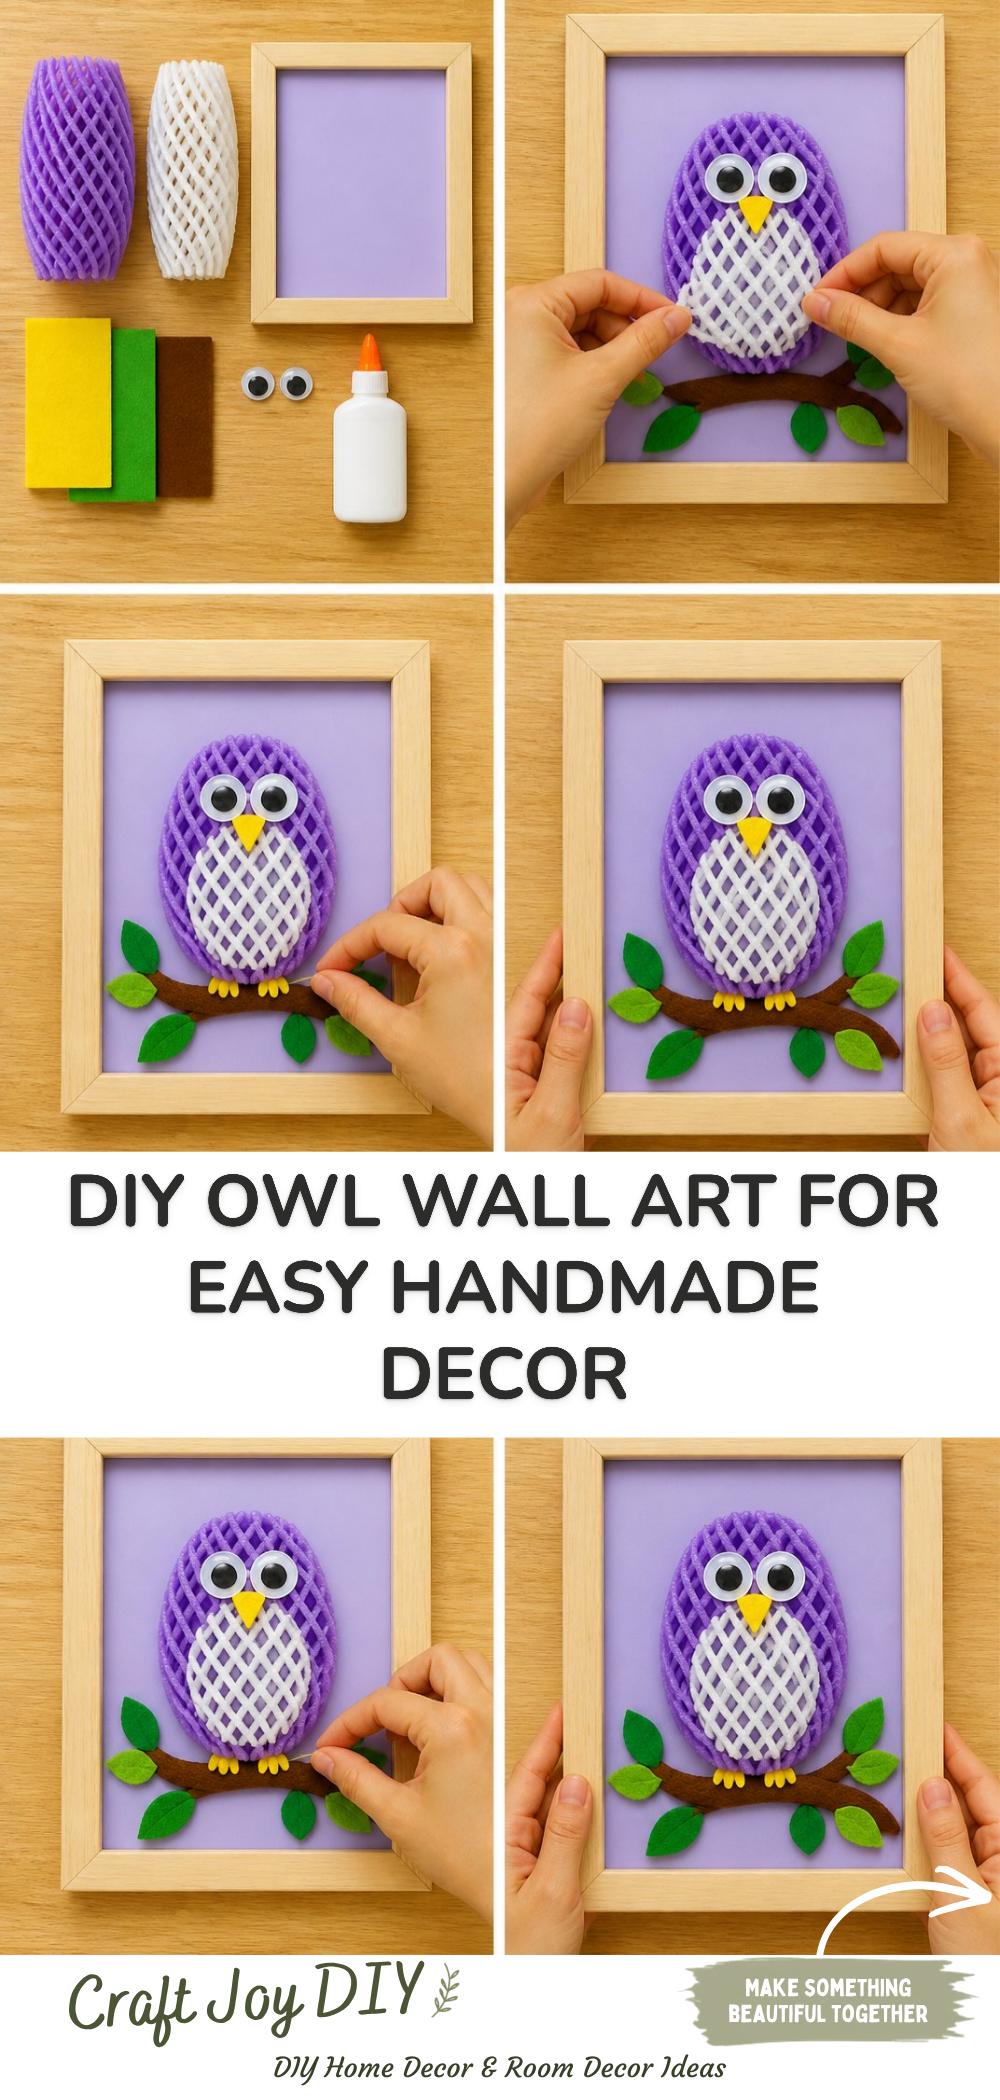
Creating a charming DIY owl wall art piece can bring a touch of whimsy to your space. This project is not only enjoyable but also an excellent way to repurpose everyday materials. You and your loved ones will take pride in making a unique decoration that reflects your personal style. Plus, this fun craft can brighten up a child’s room or any area in your home, making it a delightful addition to your decor. You may also find Rainbow Tissue Paper Lantern Diy Easy Decor useful.
Why You’ll Enjoy This Project
- Creative Expression: Making owl wall art allows you to express your creativity and use your favorite colors and materials.
- Interactive Fun: This project is great for family bonding, whether crafting with children, friends, or fellow DIY enthusiasts.
- Unique Decor: Your handmade owl art will be one-of-a-kind and can be a talking point in your home.
- Skill Development: This craft can improve fine motor skills and encourage problem-solving as you figure out how to assemble your owl.
You may also find Bubble Dough Sensory Play Kids Easy Diy Activity useful.
Materials You’ll Need
- Cardboard or Canvas: You can repurpose old cardboard or use a canvas for your base.
- Paint or Markers: Choose bright colors for your owl’s body.
- Craft Paper or Fabric: Use for the wings and other details.
- Glue: A strong craft glue works best.
- Scissors: For cutting out shapes.
- Googly Eyes: To give your owl character.
- String or Ribbon: If you wish to hang your artwork.
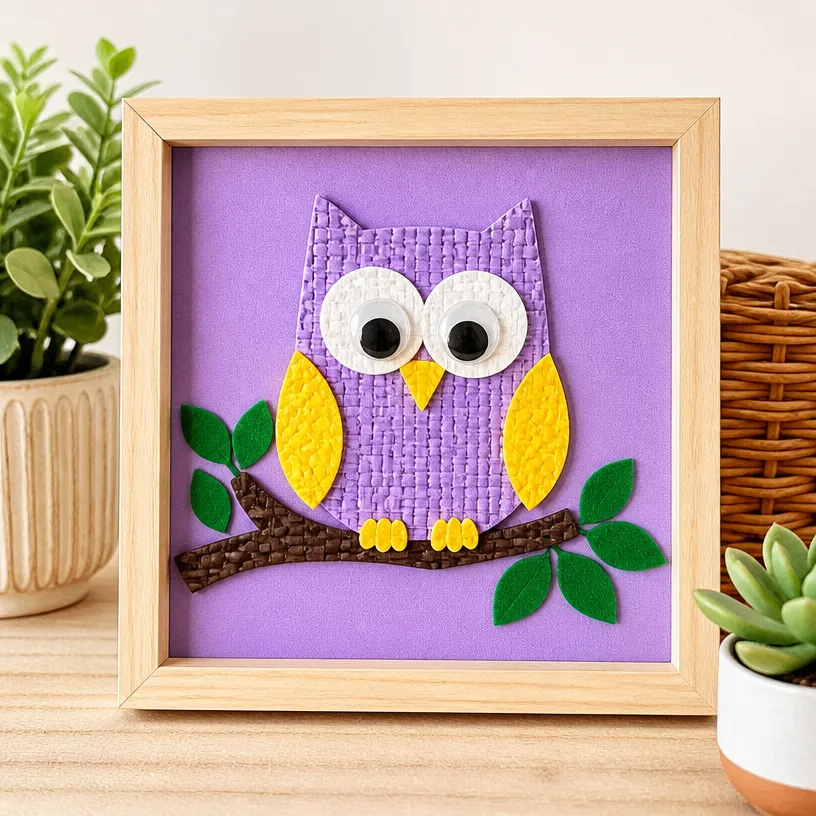
How to Make DIY Owl Wall Art: Easy Handmade Decor
- Prepare Your Base: Cut your cardboard or canvas to the desired size for your owl wall art.
- Draw Your Owl: Lightly sketch out the shape of your owl on your base. Include large round eyes and a cute beak.
- Add Colors: Paint or color in your owl, using bright and lively colors to make it pop.
- Create Details: Cut out wings and other parts from craft paper or fabric. Glue them onto your painted owl.
- Attach the Eyes: Glue on your googly eyes to give your owl some personality.
- Add a Hanging Option: If you’d like to hang your artwork, attach a piece of string or ribbon to the back.
Helpful Tips
- When painting, layer colors to create dimension and texture, giving your owl a more realistic look.
- If crafting with kids, consider using washable markers for easier cleanup.
- Allow ample drying time for paint and glue to prevent smudges and ensure everything stays in place.
- Use cardboard that’s robust enough to support the weight of added decorations.
Easy Variations
- Seasonal Owls: Decorate your owl according to the seasons use autumn shades for fall, pastels for spring, etc.
- Mixed Media: Combine different textures such as felt, fabric scraps, or even feathers for a 3D effect.
- Personalized Owls: Let each person create an owl that’s inspired by their favorite colors or patterns.
- Mini Versions: Create smaller owls that can be used as gift toppers or incorporated into a larger art piece.
Making This Craft With Kids
This craft is perfect for children who enjoy expressing themselves creatively. Adults should supervise the use of scissors and glue. Encourage kids to come up with their own designs, promoting independence and imaginative play. You may also find Diy Crystal Seashells Ornament Beach Decor useful.
How to Display or Use It
You can hang your owl wall art in various places, such as a child’s bedroom, playroom, or even on a gallery wall in your living area. Consider adding a frame to give it a polished look, or try leaning it on a shelf for a casual display. You may also find Diy Egg Carton Tulip Bouquet Spring Decor useful.
Frequently Asked Questions
Can I use other materials for my owl?
Yes! Get creative with items like paper plates, fabric scraps, or even plastic bottles. You may also find Diy Enchanted Jar Lanterns Garden Decor useful.
What if I don’t have googly eyes?
You can paint the eyes on or use buttons as an alternative.
How long does it take to dry?
Drying times depend on the materials you use, but generally, an hour is sufficient for glue and paint to set.
Can I use this technique for other animals?
Absolutely! The same concept can be applied to create other animal wall art.
Is this suitable for school projects?
Yes, this project is perfect for school art assignments, allowing students to personalize their work.
What if I’m short on time?
You can simplify the process by using pre-cut shapes and stickers for faster assembly.
Conclusion
Making your own owl wall art can be a fulfilling and enjoyable experience. Not only do you create a lovely piece of decor, but you also foster creativity and bonding with those you craft alongside. If you’re interested in exploring other fun DIY projects, you might want to check out the DIY Owl Macrame Kit or try making burlap owl wall art for a unique twist!