

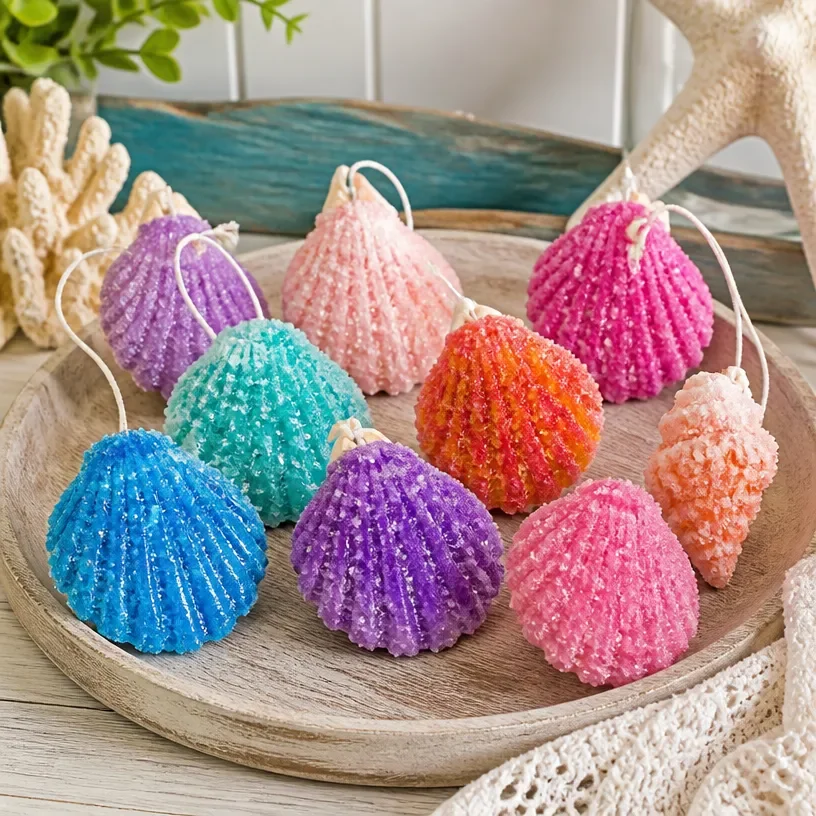
DIY Crystal Seashells
Making DIY crystal seashells is a fascinating project that merges creativity with science. It’s a wonderful way to explore colors and textures while crafting beautiful decorations for your home. This project not only allows you to create stunning seashells but also introduces a fun learning opportunity for kids about crystal growth. You may also find Bubble Dough Sensory Play Diy Activity For Kids useful.
In this tutorial, we will gather a few simple materials, follow easy steps, and soon you’ll have colorful crystal seashells to enjoy. You may also find Bubble Dough Sensory Play Kids Easy Diy Activity useful.
Why You’ll Enjoy This Project
- Educational Experience: This activity is a hands-on way for kids to learn about crystallization while creating something beautiful.
- Customizable Designs: You can make the seashells in different colors and sizes, tailoring them to fit your home decor.
- Fun for All Ages: This craft is perfect for both kids and adults, offering a chance to work together and bond.
- Easy Setup: The materials needed are simple and easily accessible, making it easy to start crafting right away.
You may also find Colorful Rainbow Monster Pencil Holders Diy useful.
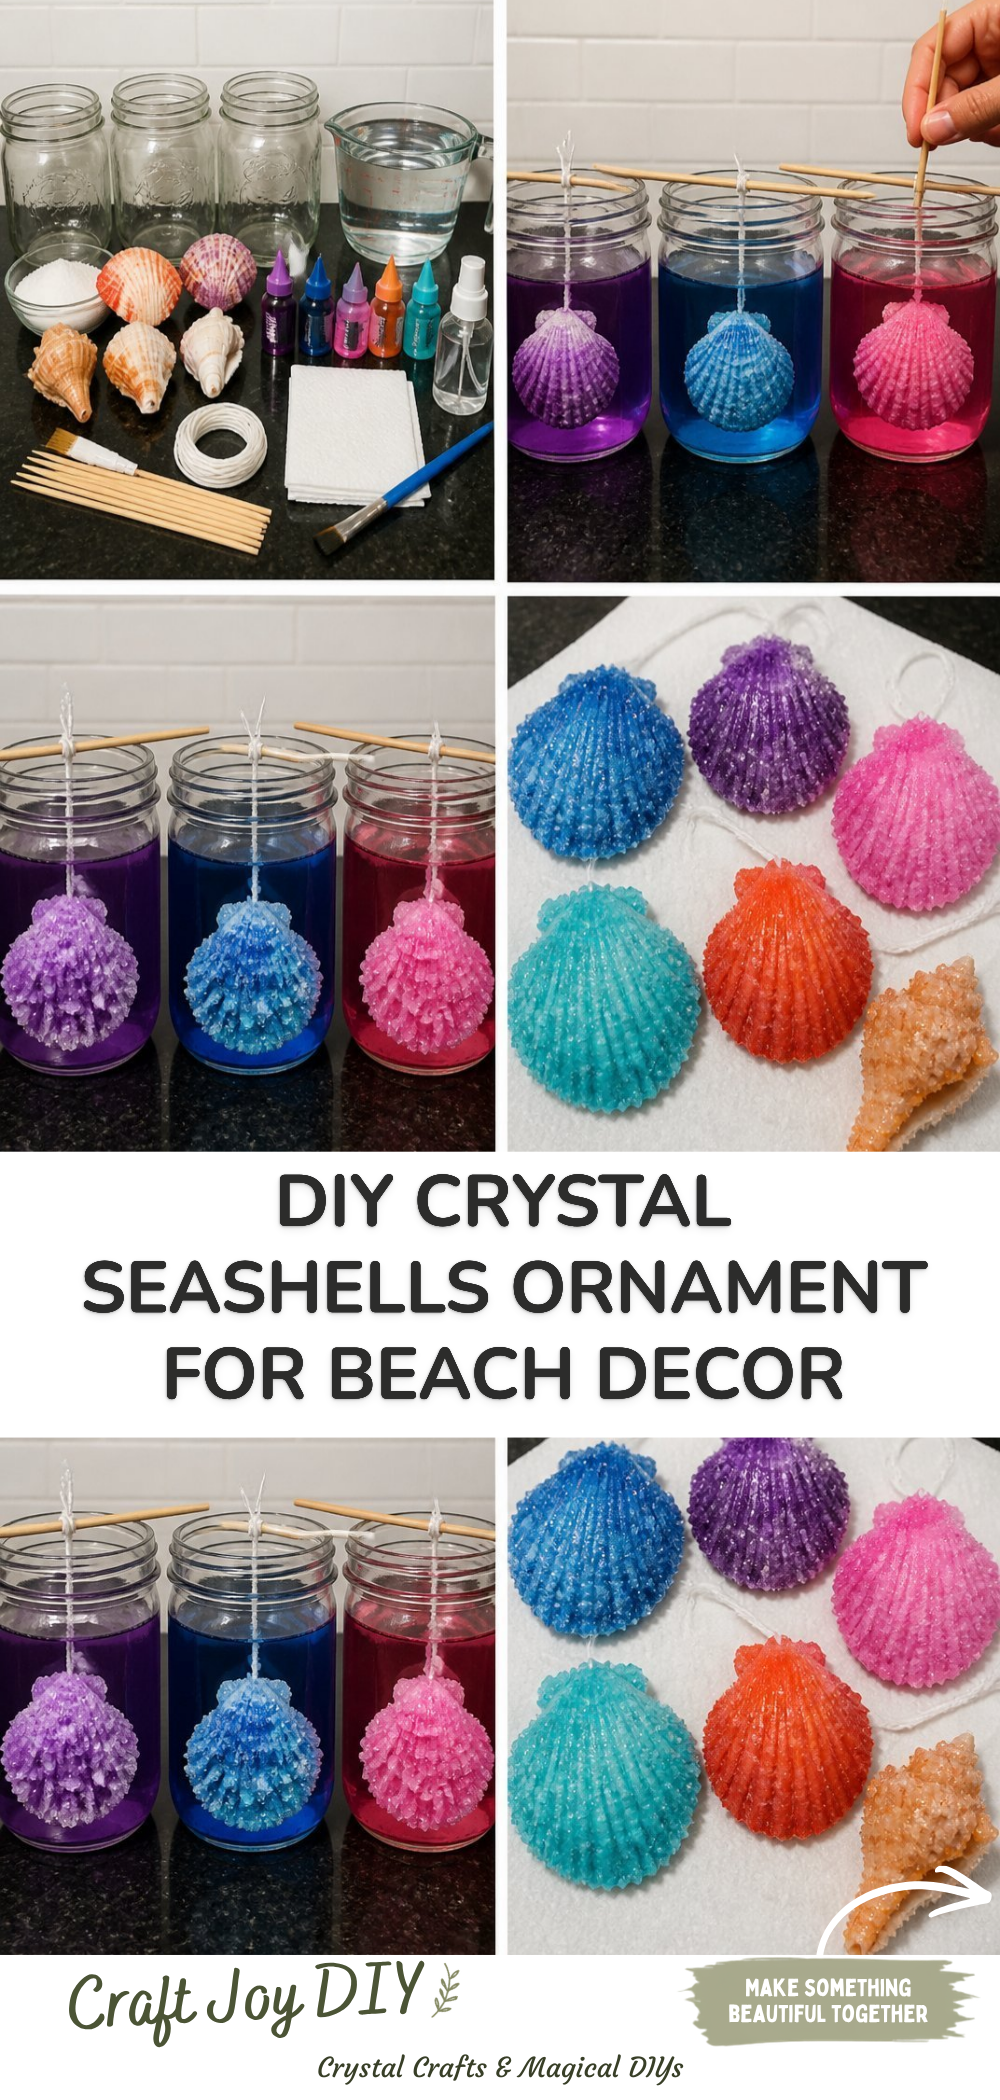
Materials You’ll Need
- Seashells (any size or type)
- Borax powder
- Water
- A container for the solution
- Food coloring (optional)
- String or wire for hanging (optional)
Feel free to substitute any type of seashell that you have on hand, making this project even more personal. You may also find Crystal Butterfly Garden Stake Craft useful.
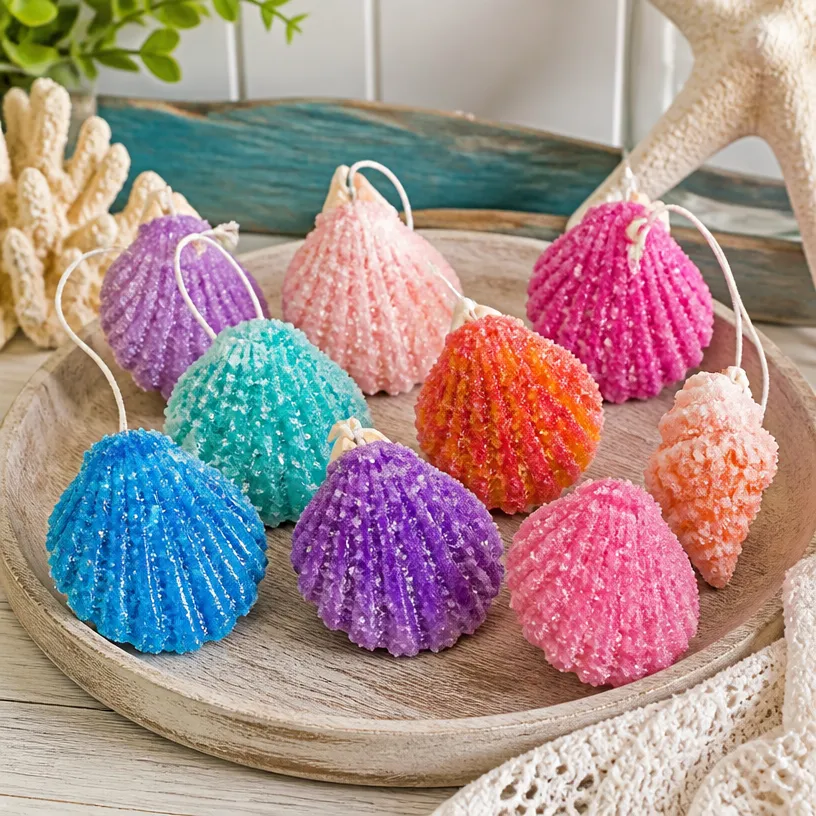
How to Make DIY Crystal Seashells
- Prepare the Solution: In a container, combine 3 tablespoons of borax powder for every cup of hot water. Stir well until the borax dissolves completely.
- Add Food Coloring: If you want colored crystals, mix in a few drops of food coloring into the solution.
- Prepare the Shells: If you’d like to hang the seashells later, tie a piece of string or wire to each shell.
- Soak the Shells: Leave the shells submerged in the borax solution. Allow them to soak for about 6 hours or overnight for best results.
- Remove and Dry: Carefully take the shells out of the solution, and let them dry. You’ll see beautiful crystals formed on the surface as they dry.
To explore more creative projects like this one, check out our article on crystal growing geodes for kids.
Helpful Tips
- Ensure Thorough Dissolution: Make sure the borax is completely dissolved to avoid grainy textures on your shells.
- Experiment with Color: Test different food color combinations for unique effects on the crystals.
- Display Ideas: Once dried, consider placing your sparkling shells in a clear jar or hanging them in a sunny window.
Easy Variations
- Mix and Match Colors: Create a rainbow effect by using different colors for each shell in the same setup.
- Add Glitter: Sprinkle some glitter into the borax solution for a sparkling addition to your seashells.
- Use Different Shell Types: Explore with larger or smaller shells to see how crystals form differently.
- Seasonal Themes: Adapt colors and sizes based on seasons for themed decorations.
- Create a Display Centerpiece: Use larger shells as the focal point of a seasonal table display.
Making This Craft With Kids
This project is suitable for older children under adult supervision, especially when handling hot water and boiling borax. Kids can enjoy the soaking and drying process while learning about crystals along the way.
How to Display or Use It
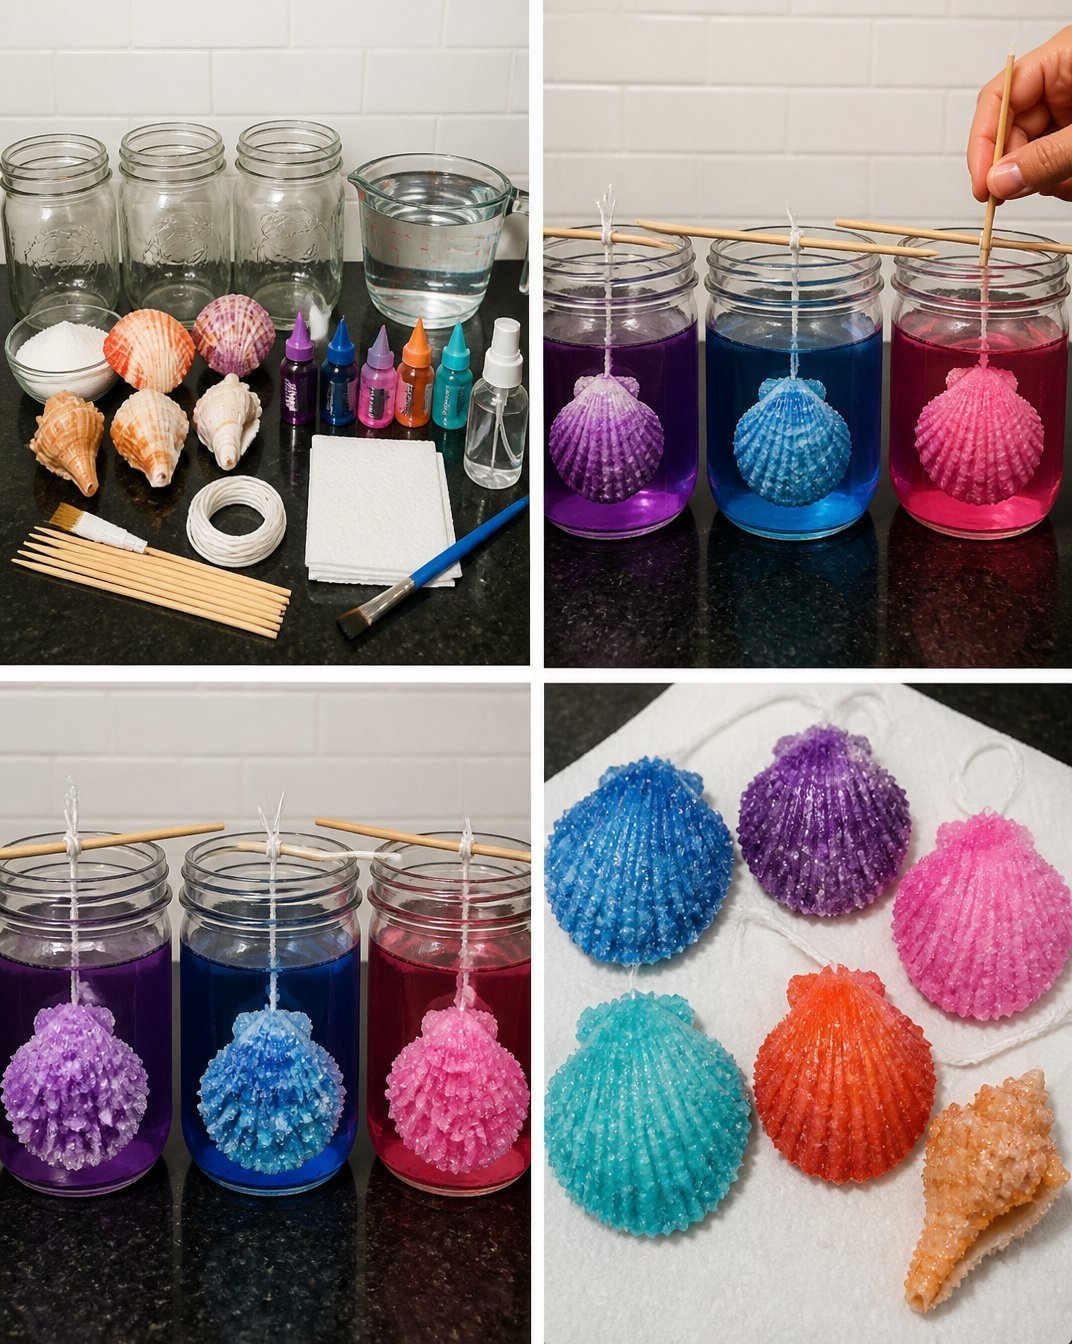
You can display your finished crystal seashells in various ways, such as in glass jars, mounted on wooden planks, or even as part of a beach-themed center for a coffee table. They also make unique gifts or party favors that friends and family will love.
Frequently Asked Questions
1. How long does it take for the shells to dry?
It usually takes a few hours, but for the best results, allow them to dry overnight.
2. Can I use any type of seashell?
Yes, you can use any type of seashell as long as it’s clean and dry before starting the project.
3. What happens if the solution doesn’t dissolve completely?
If the borax doesn’t dissolve, the crystals may form unevenly, leading to a less attractive appearance.
4. Is this a safe project for kids?
With adult supervision, this can be a safe and enjoyable project for older children.
5. Can I add different materials to the solution?
You can experiment with adding glitter or other colorants, but be cautious about using anything that isn’t food-safe.
Conclusion
Crafting DIY crystal seashells is a delightful way to engage with science and art at the same time. Families can enjoy making these together, and they transform into beautiful decor. For more information on growing crystals with a different medium, check out this guide on crystal seashells from KiwiCo or explore this science experiment for ideas. Happy crafting!
Print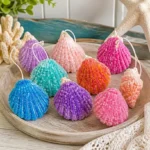
DIY Crystal Seashells
- Total Time: 375 minutes
- Makes: Multiple seashells
Description
Learn how to make colorful crystal seashells with a simple and fun craft project that combines art and science.
Materials
- Seashells (any size or type)
- Borax powder
- Water
- A container for the solution
- Food coloring (optional)
- String or wire for hanging (optional)
Instructions
- Prepare the solution: In a container, combine 3 tablespoons of borax powder for every cup of hot water and stir until dissolved.
- Add food coloring: Mix in a few drops of food coloring if desired.
- Prepare the shells: Tie a string or wire to each seashell if you wish to hang them.
- Soak the shells: Leave the shells submerged in the borax solution for about 6 hours or overnight for best results.
- Remove and dry: Take the shells out and let them dry to reveal the beautiful crystals formed.
Notes
Ensure the borax is completely dissolved for even crystal formation. Experiment with colors and display ideas after drying.