

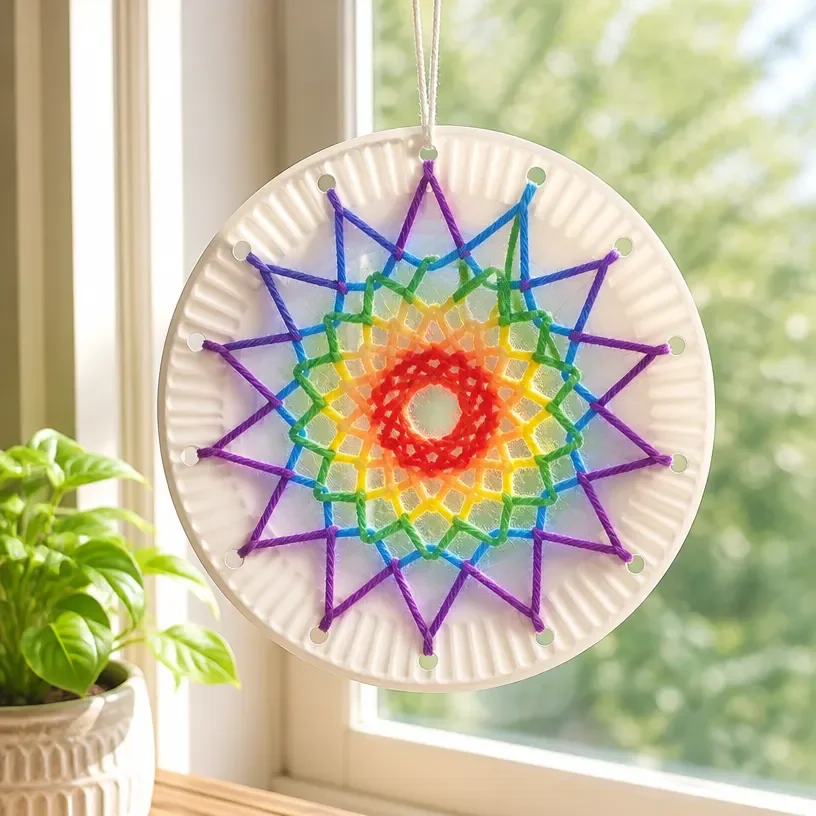
How to Make a Rainbow Spiderweb Suncatcher from Paper Plates
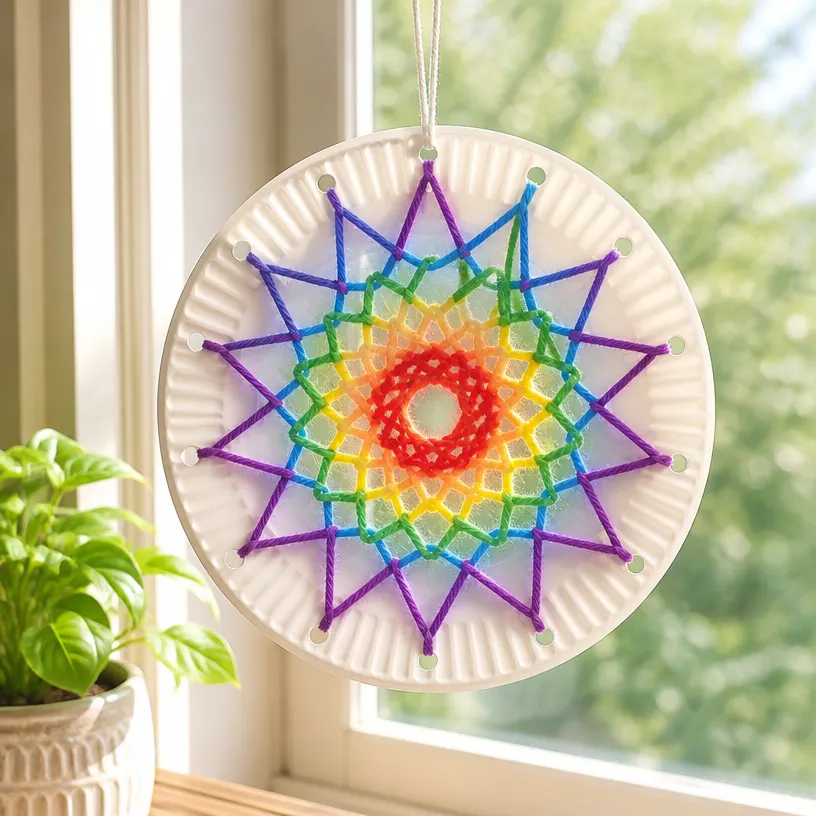
Creating a rainbow spiderweb suncatcher from paper plates is a delightful and colorful project that is perfect for brightening up your windows. This craft allows you to explore creativity while enjoying a hands-on activity with family or friends. The vibrant colors and the beautiful design make this suncatcher not only enjoyable to make but also a fantastic decoration for any season. You may also find Colorful Button Mosaic Art Apple Inspired Rainbow Design useful.
This craft is simple to assemble and requires materials that you may already have at home. Let’s dive into the details of crafting your very own rainbow spiderweb suncatcher! You may also find Diy Butterfly Craft Kids Paper Wing Suncatcher useful.
Why You’ll Enjoy This Project
- Vibrant Colors: The rainbow theme adds a bright and cheerful touch to your home decor.
- Easy Materials: You can make use of common household items like paper plates and markers.
- Fun for Everyone: This project involves a mix of creative thinking and fine motor skills, making it suitable for both kids and adults.
- Customizable Design: You can adapt the colors and patterns to suit any theme or season.
- Engaging Activity: It’s a great way to spend quality time with family or friends, sharing ideas and creating together.
You may also find Diy Rainbow School Bus Photo Frame Craft For Kids useful.
Materials You’ll Need
- Two paper plates
- Scissors
- Washable markers or paint
- Clear contact paper or clear tape
- String or yarn for hanging
- Hole punch (optional)
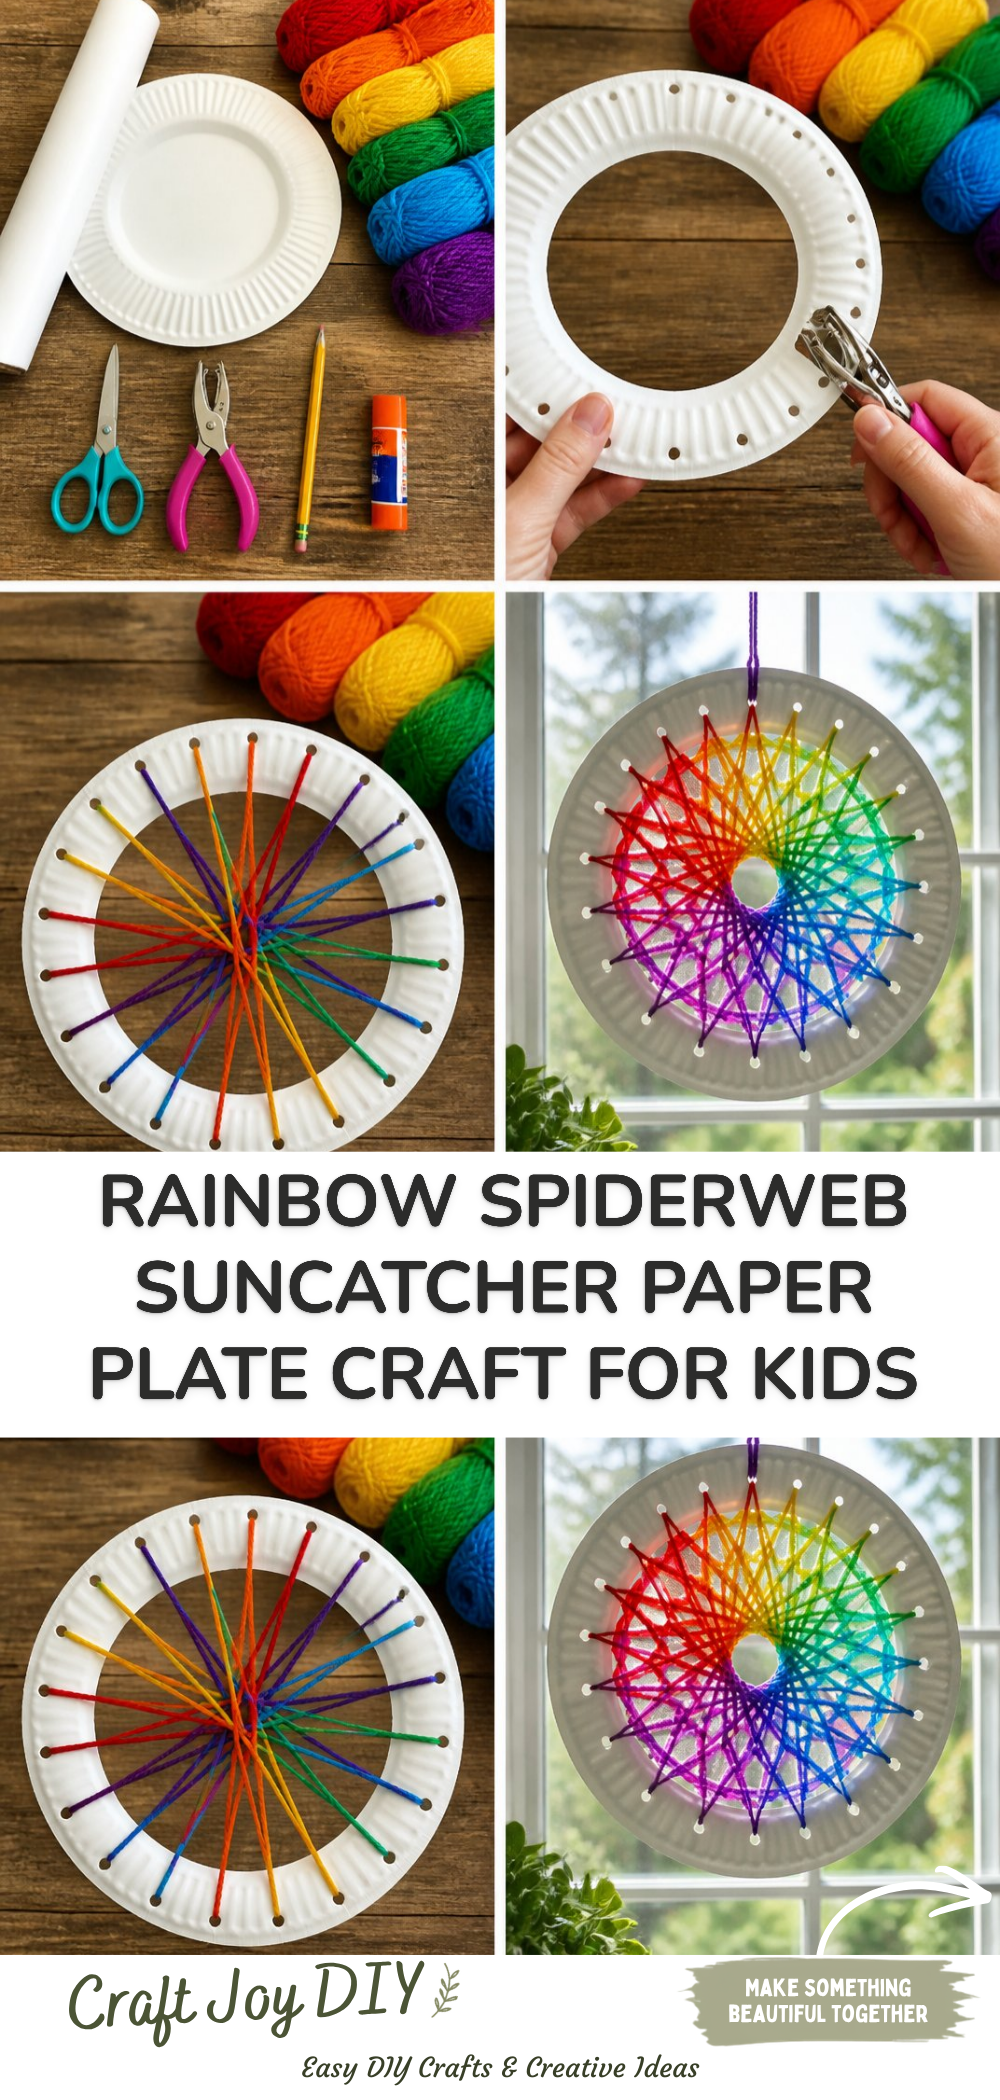
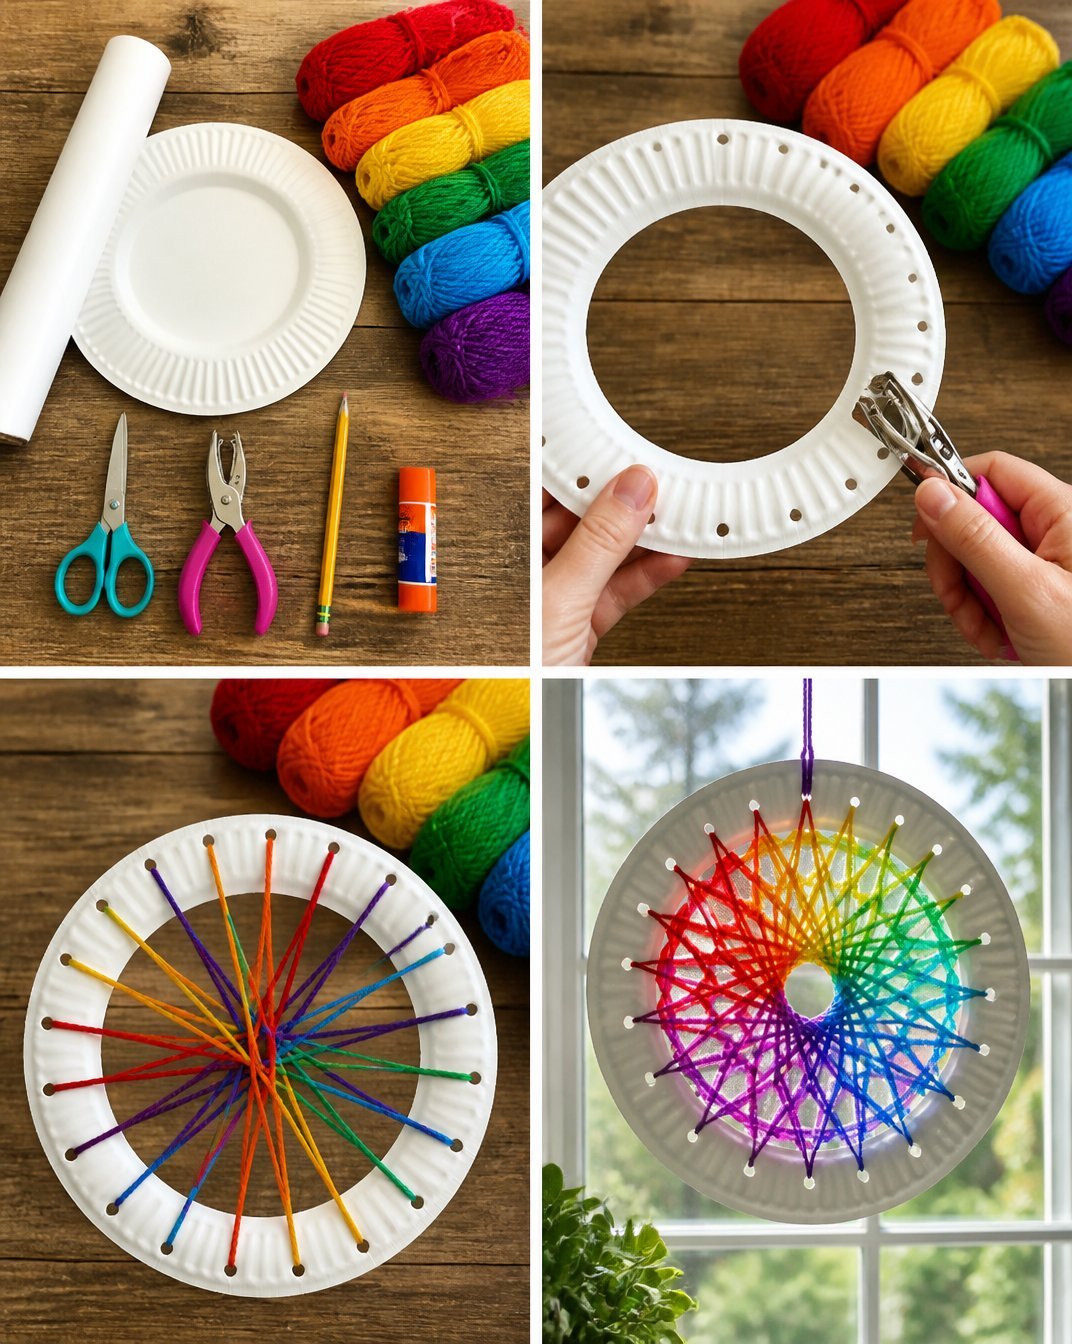
How to Make a Rainbow Spiderweb Suncatcher from Paper Plates
Prepare the Plates: Start by stacking two paper plates on top of each other. This will give your suncatcher extra sturdiness.
Cut Out the Center: Using scissors, carefully cut out the inner circle of both plates. Leave about a 1-inch border around the edges – this will form the “web” design.
Design the Web: Use washable markers or paint to decorate the border of your plates. You can create a fun spiderweb pattern or fill it in with vibrant rainbow colors, just like in our rainbow sun craft tutorial.
Add the Contact Paper: Once your design is complete, cut a piece of clear contact paper to cover the hole in the center of your plates. Be sure to smooth out any bubbles as you press it down.
Assemble the Suncatcher: Place the two decorated plates back together with the decorated sides facing outward. The contact paper should be sandwiched in between.
Create a Hanging Loop: If you’d like to hang your suncatcher, use a hole punch to make a hole at the top of the stacked plates. Thread a piece of string or yarn through the hole, tying a knot to secure it.
Helpful Tips
- Keep it Simple: If younger kids are part of this project, consider keeping the design basic to avoid frustration.
- Use Vibrant Colors: The more vibrant the colors, the more beautiful your suncatcher will be when it catches the sunlight.
- Display Properly: Hang your suncatcher in a sunny window to ensure it shines beautifully, just like the melted crayon crafts.
Easy Variations
- Seasonal Themes: Create suncatchers themed for holidays, like red and green for Christmas or pastels for Easter.
- Different Shapes: Instead of circles, experiment with shapes like hearts or stars to create unique designs.
- Using Different Materials: Instead of markers, try using torn tissue paper or colored cellophane for a different texture and look.
Making This Craft With Kids
This craft is perfect for children, as it encourages creativity and fine motor skills. Adults might need to supervise when using scissors for cutting the plates. Ensure that younger children are only handling safe cutting tools or are guided through the cutting steps.
How to Display or Use It
Once your suncatcher is complete, hang it in a window facing the sun. This not only lets the light shine through but also adds a cheerful pop of color to any room. You could also consider gifting these suncatchers to friends or family as a handmade touch for special occasions.
Frequently Asked Questions
Can I use different types of plates?
Yes, you can use foam plates or even cardboard for different results!
What if I don’t have contact paper?
Clear tape can work in a pinch, although it might not be as smooth.
How long will this craft take?
Expect around 30 to 60 minutes, depending on drying time for any paint used.
Is this project safe for toddlers?
While they can participate in coloring, they will need adult assistance with cutting.
What should I do if I want a brighter look?
You can layer colors, or use neon markers to really make your suncatcher pop.
Conclusion
Creating a rainbow spiderweb suncatcher from paper plates is a fun and engaging project for families. If you want more craft ideas, check out these 25+ Rainbow Crafts for Kids for inspiration. Also, for a unique twist on suncatchers, you might find the Opalite Sun Catcher Crystal Spider Web Suncatcher intriguing! Happy crafting!
Print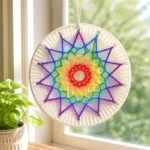
Rainbow Spiderweb Suncatcher from Paper Plates
- Total Time: 40 minutes
- Makes: 1 suncatcher
Description
Create a colorful rainbow spiderweb suncatcher from paper plates, perfect for brightening up windows and adding a cheerful touch to your home decor.
Materials
- Two paper plates
- Scissors
- Washable markers or paint
- Clear contact paper or clear tape
- String or yarn for hanging
- Hole punch (optional)
Instructions
- Prepare the plates by stacking two paper plates on top of each other.
- Cut out the inner circle of both plates, leaving about a 1-inch border.
- Design the web using washable markers or paint to create patterns.
- Add a piece of clear contact paper to cover the hole in the center.
- Assemble the two plates back together with decorated sides facing out.
- Create a hanging loop by making a hole at the top and threading string or yarn through it.
Notes
Use vibrant colors for a more eye-catching suncatcher, and hang it in a sunny window for best results.