

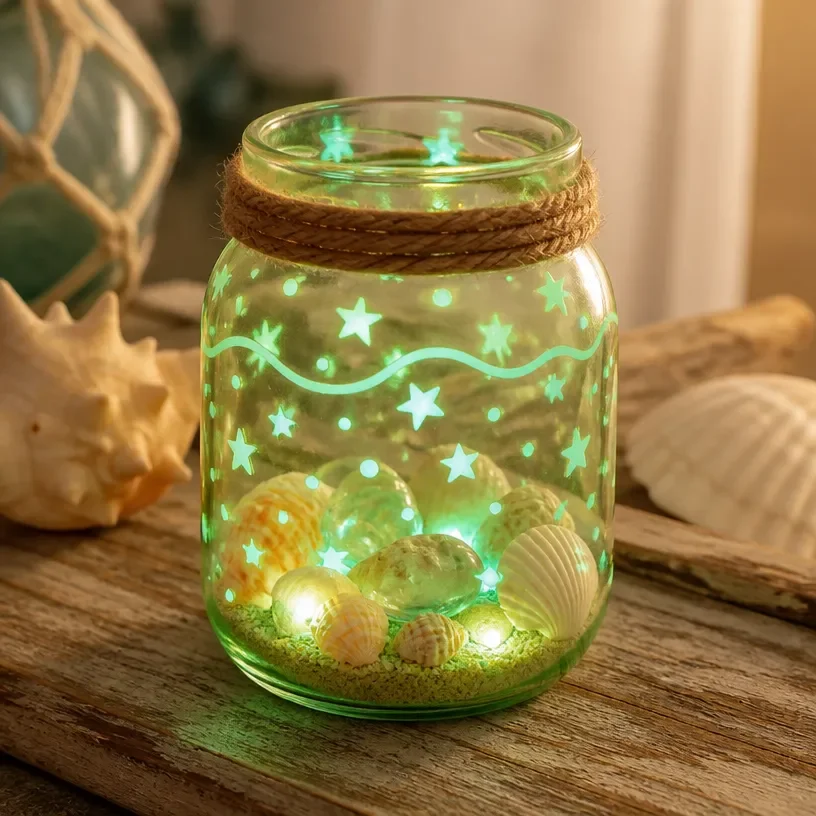
Phosphorescent Seashell Jar for Nighttime Home Decor
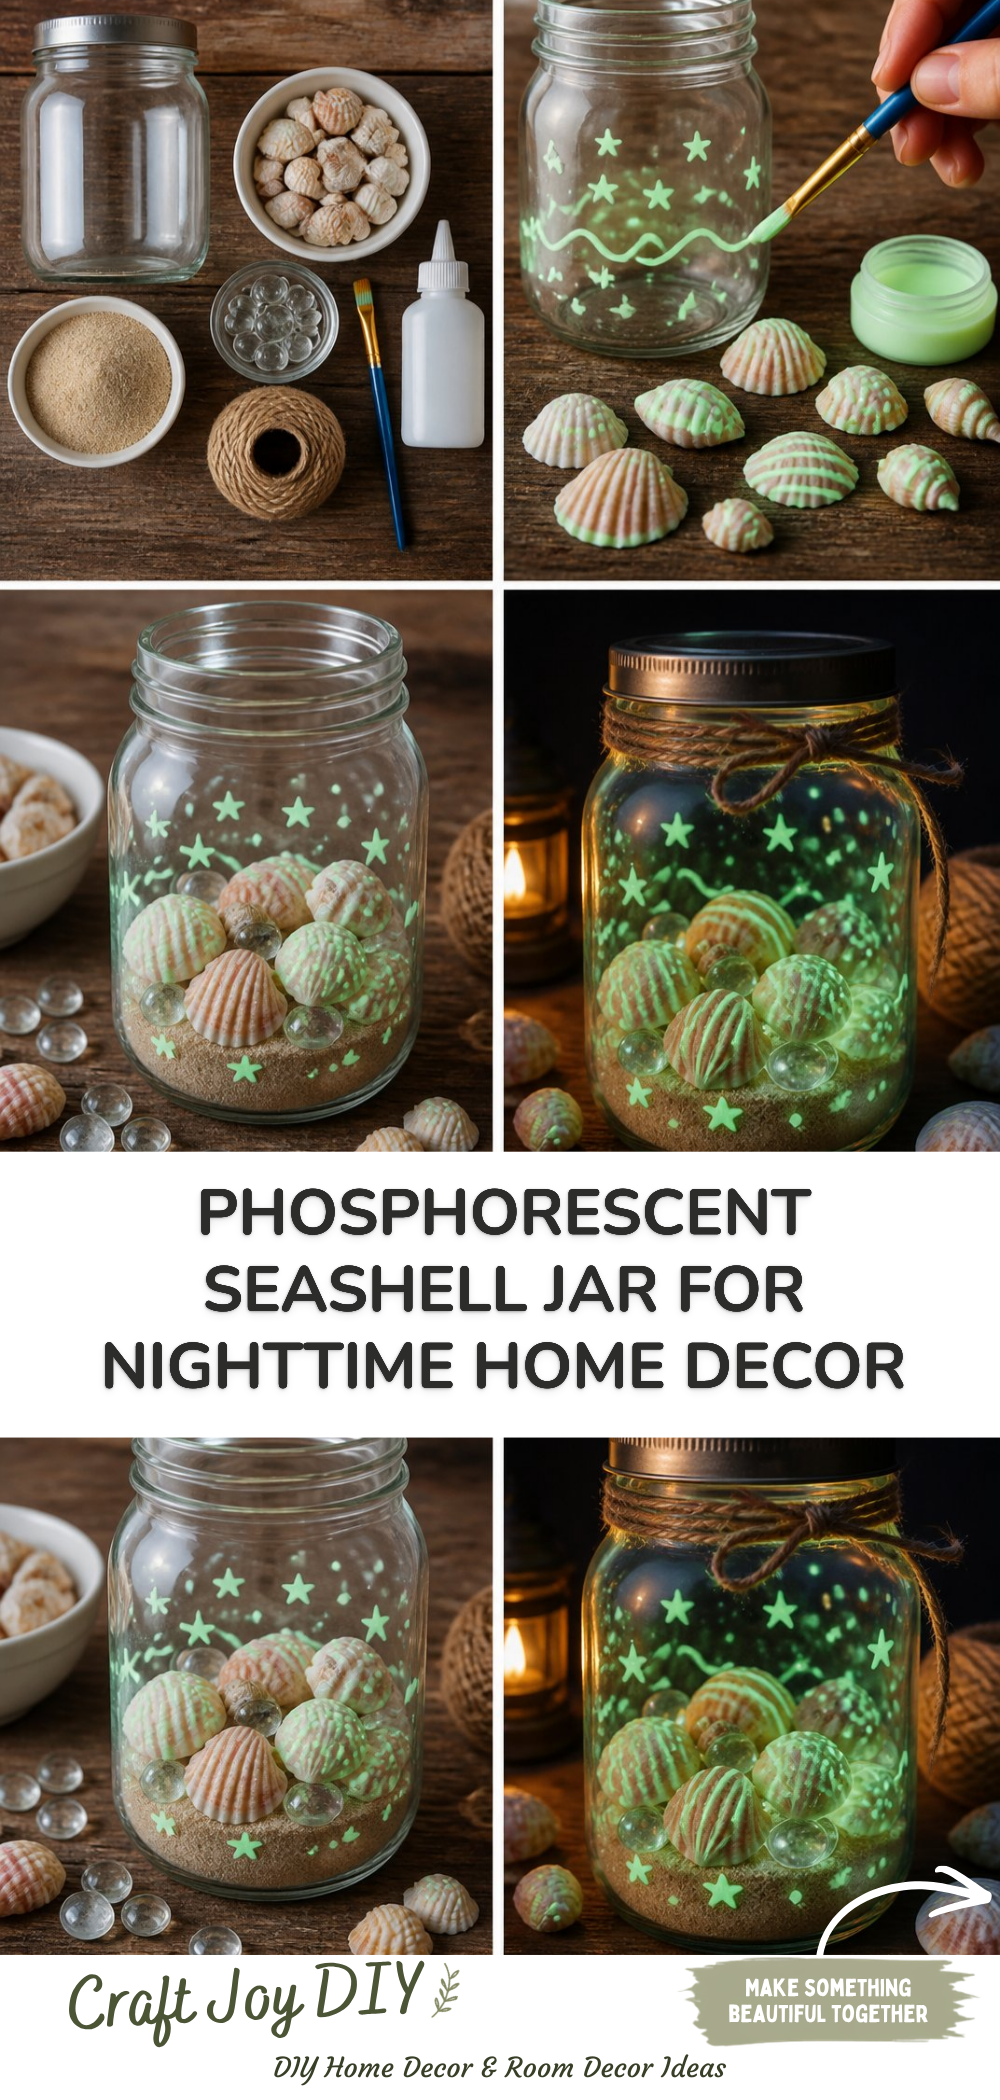
Transforming seashells into a phosphorescent jar is a delightful craft that brings a touch of the ocean to your home decor. This project is fun and provides a soothing glow at night, making it perfect for cozy evenings. Not only is it visually appealing, but it’s also a great way to engage creatively with your family. You may also find Pressed Leaf Mason Jar Lantern Fall Decor useful.
With just a few simple materials, you can create something truly unique and beautiful. Let’s dive into how to make your very own phosphorescent seashell jar! You may also find 3D Salt Painting For Kids Textured Art useful.
Why You’ll Enjoy This Project
- Simple Materials: The project uses easily accessible materials, making it a great choice for families.
- Creativity Boost: You’ll have the chance to personalize your jar with different shells and colors.
- Nighttime Charm: The phosphorescent glow adds a whimsical touch to any room after dark.
- Fun Family Activity: It’s a fantastic way to spend quality time with kids while crafting something special.
- Great Gift Idea: Finished jars make wonderful gifts for friends or family who appreciate handmade decor.
You may also find Beaded Pipe Cleaner Snail Craft For Kids 2 useful.
Materials You’ll Need
- Clear jar with a lid (like a mason jar)
- Seashells (real or artificial)
- Glow-in-the-dark paint
- Paintbrush
- Mod Podge (for sealing)
- Decorative elements (like ribbon or twine)
Choosing natural seashells adds authenticity, but artificial ones are just as fun! If you’re looking for more creative ideas for natural decor, consider this vintage teacup bird feeder project.
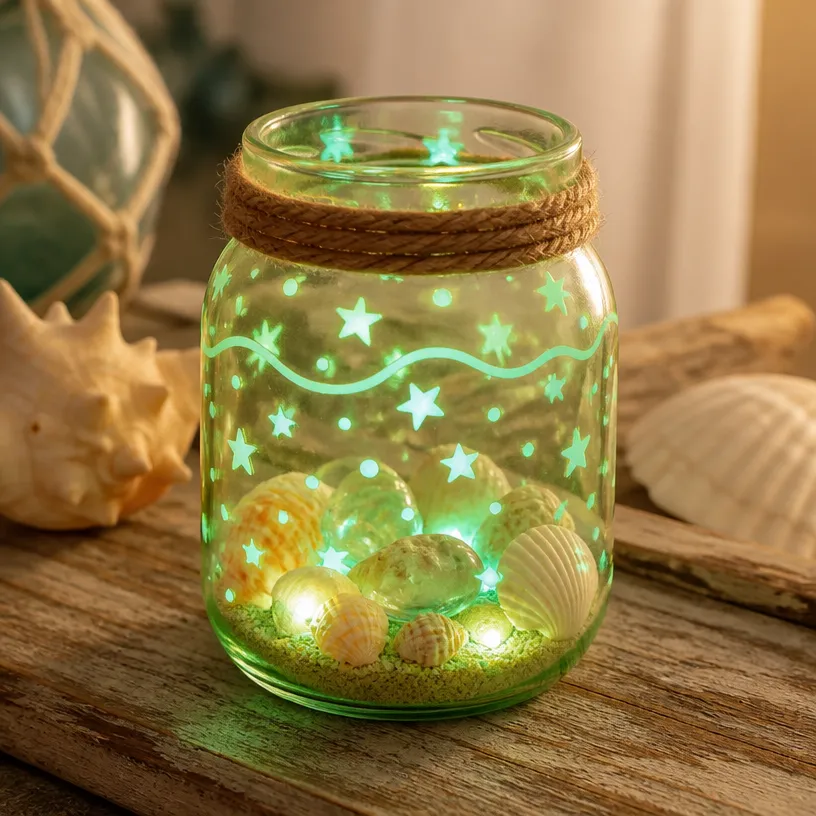
How to Make Phosphorescent Seashell Jar for Nighttime Home Decor
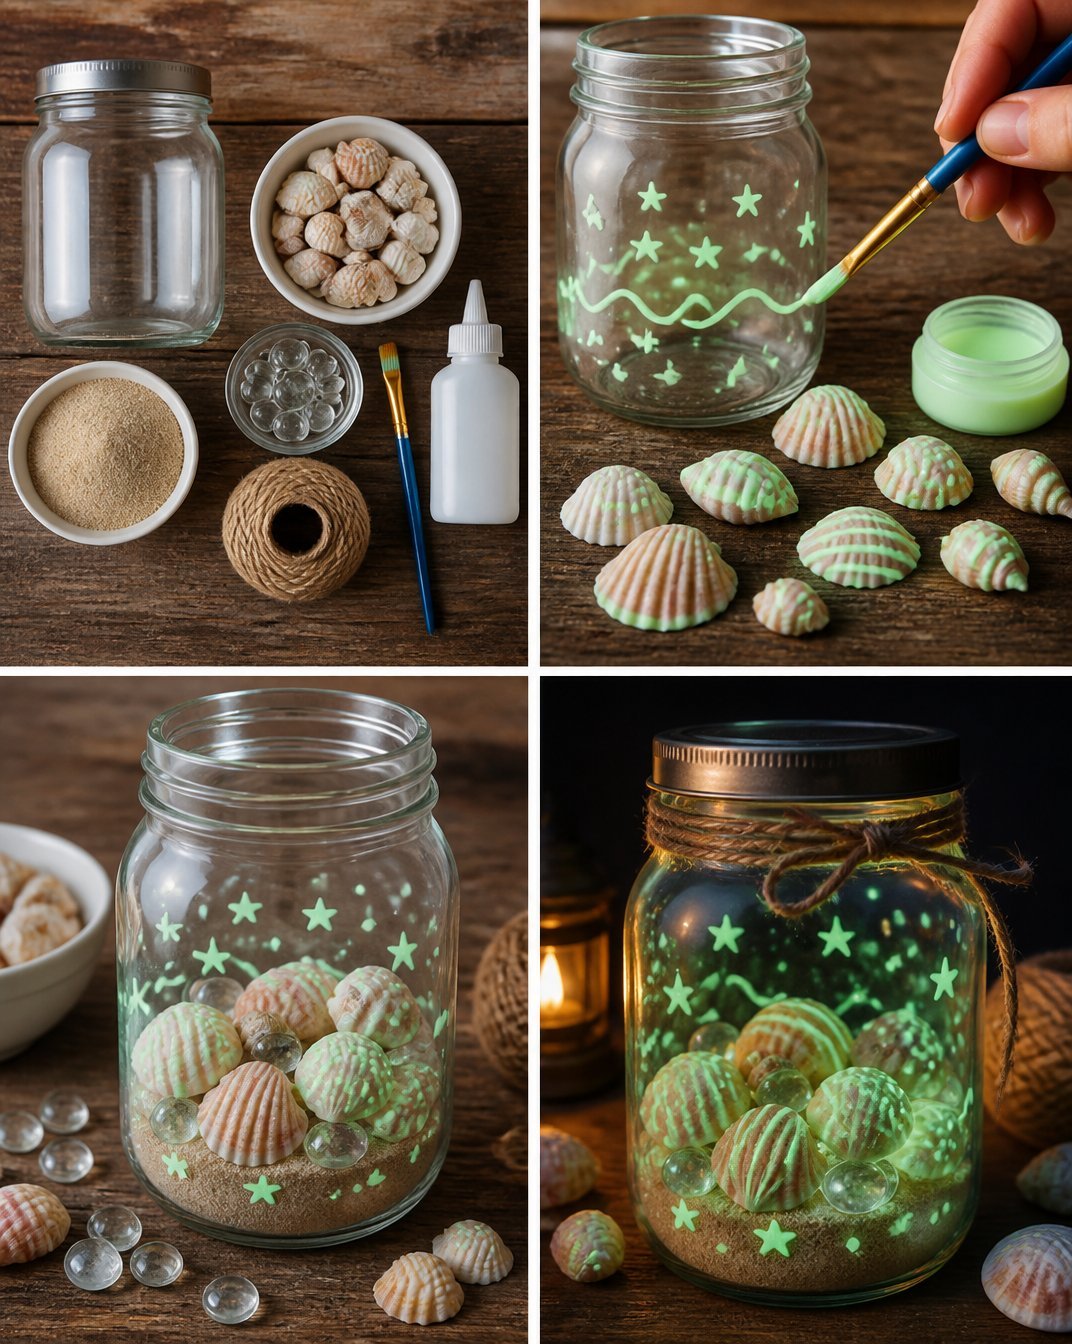
- Prepare Your Seashells: Clean your seashells thoroughly and let them dry completely.
- Apply Glow-in-the-Dark Paint: Using a paintbrush, apply the glow-in-the-dark paint to the seashells. Make sure to cover all visible areas, as this will enhance their glow.
- Let Them Dry: Once painted, allow the seashells to dry for a few hours or until the paint is fully set.
- Fill the Jar: Begin placing the painted seashells inside your jar. You can layer them for added dimension or create specific arrangements based on sizes and colors.
- Seal the Jar: Once you’re happy with the arrangement, add Mod Podge to the inside of the lid to seal the jar. This helps keep your craft intact while showcasing the beautiful shells.
Helpful Tips
- For a Cleaner Finish: If you’re worried about excess paint on your shells, lightly sand them down before painting.
- Handling Glow Paint: It’s essential to apply the glow-in-the-dark paint in a well-ventilated area, and ensure dry time is followed for the best results.
- Safeguarding Shells: If crafting with kids, supervise the use of sharp tools or paint to avoid any accidents.
- Display Suggestions: Position your finished jar in a place where it can gather light during the day for maximum nighttime glow.
Easy Variations
- Seasonal Themes: Use colored paint that reflects the seasons, such as pastel colors for spring or warm hues for autumn.
- Larger or Smaller Jars: Experiment with different jar sizes to fit your space or aesthetic needs.
- Add Fairy Lights: For a more dynamic display, place battery-operated fairy lights inside the jar for an enchanting look.
- Nature-Inspired Decor: Add small pebbles or sand at the bottom of the jar along with your shells for added texture.
Making This Craft With Kids
This project is enjoyable for children, especially when it comes to painting and arranging seashells. Adults should supervise when using sharp tools to prepare the shells or apply paint. Encourage children to express their creativity while guiding them through the steps. You may also find Beaded Pipe Cleaner Snail Craft For Kids useful.
How to Display or Use It
Your phosphorescent seashell jar can be displayed on a shelf, used as a nightlight, or even as a centerpiece for a beach-themed gathering. The gentle guide of light will create a peaceful atmosphere in any room.
Frequently Asked Questions
Can I use any type of seashell?
Yes, both real and artificial seashells work well for this project.
How long will the glow last?
The duration of the glow depends on the quality of glow-in-the-dark paint you use; usually, it will glow for several hours.
Is this project messy?
It can be a little messy, so putting down newspaper or covering your work area is a good idea.
What if I want to change the shells later?
Simply open the jar and swap them out; you can repaint the inside with new colors as desired.
Conclusion
Creating a phosphorescent seashell jar is a wonderful way to bring the beach vibes home. For more projects to brighten your space, explore items like a Sea Shell Collection Jar that can also be a perfect decoration. If you’re interested in adding more ambiance, consider lighting up your space with a Beach Theme Candle.
Print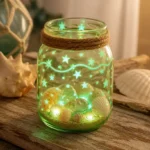
Phosphorescent Seashell Jar for Nighttime Home Decor
- Total Time: 15 minutes
- Makes: 1 jar
Description
Transform seashells into a phosphorescent jar that adds a charming glow to your home decor for cozy evenings.
Materials
- Clear jar with a lid (like a mason jar)
- Seashells (real or artificial)
- Glow-in-the-dark paint
- Paintbrush
- Mod Podge (for sealing)
- Decorative elements (like ribbon or twine)
Instructions
- Prepare your seashells: Clean your seashells thoroughly and let them dry completely.
- Apply glow-in-the-dark paint: Using a paintbrush, apply the glow-in-the-dark paint to the seashells, covering all visible areas.
- Let them dry: Allow the seashells to dry for a few hours or until the paint is fully set.
- Fill the jar: Place the painted seashells inside your jar, layering them for dimension.
- Seal the jar: Add Mod Podge to the inside of the lid to secure the shells and showcase them.
Notes
For a cleaner finish, lightly sand shells before painting. Ensure good ventilation while using glow paint. Supervise kids while crafting.