

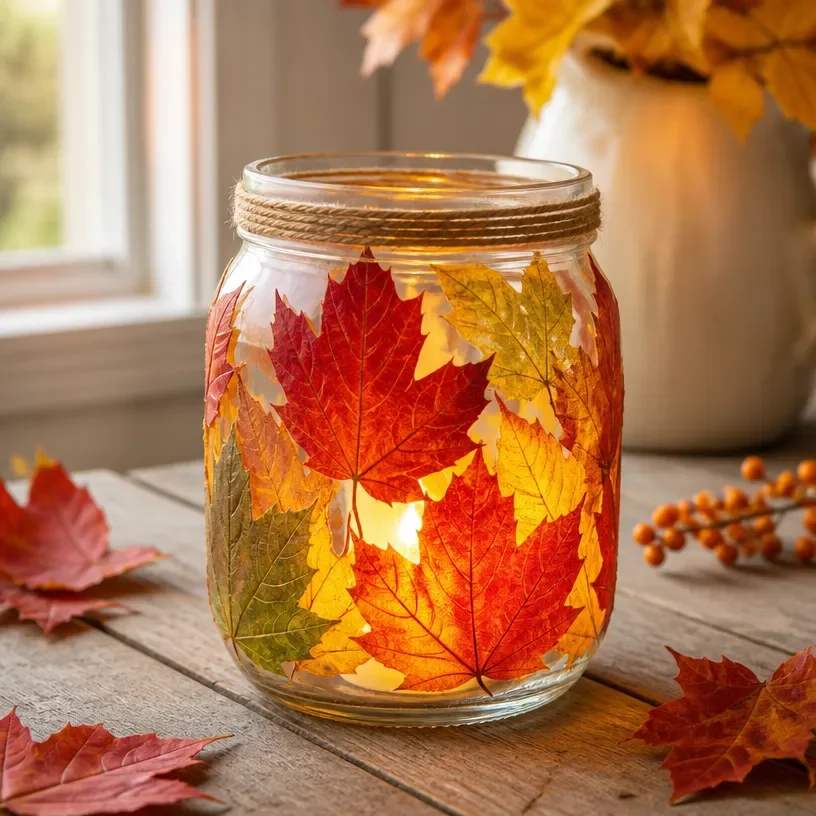
Pressed Leaf Mason Jar Fall Lantern
Creating a Pressed Leaf Mason Jar Fall Lantern is a delightful way to celebrate the beauty of autumn. This project combines nature with creativity, allowing you to transform pressed leaves into a charming decorative piece. It’s perfect for brightening up your home or as a lovely gift for friends and family. You may also find Pressed Flower Rainbow Window Medallions useful.
The process is easy and can be enjoyed by crafters of all ages. Using simple materials, you can craft something beautiful that reflects the vibrant colors of fall. Let’s gather what you’ll need to get started! You may also find Rainbow Tissue Paper Flower Lantern Diy For Kids useful.
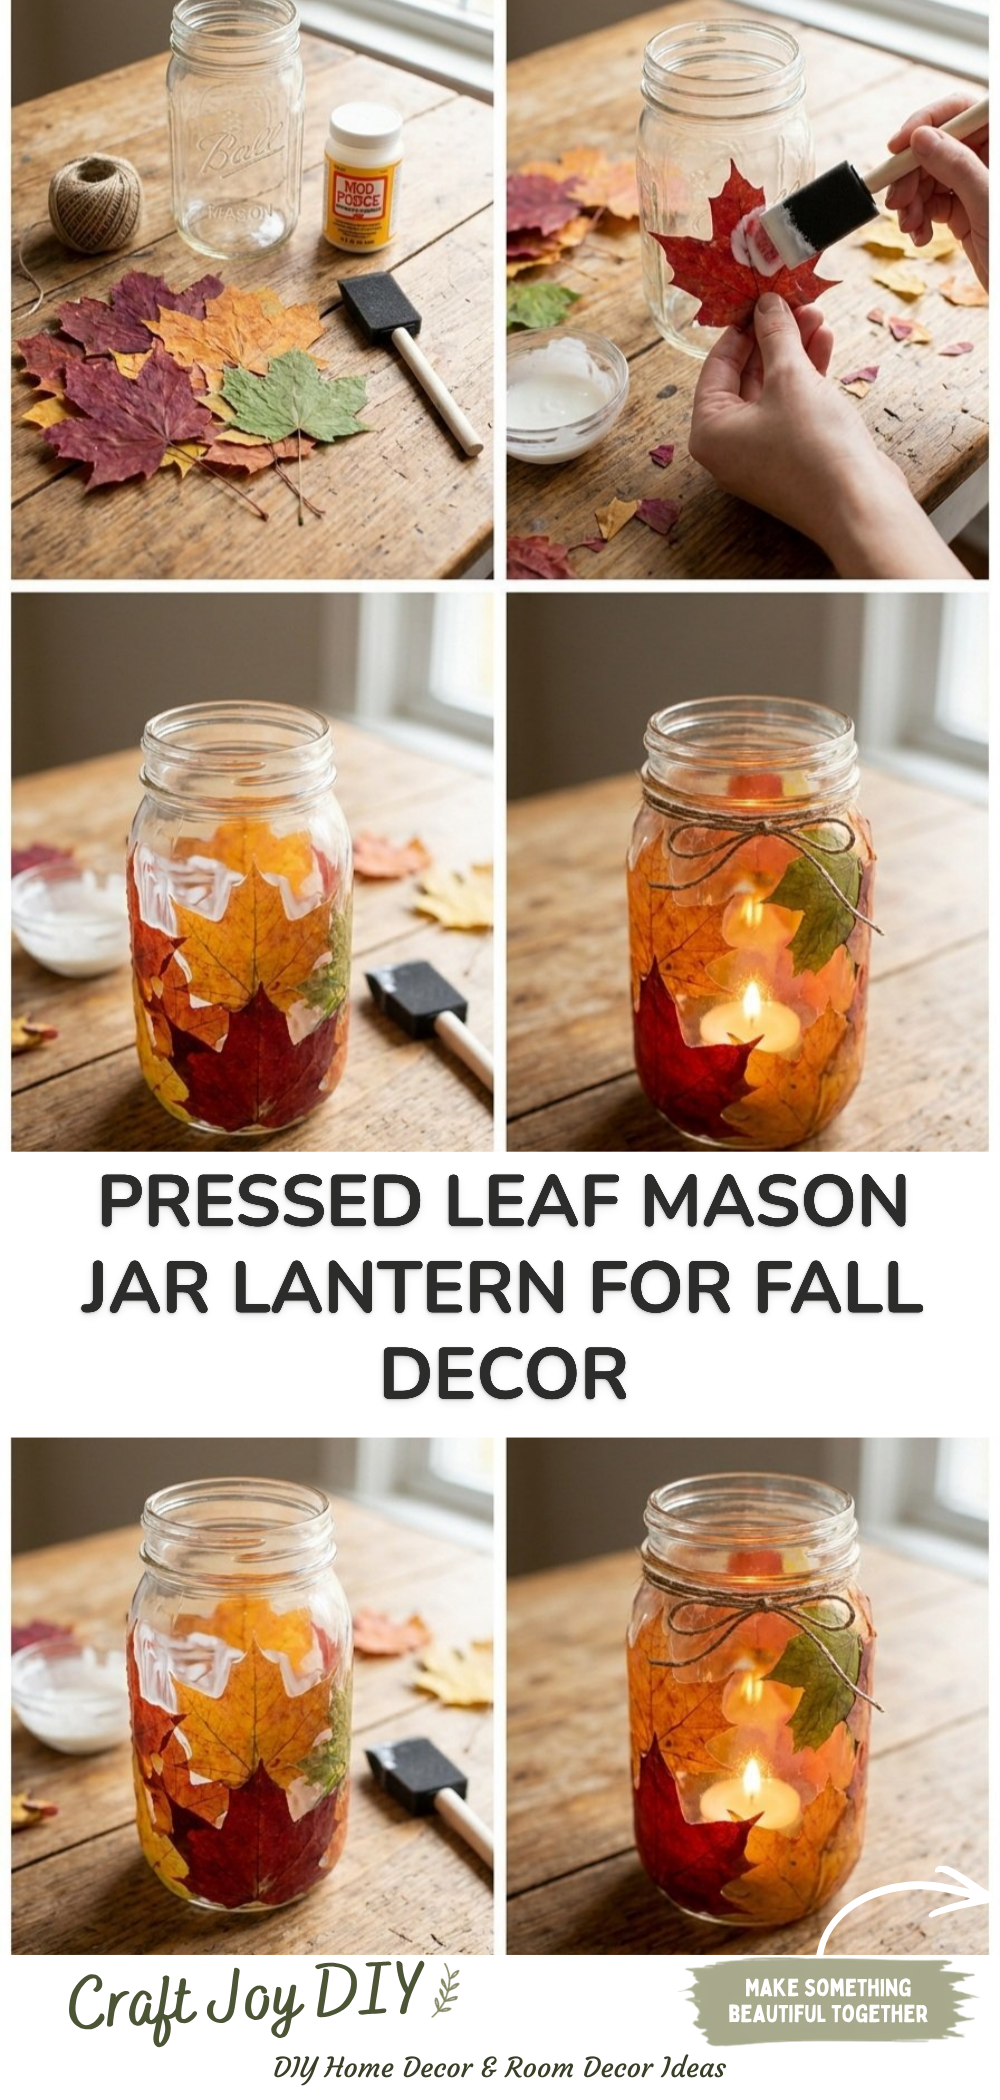
Why You’ll Enjoy This Project
- Nature-Inspired: This project celebrates the seasonal beauty of autumn through natural materials.
- Creative Expression: It allows for personalization based on your choice of leaves and colors.
- Simple Assembly: With minimal materials, it’s easy to put together, making it suitable even for beginner crafters.
- Decorative Touch: The lantern will not only serve as a lovely decoration but also add a warm glow to your space.
Materials You’ll Need
- Mason jar (quart size recommended)
- Assorted leaves (pressed flat)
- Mod Podge (or similar decoupage glue)
- Paintbrush
- Small tea light candle (or battery-operated LED candle)
- Twine or ribbon (optional for decoration)
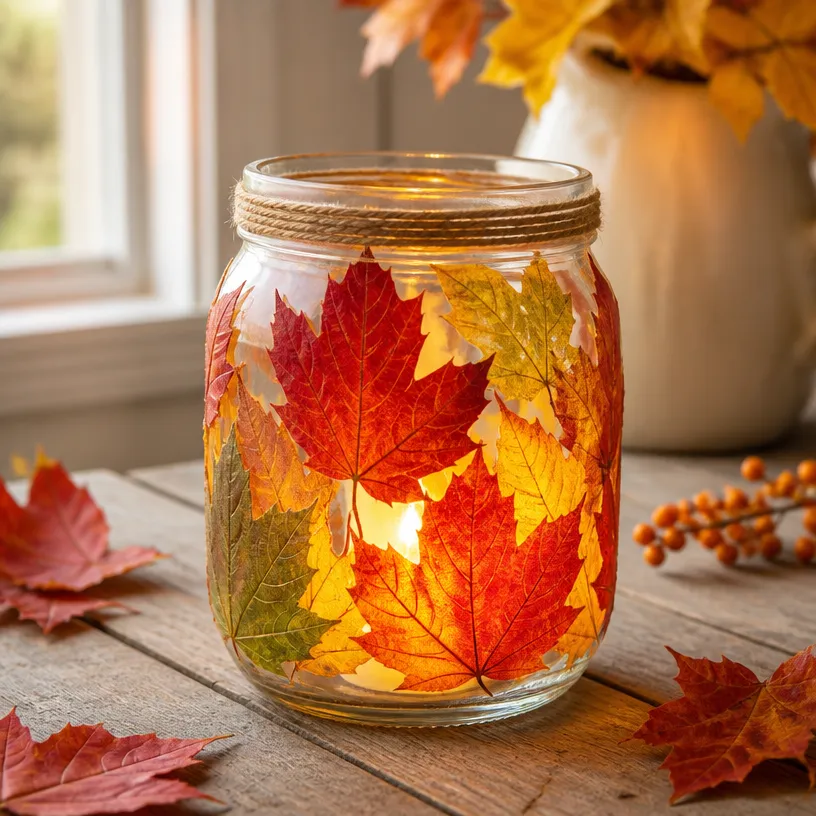
How to Make Pressed Leaf Mason Jar Fall Lantern
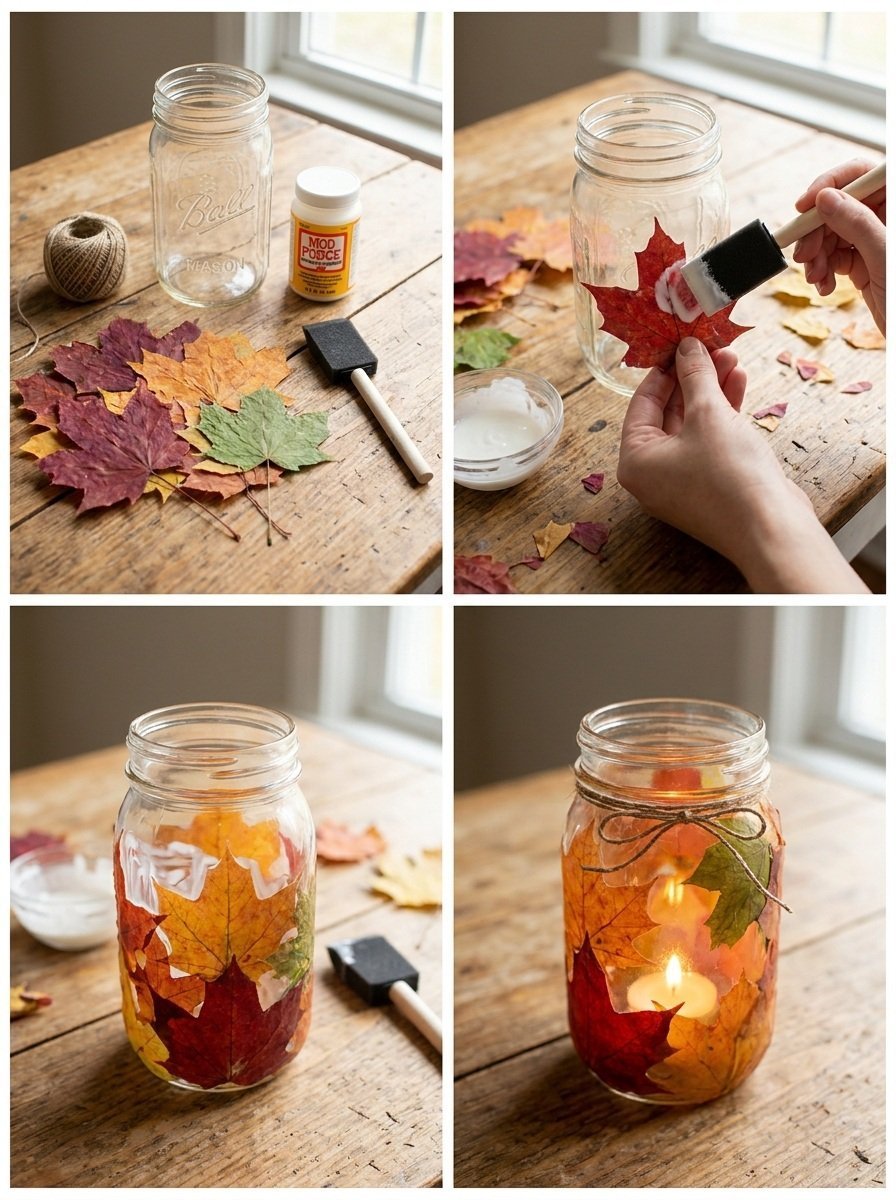
Prepare Your Leaves: Gather leaves from your yard or a local park. Press them between the pages of a heavy book for a few days to flatten them.
Clean the Jar: Make sure your mason jar is clean and dry before starting.
Attach Leaves: Using a paintbrush, apply a thin layer of Mod Podge to the back of a leaf. Press it onto the outside of the jar. Repeat with additional leaves, arranging them as desired.
Seal with Mod Podge: Once all the leaves are placed, brush a layer of Mod Podge over the entire jar to seal and protect your design. Let it dry completely.
Add a Candle: Once the Mod Podge is dry, place a small tea light candle or a battery-operated LED candle inside the jar for a safe light source.
Decorate (Optional): Tie twine or ribbon around the neck of the jar for an added decorative touch.
Helpful Tips
- Choose Flat Leaves: To ensure they stick well, select thin and flat leaves that are already dry and pressed.
- Layering: For a more colorful effect, overlap smaller leaves on top of larger ones.
- Cleaning Brush: Keep a wet paper towel handy to clean your brush if it gets sticky from the Mod Podge.
- Display: Consider placing your lantern on a windowsill or table where it can catch light and make the colors pop.
Easy Variations
- Use Different Jars: Experiment with various jar sizes or shapes for unique looks.
- Seasonal Themes: Change the leaves for other seasons use flowers for spring or pine needles for winter.
- Layered Designs: Try using multiple layers of leaves to create depth.
- Color Wash: Lightly paint the jar with translucent colors to enhance the final look.
- Stenciled Patterns: Use a stencil to create patterns or words on the jar for a personalized touch.
Making This Craft With Kids
This craft can be a wonderful activity for kids with adult supervision. While they can help press the leaves and apply them to the jar, adults may need to assist with using Mod Podge to ensure neatness and prevent sticky fingers. It’s a great way to explore nature and creativity together!
How to Display or Use It
Once your lantern is complete, it can serve as a warm, inviting centerpiece on your dining table. You can also place it on a shelf or windowsill to let sunlight filter through the leaves. If you’re looking for a unique gift idea, this lantern makes a thoughtful present for friends and family during the fall season.
Frequently Asked Questions
Can I use fresh leaves?
It’s best to use dried, pressed leaves for this project as fresh leaves may wilt or not adhere well.
What type of glue works best?
Mod Podge is a popular choice because it acts as both glue and sealer, making it perfect for this craft.
How long do the leaves last?
Pressed leaves can last several months if they are preserved properly in the lantern.
Can I make this craft with different materials?
Yes! You can experiment with other natural items like flowers or twigs to customize your lantern.
Is it safe to use a real candle?
If you use a real candle, ensure that the leaves are not flammable. Opt for battery-operated candles for safety.
Can I reuse the jar for other crafts?
Absolutely! Once you’re ready to change designs, you can remove the leaves and start fresh.
Conclusion
Creating these Pressed Leaf Mason Jar Fall Lanterns is not just a fun craft; it also teaches about nature and creativity. For further inspiration, check out this guide on Mason Jar Leaf Lanterns or explore how to make jam jar autumn leaf lanterns for even more autumn crafting joy!
Print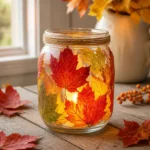
Pressed Leaf Mason Jar Fall Lantern
- Total Time: 20 minutes
- Makes: 1 lantern
Description
Create a charming Pressed Leaf Mason Jar Fall Lantern that celebrates the beauty of autumn using simple materials and natural leaves.
Materials
- Mason jar (quart size recommended)
- Assorted leaves (pressed flat)
- Mod Podge (or similar decoupage glue)
- Paintbrush
- Small tea light candle (or battery-operated LED candle)
- Twine or ribbon (optional for decoration)
Instructions
- Prepare your leaves: Gather leaves from your yard or a local park, and press them between the pages of a heavy book for a few days to flatten them.
- Clean the jar: Make sure your mason jar is clean and dry before starting.
- Attach leaves: Using a paintbrush, apply a thin layer of Mod Podge to the back of a leaf. Press it onto the outside of the jar. Repeat with additional leaves, arranging them as desired.
- Seal with Mod Podge: Once all the leaves are placed, brush a layer of Mod Podge over the entire jar to seal and protect your design. Let it dry completely.
- Add a candle: Once the Mod Podge is dry, place a small tea light candle or a battery-operated LED candle inside the jar for a safe light source.
- Decorate (optional): Tie twine or ribbon around the neck of the jar for an added decorative touch.
Notes
This craft is great for all ages and can be customized with different materials. Use battery-operated candles for safety.