

Rainbow-Themed School Bus Sensory Bottle for Kids
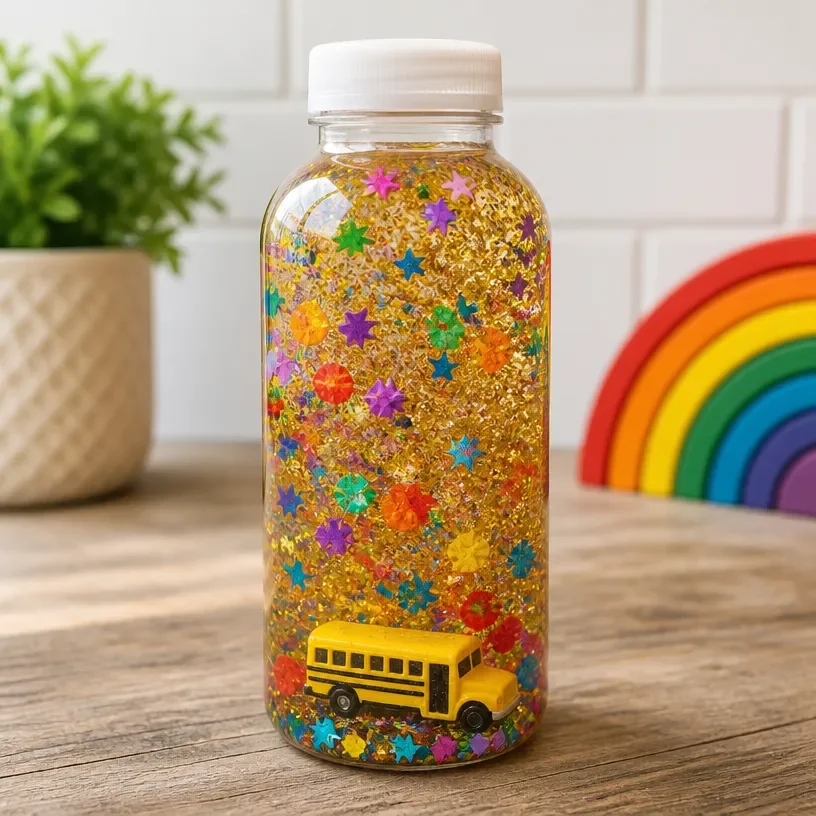
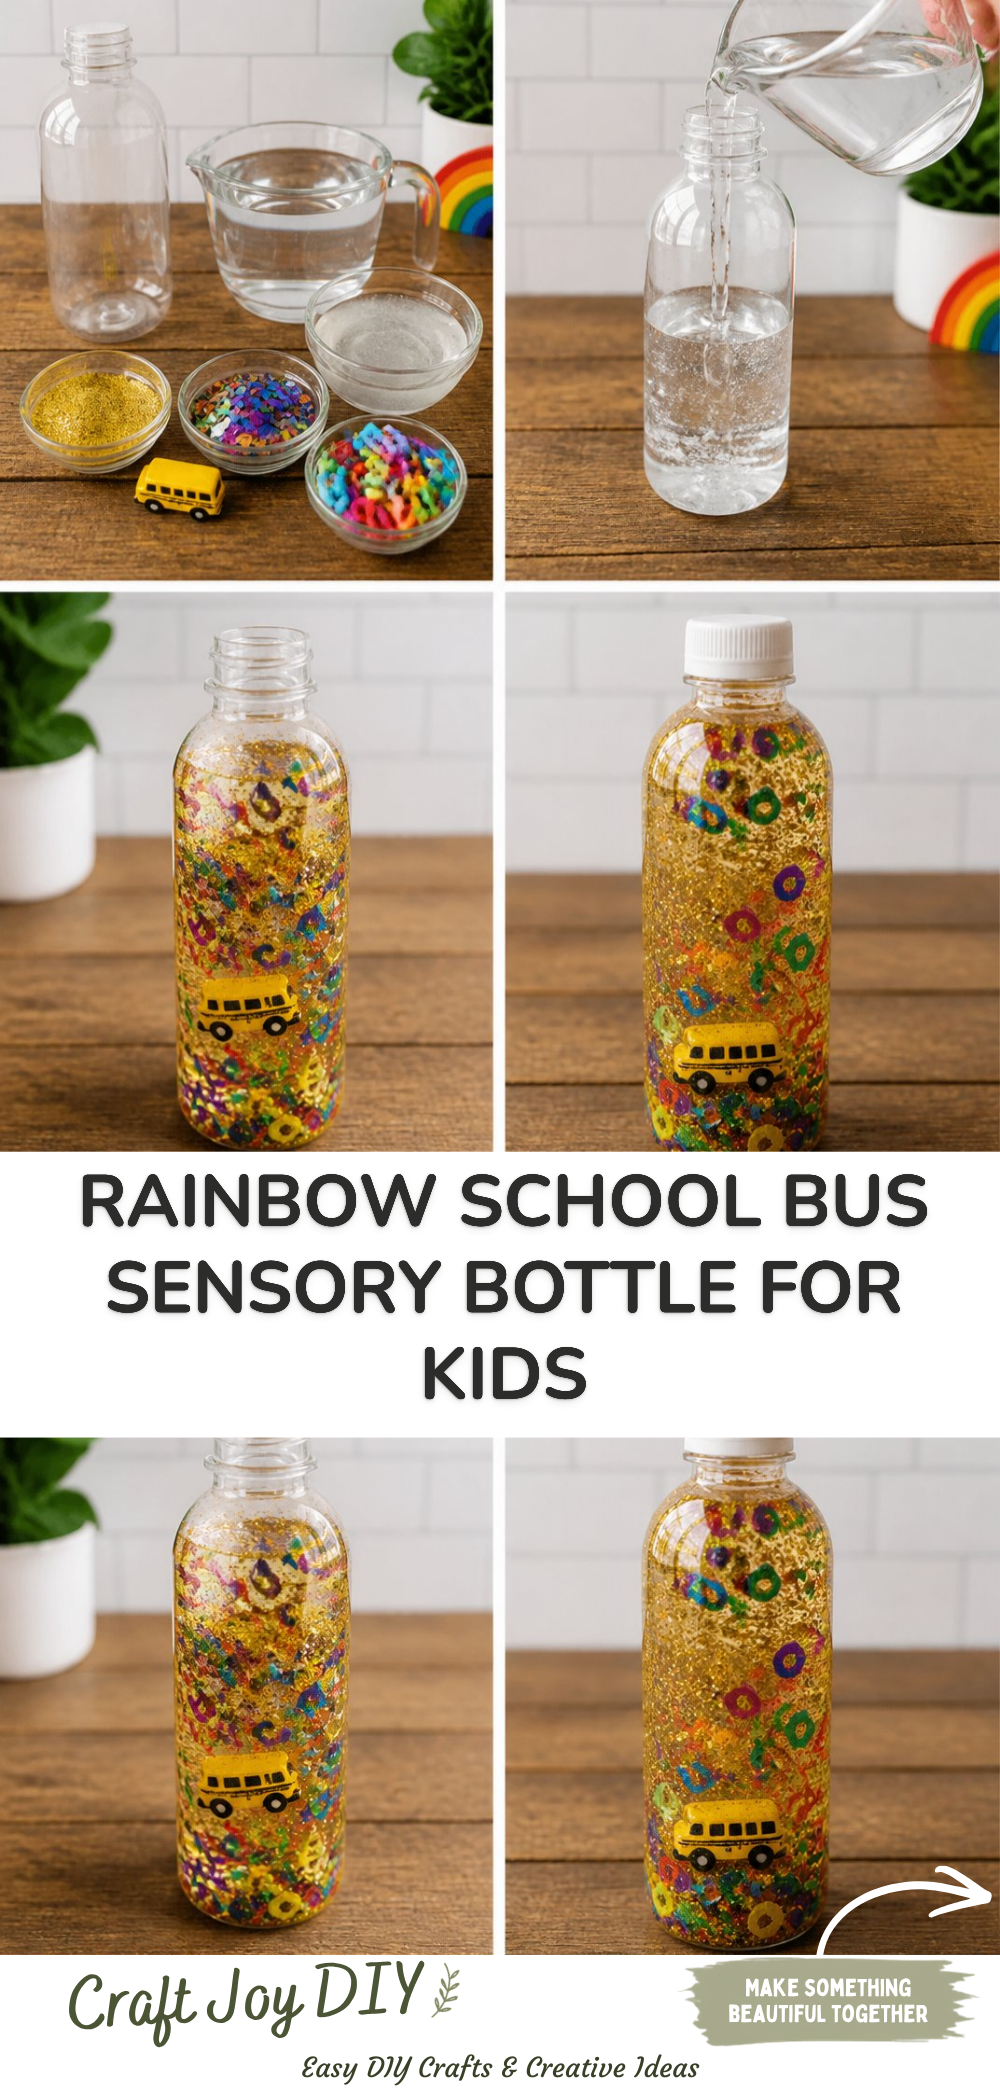
Creating a rainbow-themed school bus sensory bottle can be a delightful experience for both adults and children. This engaging craft not only adds a colorful accent to playtime but also serves as a calming tool that can soothe little ones. The sensory bottle allows kids to explore colors, textures, and even sounds as they shake it. You may also find Beaded Pipe Cleaner Snail Craft For Kids 2 useful.
In this tutorial, you’ll learn how to make this fun sensory bottle using simple materials. It’s a wonderful opportunity for family bonding while also sparking creativity. You may also find Beaded Pipe Cleaner Snail Craft For Kids useful.
Why You’ll Enjoy This Project
- Colorful and Engaging: The vibrant colors will capture attention and make playtime more enjoyable.
- Sensory Benefits: This craft can help children with sensory processing by providing visual stimulation and promoting calming.
- Easy to Assemble: With just a few simple steps, you can create a beautiful sensory bottle that kids will love.
- Affordable Materials: You don’t need expensive supplies; you can often find everything at home or in craft sections of stores.
- Creative Play: Children can use the bottle in imaginative ways, further enhancing their creativity.
You may also find Coffee Filter Butterfly Chromatography Craft For Kids useful.
Materials You’ll Need
- Clear plastic bottle with cap
- Water
- Glitter (various colors)
- Small colorful beads or buttons
- Yellow paint (for the bus)
- Optional: small figurines or toys (e.g., miniature school buses)
For a truly unique sensory bottle, feel free to substitute the glitter and beads with materials that you have on hand or that resonate with your child’s interests. You may also find Cupcake Liner Sunflower Wreath Craft For Kids useful.
How to Make Rainbow-Themed School Bus Sensory Bottle for Kids
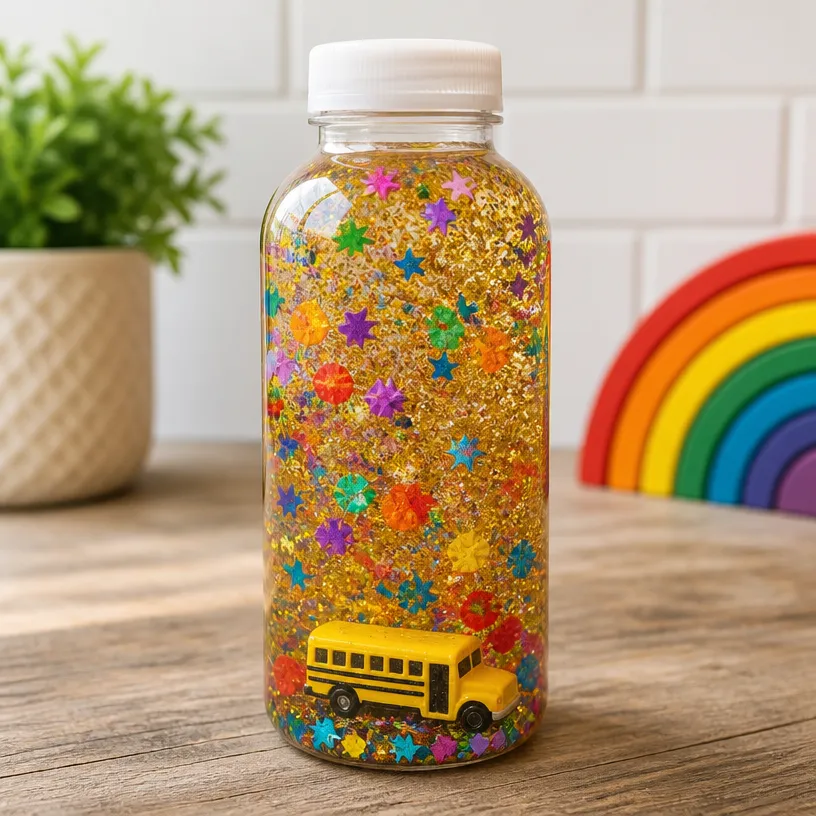
- Prepare the Bottle: Start with a clean, clear plastic bottle. Remove any labels and ensure it is completely dry.
- Paint the Base: Use yellow paint to decorate the bottom of the bottle to resemble a school bus. Allow it to dry fully.
- Fill with Water: Once the paint is dry, fill the bottle about three-quarters full with water.
- Add Glitter and Beads: Sprinkle in your colorful glitter and small beads or buttons. This will create the vibrant rainbow effect when shaken.
- Seal the Bottle: After adding the beads, tightly secure the cap on the bottle. It’s essential to ensure there are no leaks.
- Shake and Enjoy: Encourage your child to shake the bottle and observe how the colors mix and move inside.
Helpful Tips
- Mixing Glitter: If the glitter clumps together, add a bit of glycerin or baby oil to help separate it.
- Secure the Cap: For extra safety, consider sealing the cap with glue to prevent any accidents.
- Displaying the Craft: Once completed, display the sensory bottle on a shelf or table where children can easily access it during playtime.
- Supervision: While this craft is suitable for children, adult supervision is recommended during the painting and assembly process to avoid spills or accidents.
Easy Variations
- Seasonal Themes: Change the colors or materials for different seasons, such as using red and green for Christmas.
- Larger Size: Use a bigger bottle for more sensory effects with extra materials inside.
- Different Shapes: Experiment with bottles of various shapes and sizes to create unique sensory experiences.
- Nature Elements: Add small twigs, leaves, or pebbles for an outdoor-themed sensory bottle.
- Personalized Names: Include stickers with your child’s name for a personalized touch.
Making This Craft With Kids
This project is perfect for children aged 3 and up. They can help with placing materials inside the bottle, but adult supervision is necessary when using paint and securing the cap. Encourage kids to express their creativity by selecting their favorite colors and shapes for the sensory bottle. You may also find Diy Halloween Boo Basket For Kids useful.
How to Display or Use It
Once the rainbow-themed school bus sensory bottle is complete, it can be used in various ways. Consider displaying it as a beautiful piece of art in the child’s room, or it can be used during calm time to help with relaxation. Take it on trips for a fun distraction during long car rides.
Frequently Asked Questions
Can I use other types of bottles?
Yes, any clear plastic bottle can work, just ensure it has a tight-sealing cap.
What if my child is allergic to certain materials?
Always check for allergies before using any craft supplies, and adjust accordingly.
How do I clean up spills?
If there’s a spill, promptly clean it up with a damp cloth to prevent any staining.
Can I add scents to the sensory bottle?
Yes, adding a few drops of essential oils can create a fragrant experience, but be cautious about sensitivities.
Conclusion
Making a rainbow-themed school bus sensory bottle is not only a fun project but also an excellent opportunity for kids to learn through play. By incorporating elements like colors and textures, children can develop both their creativity and sensory skills. For more ideas on sensory projects, consider exploring DIY sensory bottles for toddler learning and entertainment. Additionally, you might enjoy checking out a school bus discovery bottle with kindergarten readiness activities.
Print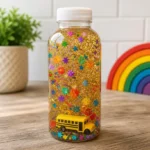
Rainbow-Themed School Bus Sensory Bottle for Kids
- Total Time: 15 minutes
- Makes: 1 sensory bottle
Description
An engaging craft project to create a rainbow-themed sensory bottle that provides visual stimulation and promotes calming for kids.
Materials
- Clear plastic bottle with cap
- Water
- Glitter (various colors)
- Small colorful beads or buttons
- Yellow paint (for the bus)
- Optional: small figurines or toys (e.g., miniature school buses)
Instructions
- Prepare the bottle by removing labels and ensuring it is dry.
- Paint the bottom of the bottle with yellow paint and let it dry.
- Fill the bottle about three-quarters full with water.
- Add colorful glitter and beads or buttons for a rainbow effect.
- Seal the cap tightly to prevent leaks.
- Shake and enjoy watching the colors mix and move.
Notes
For extra safety, consider sealing the cap with glue. Supervision is recommended during the crafting process.